How to take a Strava KOM
Struggling to take that Strava KOM? We might be able to help...

The latest race content, interviews, features, reviews and expert buying guides, direct to your inbox!
You are now subscribed
Your newsletter sign-up was successful
If you use online athlete social network Strava then the chances are that you have already been sucked into the addictive world of chasing segment KOM titles.
Who doesn't want to come back from a hard ride to be rewarded with that little top 10 yellow cup or, the ultimate, the crown of KOM to prove you are the best of the best? Your name will sit at the top of the leaderboard for the world to see. You are great.

For some riders, bagging a KOM can be a tricky business. Of course, you need to be fit and fast to beat the local hero up his training hills, but there are some simple tips and tricks to help you along the way without splashing out 10 grand on a 5kg race bike. Although you could do that too.
We will assume that you have a decent level of fitness, a half-decent bike and no adverse underlying medical conditions...
1. Check out your local segments
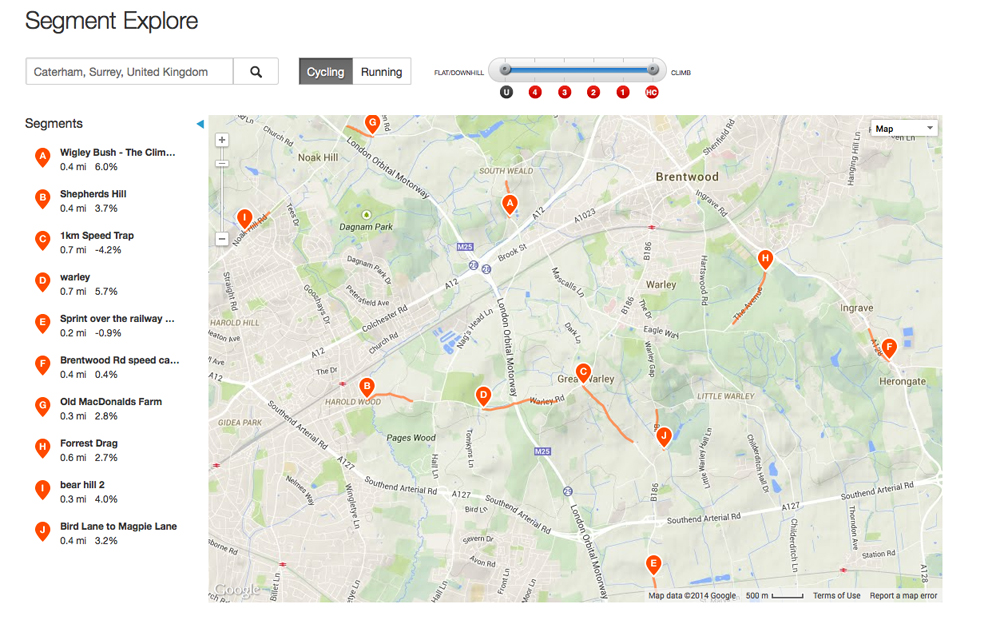
Using Strava's 'Segment Explore' page you can check out all of your local segments and take a look at who's fastest. In most areas, the same names tend to crop up in the top 10. It could be that you already know what sort of segment suits you - maybe you feel that you go better on hills over four per cent, or of a certain distance.
Find ones that suit your style and stick with them for now - you can draw up a list of likely candidates by clicking on the star next to the segment's headline, this adds it to your 'Starred Segments' list which can be found under Dashboard/My Segments. If there's a rider that is around the same ability or is slightly better than you, then take a look at where else they've done well - it could give you some ideas.
>>> The 14 hardest Strava segments anywhere in the world
The latest race content, interviews, features, reviews and expert buying guides, direct to your inbox!
2. Get to know the segment
Plan ahead. Pro riders will often ride key parts of race routes several times over in training so that when race day comes they have already sorted out the best lines and a plan of attack. There's absolutely no point trying to take on a segment if you don't know where it starts, finishes or what is in between. Turning up and simply giving it full gas roughly in the right place will inevitably lead to failure.
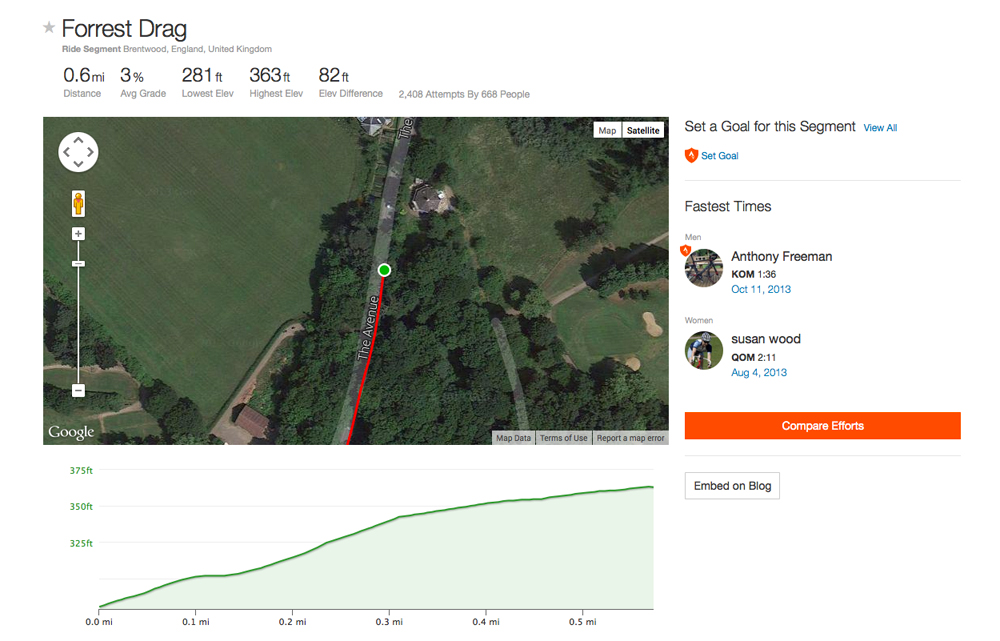
Use the Explore/Segment Explore menu to find the segment you want to take on, switch to Satellite view on the map and zoom in to see exactly where the segment starts and finishes. Make a mental note of a landmark right next to the start and also the finish. It's best to get up to speed just before the segment start, rather than furiously pedalling as you as you pass go. Equally, try not to ease up before passing the finish, ignore what your legs are telling you.
3. Test ride
If it's a segment that you already know then wait for the ideal riding conditions (see number 5) and go for it. If it's one you are not familiar with, then hit it at a 70-80 per cent effort to see how the land lies. It's amazing how different a road can feel if you're nearly going full gas compared to just pootling along. Make a note of any potholes or gravel patches to avoid.
>>> 12 of the funniest Strava segment names
4. Turn up fresh and go for it
Don't aim for a segment at the end of a 100 mile ride, that is frankly ridiculous. However, you do need to warm up properly, so start your ride off with a steady effort to get your legs warm and your heart-rate elevated. If the segment is on your doorstep, then ride around the block before putting in your best effort.
Make sure that you have eaten and taken on enough fluids too, just as you would for an event. However, it's best to avoid going out straight after a full English and pint of lager. Also don't try and cram in 20 segment attacks on one ride, you'll end up knackered and hating it.
5. Use a tailwind
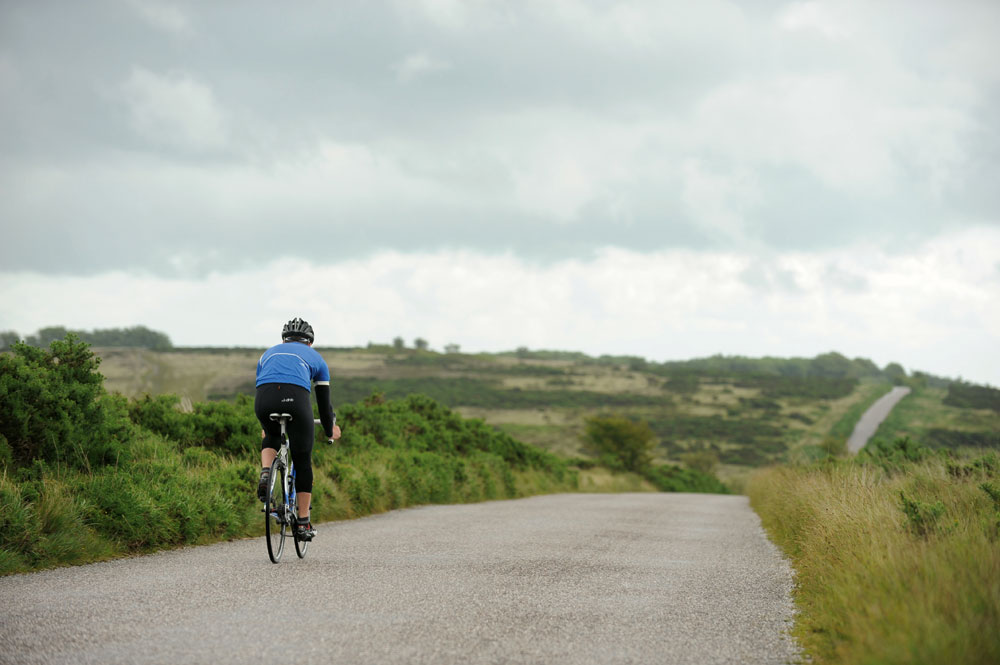
Tailwinds - that's cheating, right? As a wise Strava veteran once said: "no one takes a KOM into a headwind". Embrace the breezy helping hand. You can check the day's approximate wind speed and direction in your area by looking at a weather website. The BBC Weather site gives you a handy wind direction arrow as part of its forecast, which you can use to look for Strava segments running in the same direction.
Or you could install a windsock on your garden shed roof and see which way the wind is blowing before you set out. This has the added benefit that your neighbours will think you are planning on building an airport. Make sure the conditions are dry too: wet and slippery roads with poor visibility is no good at all.
6. Failed? Keep at it. Did it? Try another
Don't be disheartened if you missed out this time. Think of it as one in the bank for next time. When you next give the segment a go you'll know it that bit better, and perhaps you'll be feeling that bit better too. At the very least, you can say it's all interval training. The more efforts you put it, the better you'll become. If you successfully took the segment, then well done: find similar ones with the same gradient and distance and take them on too.
Whether you took the segment or not, you can compare your effort – and see exactly where you were slower/faster than your rivals – by using Strava's 'Compare Efforts' function that can be found at the top right of each segment page, underneath the 'fastest times' section.
Whatever you do, keep your Strava success to yourself. Although you may feel a warm inner glow at being KOM on the High Street, your friends and relatives may not be so impressed with your achievement. Unless they previously held the KOM, in which case, rub it in.
7. Be careful
Do not take any risks, particularly on busy roads with lots of side turnings. We'd avoid any segments that someone has created that include road junctions, particularly roundabouts or crossroads. Be aware of other road users.
There's also a question mark over the common sense of taking on downhill segments, where you can easily find yourself pushing it beyond your limit. Strava KOM hunting is fun, but shouldn't mean that you end up in a hospital bed - or put someone else in one. Know your limits.
>>> Pro riders to follow on Strava
8. Don't cheat
Where there's competition, then sooner or later someone will cheat. Strava is no exception. We've seen people upload rides that were obviously done in a motor vehicle, we've also heard of people using digital manipulation of GPS files to make it look like they've gone faster. Tut tut tut. We're also not fans of people creating Strava segments in their back garden. Particularly if they lock the gate.
Slightly less of a cheat, and some people would say it's legitimate, is riding in a group of people who effectively give you a lead-out for your KOM effort. If your efforts are all solo, then you'll just have to accept that others may have been in a group. Or sign up Mark Renshaw to give you a hand.
9. If all else fails
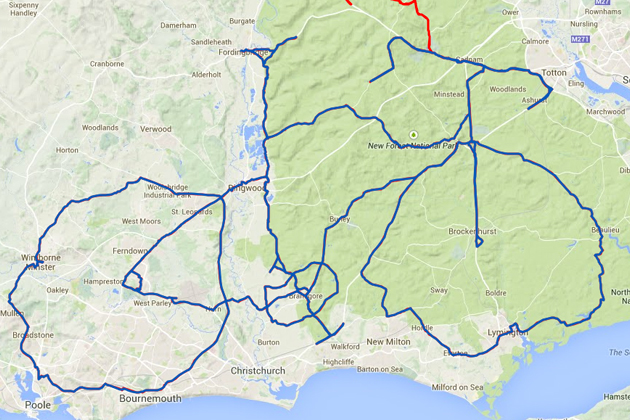
If you can't take a Strava KOM, then don't worry. It's for losers anyway. Real racers don't do Strava, etc. You can always do a ride that draws a massive picture of a horse or a bicycle on a map instead. Far better.
I haven't understood a word of this: What is a Strava KOM?
Part of Strava - some would argue its sole reason for popularity - is its segment function. A 'segment' is a section of a ride that someone has turned into a timed course, like a mini time trial. Usually it is hills. Strava automatically allocates your time to any segment that you ride through and upload to its site. It then creates a league table of who is fastest, with the fastest being given a small yellow crown icon and the title of KOM (King of the Mountain) or QOM (Queen of the Mountain).
Hotly-contested battles can form on segments between riders, and some popular segments - particularly those regularly used in sportives and/or races - can have thousands of riders listed in their league tables.

Nigel Wynn worked as associate editor on CyclingWeekly.com, he worked almost single-handedly on the Cycling Weekly website in its early days. His passion for cycling, his writing and his creativity, as well as his hard work and dedication, were the original driving force behind the website’s success. Without him, CyclingWeekly.com would certainly not exist on the size and scale that it enjoys today. Nigel sadly passed away, following a brave battle with a cancer-related illness, in 2018. He was a highly valued colleague, and more importantly, an exceptional person to work with - his presence is sorely missed.