Cycliq Fly12 Sport camera-light review – a handy two-in-one for commuting
The Cycliq Fly12 Sport is a front-facing light and camera combined, ideal for capturing any incidents on your commutes or longer rides
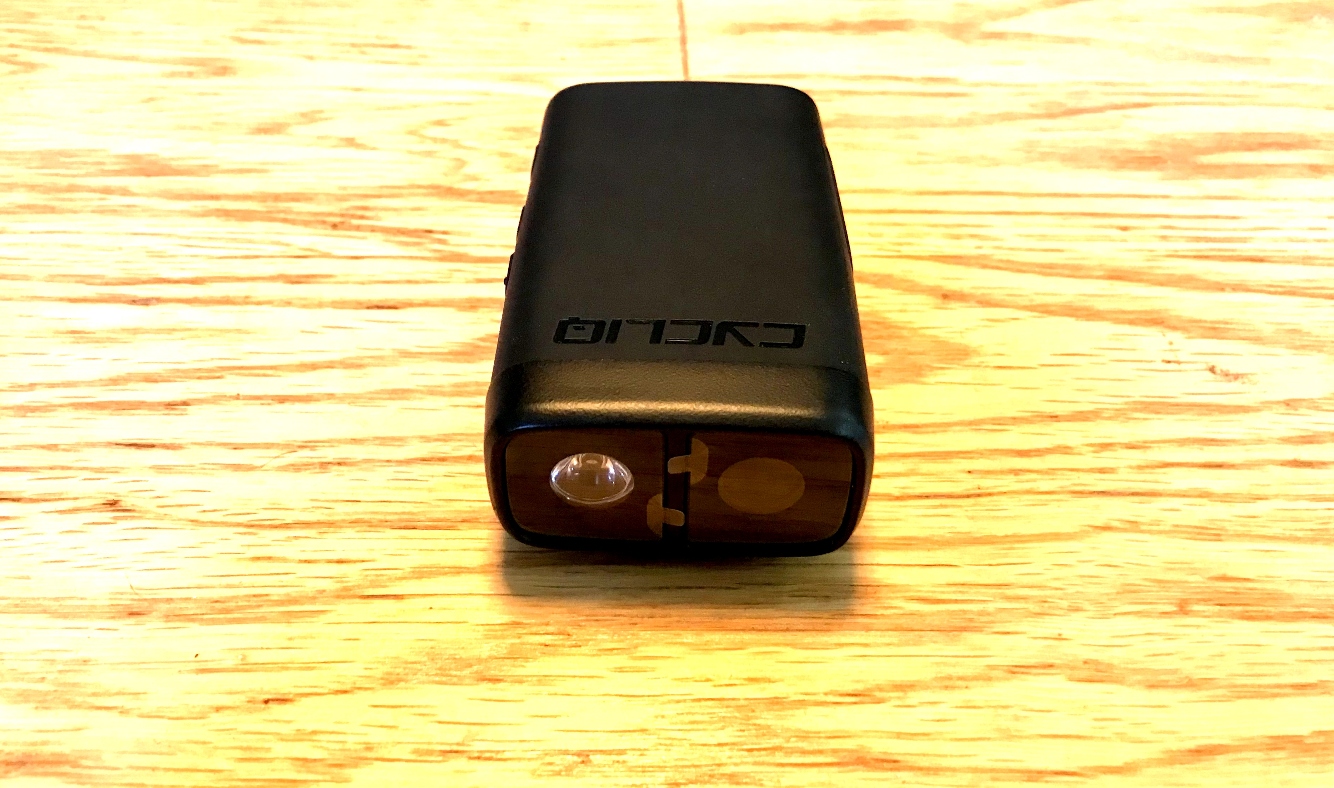
A solid camera-light that has improved greatly from its own earlier version, the Cycliq Fly12 Sport is a good investment for anyone feeling the need to record their rides or those who just want clips of the scenery. However, the Fly6 rear-facing camera could be a better place to start; threats on our roads are more likely to come from behind.
-
+
Solid, weatherproof unit should last for years
-
+
Easy to use buttons
-
+
Comes with a 64GB microSD Card
-
+
Rear display shows current setting and battery level
-
+
Lightweight
-
-
Can be a bit bulky for a busy cockpit - but it's not huge
-
-
Audio of voices is poor
You can trust Cycling Weekly.
The Cycliq Fly12 Sport is a unit that combines a camera and bike light in one, providing the reassurance of both a daytime running light and a recording of your ride. Like other of the best bike and helmet cameras the Fly12 has a crash mode that will lock recorded files to preserve evidence.
Otherwise, footage is recorded in a loop on the memory card – overwriting old files from the start to ensure it never runs out of memory, and there are choices of video quality or light mode to better suit the battery and memory card space needed for the type of riding the user does.
The customisation is done in the accompanying app, much the way a lot of cycling electronics such as GPS computers and sports watches are controlled nowadays.
Cycliq Fly12 Sport: Previous experience was not positive
Of course I approach every product I review from a neutral, fair and unbiased starting position. However, I will note a slight contradiction to that when it comes to Cycliq products: I’ve used them before – both an original Fly12 and two iterations of the Fly6 – and I was not impressed.
The Fly12 would regularly go wrong – maybe it would simply stop recording mid-ride despite being charged and the memory card being present, sometimes it would turn off despite reporting to have sufficient charge, often the memory card would have to be formatted and the camera reset to factory defaults just to function at all.
The more recent Fly6 breathed its last after filling with water on a wet commute: it still turned on and recorded after that, but all you could see was the water sitting behind the lens. A wet commute in the UK, hardly a surprising or extreme circumstance for a bike camera.
Therefore, I am pleased to report that the Fly12 Sport on review has performed well and my overall opinion is net-positive. This camera is a huge improvement on the hit-and-very-often-miss products I have suffered from Cycliq over the last few years.
The latest race content, interviews, features, reviews and expert buying guides, direct to your inbox!
Even better, this one came with a memory card so once charged I could start using it right away; which wasn’t the case for me previously.
Cycliq Fly12 Sport: Arrival and set up
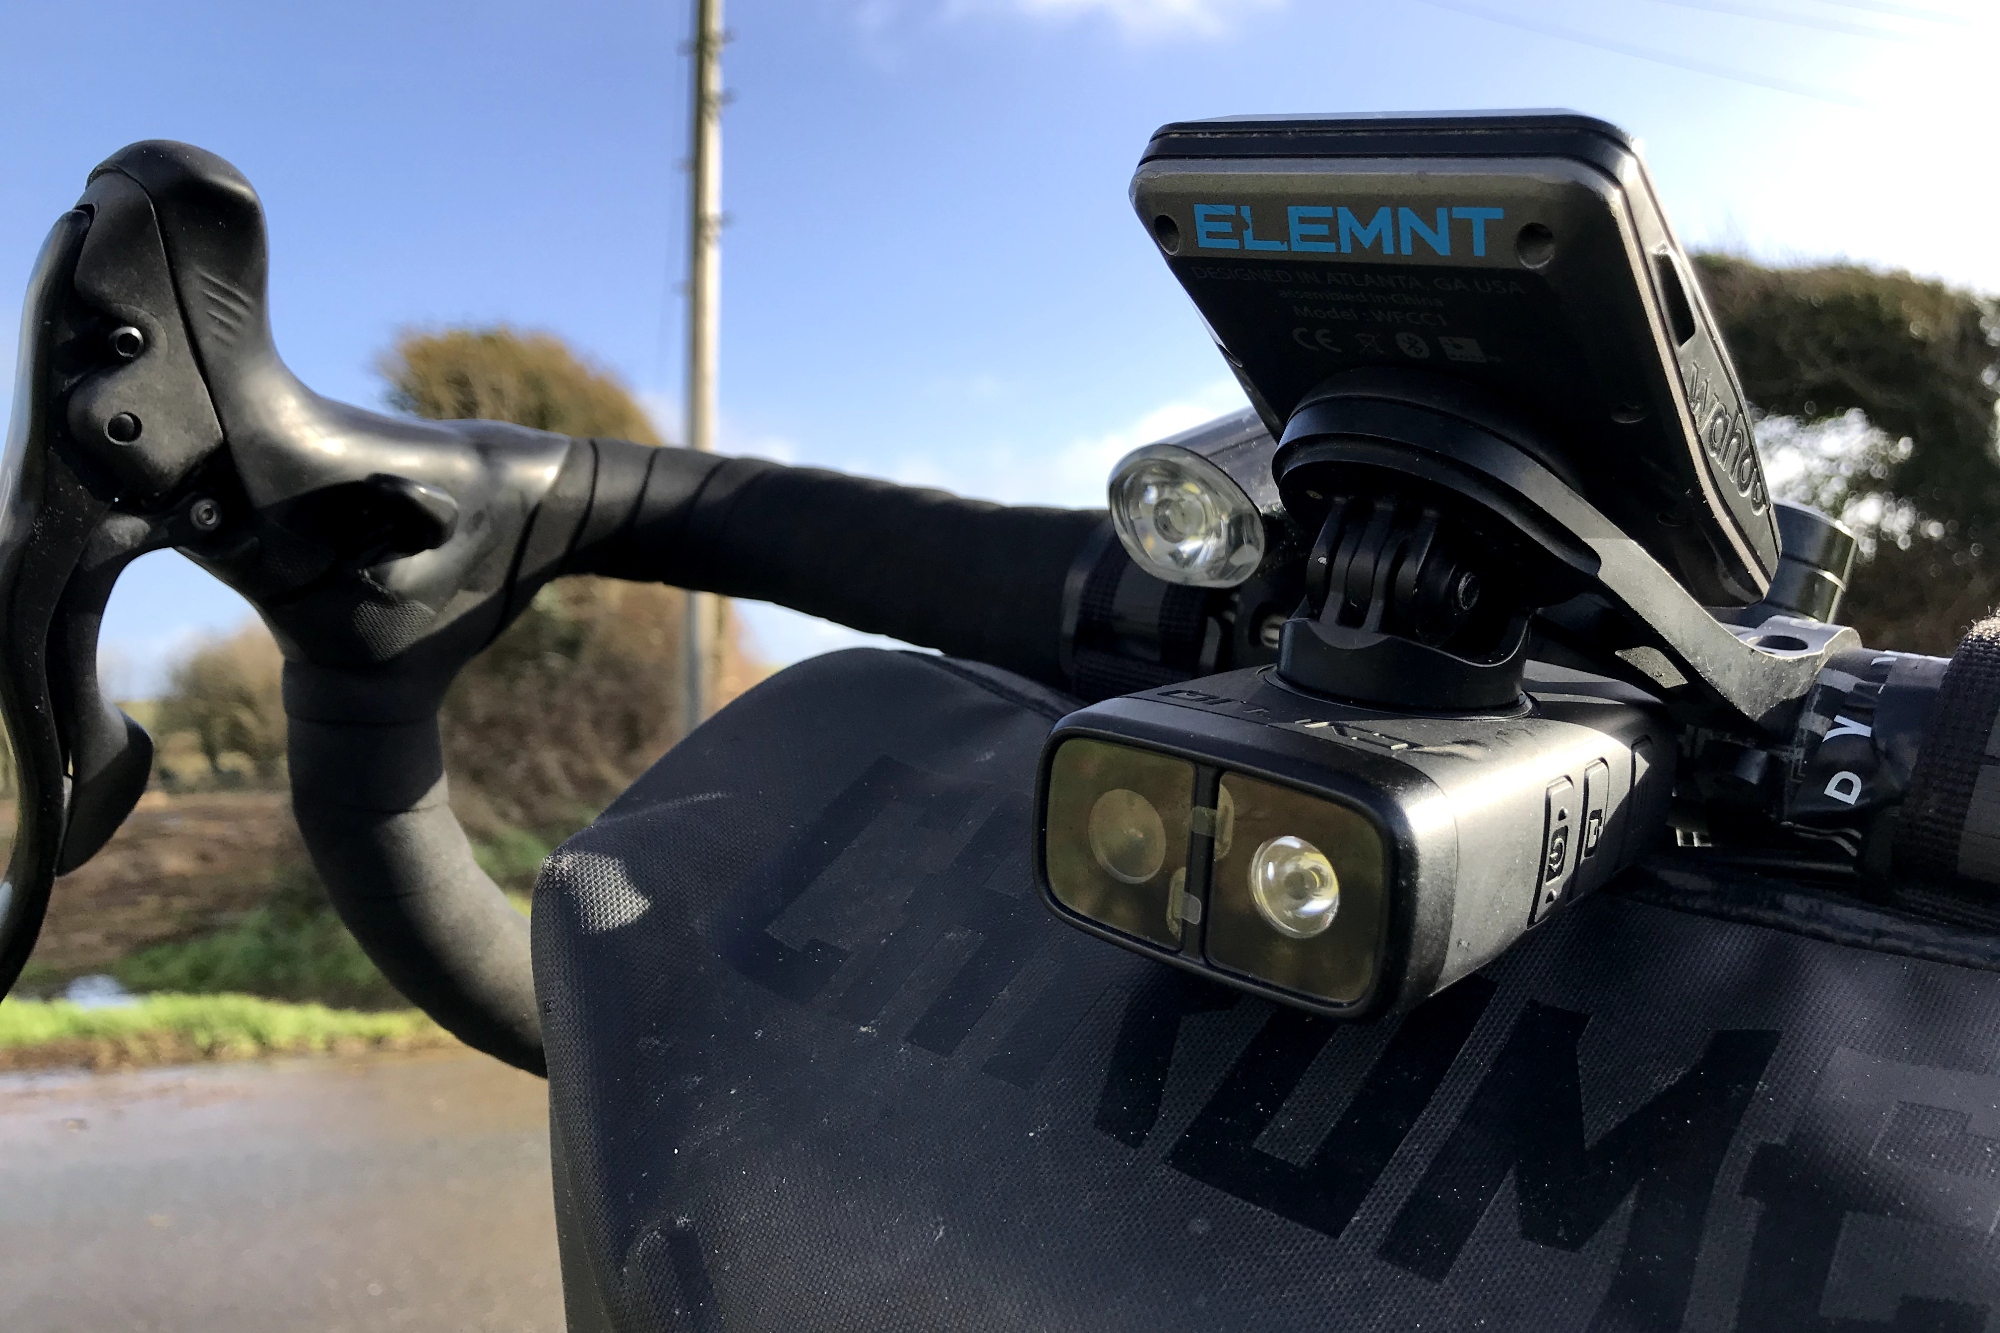
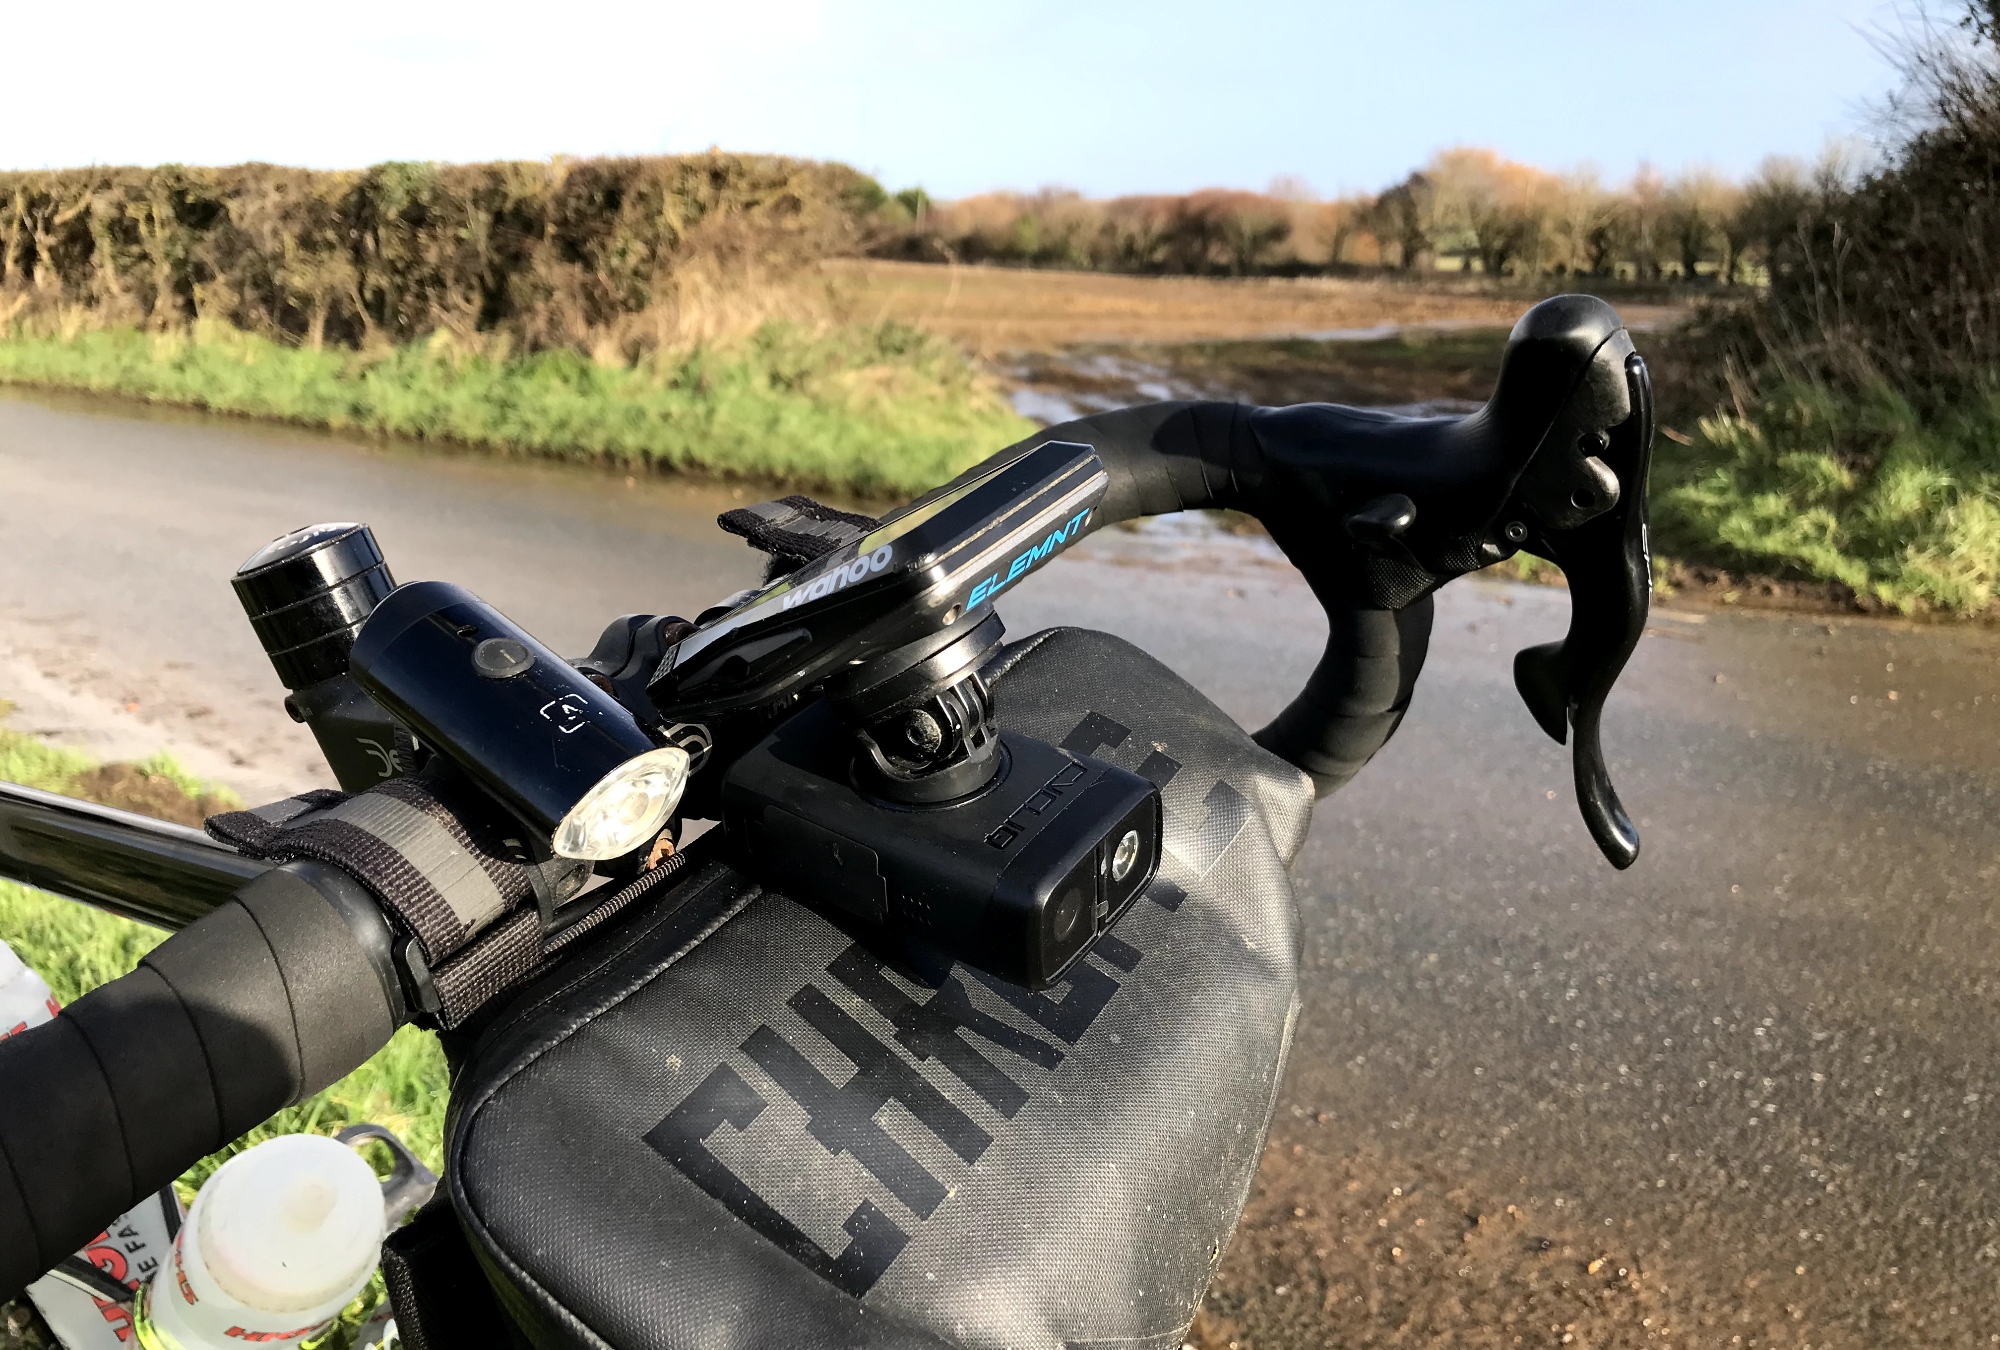
The Cycliq Fly12 Sport arrived in a rectangular cubed box and included a memory card, charging cable and several mounting options. One of these I have used to attach the camera to the flat handlebar of my hybrid, while on request the brand also sent an out-front mount that is on my winter road bike where the camera sits below a bike computer.
Frustratingly, I couldn’t make any combination of the mounts fit the aero bars or proprietary out-front mount on my Cannondale road bike.
The camera came with some juice in the battery, but the setup instructions suggested fully charging the unit before setting out. With that done, I was almost good to go. I wasted a while failing to get the unit compatible with my aero road bars, but soon had the Cycliq attached to my winter bike along with my handlebar bag for all the winter roadside repair essentials.
You can buy a lens protector to go with the camera, but in lieu of that I left the little plastic-film covers on to avoid scratches.
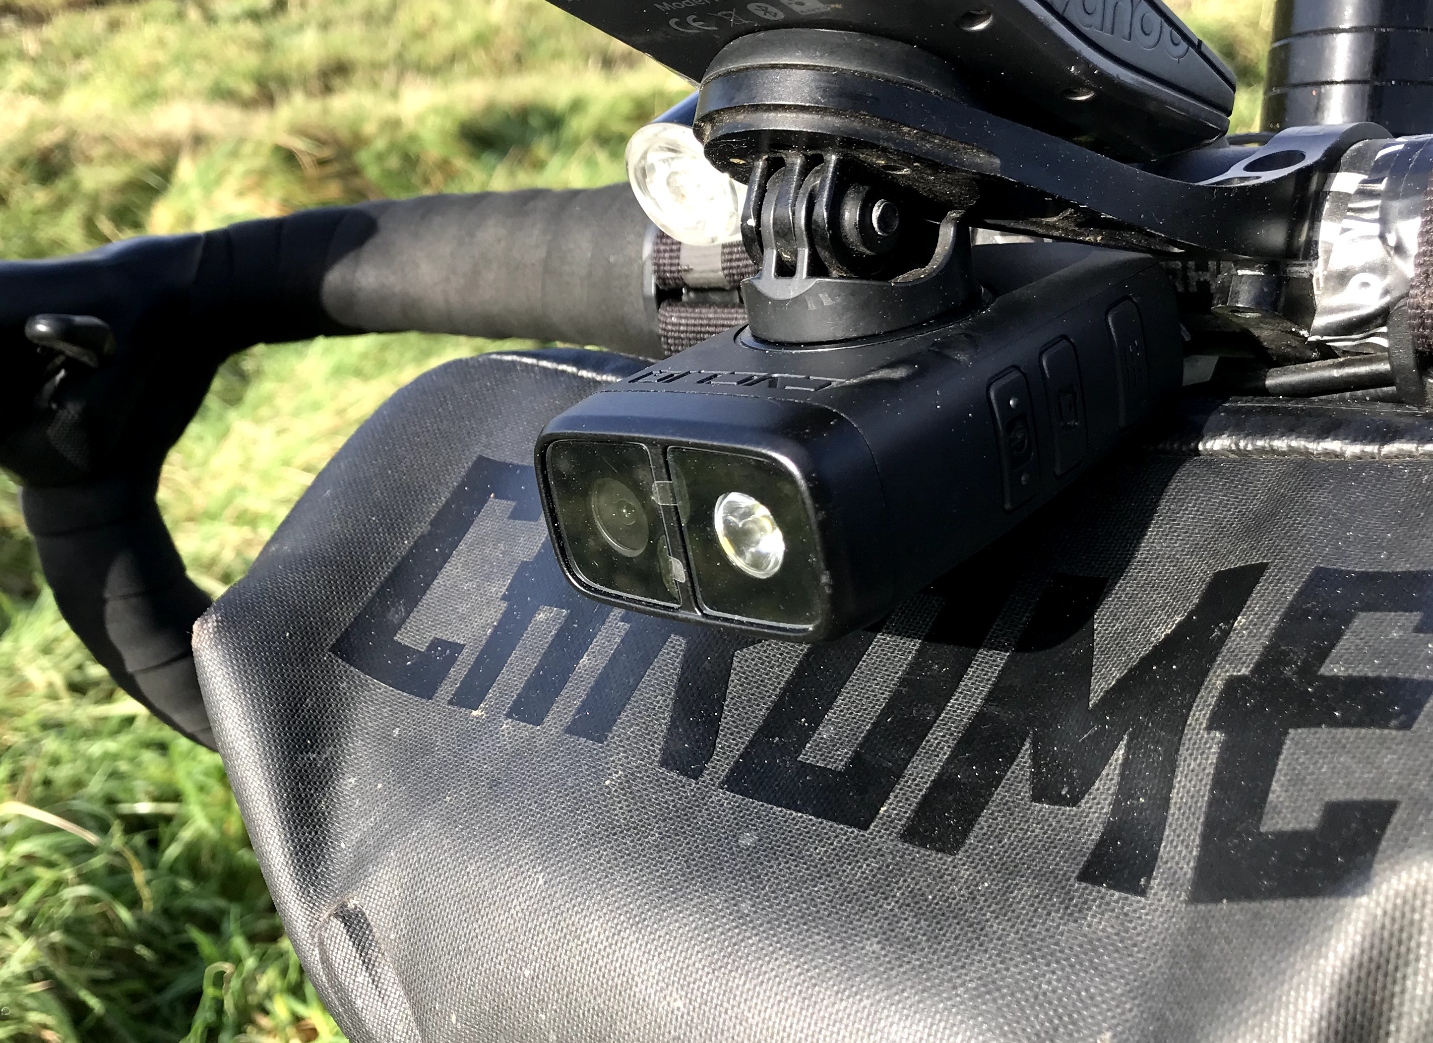
Twisting the camera into the mount requires a bit more force than a Wahoo bike computer, and probably a bit more force than you’d expect, but this brings added reassurance that it’s unlikely to come loose and fall out while you’re riding along.
Mounted to my winter bike, the Cycliq was another accessory on an already busy cockpit. I moved my large handlebar bag down slightly to allow for the camera-light to fit under the out-front mount that holds my Wahoo bike computer.
I've also got a small light there for daytime riding (adding a larger one when riding at night), so I mostly only used the Fly12 as a camera to maximise its battery life; gaining illumination from other sources.
Cycliq Fly12 Sport: Rear display and recording indicator light
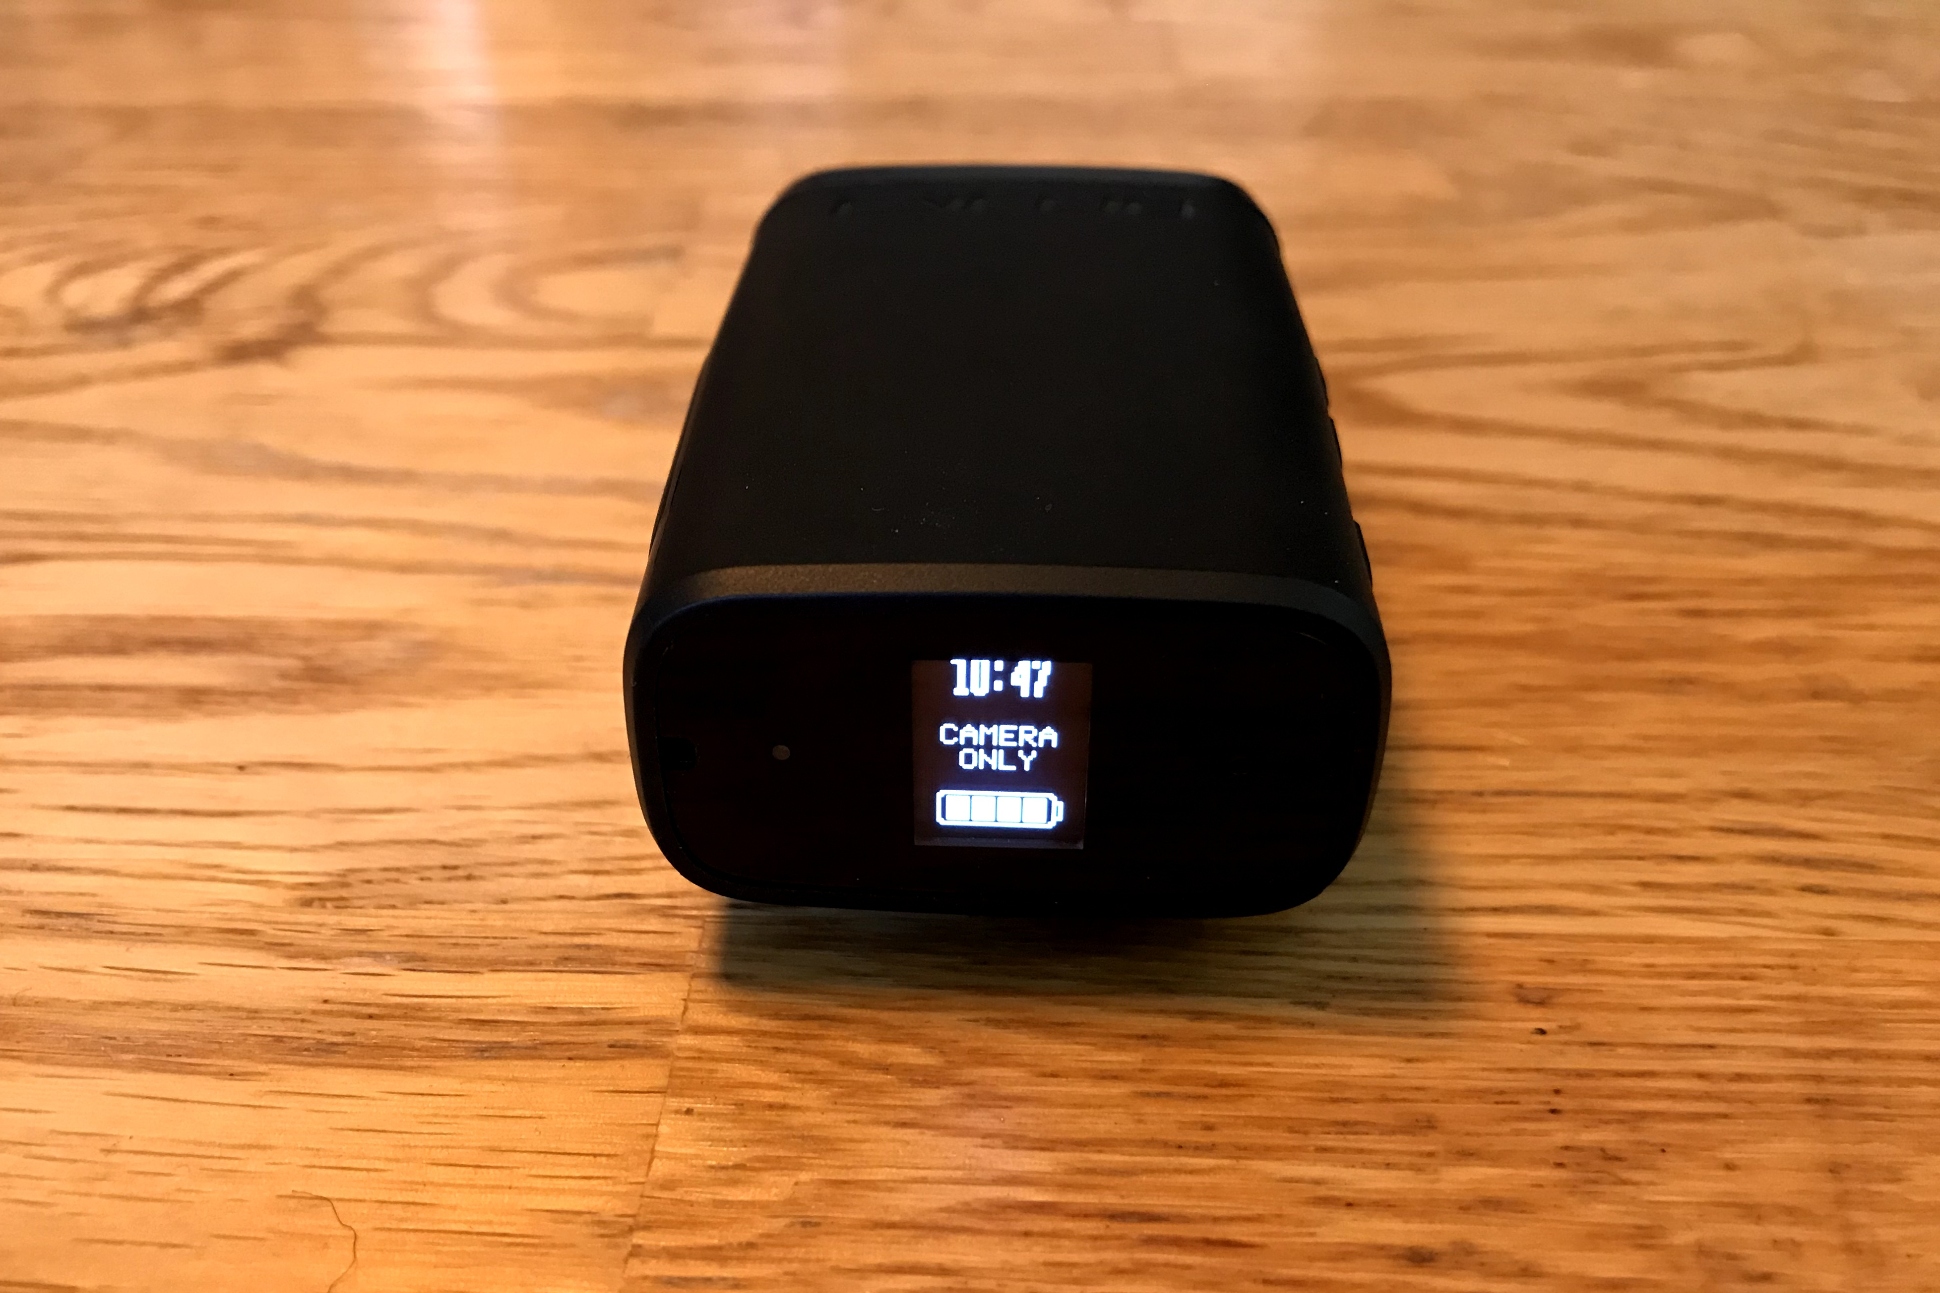
The back of the camera has a small display, which shows: time of day, which function is running – camera only, solid high, solid low, flash high, flash low, pulse high, pulse low, organic – and battery level.
Next to that is a small red light, which flashes when the camera is recording: it’s easy to spot when riding along if you feel the need to check the camera is active.
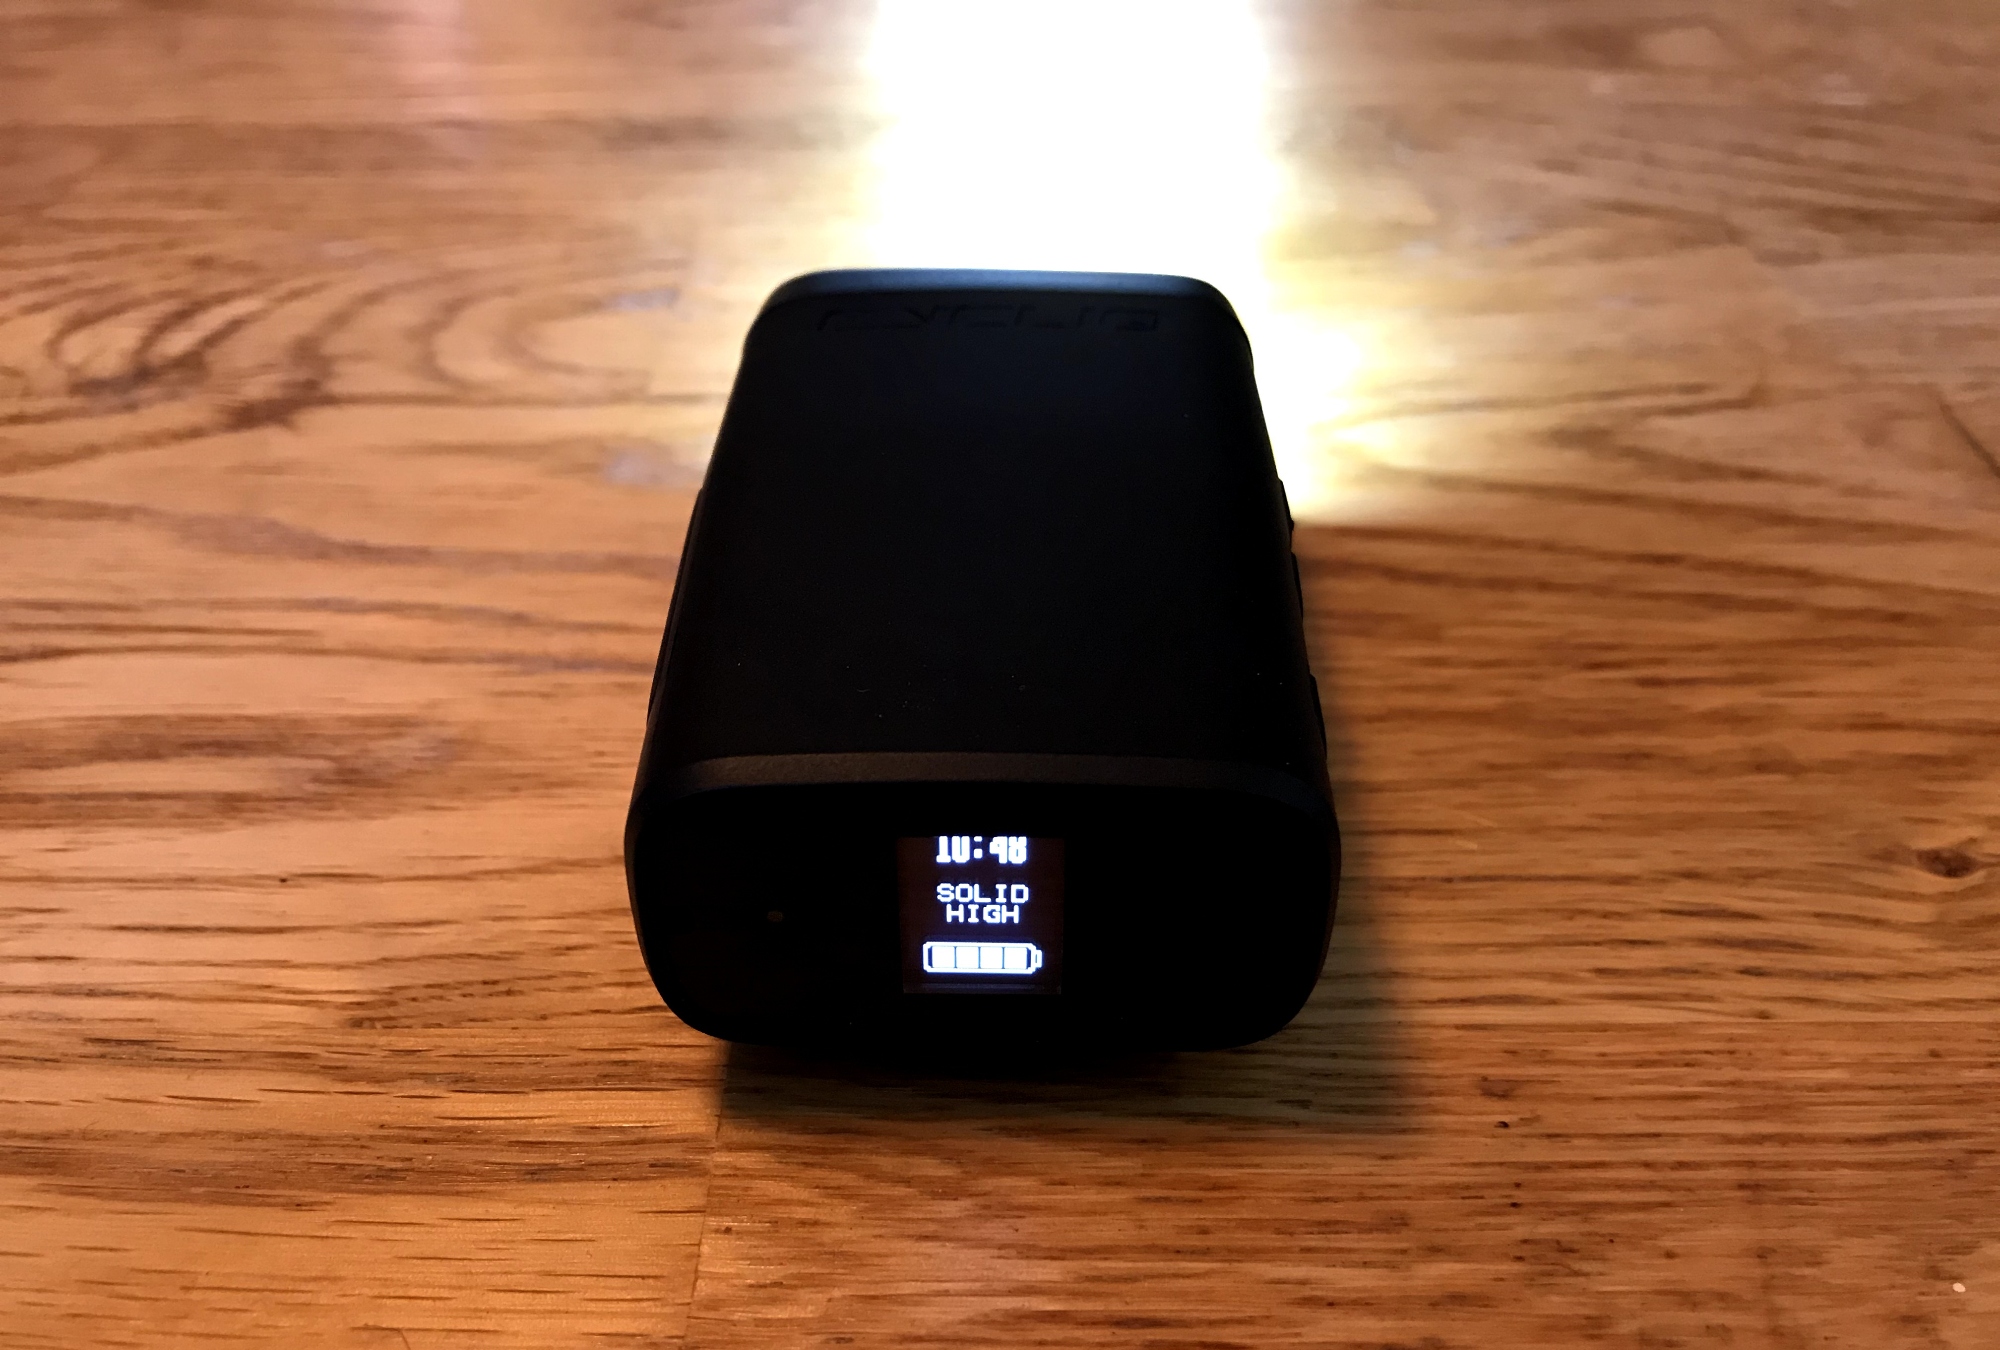
Cycliq Fly12 Sport: Image rotation
I’ve been using the Fly12 on my winter road bike – where it is situated under an out-front mount, and on my hybrid shops-and-station bike – where it sits in a supplied mount on top of the flat handlebar.
As such, from one mounting position to the next, the camera is at times upside down – and records footage that way. You can set up the camera in its accompanying app to specify whether it will be mounted on top or below your handlebar and it will orientate accordingly.
But when rushing out the door, possibly cutting it a bit fine to make the train, it’s unlikely anyone is going to bother reorientating the camera in the app every time it’s attached to a different bike. After a couple of rides where the footage was upside down – easily flipped on a computer if needed and thankfully no incidents that needed saving – I discovered the ability to set which way is up using one of the unit’s side buttons.
However, it might also be good if the camera could intuitively ‘flip’ to record the right way up however it’s mounted, but I appreciate this might conflict with its ‘incident protection mode’ which kicks in when the camera is tilted over to a certain degree.
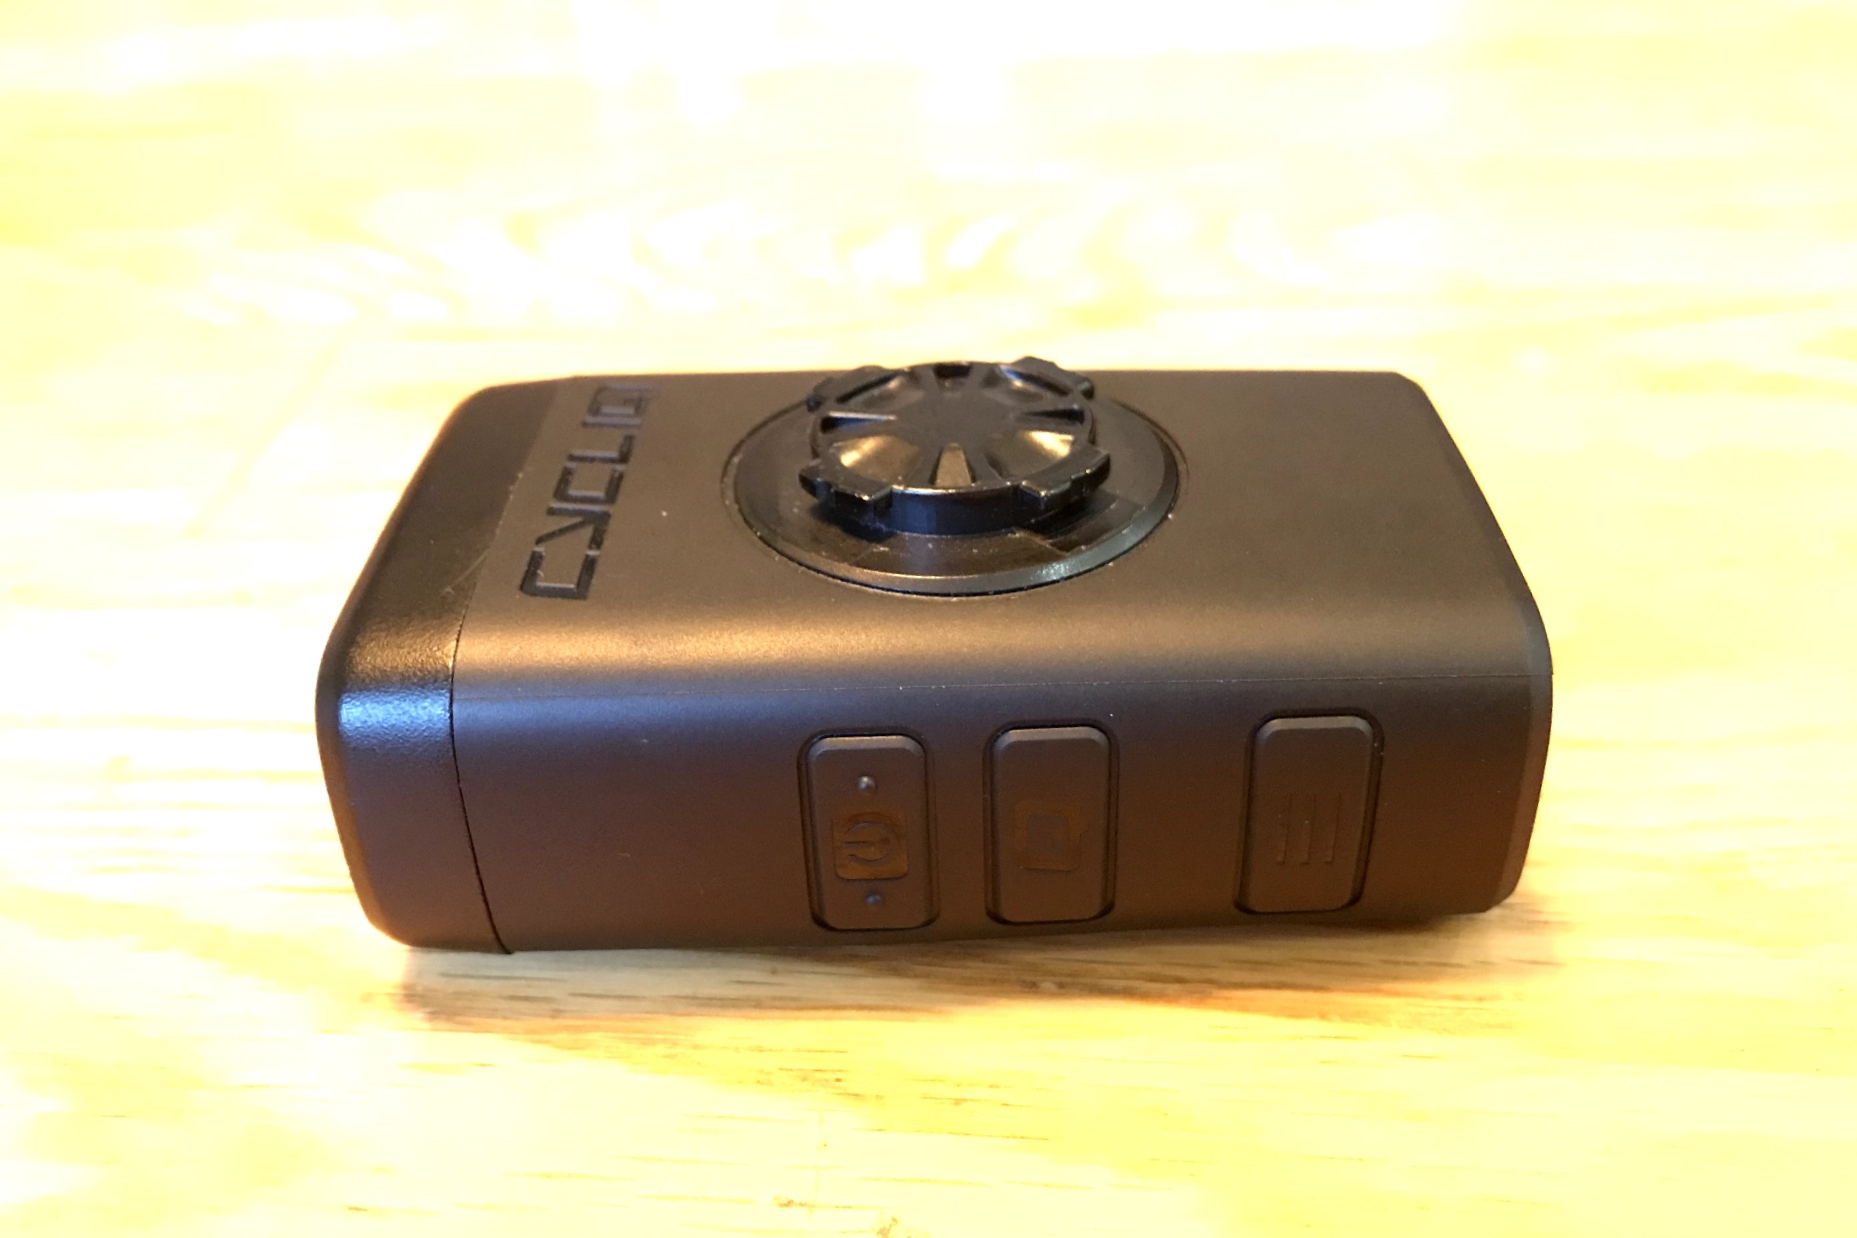
Cycliq Fly12 Sport: Buttons
On one side, the unit has three buttons. The first has the universal power symbol between two raised dots. This is obviously to switch the camera/light on and off, with the dots making it easy to choose the right button without looking.
The second button has the Cycliq brand letter ‘Q’. The purpose of this is explained below.
The third and final button shows three parallel lines. Discovering that this button allows for the camera’s rotation to be changed without the use of the app hugely improved my use of the camera.
Cycliq Fly12 Sport: Crash mode
As per Cycliq’s website, “The Fly12 Sport has a feature called incident protection mode. This mode ensures whenever your Fly12 Sport is tilted more than 60° from vertical (or 30° from the ground) for more than five seconds the footage will be automatically saved and stored without being overwritten.”
Such a tilting would occur just from laying your bike down (never on the driveside) but is, of course, programmed into the camera in case of a collision when the bike would be laid over beyond the tilt limit. The requisite files are then locked on the memory card and cannot be automatically overwritten by new footage, as is the case for normal recordings.
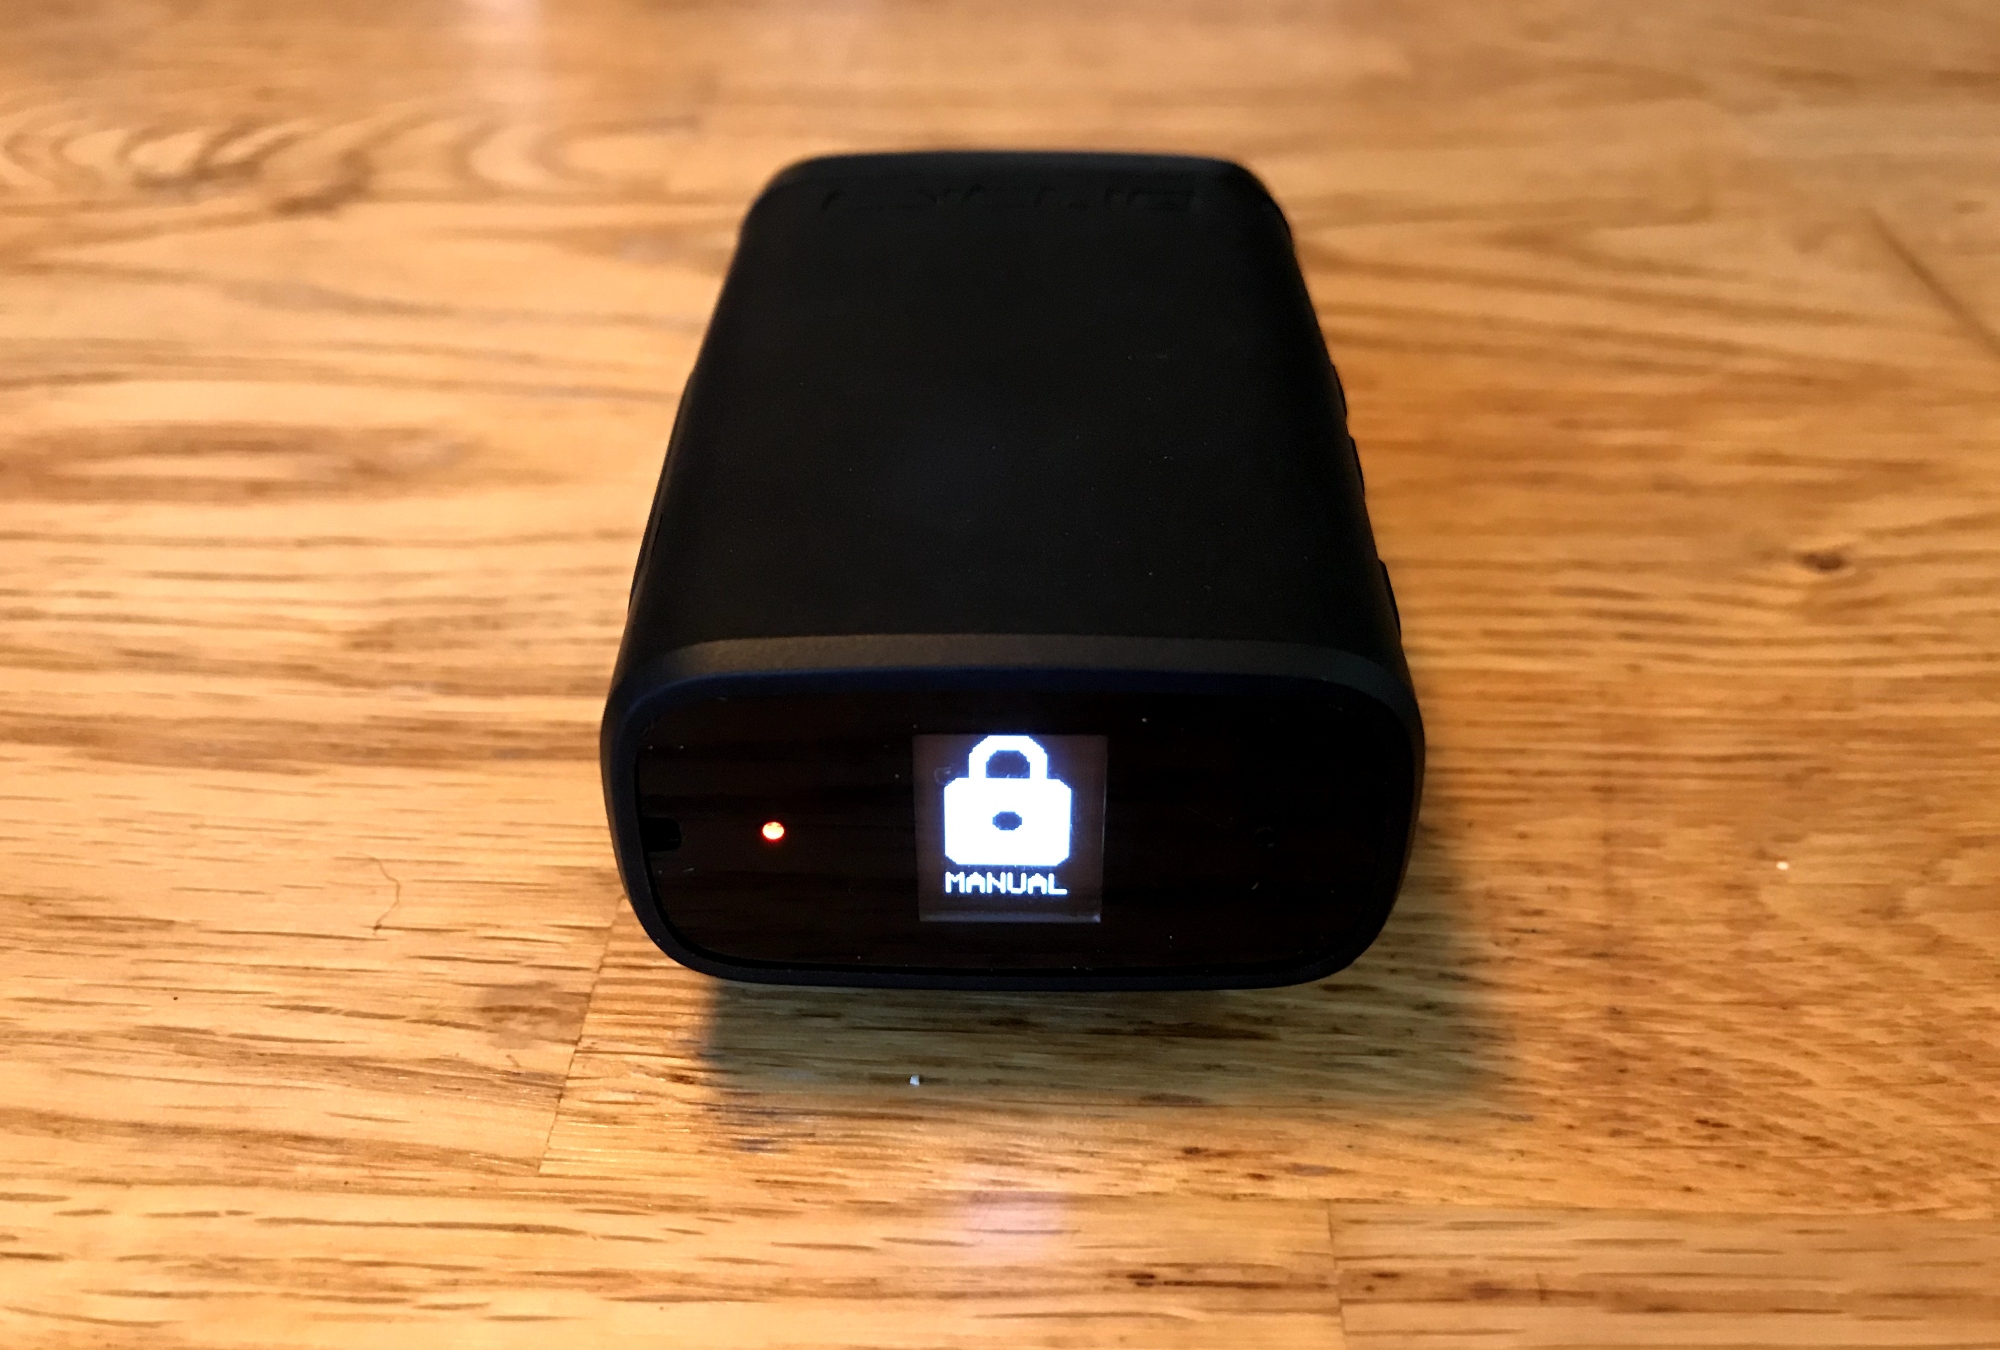
If an incident occurs where you are threatened, intimidated or put in danger, you can also manually lock files as you ride.
“You can protect video footage from being overwritten manually by pressing the Q button on the side of the Fly12 Sport,” Cycliq explains in its online FAQs.
“This is useful whenever something occurs that isn’t triggered by incident protection mode. An example might be when there is a close pass by a vehicle, or you see something happen to somebody else that you want to capture for them.”
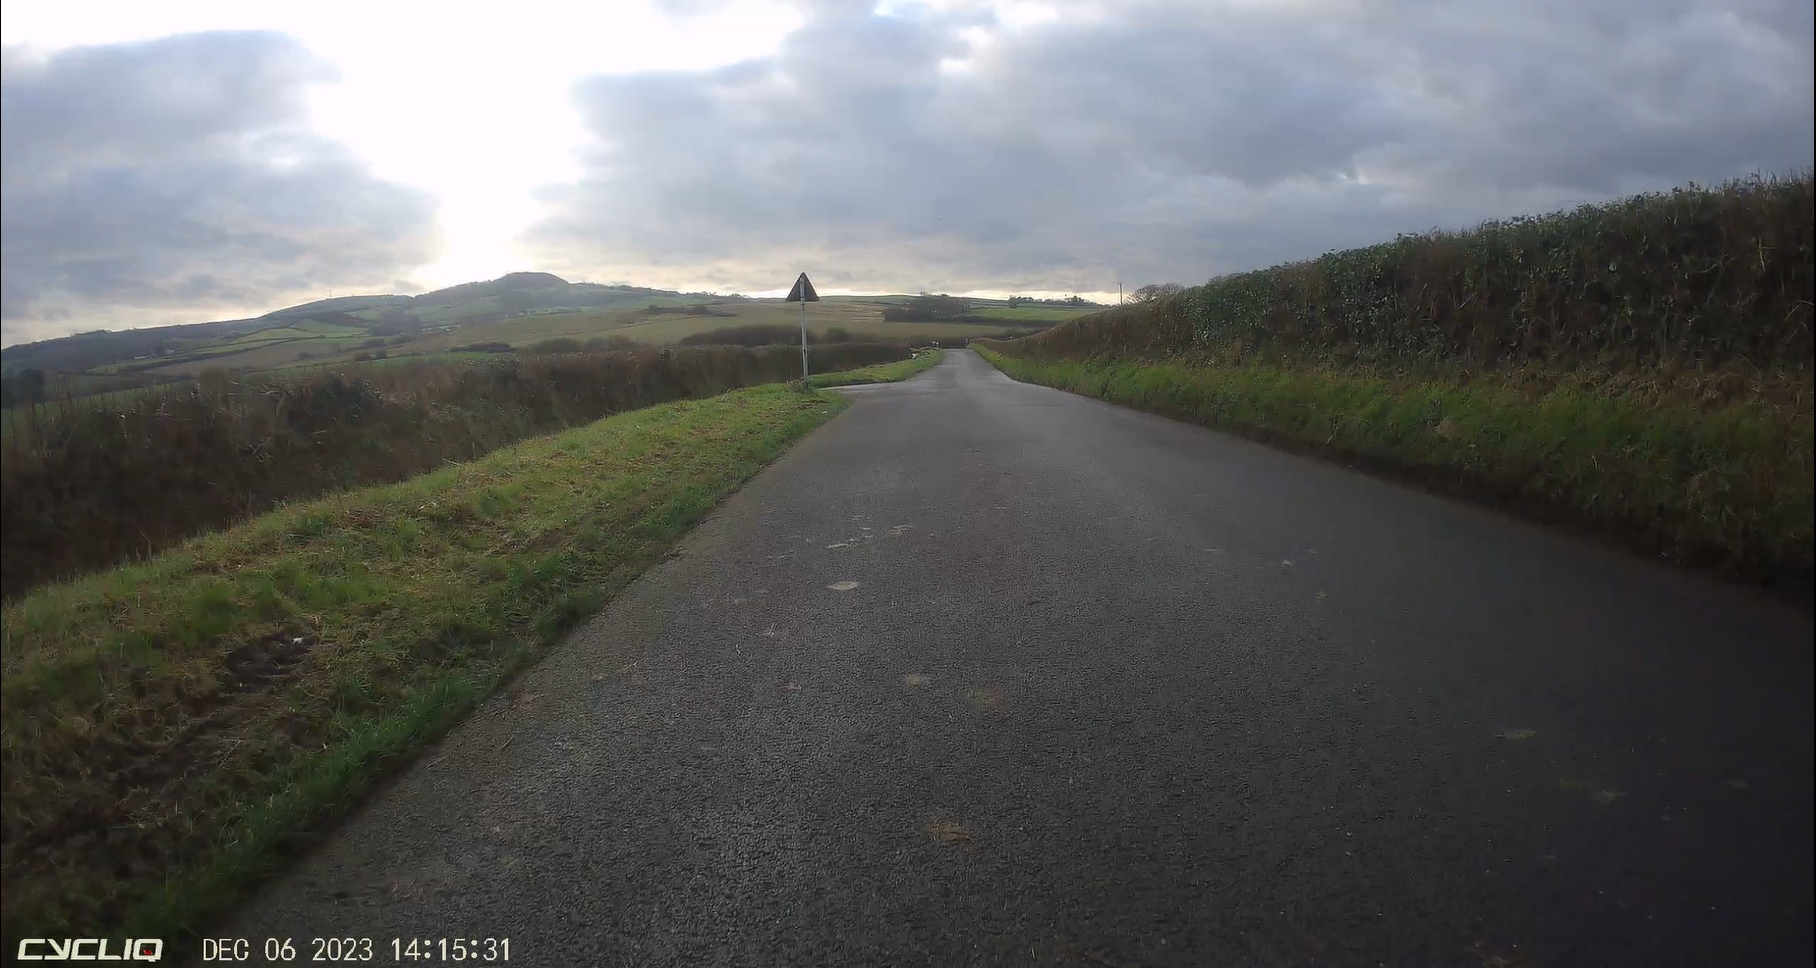
Cycliq Fly12 Sport: Image quality and file intervals
On the whole, especially in daylight, the image quality is very good (and better than displayed here). You can tweak the resolution up or down in the app, bringing memory advantages to the lowering of image quality.
The options are: 2880x2160p at 24fps (4K playback), 2560x1440p QHD at 30fps, 1920x1080p FHD at 60fps, 1920x1080p HDR at 30fps, 1280x720p HD at 120fps.
At night, though, I have been a bit hard pushed to pick out number plates of oncoming cars when viewing footage back. Riding country lanes with only my front bike light (not the Cycliq but a more powerful floodlight), cars flash in and out of view and sometimes it is difficult to read their front plate on the footage as it disappears between their headlights and just looked like a white smear on the front of the car.
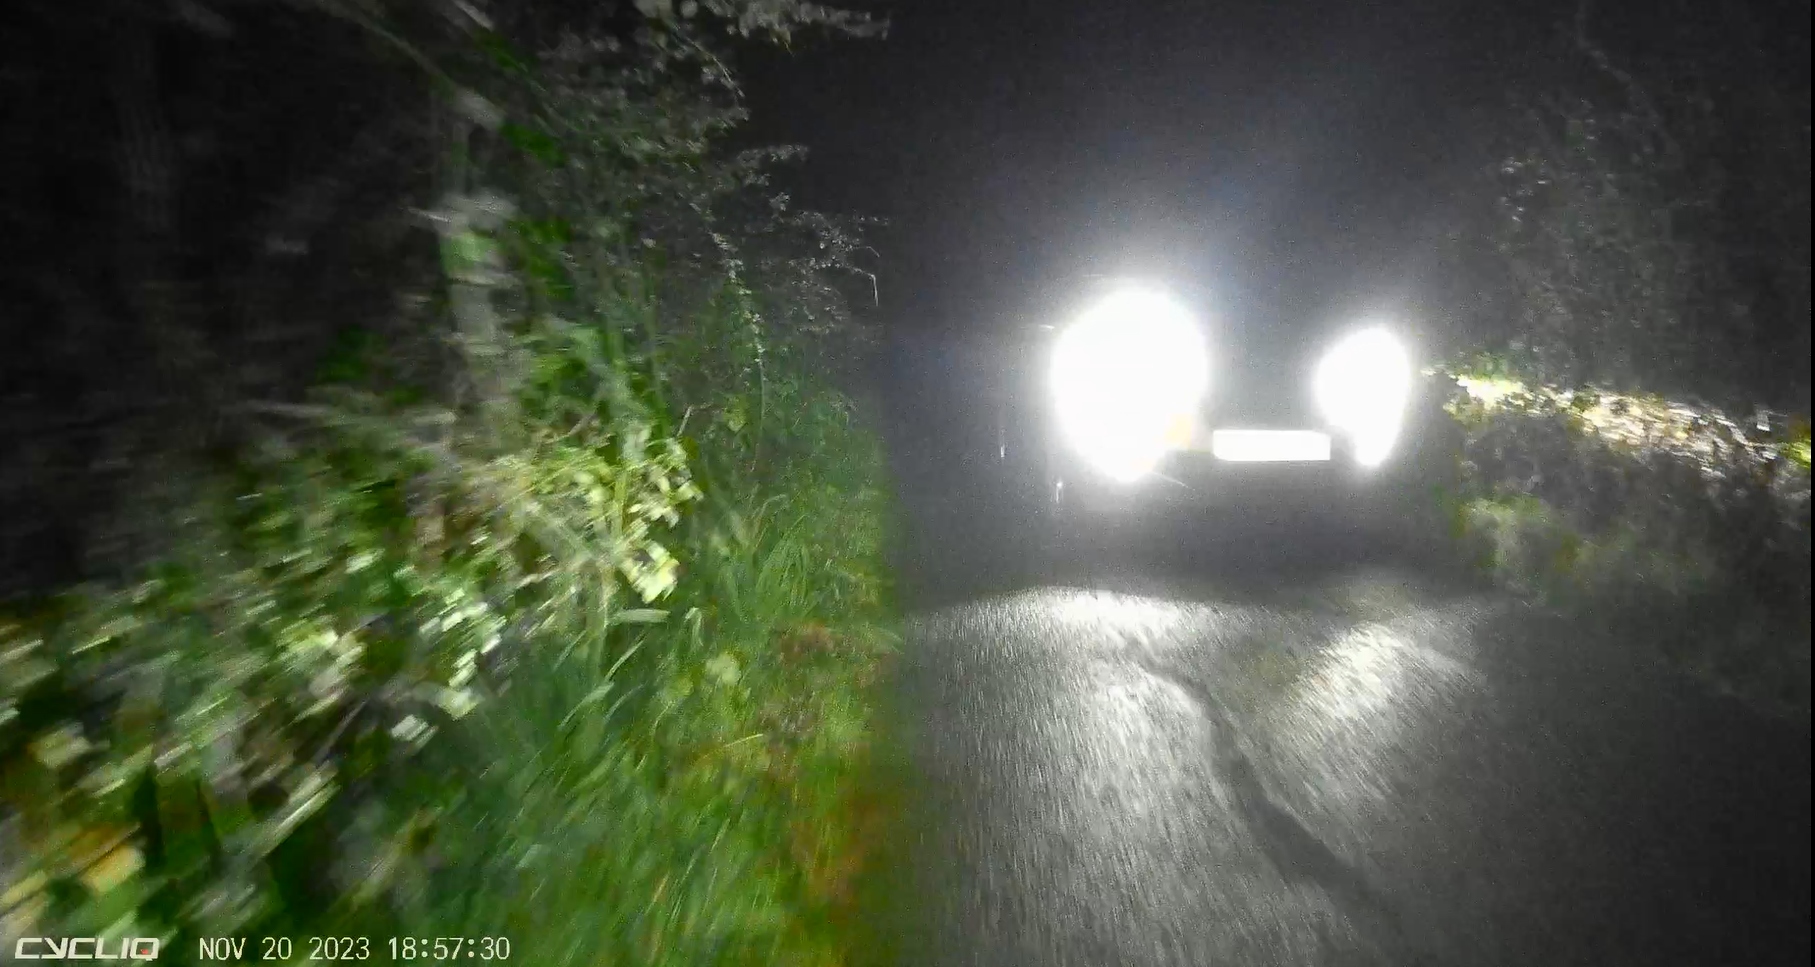
Thankfully I’ve had no reason to read or report the registrations, but if one came around a corner too fast and knocked me off, I’d want the locked video files to be of use by showing me the culprit.
As well as changing the image quality in the app, you can also change the interval lengths of recorded files with choices of 5, 10 and 15 minutes. I use the 5 minute for a number of reasons. The files are smaller, so easier to transfer, save or upload to somewhere like Google Drive. The smaller files also mean that when they are overwritten it happens in smaller chunks rather than big 15 minute swathes.
Cycliq Fly12 Sport: File writing and overwriting
The Cycliq Fly12 Sport – as per all Cycliq cameras – overwrites old footage files as soon as the memory card’s capacity is reached, so it is always able to save the recordings.
This works fine for commutes as those rides are unlikely to last longer than the capacity of the memory card, meaning that if there is an incident (or just a nice bit of scenery) that you want to save or report, you can simply move the file to a computer before the recordings go round again and overwrite it.
If you are looking to record a whole long ride, or rides on consecutive days, then this system might not work for you – but why would you need to?
Cycliq Fly12 Sport: Audio
While the audio perfectly picks up every crunched gear change and the sound of my mudguards clogging up, the microphone seems less adept at hearing my voice.
For most of the time this is probably a blessing, mumbled swear words as I huff up a hill or have a car try and tickle me with its wing mirror, but if you were inclined to say something you wanted to hear back – for example, that car’s number plate – you’d be hard pushed to make out what’s being said.
Cycliq Fly12 Sport: GoPro comparison
Much like ‘Garmin’ and ‘Hoover’, GoPro has become synonymous with its genre even when talking about another brand making a similar product. The Cycliq Fly12 Sport starts at $319.00 / £299.00 so is less than a GoPro Hero 12 at $399.99 / £399.99. GoPro also offers the Hero 11 Black Mini for $299.99 / £299.99, which is likely to be a better option for road riders looking to record any incidents rather than downhill mountain bikers getting footage for their latest edit.
There’s a bit of a horses for courses approach here where the buyer will need to decide which brand best covers their needs from a bar-mounted camera, with GoPro versus Cycliq an imperfect comparison but worth considering due to the ubiquitous nature of GoPro.
Cycliq Fly12 Sport: Value and conclusion
With a list price greater than a Wahoo Bolt V2 or Garmin Edge 530, for most of us this will be a considered investment and not a spur of the moment or must-buy purchase. Tyres worn out? Well you’ll need to buy some more before you can ride again. No handlebar-mounted camera? Well the bike still rides, doesn’t it?
However, for the functionality offered within the unit, the vastly improved performance compared to its forebears and the robustness of the build, I find $319.00 / £299.00 a reasonable price for those who can afford it. I’ll continue to use the Fly12 Sport to ensure it continues to work this well over a much longer period. I’ll be sure to report back if I find myself having to reset to factory settings before every ride.
| Price | $319.00 / £299 / €319 |
| Weight | 151g |
| Dimensions | L 80mm, W 48mm, H 32mm (height at mount point) |
Jack Elton-Walters hails from the Isle of Wight, and would be quick to tell anyone that it's his favourite place to ride. He has covered a varied range of topics for Cycling Weekly, producing articles focusing on tech, professional racing and cycling culture. He moved on to work for Cyclist Magazine in 2017 where he stayed for four years until going freelance. He now returns to Cycling Weekly from time-to-time to cover racing, review cycling gear and write longer features for print and online.