Hutchinson Challenger Tubeless Tires review – hard wearing but hard to mount
Tubeless tires that should see you through most of the year - once you've got them on the rims that is
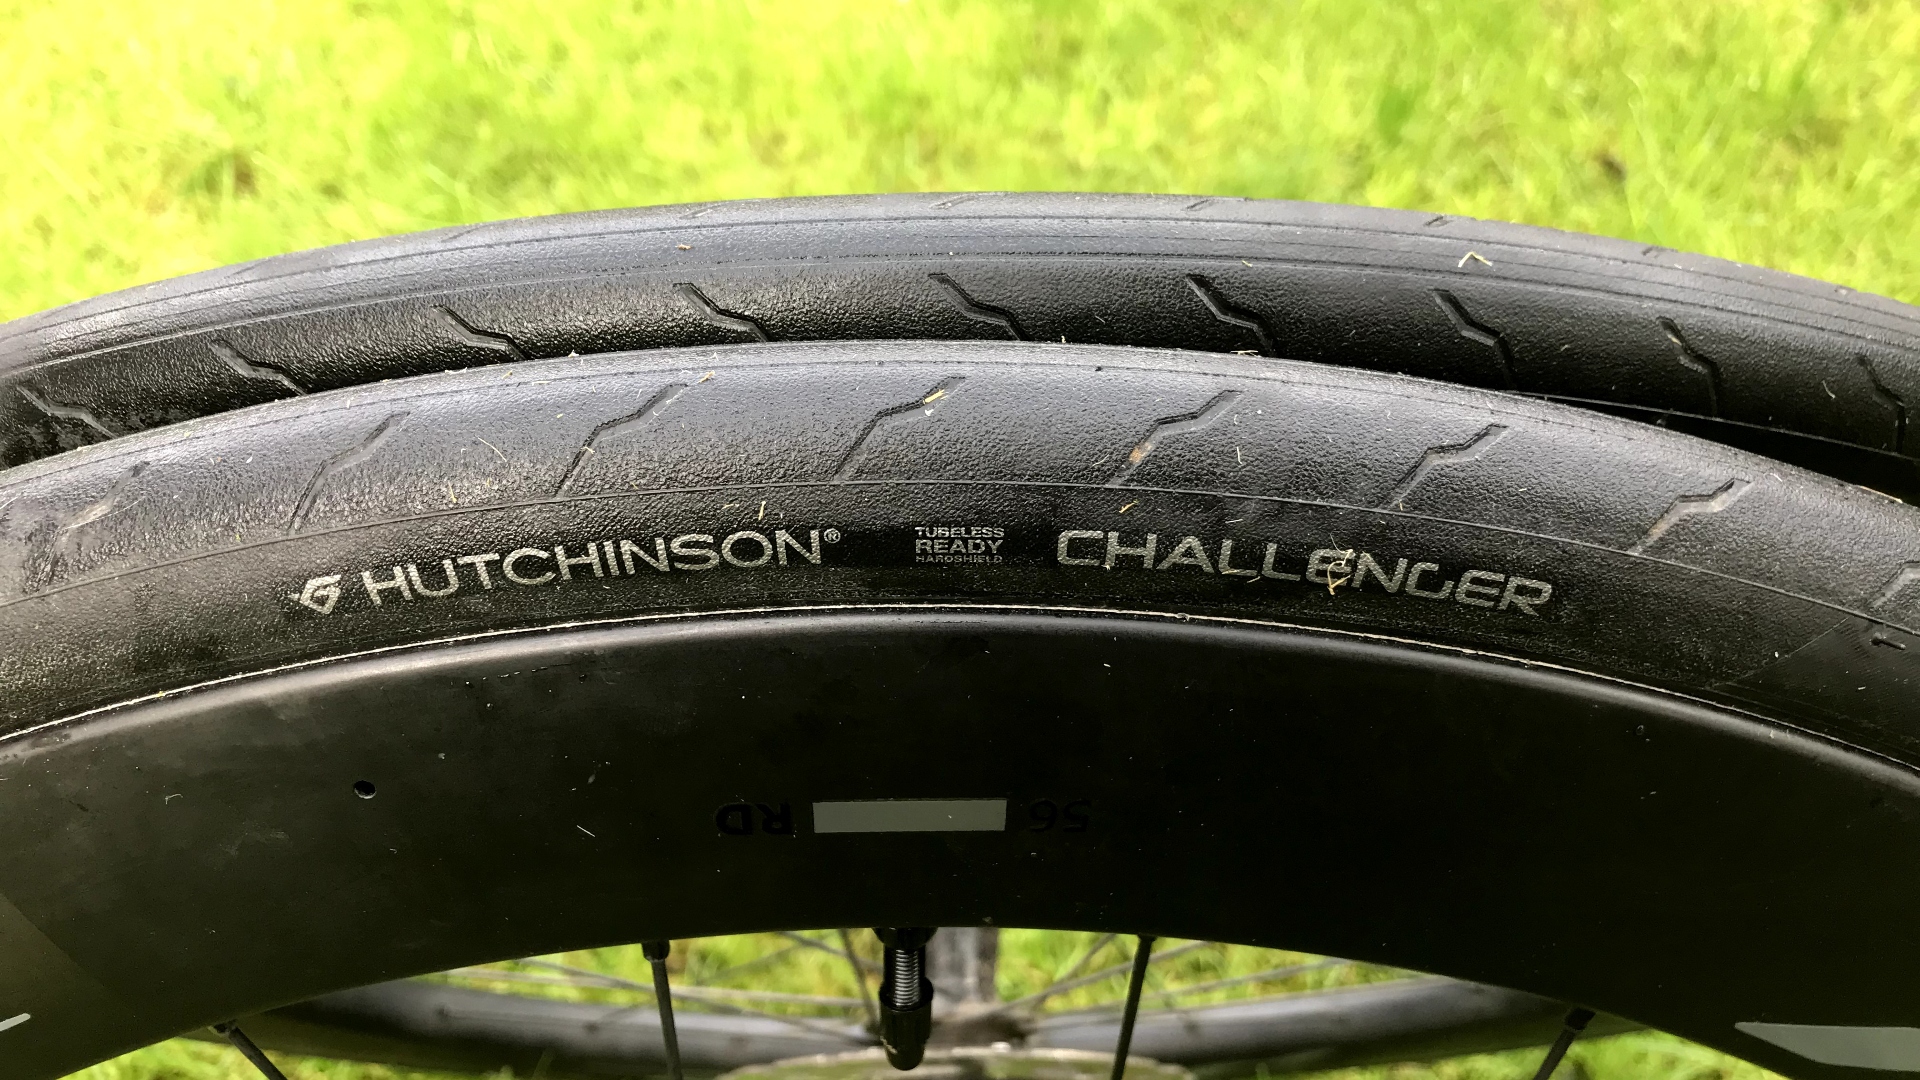
After some difficulty with getting the tires on the rims and then sealed, they ride really well and should see most people through a good chunk of the year trouble- and puncture-free.
-
+
Roll well
-
+
Good puncture resistance
-
+
Appear hard-wearing
-
-
Claims of sealant free seating could be fantasy
-
-
Very hard to get on the rim, I wouldn’t want to try at the roadside
You can trust Cycling Weekly.
By releasing a tubeless-ready version of the Challenger, Hutchinson was covering an obvious gap in its product offering – but the brand didn't rush to release of this version when it brought out the Hutchinson Challenger clincher, instead extra time was spent working on the final tubeless version.
But how does the Hutchinson Challenger Tubeless tire stack up against the best road bike tires? All in all I would suggest that was time well spent, although some of the claims in the marketing material about this tubeless tire might be wide of the mark – as I will explain later.
Used at the start of autumn when no roadside hedge on the Isle of Wight is safe from a splattering (some call it 'hedge cutting') that chucks thorns, splinters and all sorts out onto the lanes, these tires have held up well for the – admittedly relatively short – review period.
How they have performed so far makes me happy to continue using them into the winter.
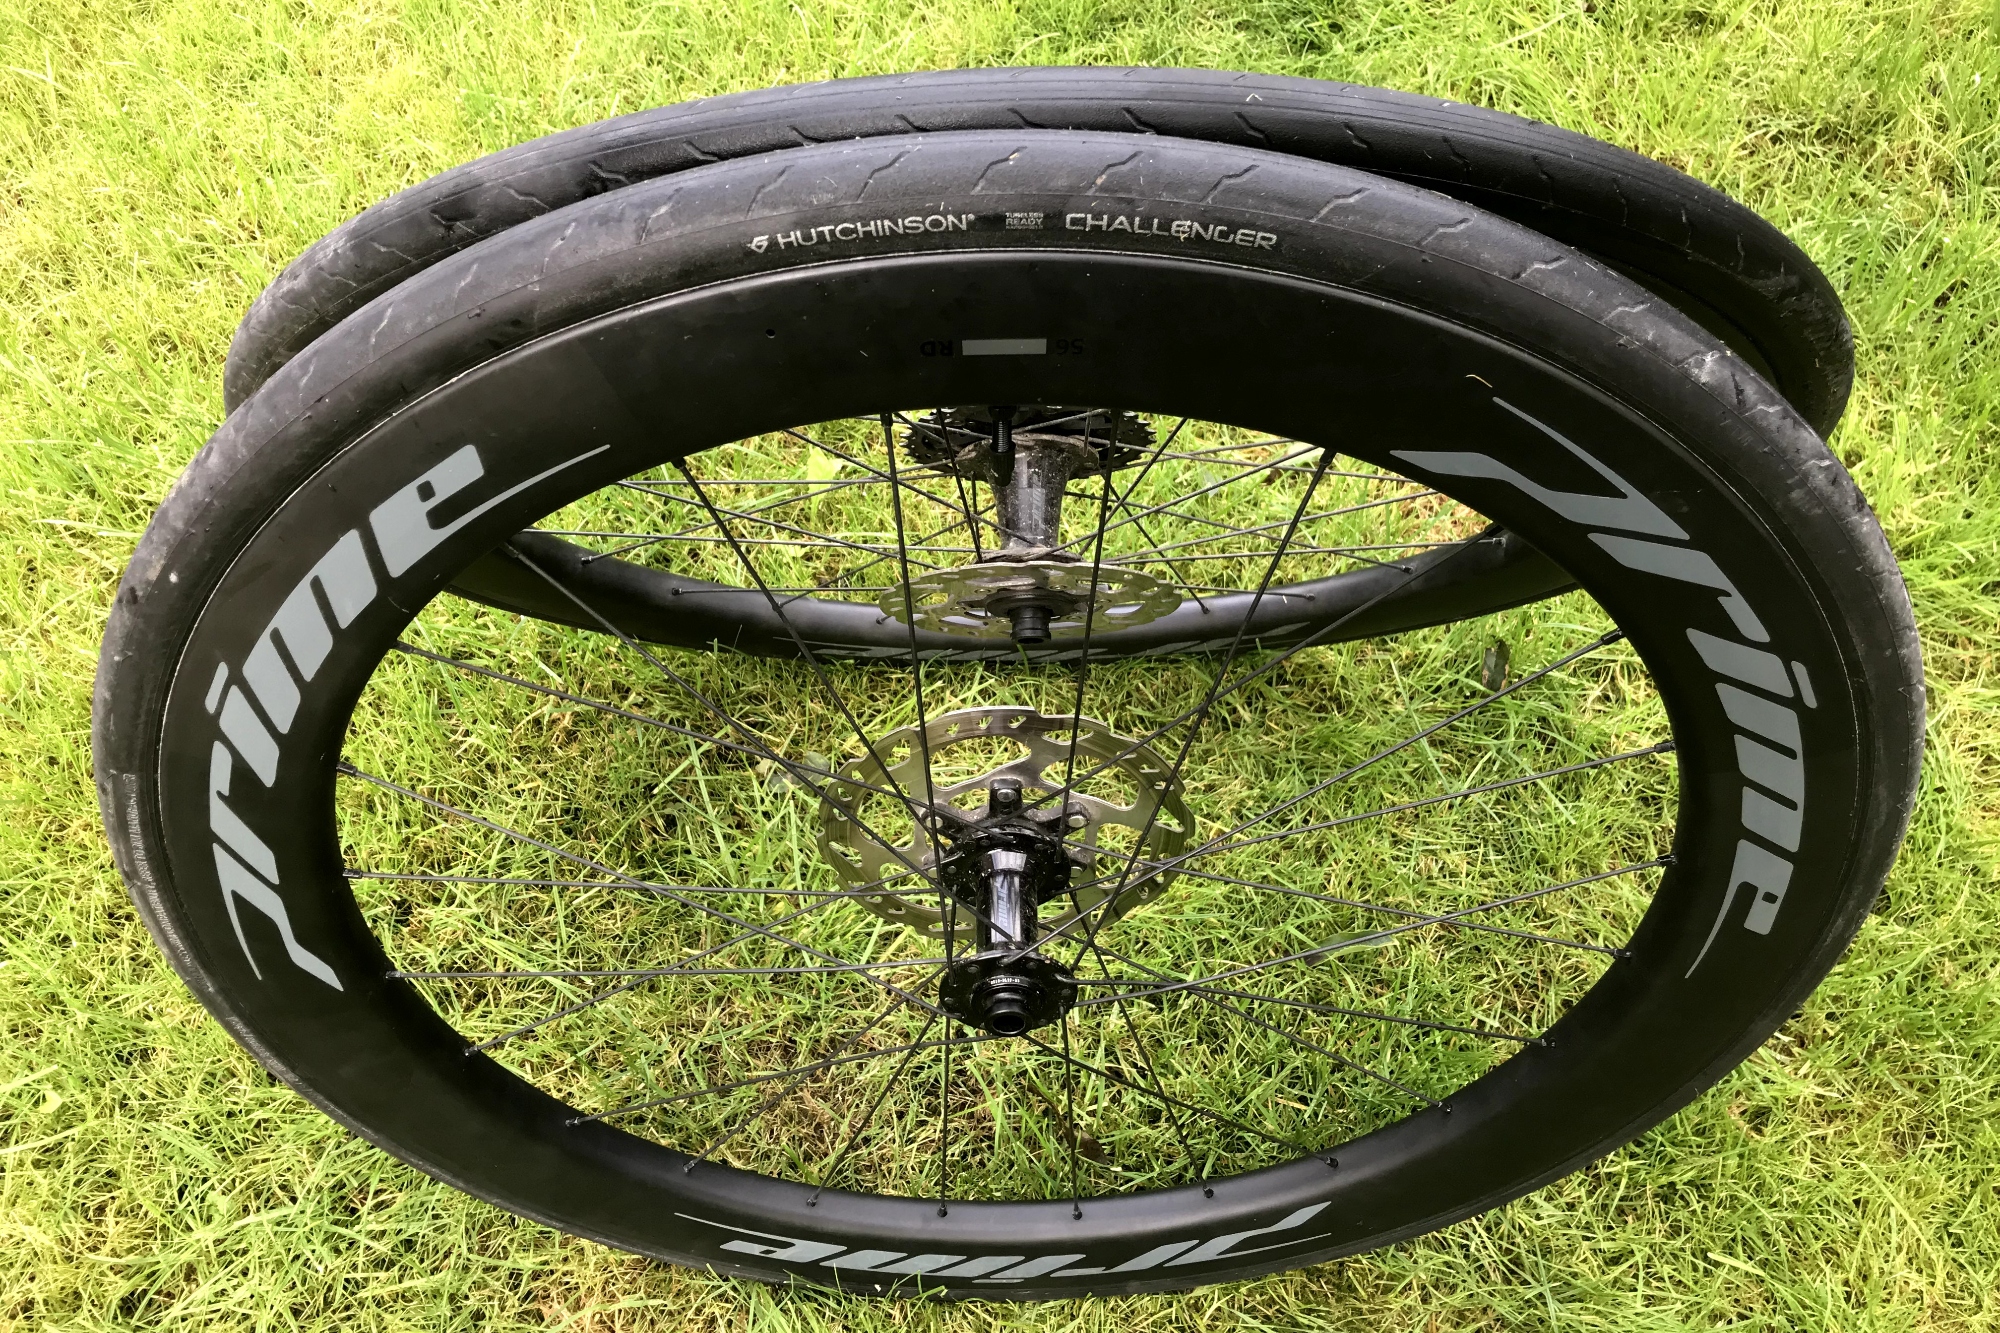
Hutchinson Challenger Tubeless: Getting the tires on the rims
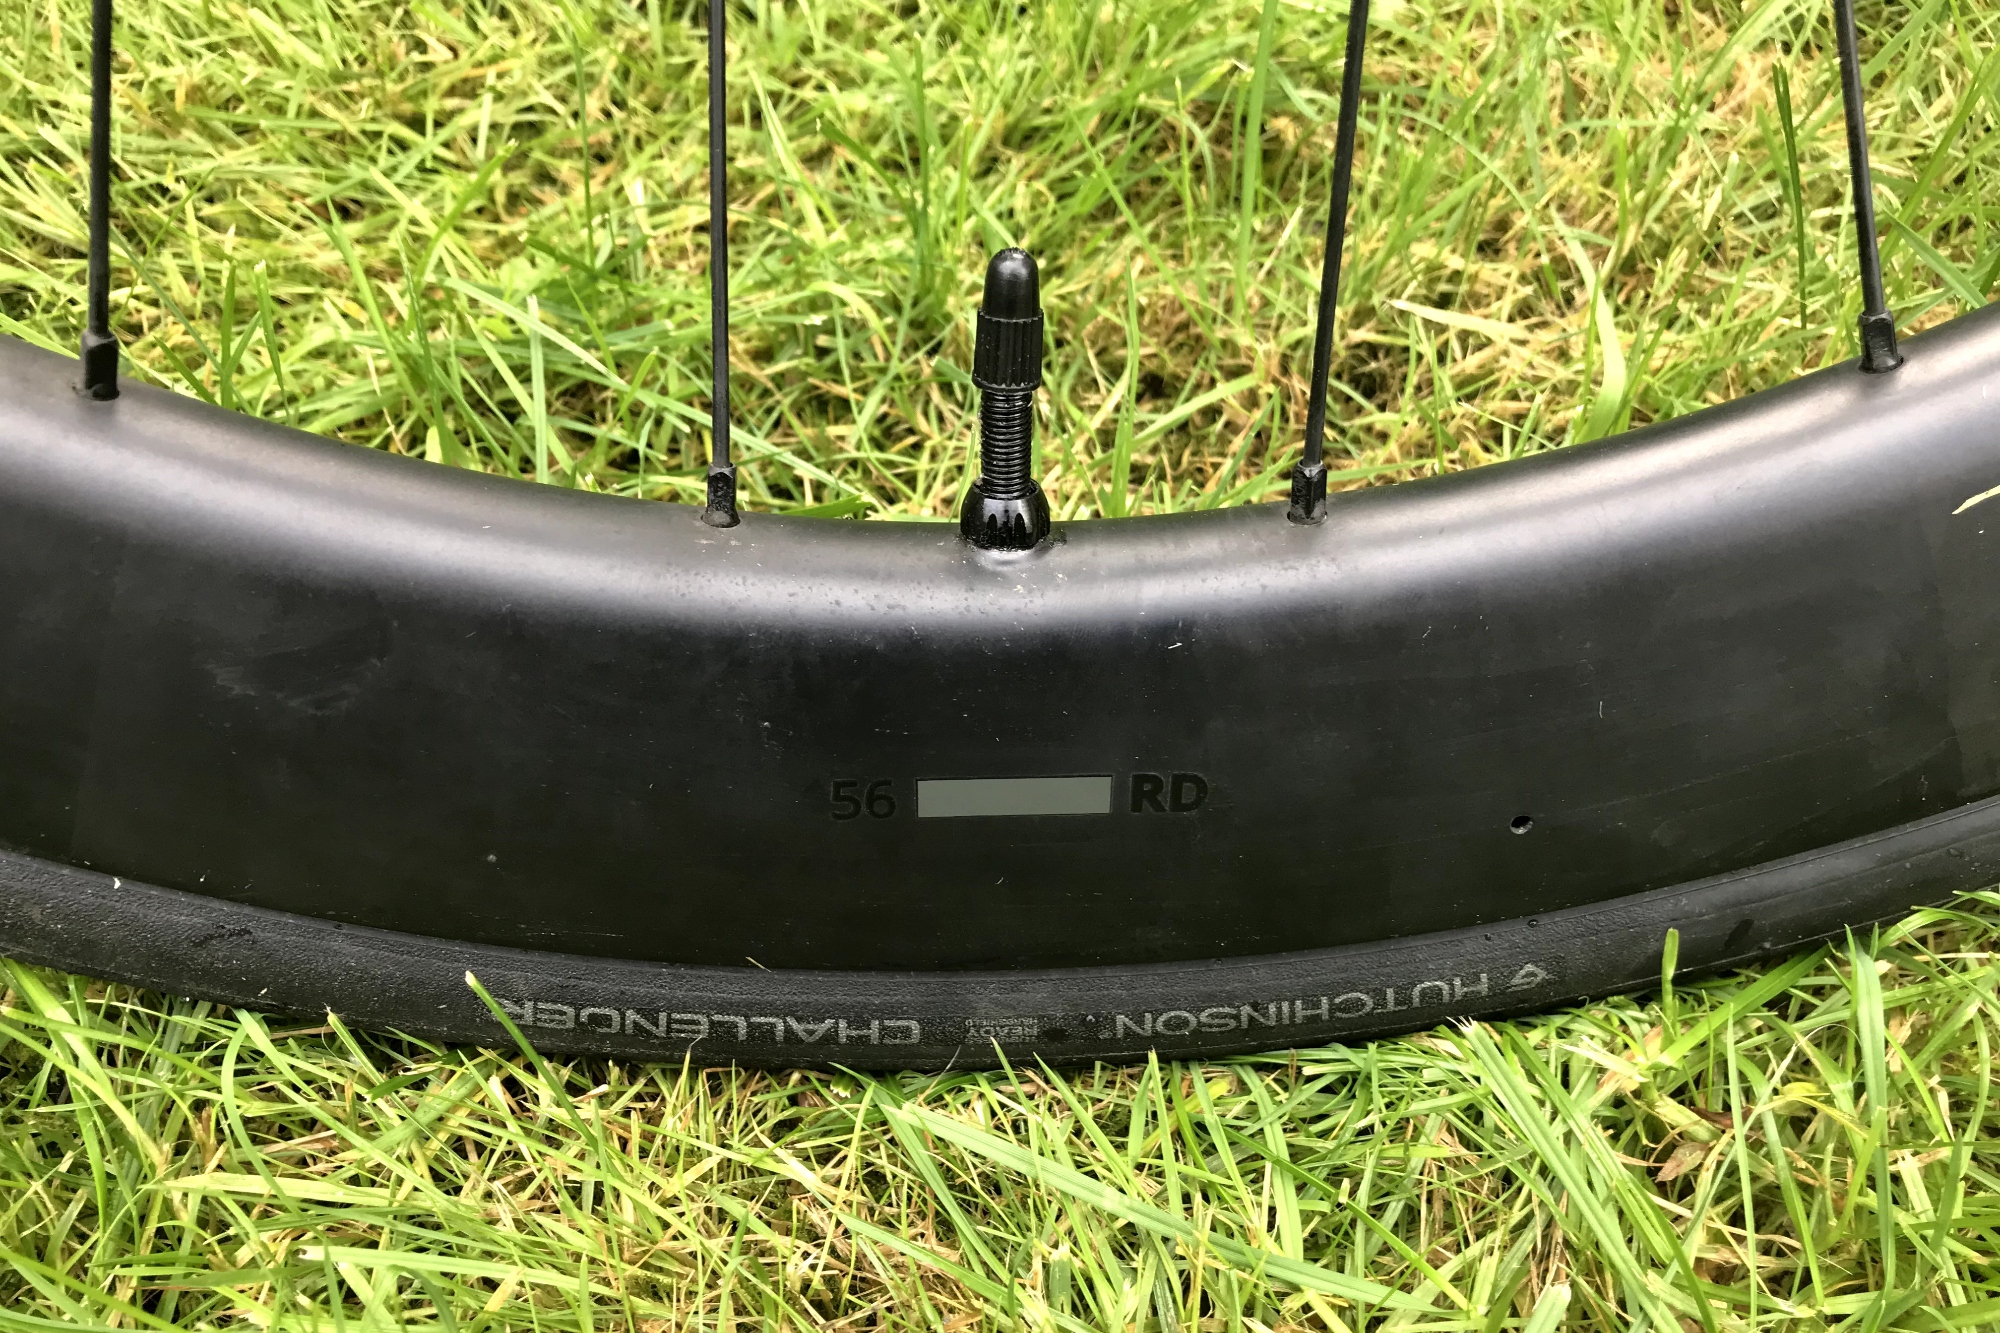
Before I could start riding through the hedge debris, first I had to get the tires on some wheels. To hand, I had the tubeless compatible Prime Doyenne 56s, which I’d reviewed earlier in the year.
Getting the tires on the rims was no easy feat. This is neither the fault of the rims nor the tires entirely, but a combination of the two. I found myself chasing the final part of the tire around the rim trying to get it into the rim bed. I started opposite the valve and I was almost round at the valve before I finally pushed the last part of the tire into place.
With a thumb blister and achy shoulders, I was pleased to have the tire on the rim – well, almost, as I discovered when trying to seal and seat it. It was a lot of effort, which I then had to repeat.
The latest race content, interviews, features, reviews and expert buying guides, direct to your inbox!
I would not want to find myself attempting to get the tire back on by a wintery roadside, a realisation that immediately ruled out Hutchinson’s claim of running the tires without sealant.
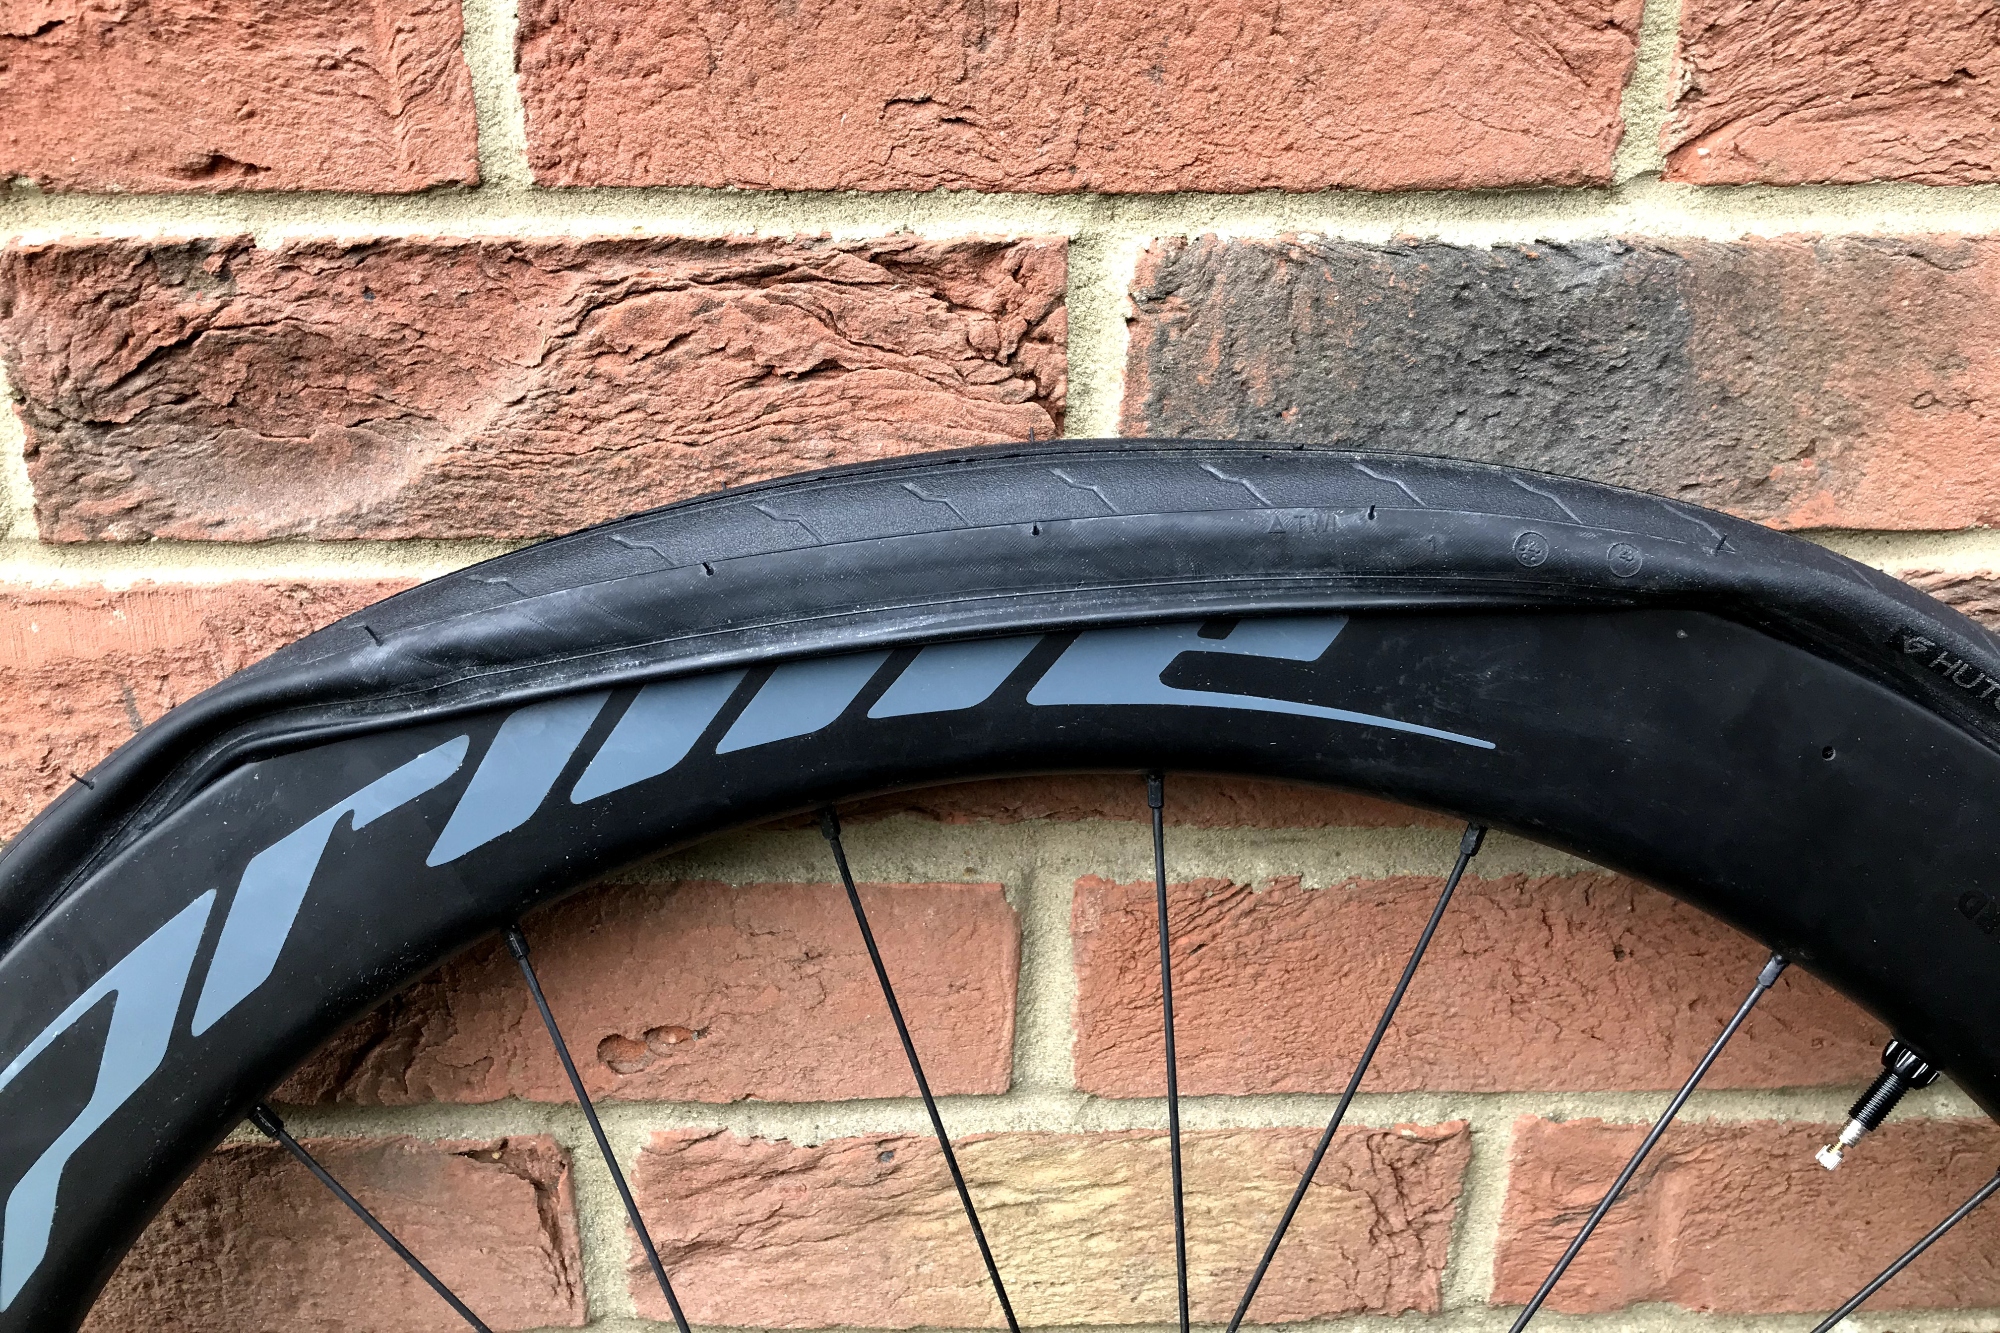
“The combination of Airshield anti-air loss technology and resilient Hardshield puncture protection introduces the possibility of running the Challenger Tubeless tires without sealant,” Hutchinson ambitiously claims.
“Opening up the world of tubeless to those that previously avoided the technology due to perceived difficulties in set up and maintenance. If a puncture were to occur, just install an innertube and repair the tire at home for a mess free tubeless experience.” Good luck with that in the pouring rain on the side of a busy road.
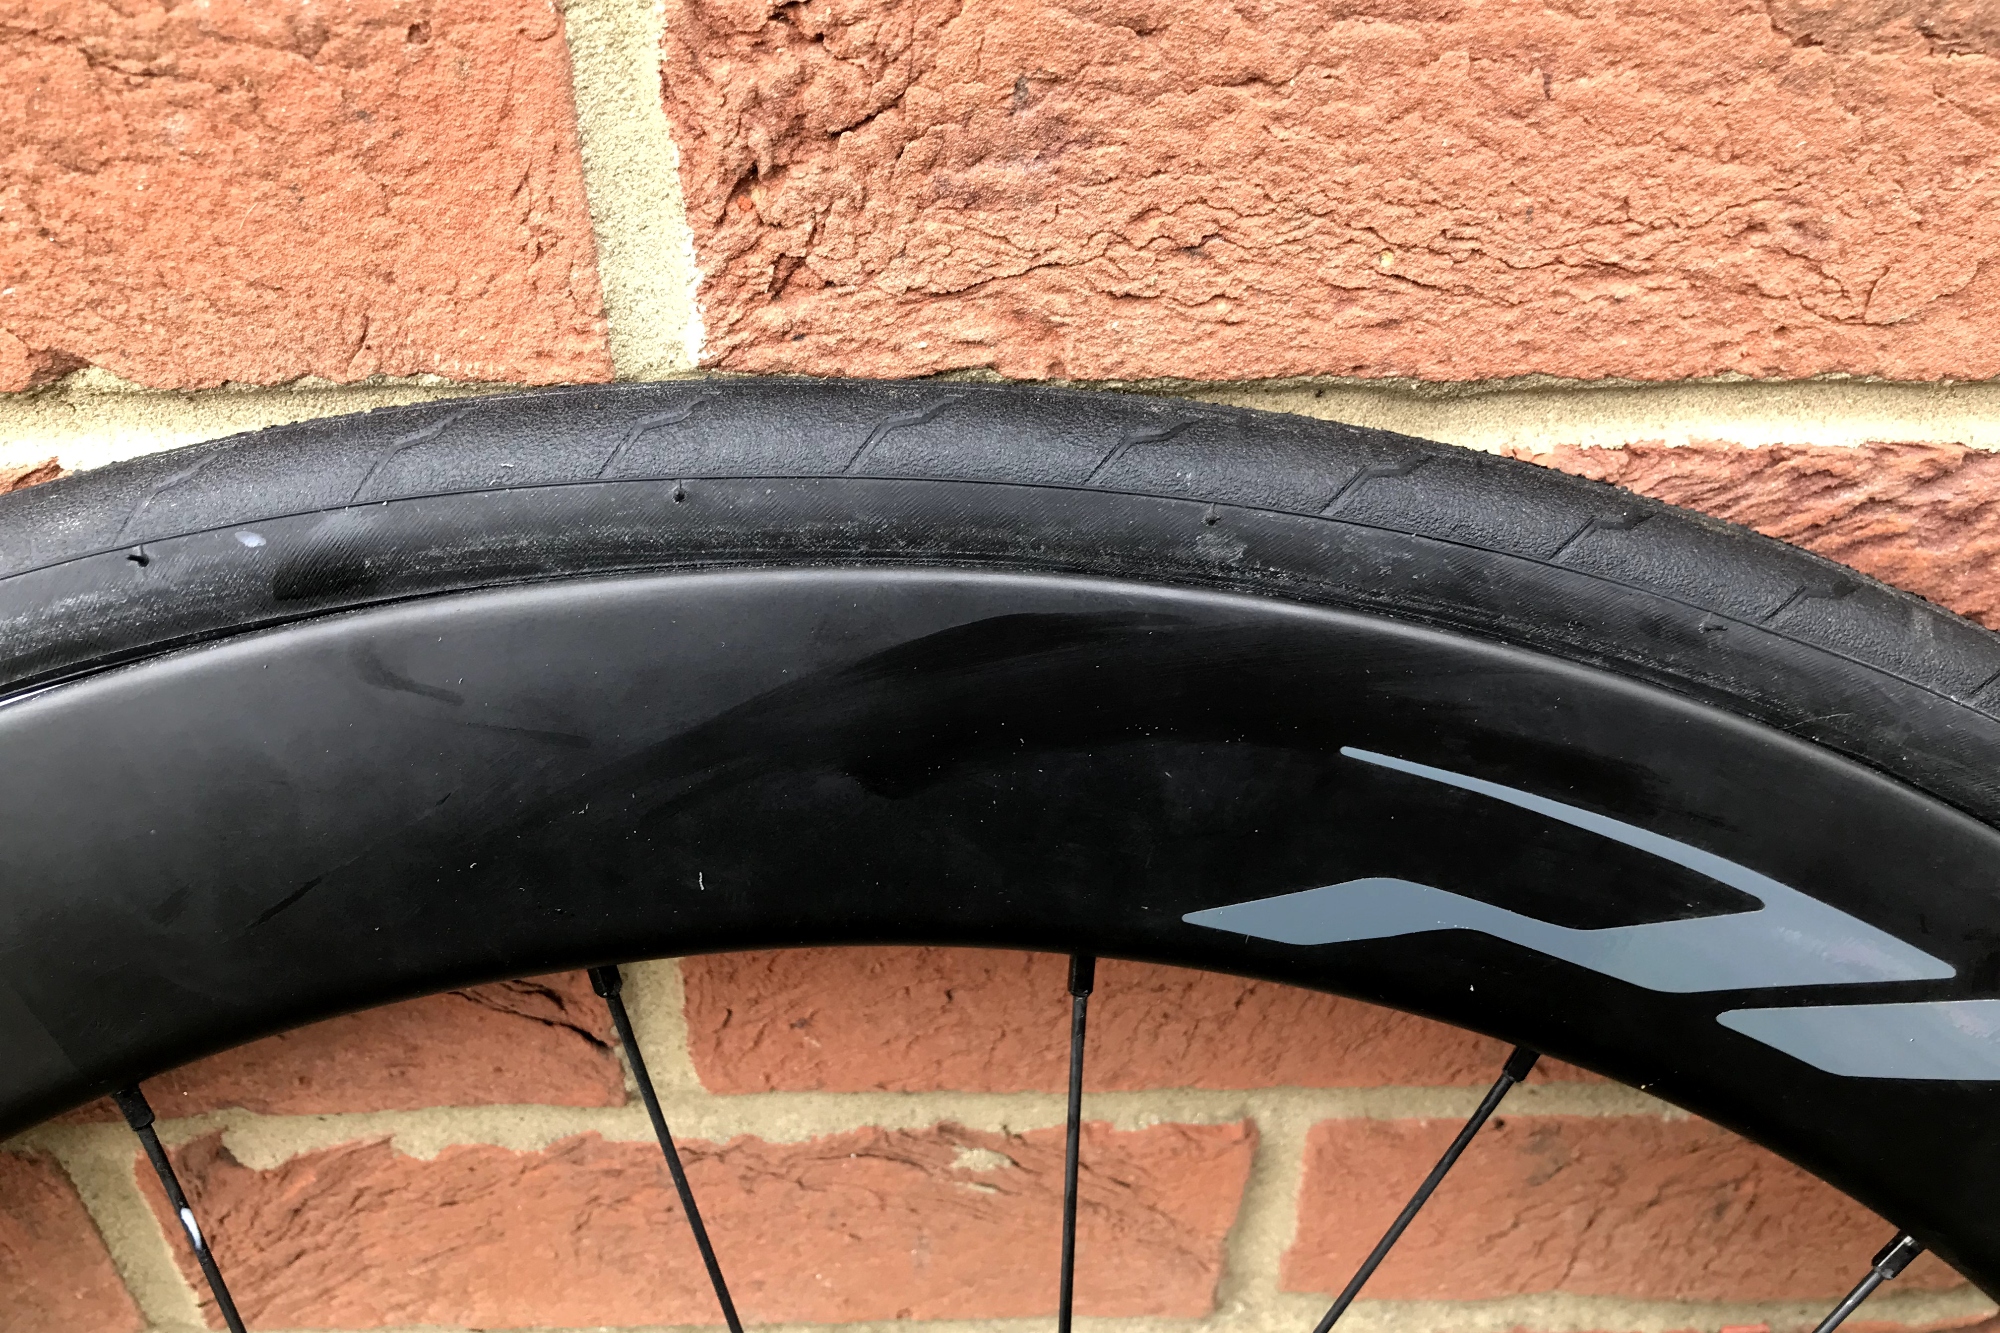
Hutchinson Challenger Tubeless: Sealing
Hutchinson has developed a technology that it has named ‘Airshield’. This is, apparently, “a pioneering new construction technique that represents a paradigm shift in tubeless setups. Completely eliminating the common issues of air loss. By integrating two high performance sealing compounds that coat the inside of the tire and the bead, Airsheild ensures an entirely airtight environment.”
However, this was not my experience. Any variation to the combination of human-pump-wheel rim could have a different outcome, but for me with a LifeLine AirBlast Tubeless Tire Track Pump and Prime Doyenne 56 rims, there was absolutely no way these tires were getting seated and sealed without sealant.
The first problem was that the tire bead was so tight that one side slotted into the lower part of the rim bed and could not be coaxed out, however many times the Lifeline blasted a full 240PSI into the tire. The tire did hold some pressure despite being in the wrong place, leaving me wondering if a ‘dry seating’ might be possible after all. But there was audible air loss in some places around the tire and the tire would not budge from its wonky position.
At this point I added some sealant, with a syringe down through the valve after removing the core. Several more full blasts from the reservoir pump and there was the satisfying ‘bang bang’ of the tire bead hitting into the hook of the rim. The sealant had, perhaps, made the rim bed slipperier allowing the tire to slide into place. Some visible sealant between the tire and rim also showed where I’d earlier been losing air, which now sealed thanks to the sealant.
With the pump on its standard ‘tire’ setting, as opposed to the ‘tank’ setting, I pumped the tire up and it held.
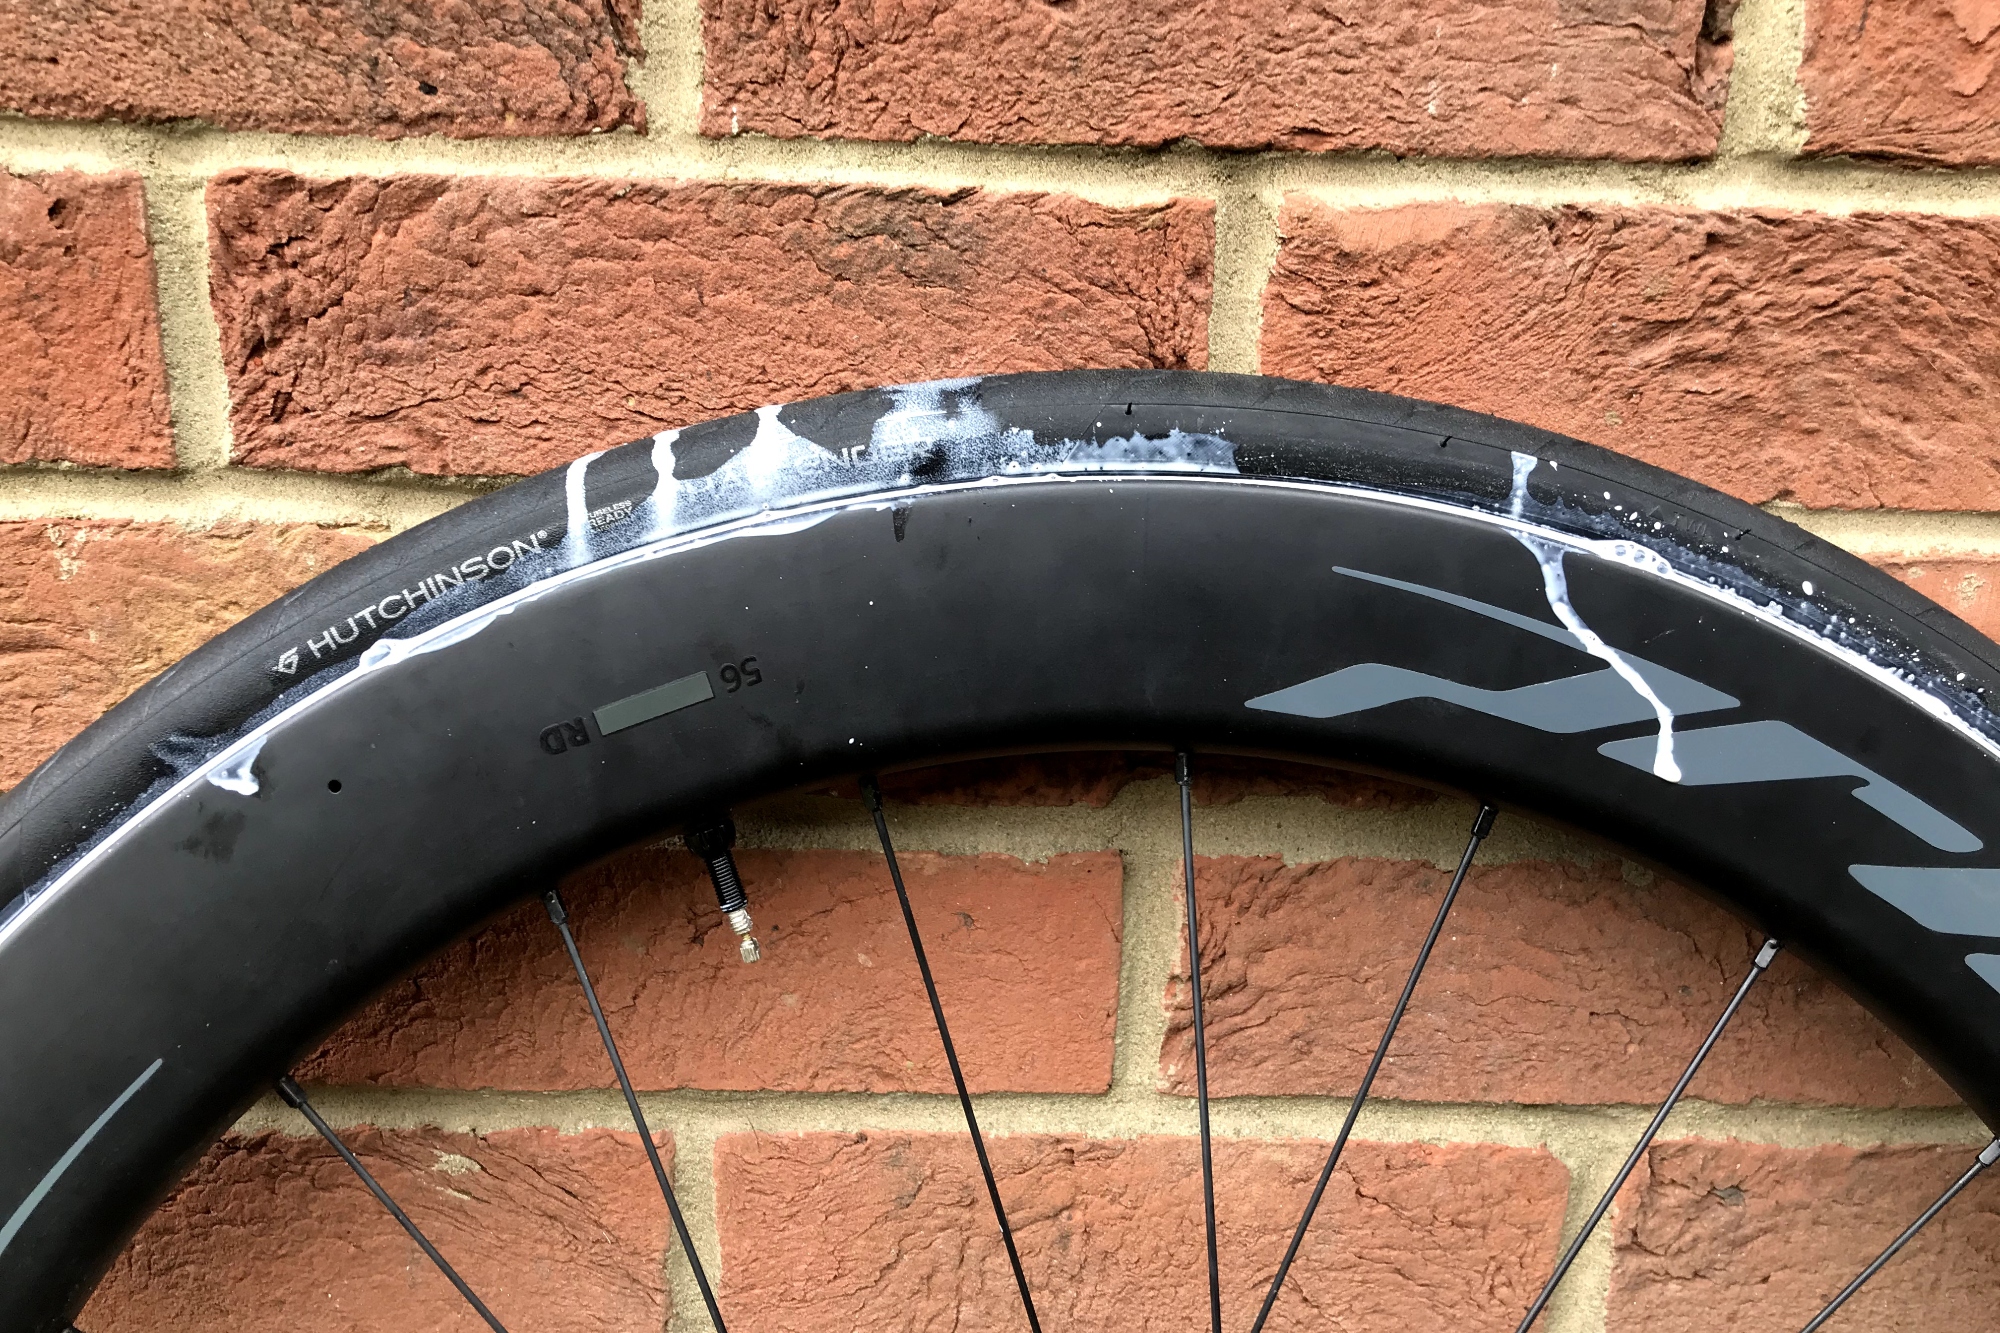
Setting up the second tire, I assumed it would be a repeat process – perhaps it might even have been easier as I’d practised on the first one. Not quite. I had the same problems with getting the tire on the rim initially, and the aforementioned significant thumb blister to show for it, but then my sealing troubles were worse than before.
This time, once the tire was in place and I’d added the sealant down through the valve, I gave it another blast with the tank.
Rather than the ‘bang bang’ of a tire seating, there was a squelch as sealant began leaking out between the rim and tire for about a fifth of the circumference of the rim. I rotated the wheel, then put the trouble area to the bottom and pushed the tire into the ground while rolling it back and forth.
After a little while, it did seal. I gave it another blast with the tank and finally heard it seat, then I pumped it up with the standard pump setting.
After not using the bike for a couple of weeks one of the tires had lost pressure, dropping to about 20PSI. Interestingly, it was the rear that had gone doughy – but the sealant had escaped from the front during setup.
Hutchinson Challenger Tubeless: the ride
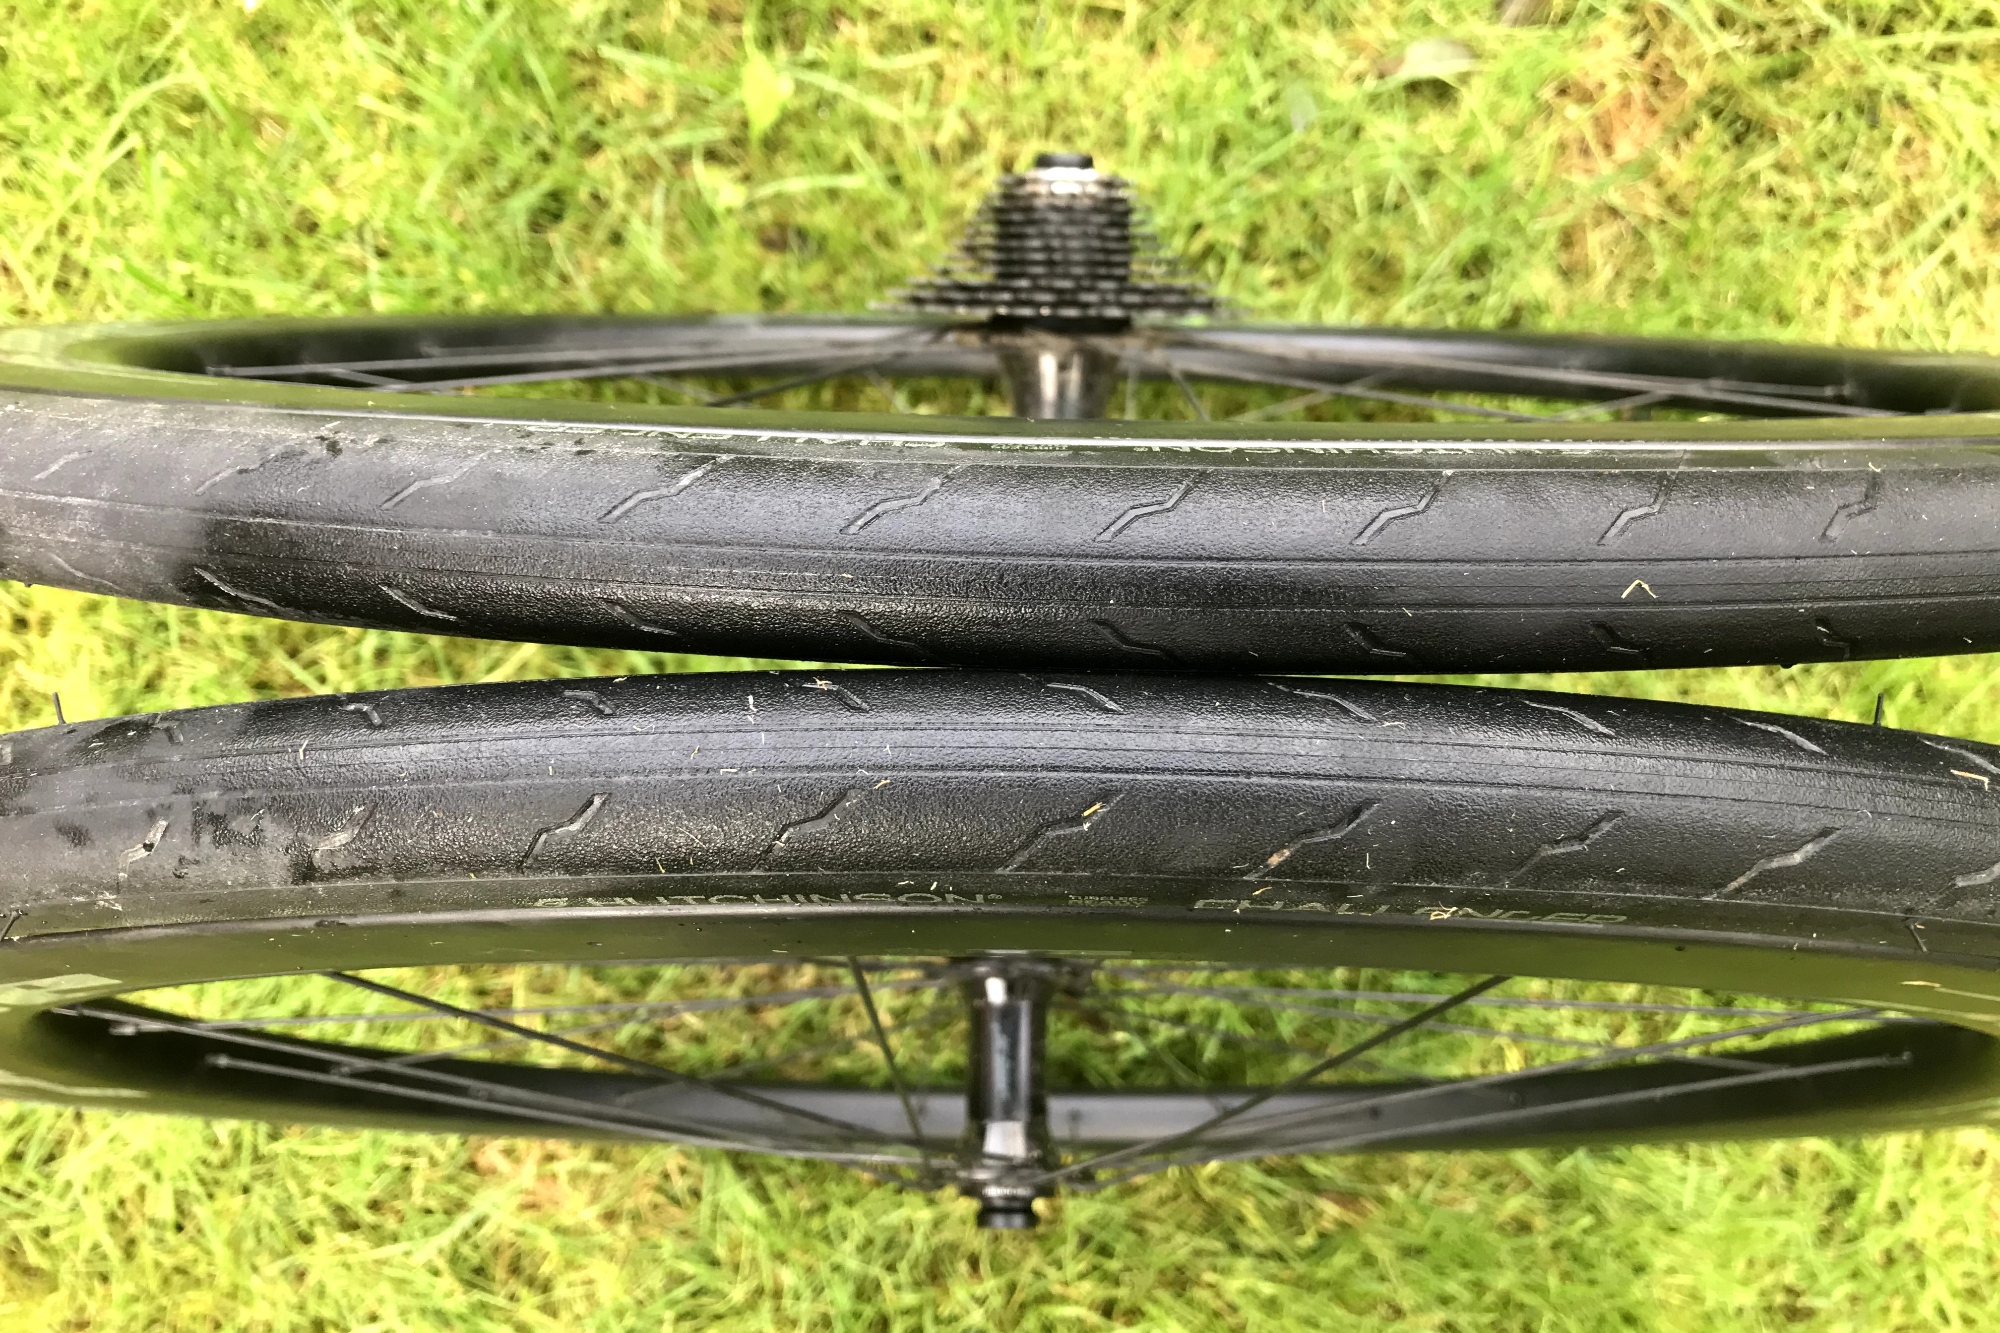
Once the tires were on and the wheels were back in the bike, it was finally time to try them out. They roll well on a variety of tarmac qualities, although I haven’t ventured onto full gravel on them.
While rolling well, these tubeless tires also grip well when cornering, inspiring confidence on descents and faster routes.
However, in contradiction to that, the tires did slip a bit on steep ascents on wet tarmac when climbing out of the saddle – a problem I also found with the clincher version.
On longer rides, the comfort from the 28mm tubeless tires is obvious as they shrug off road blemishes and absorb a lot of the energy sapping nature of rougher roads.
I haven’t had any punctures as yet, but I’ll be keeping an eye on that fact as winter rolls in and the roads accumulate more debris and sharp stones.
The loss of pressure found after the bike had sat for a while didn’t occur during any rides, which I was very glad of.
Hutchinson Challenger Tubeless: Value and conclusion
At about $71 / £60 per tire, if they last for a full winter and/or 10,000km as Hutchinson claims then these tires will prove to be fairly good value. Anyone with less patience or willingness to try themselves, may also have to budget for their local bike shop doing the initial setup.
As good as the tires are, and I am happy to keep using them, with the rim I’ve put them on I would not attempt to ride them without sealant and I’ll be calling a relative for a lift rather than making any attempt to put a tube in at the roadside – should I ever puncture; hopefully not.
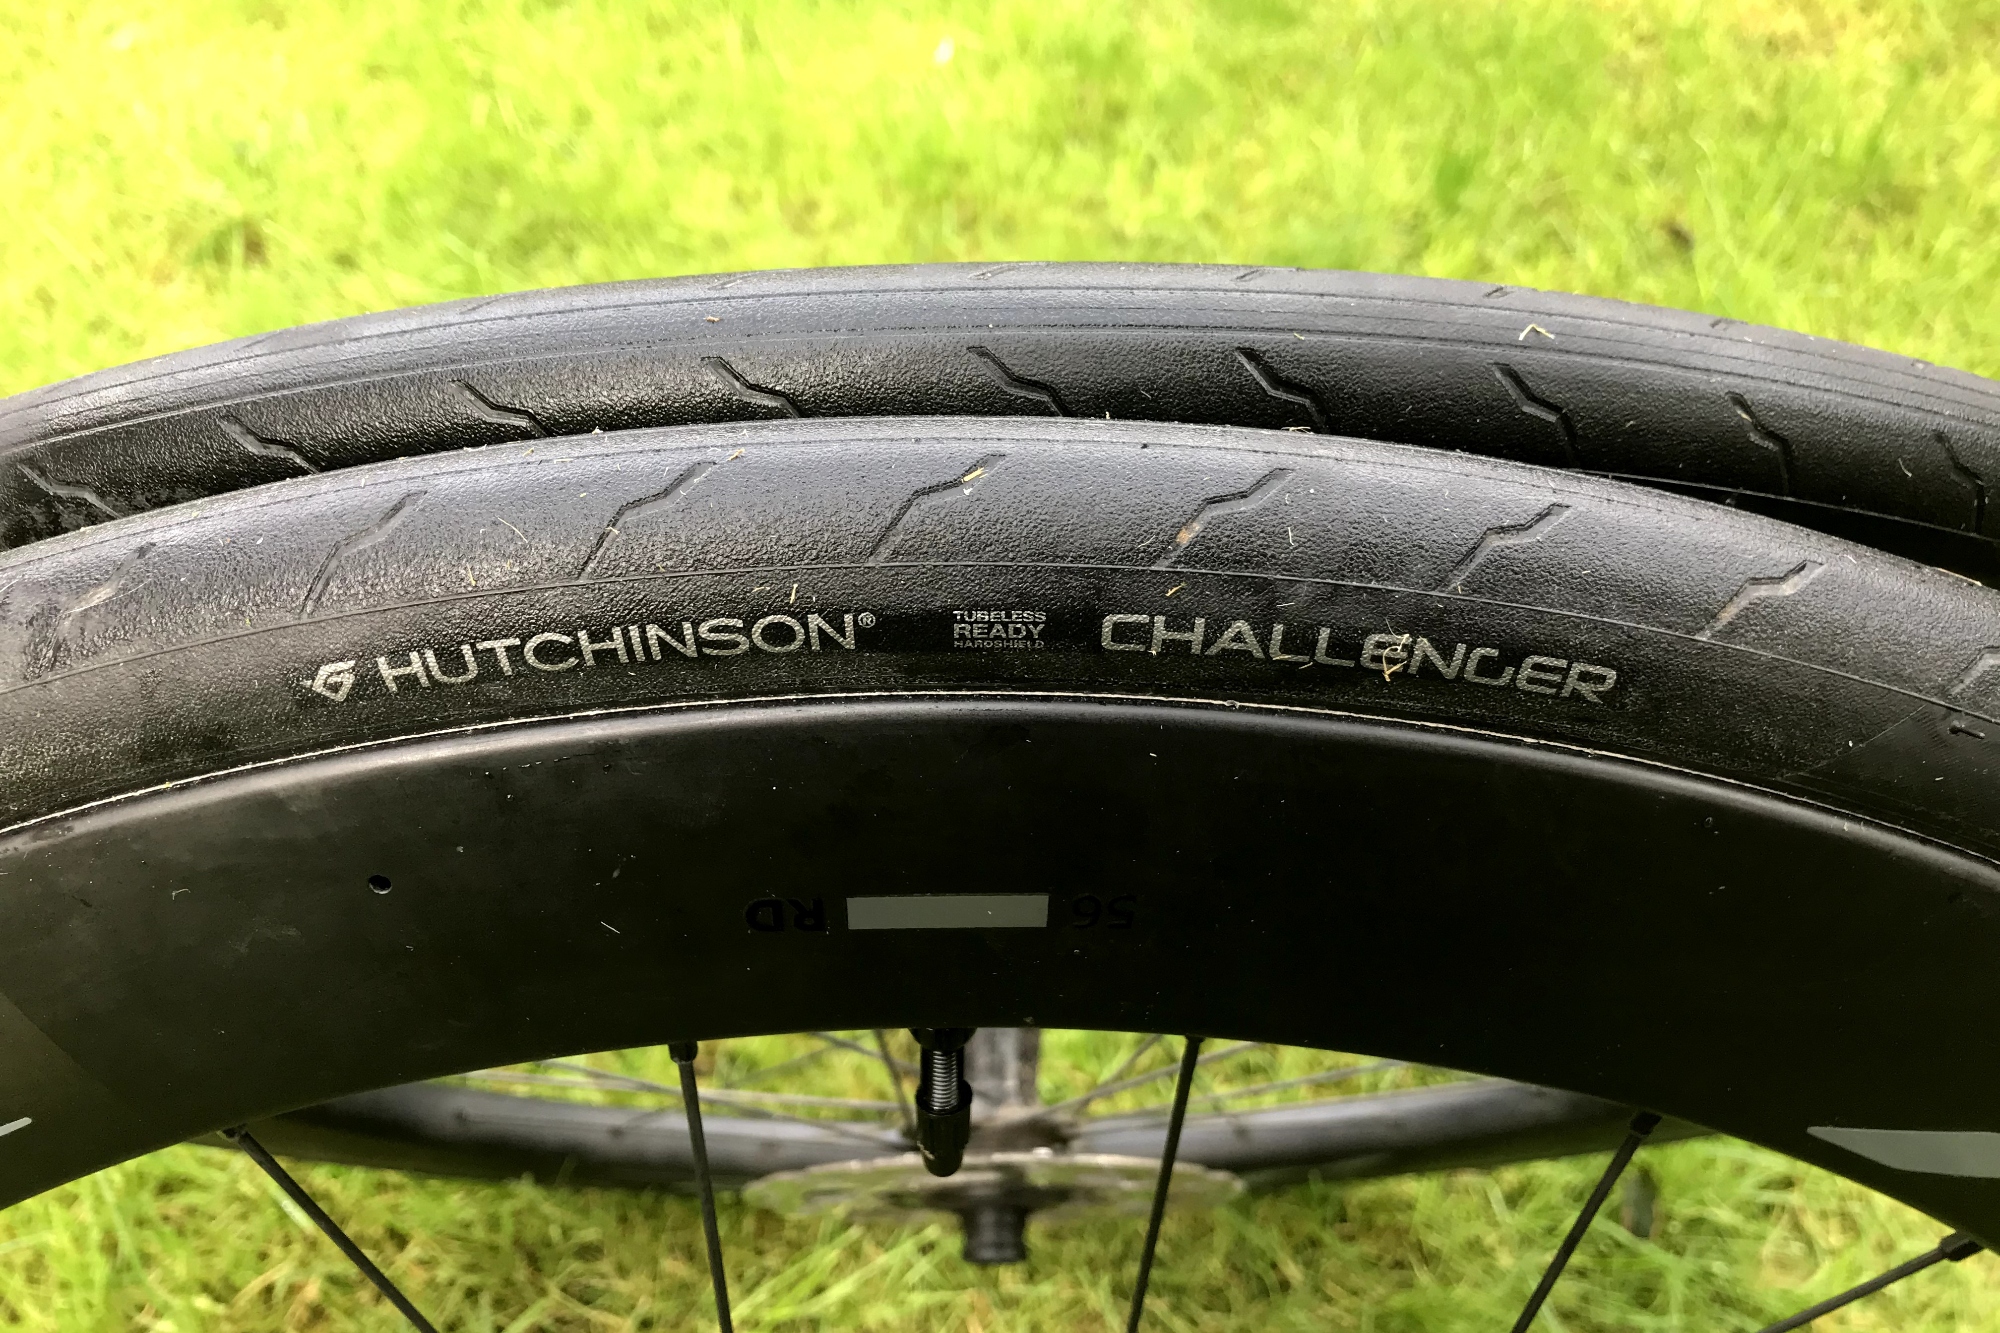
| Weights | 25mm – 385g; 28mm – 400g; 32mm – 450g |
| Price | $71.00 / £59.95 |
Jack Elton-Walters hails from the Isle of Wight, and would be quick to tell anyone that it's his favourite place to ride. He has covered a varied range of topics for Cycling Weekly, producing articles focusing on tech, professional racing and cycling culture. He moved on to work for Cyclist Magazine in 2017 where he stayed for four years until going freelance. He now returns to Cycling Weekly from time-to-time to cover racing, review cycling gear and write longer features for print and online.