Seven easy maintenance tips for road hydraulic disc brakes
There’s no reason to be intimidated by hydro brake upkeep
The latest race content, interviews, features, reviews and expert buying guides, direct to your inbox!
You are now subscribed
Your newsletter sign-up was successful
If you’ve bought a bike in the last few years there is a good chance that it will be equipped with hydraulic disc brakes. Today, the vast majority of the best road bikes and the best gravel bikes come fitted with them as standard, with typically only cheap road bikes (and the occasional off-grid adventure focused gravel bike) still using the mechanical version.
If you’re used to maintaining mechanical discs but have now switched to hydraulic brakes you'll notice some similarities, but also some differences too. Naturally, much of this comes from the contrast between cables and hydraulic brake fluid; hydro brakes, for example, are self-adjusting while mechanical brakes require you to add tension to the cable via the barrel adjuster to accommodate brake pad wear.
To help you maintain your hydraulic disc brakes, we’ve focused on seven of the common issues, and how to fix them at home.
Silencing squealing disc brakes
The most common issue with hydro disc brakes is noise while braking. And it can be quite the noise!
Shrieking disc brakes can be caused by various factors. It may be a result of the environment (wet conditions), dirty brake pads or rotors, or misaligned calipers. Fortunately, cleaning to silence hydro disc brake components is usually easy and inexpensive. And you can even clean rotors without removing them from the wheels.
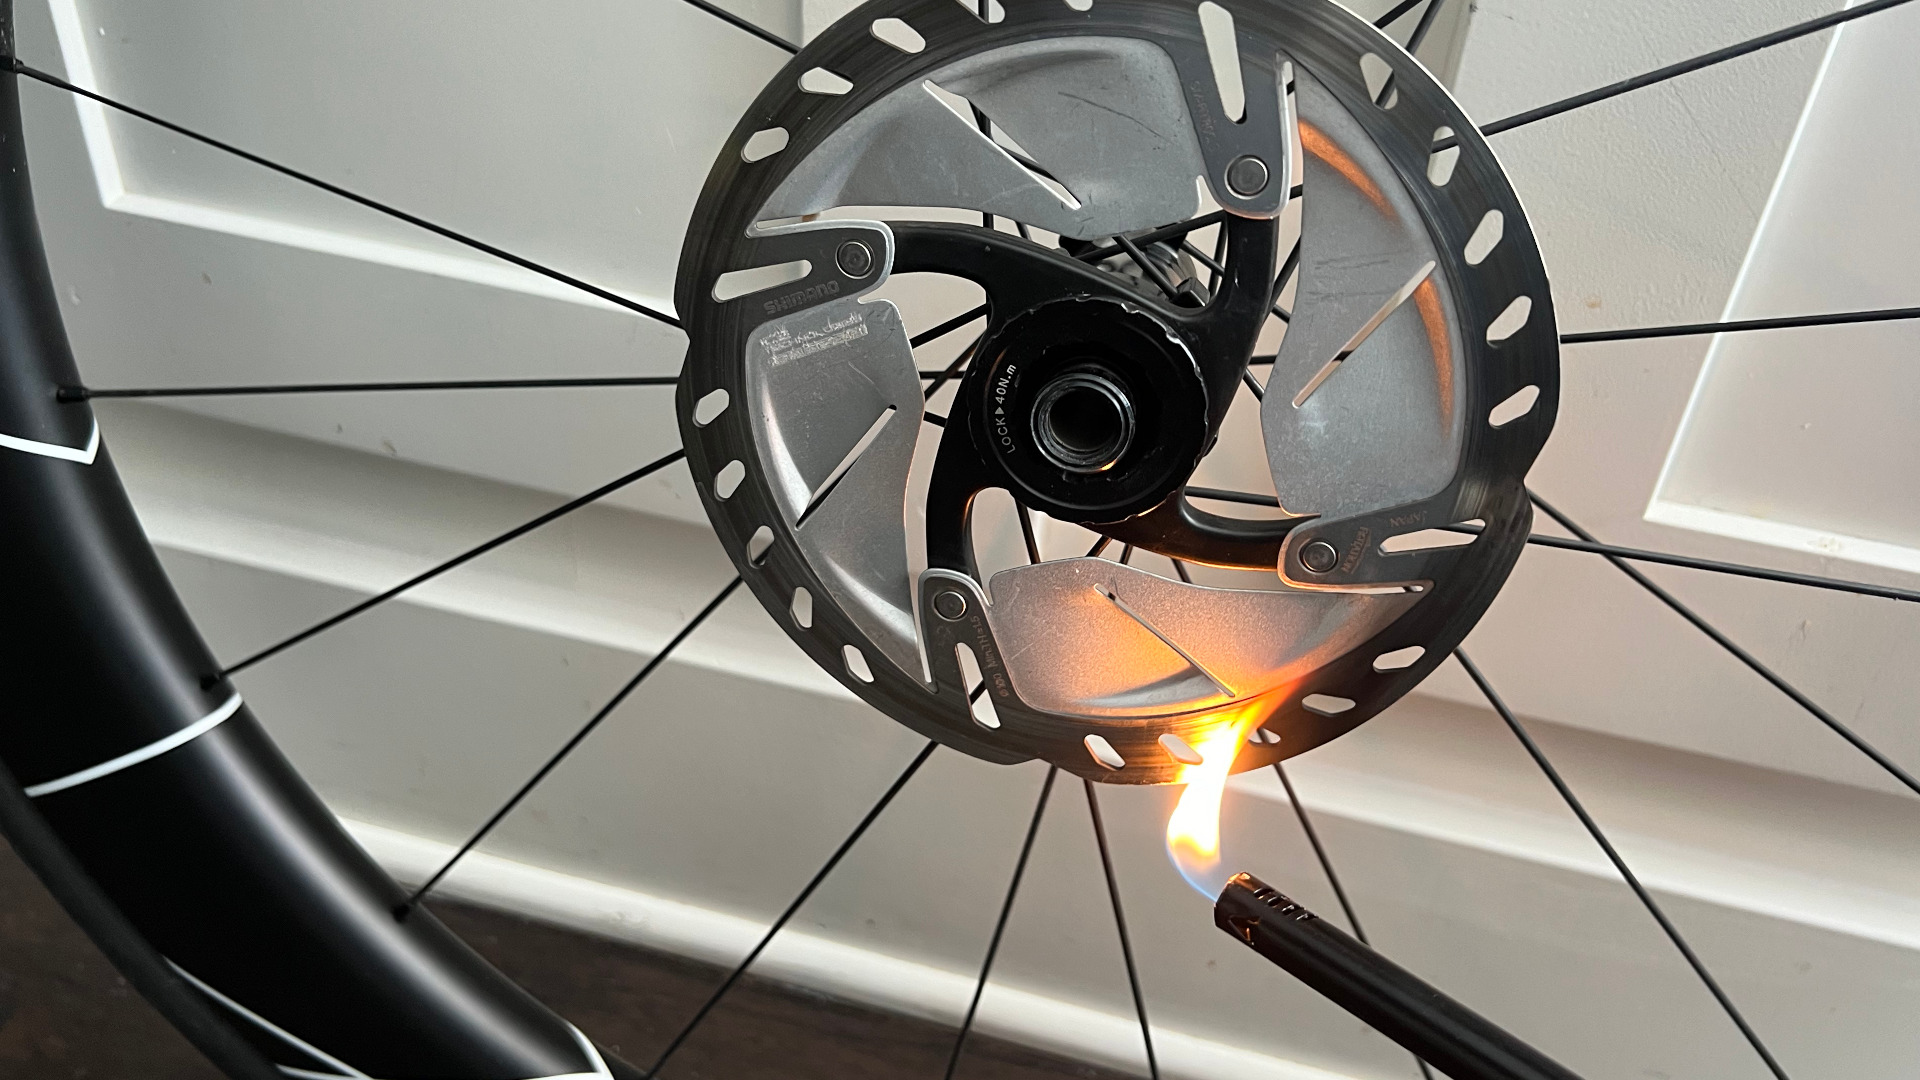
Using a clean, soft rag that won’t mar the rotor braking surface, wipe the rotors with brake cleaning fluid or rubbing alcohol. To be extra sure that your rotors run quietly and are clean, you can use a flame to scorch the rotor braking surface.
Cleaning disc brake pads is a similar process to cleaning brake rotors, with one easy additional step. After removing the brake pads, use 120-grit sandpaper in a sanding block to remove any dirt from the brake pads. Thoroughly wipe the pads with isopropyl alcohol, which is less expensive than commercial brake cleaning solution. Ensure the brake pads are free of contaminants by using a flame to scorch the pads' braking surfaces. This is a good opportunity to inspect brake pads for any defects like grooves, and to ensure there is ample pad material before reinstalling the pads into the brake caliper.
The latest race content, interviews, features, reviews and expert buying guides, direct to your inbox!
It is worth noting that sometimes pads just can't be saved, and replacing or upgrading to a high-quality pad and one of the best brake pads for road and gravel can be a worthwhile investment in performance as well as durability.
As mentioned, another cause of squealing disc brakes may be improperly aligned brake calipers - and we'll cover this next.
Realigning the brake calipers
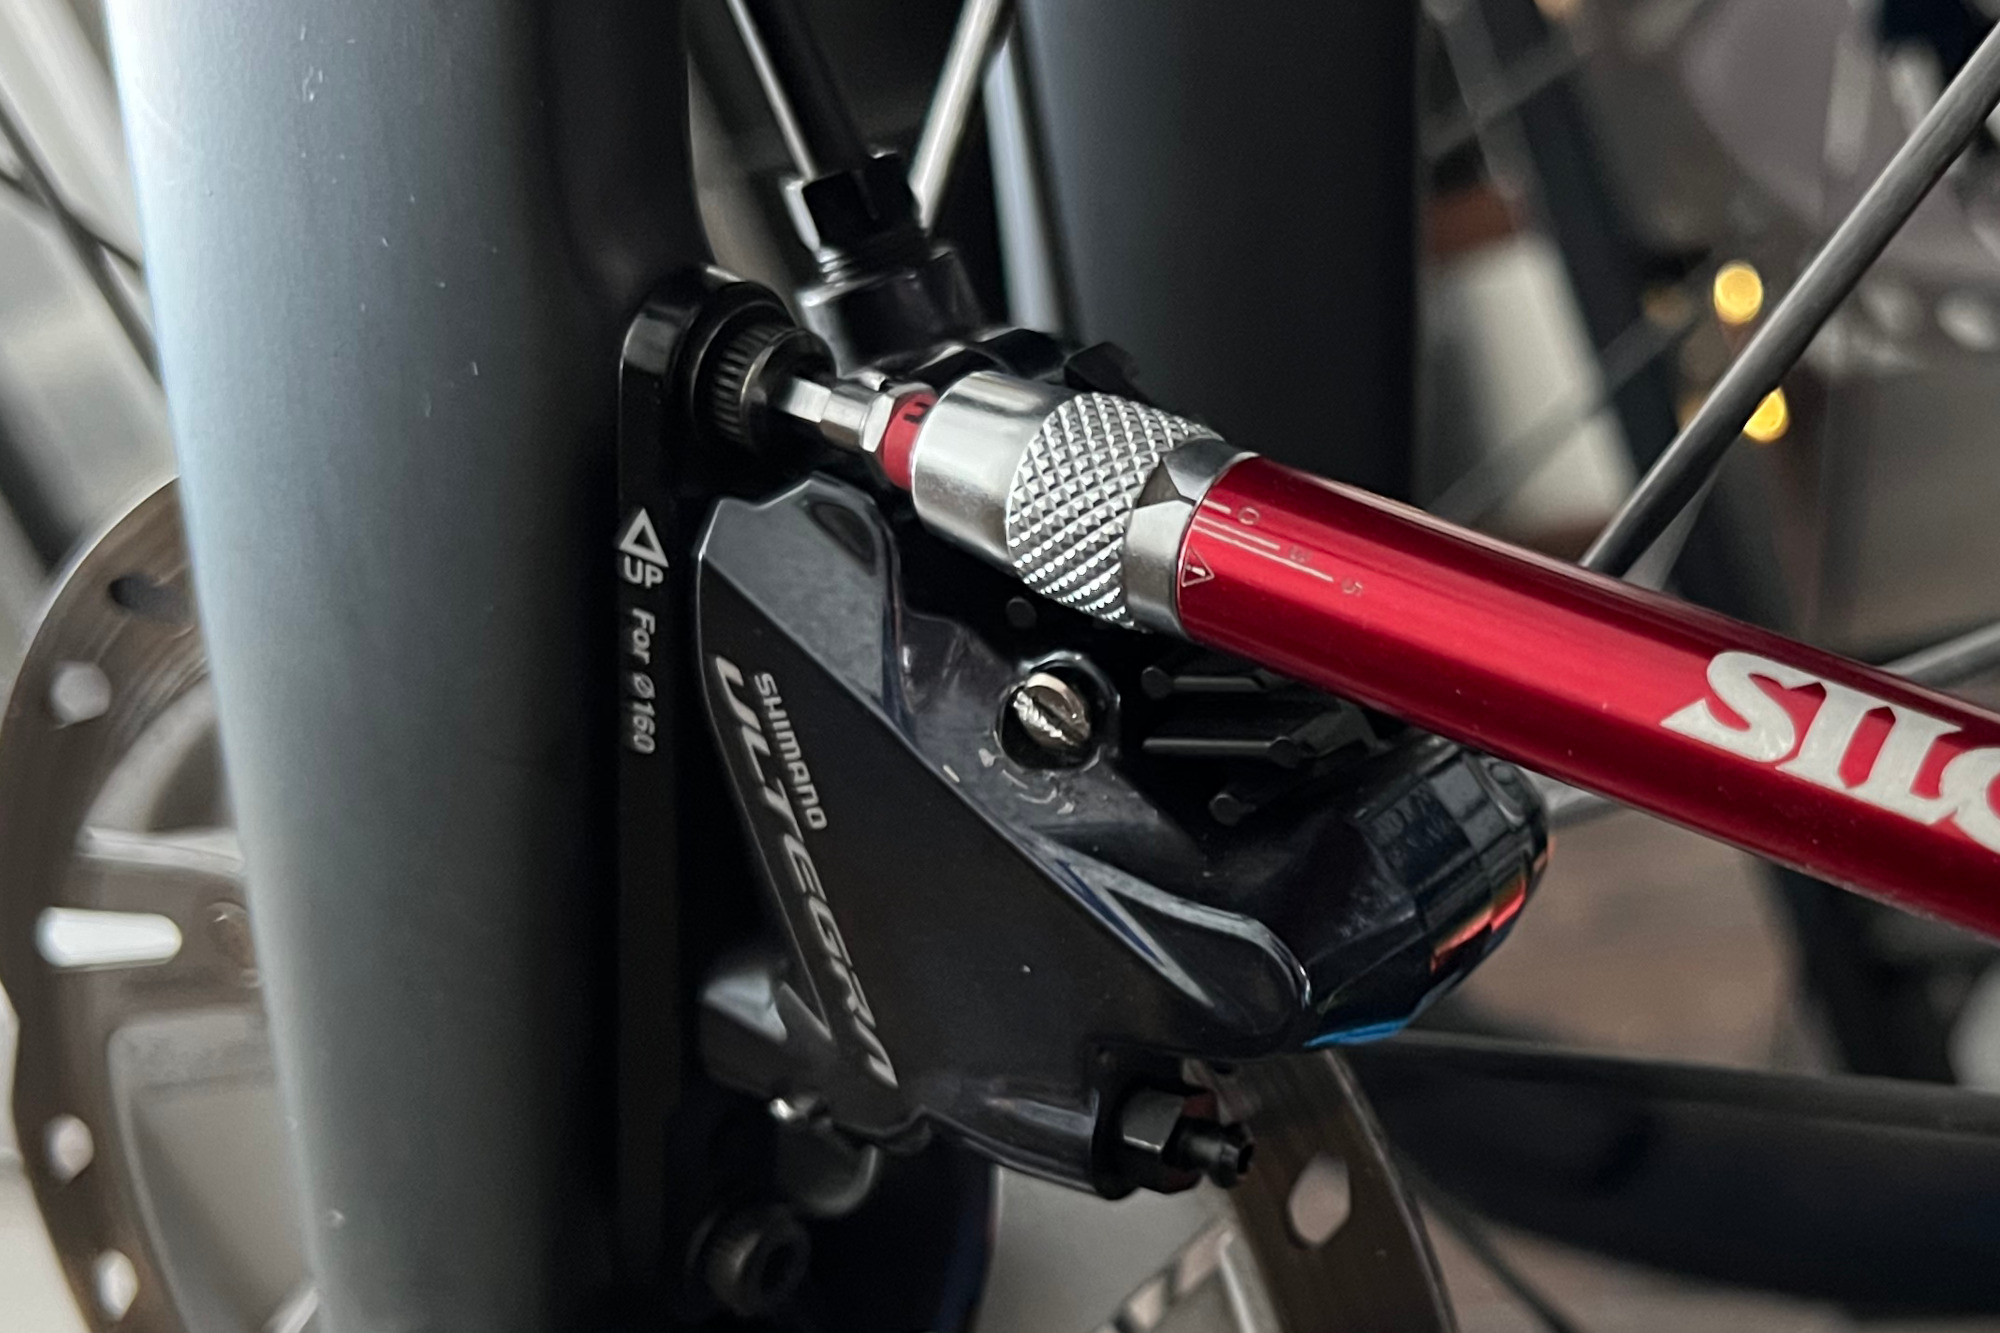
While a disc rubbing can sometimes be down to a warped or bent disc rotor, it can also be caused by a misaligned disc brake caliper.
The pads are designed to sit an equal distance apart, with the rotor squarely between them. Unlike the majority of mechanical disc brakes where only one side of the caliper is operational, with hydraulic brakes both pads move when the brake lever is pulled. Therefore, if the caliper is misaligned then one pad will hit the rotor first.
This can compromise the braking power. It can also mean that the brakes rub even when they aren’t activated.
Other brake noises, such as squealing, can also be caused by misaligned calipers. So how do you remedy the problem?
Before you begin the alignment process it’s worth checking that your pads haven’t been wearing unevenly. If the brake caliper has been poorly set up for a while this could well be the case - ideally you don't want to realign the calipers around pads that are uneven in their wear. You’ll also want to check that the pistons are both moving freely. We cover changing your pads and freeing your pistons in this guide.
If both are ok, you can now re-align the caliper. And fortunately it’s a simple process. Firstly you’ll want to loosen the caliper mounting bolts. You only need to do this so there is a little play in the caliper.
From here you need to apply the brake lever and then hold it down. With the caliper now actuated, and the pads held firmly against the rotor, you can can begin to tighten the caliper mounting bolts. Tighten them by rotating from one to the other and back again. This helps to keep the caliper aligned. You’ll also ideally want to tighten them to the specific torque - using one of the best torque wrenches will help you do this accurately and efficiently.
Now it’s time to check your work. Release the brake lever and spin the wheel. If the caliper has been aligned successfully there will no longer be any rub. You can also check that the gap between pad and rotor is even on both sides by placing a piece of white behind the caliper - this allows you to better see the gap. If it looks equal, you’re now good to go.
However, if your brakes still squeal after cleaning the pads and rotors, and also after realigning brake calipers, try changing brake pads to a different brand that is compatible with your caliper and brake rotor type.
Replacing hydraulic brake pads
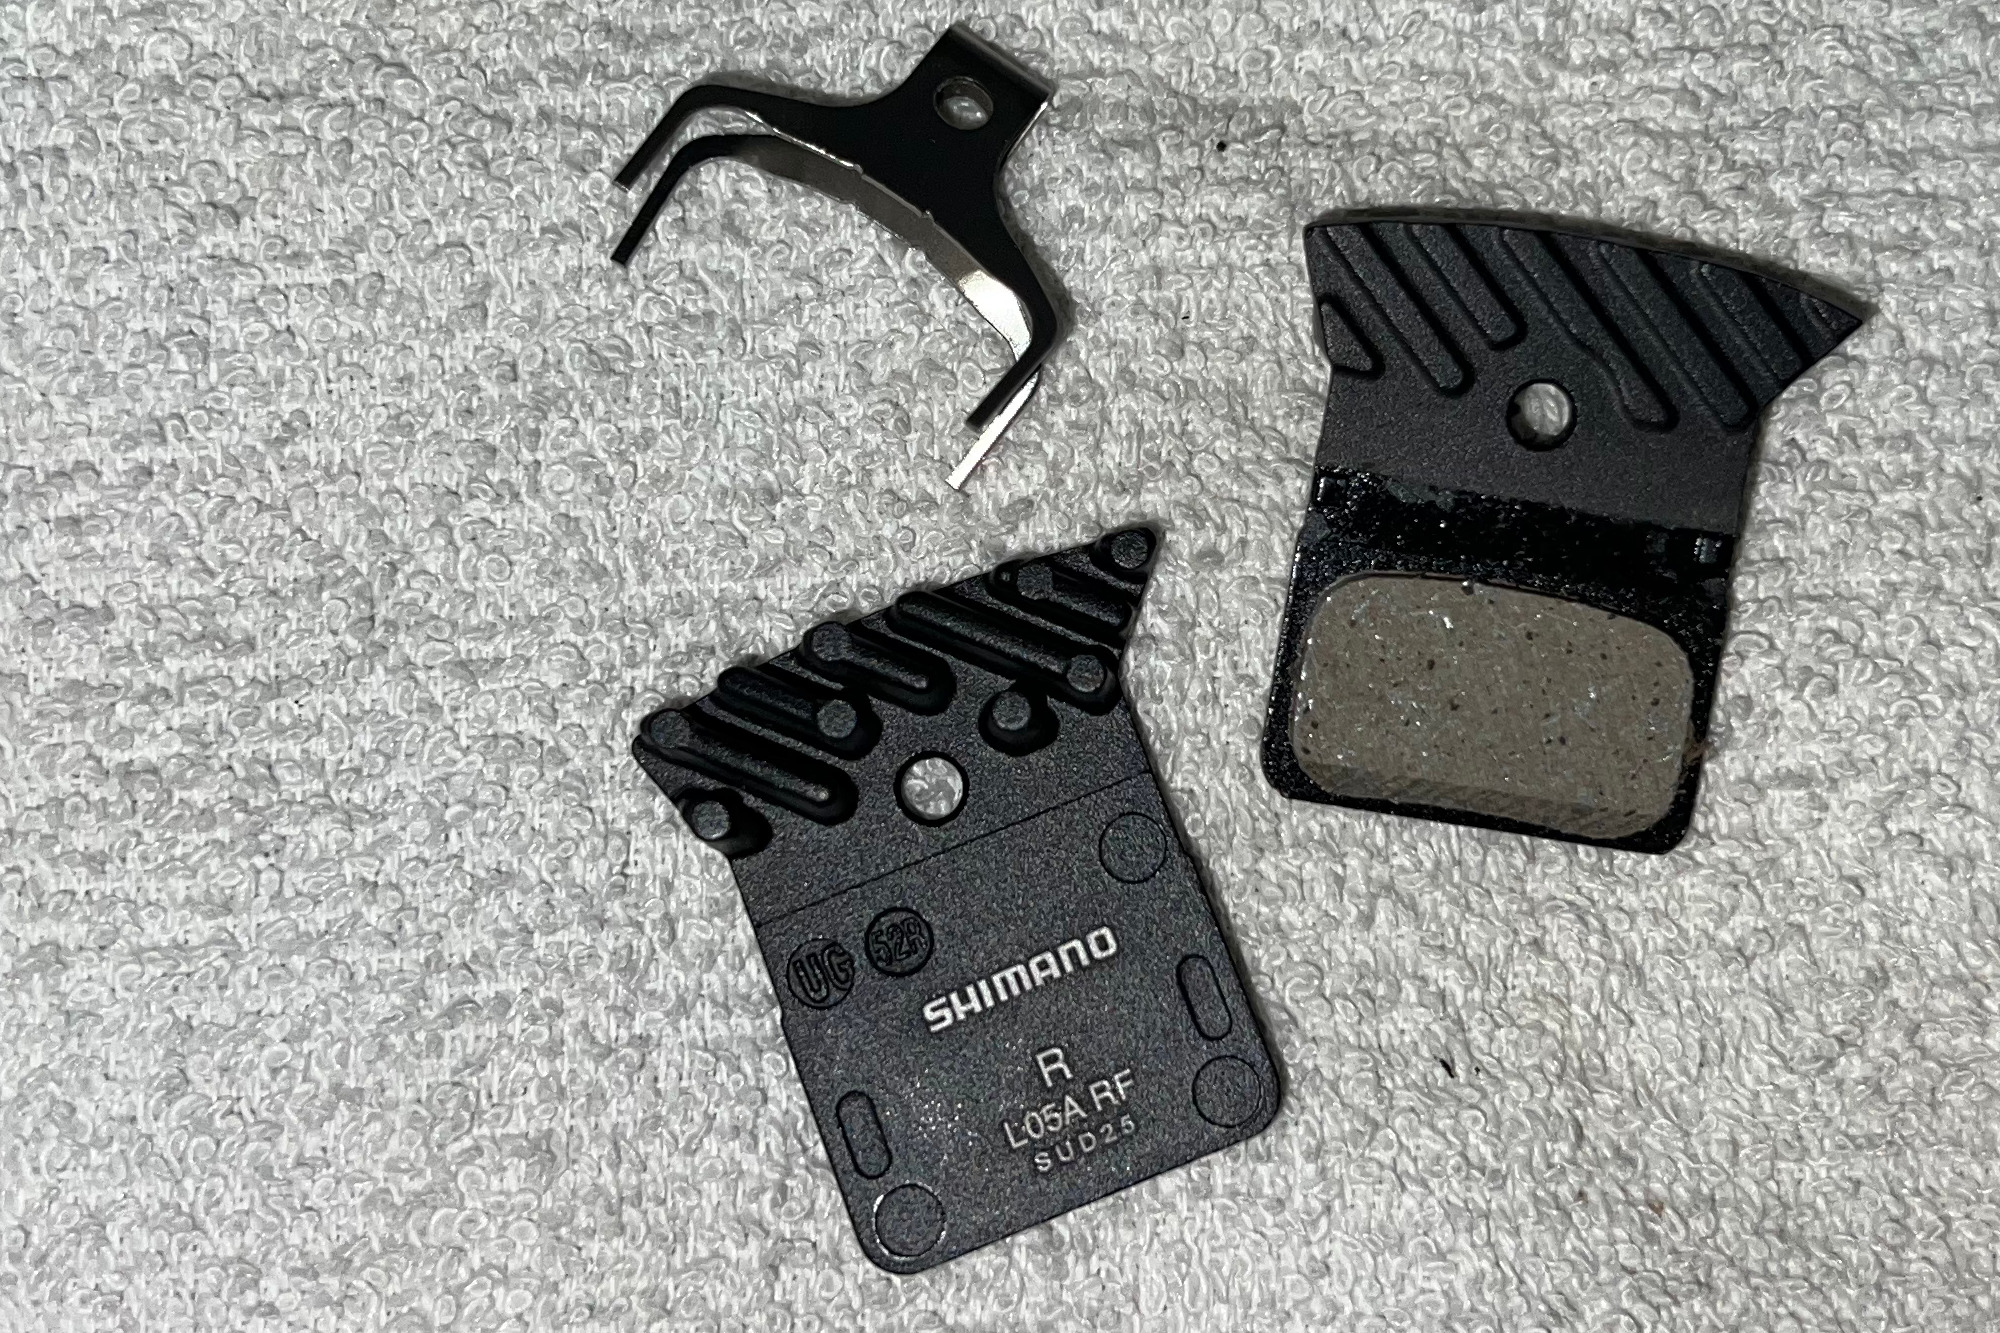
Swapping hydraulic brake pads is a quick and easy fix to ensure optimal brake performance. Replace the pads in-kind to ensure compatibility, or you can use a third-party pad to enhance braking performance, extend brake life, or quiet loud braking action.
There’s no single rule-of-thumb for pad replacement frequency, which is affected by combined rider and bike weight, riding conditions and parcours, brake pad material and other factors.
That said, sooner is always better than later. Leaving pads until they have worn past the recommended wear point (this thickness differs from one pad to the next, so check the manufacturer’s guidelines) will compromise your braking. Leave them until they are through to the metal and you’re likely to badly damage your calipers too.
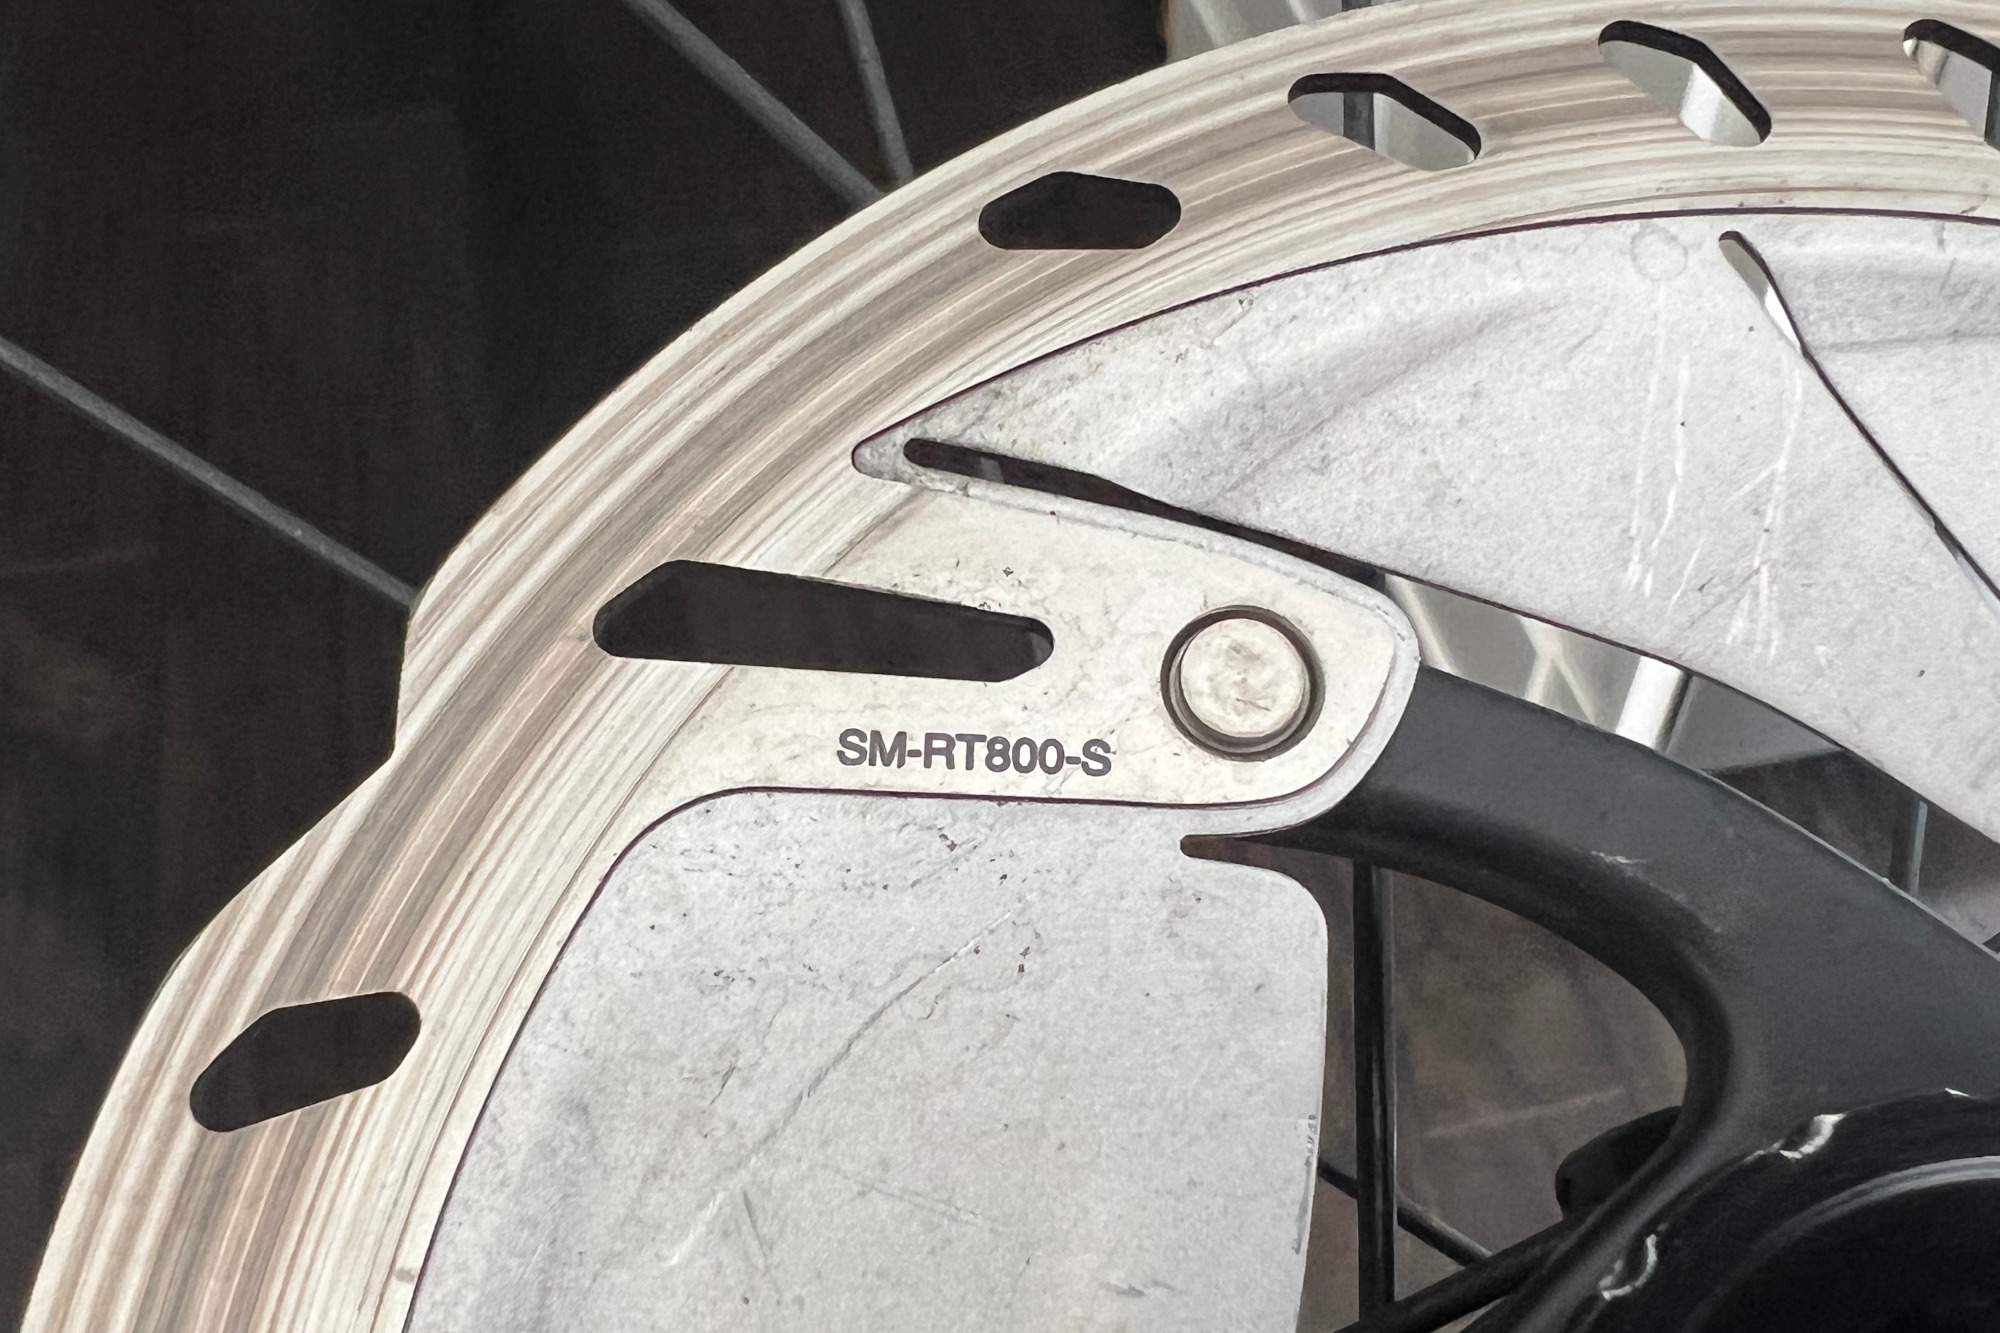
Replacing pads in-kind is straightforward. If going with some of the best brake pads for road and gravel (e.g., SwissStop, Absolute Black, etc.) double-check pad compatibility with brake caliper manufacturers. If you’re unsure about pad material, check the brake rotor model number and compare it against the manufacturer's recommendation on its website. Most brake pad websites have guides to match brake pads to rotors manufacturers’ models.
Because of the differences in brake pad material–organic or resin disc brake pads may make less noise than metallic or sintered brake pads–you can expect slightly different braking performance. If you’re a relatively lighter-weight rider and/or don’t ride in a mountainous area, you might consider using organic pads and appropriate rotors.
After you’ve installed replacement pads, you’ll want to bed-in the brake pads before the next ride. This process glazes brake rotors with a very fine layer of brake pad material, which aids in efficient stopping.
Truing disc brake rotors
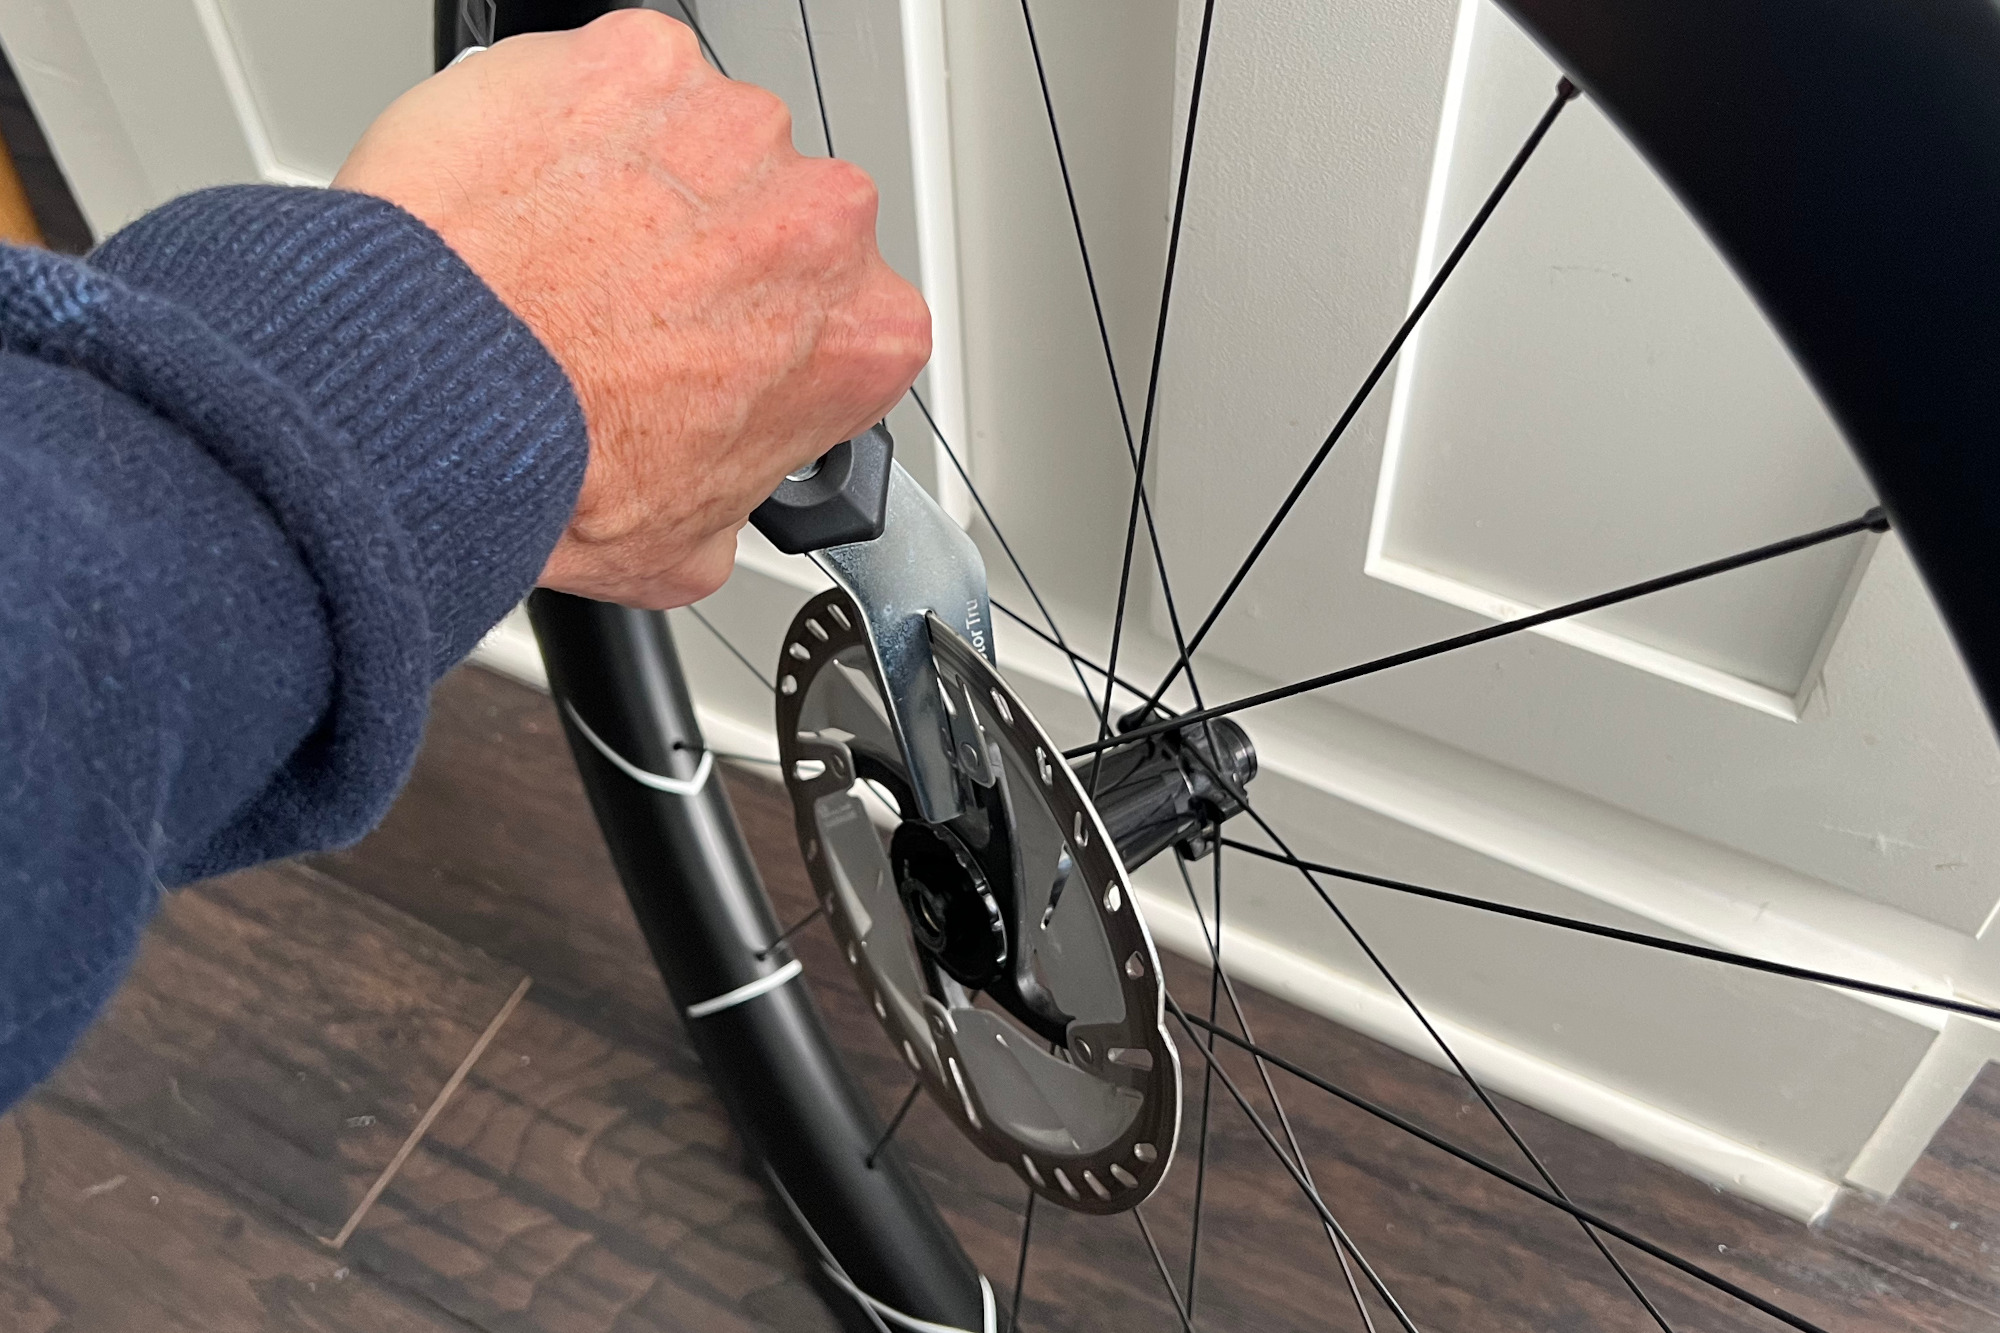
Just like bicycle wheels, disc brake rotors can come out of alignment and require truing. Although rotors can withstand very high temperatures and compressive forces, they are not designed to take sideways impact loads, and you should never lean your bike supported by a brake rotor. An easy way to check the trueness of a disc rotor: put a white towel on the floor, position your bike above the towel and spin the wheel. Sight along the rotor as it passes through the brake caliper and you should be able to see any wobble in the braking surface. More obvious, tell-tale signs that a brake rotor is out of true are any sounds it makes against brake pads, or feeling a feedback pulse—akin to a wobble—when applying the brakes.
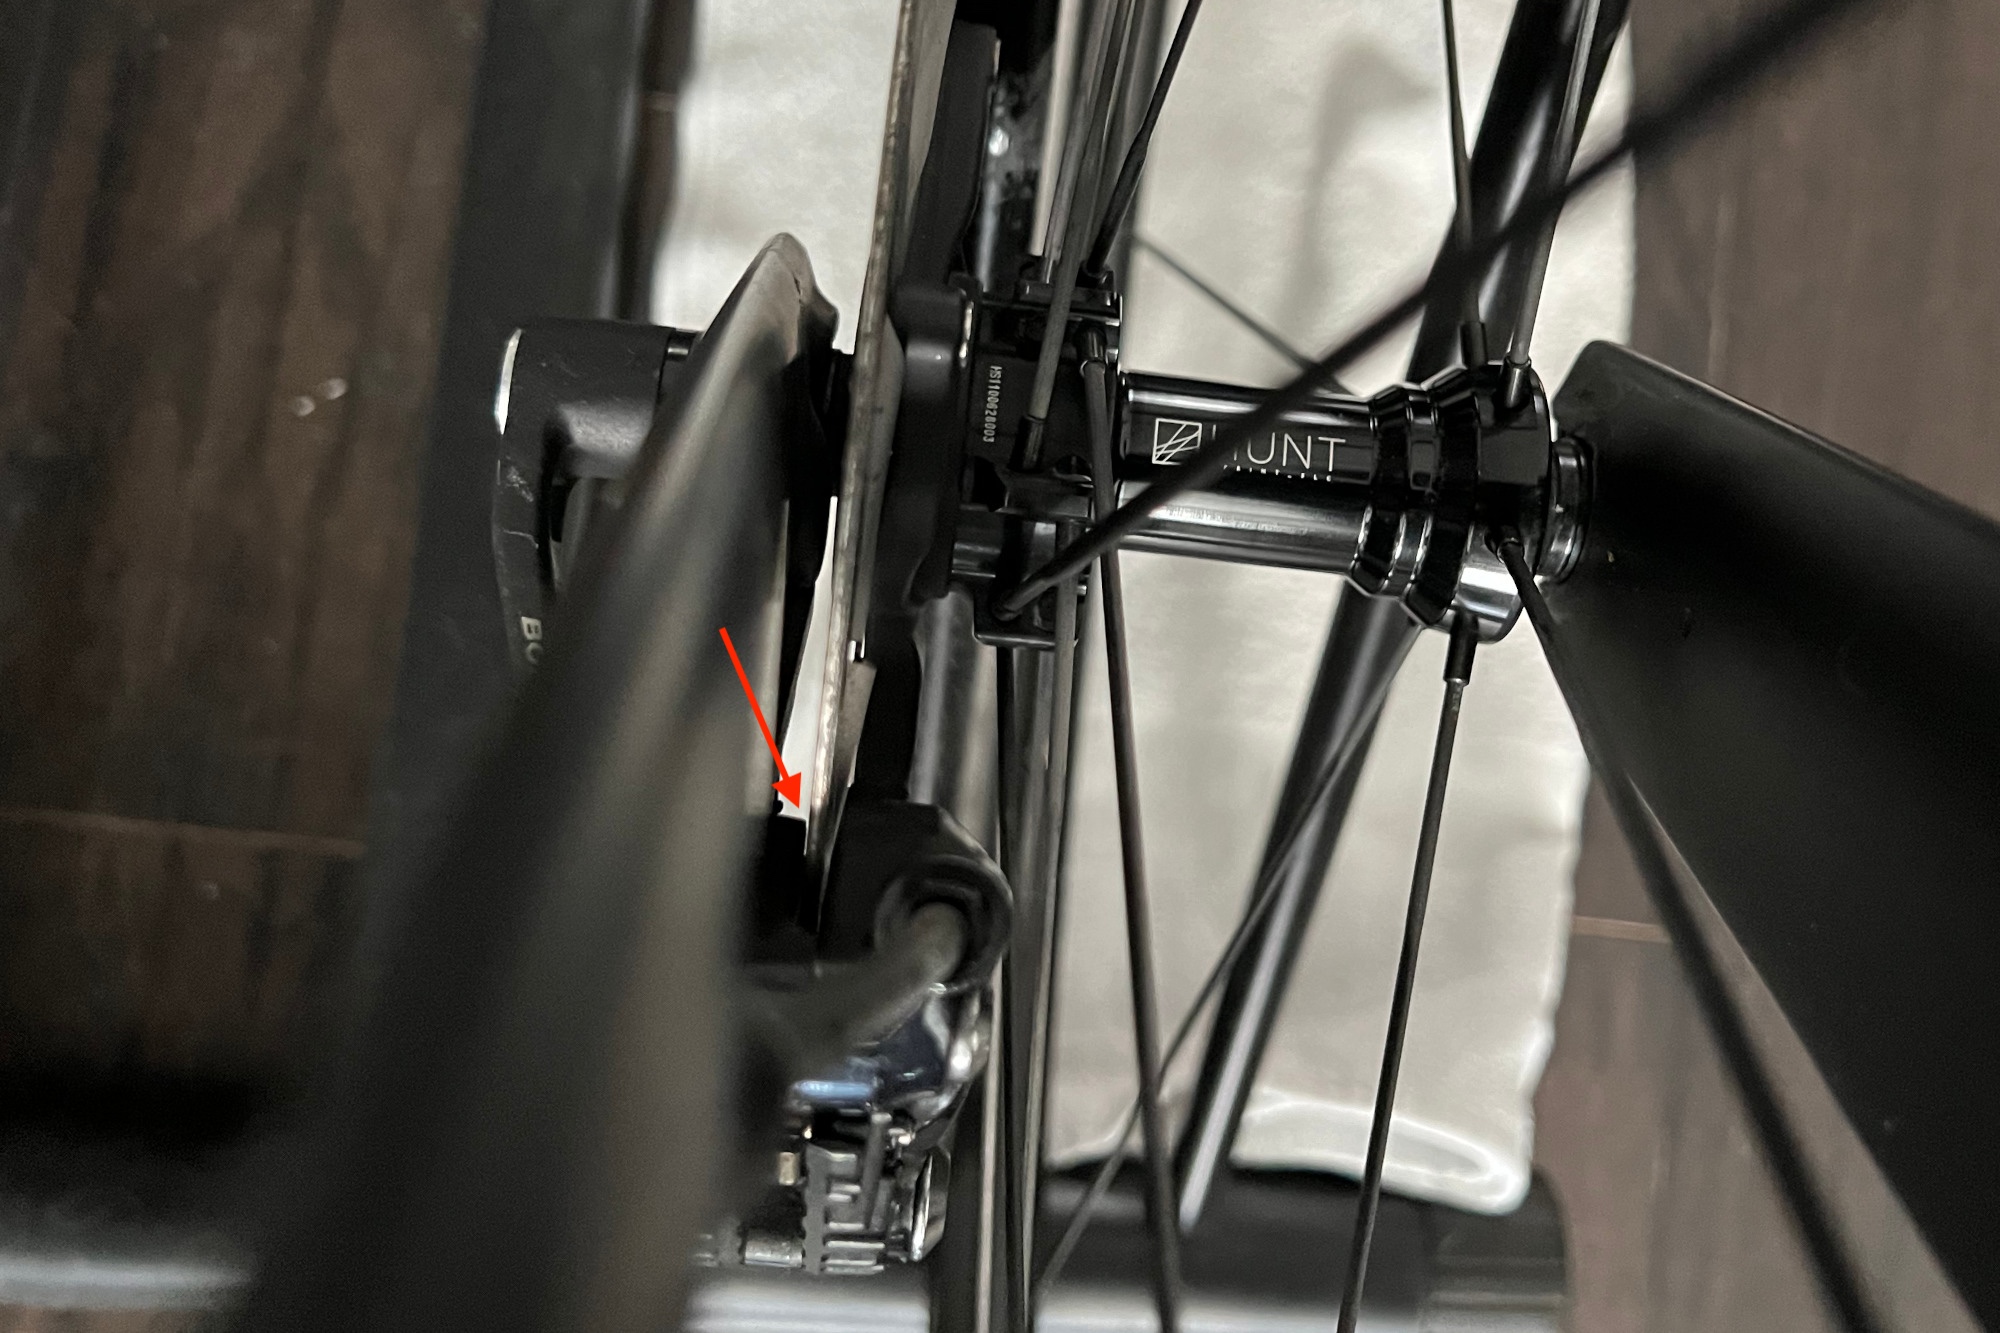
A minor wobble is relatively easy to fix with a rotor truing tool, or a large-jawed adjustable wrench. Err on the side of caution when truing a disc brake rotor: Use a very light hand and just enough force to set the rotor true.
Replacing disc brake rotors
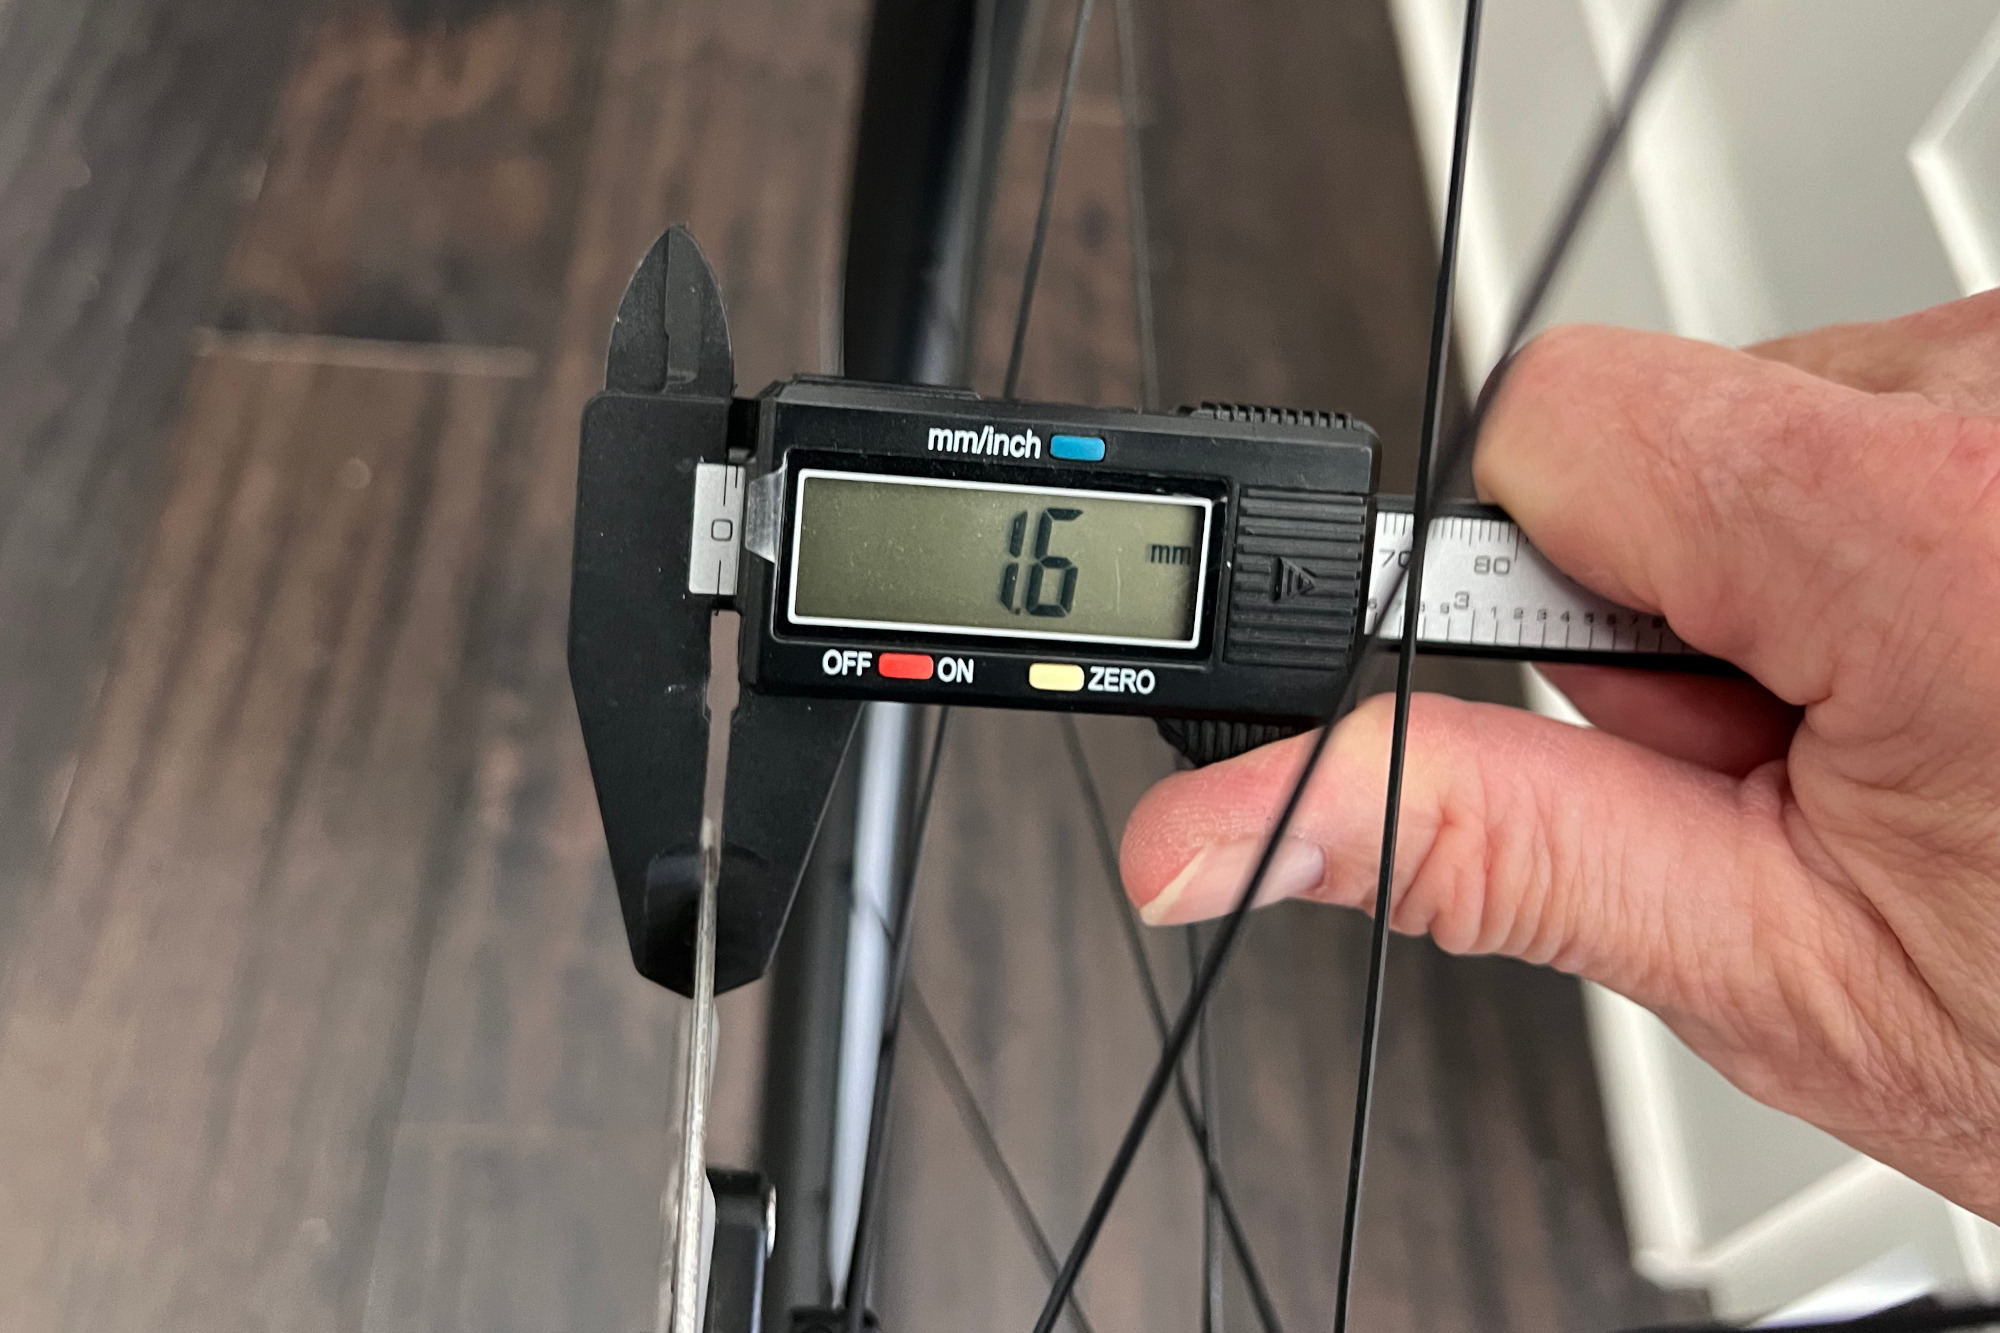
Inspect disc rotors to ensure they are not grooved, grossly out of true, or worn thin. Those who frequently ride in wet conditions or who brake heavily for extended periods of time–like descending mountains–may need to replace disc brake rotors more frequently than those who ride in flat and dry conditions. Or, if you’ve inadvertently leaned your bike against the rotor and it’s bent, it may need to be replaced. Most rotors have a minimum thickness printed on them. Use a caliper measuring tool to verify your rotors meet this standard. Rotors that measure less than the recommended thickness should be replaced. Rotors designed for use with sintered or metallic brake pads may wear more quickly than those designed for organic brake pads; heavier riders may wear rotors faster than lighter riders.
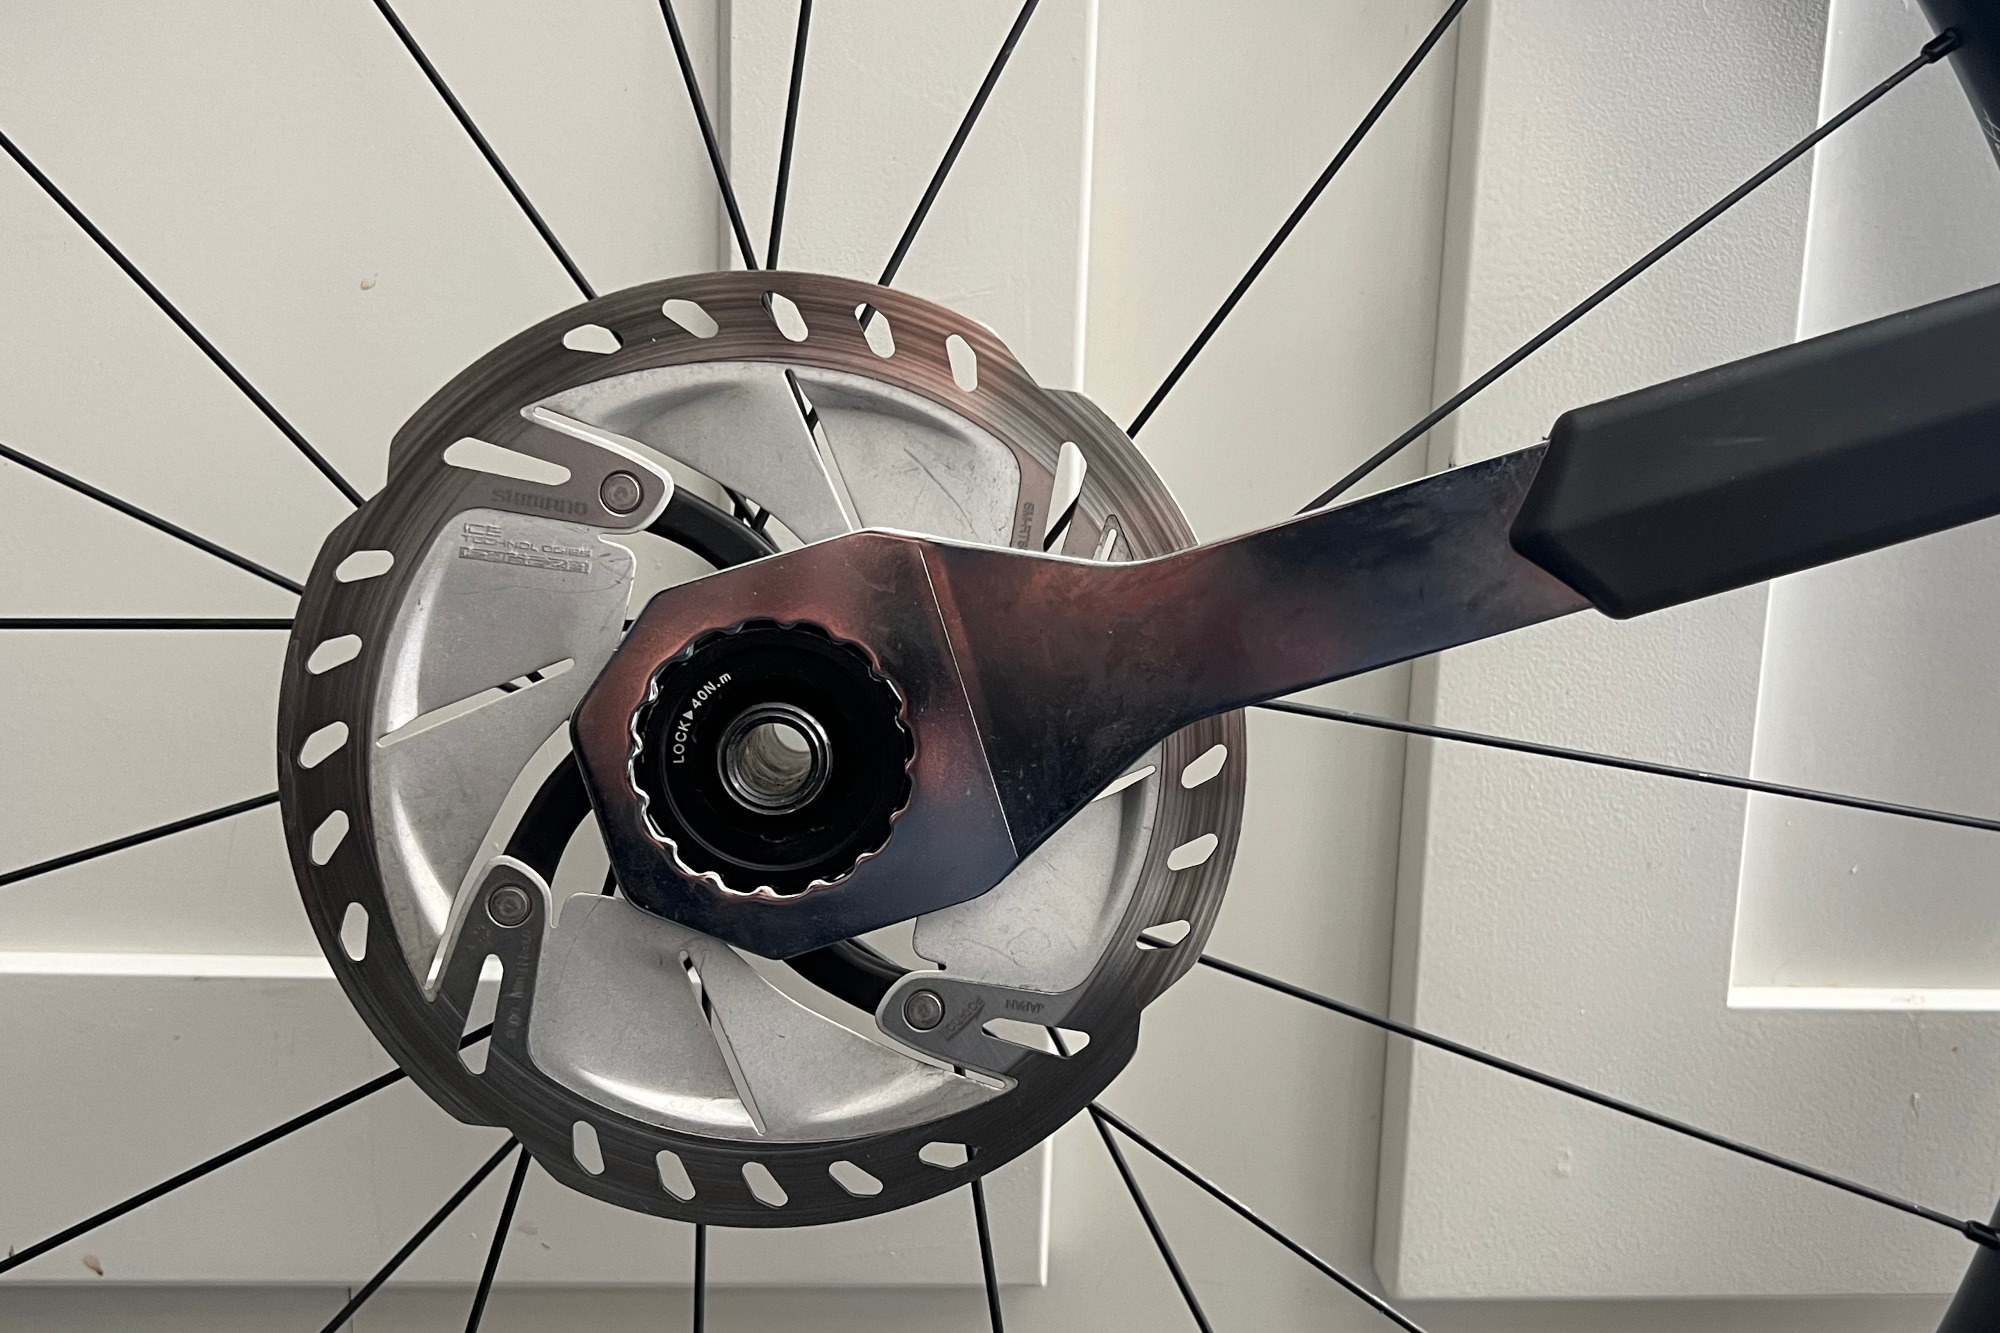
If you need to replace your rotor, consider replacing it in-kind to ensure compatibility, and also use the same size as the ones being replaced to avoid unnecessary caliper adjustment and ensure optimal brake performance.
After replacing the disc brake rotors, make sure to liberally grease the lockring threads or rotor mounting bolts (tightened to torque specification) prior to cinching tight, to make successive maintenance easy. Take extra special care to keep the new rotor clean and completely free of contaminants during the installation process.
Fixing spongy lever feel
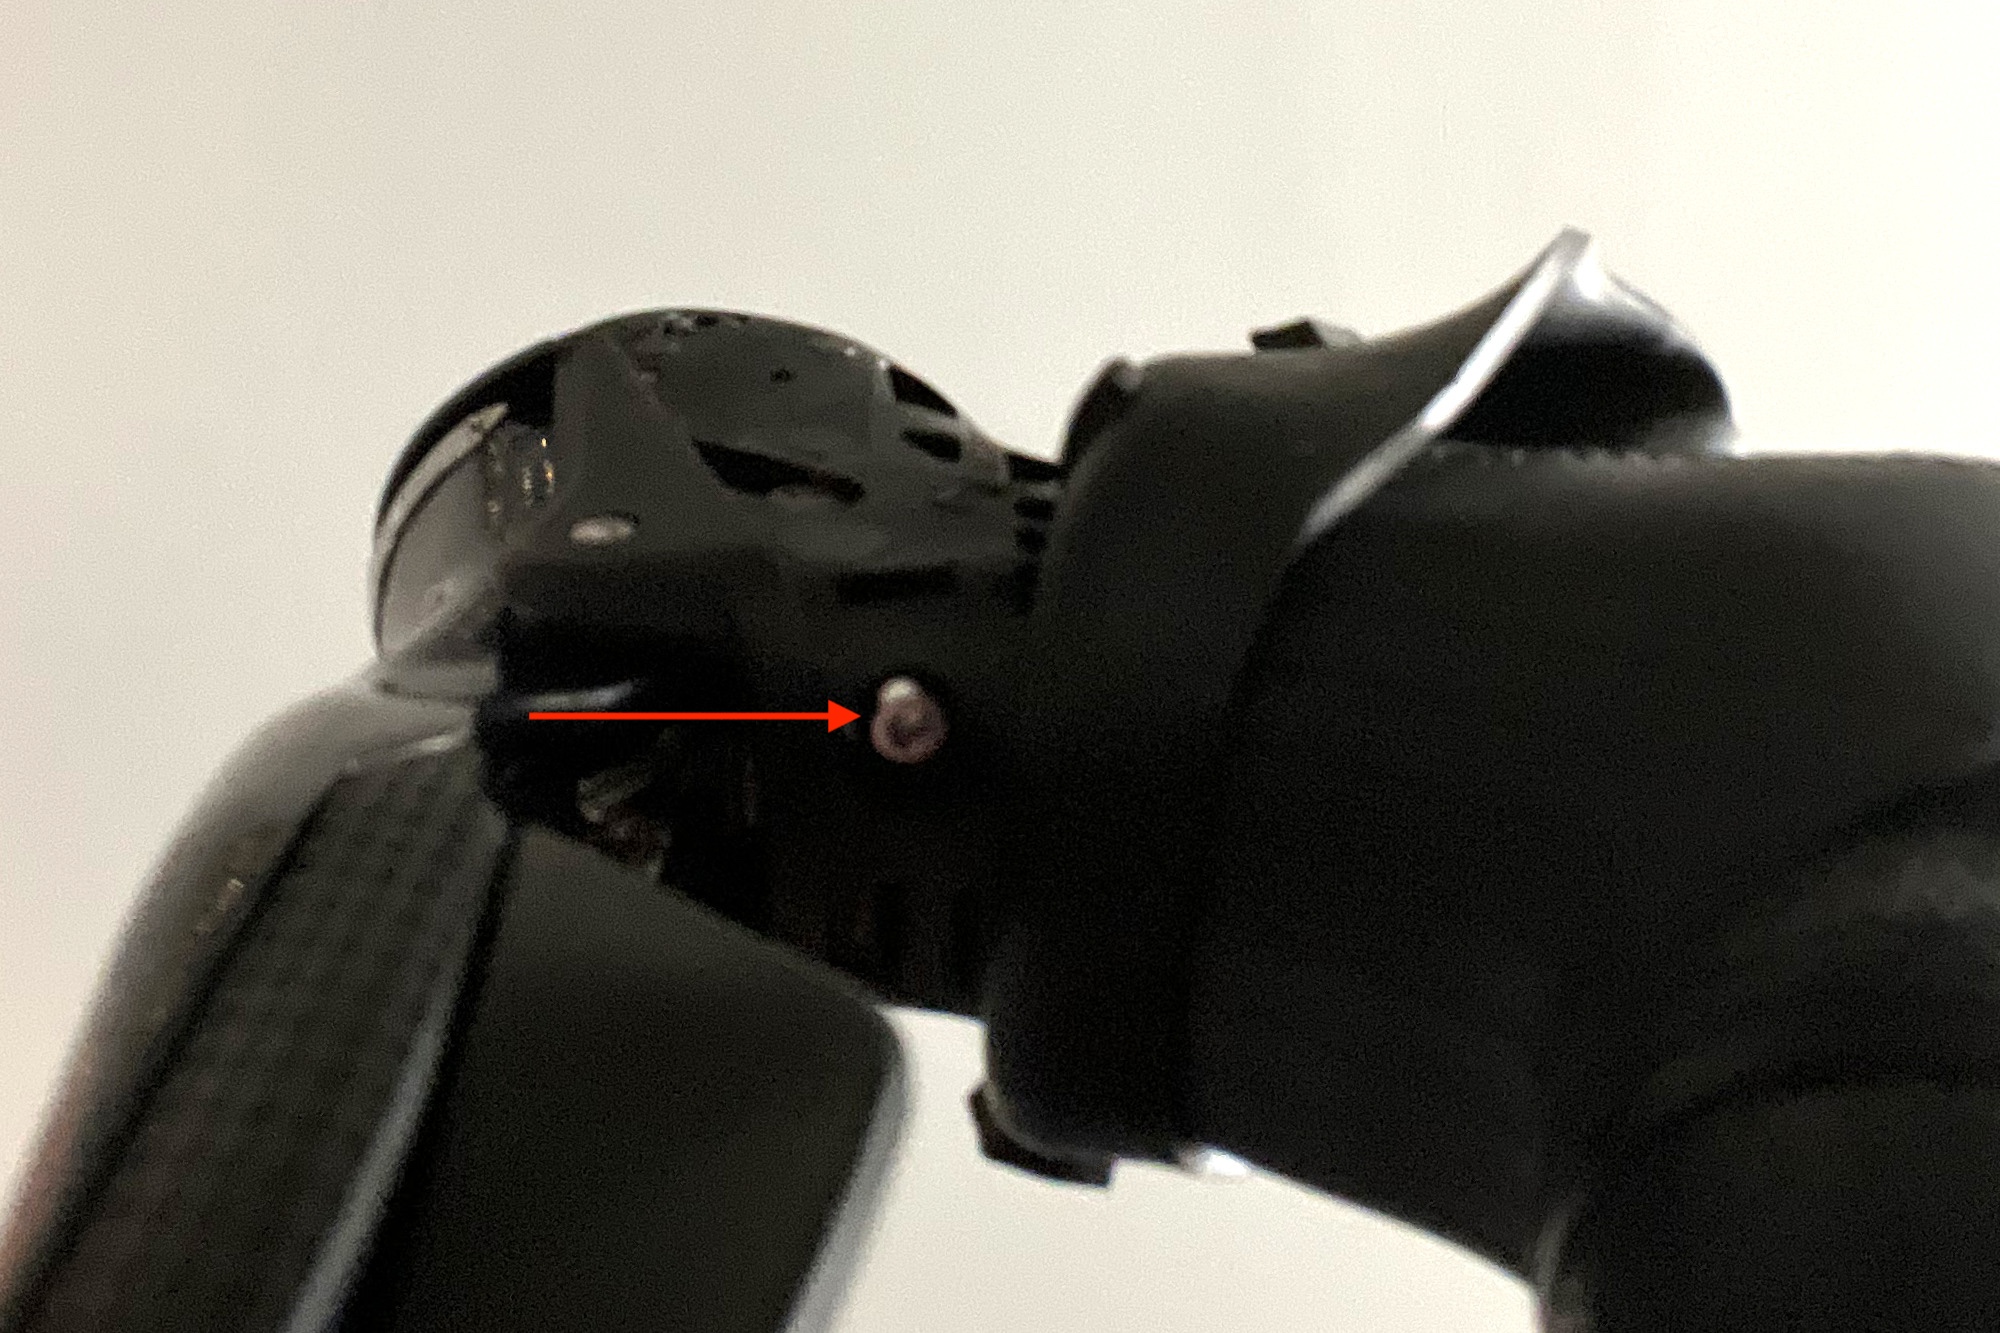
Before taking on a full brake bleed to rectify squishy braking action or mushy feel, consider checking brake lever free stroke. Free stroke is the distance the lever moves while braking, before the brake pads engage the brake rotor. As brake pads wear, the gap between the pads and rotors should not increase (another bonus feature of hydraulic disc brakes) and braking feel should not dramatically change.
But sometimes it's necessary to adjust the lever throw distance which impacts the feel of squeezing the lever against the brake pads. Some component manufacturers design brake levers with a free stroke adjustment screw, however, not all brake levers from all manufacturers are designed with this feature. If your brake lever throw does not feel factory-fresh after some use and you do not have a free stroke adjustment, you can try to fix this by doing something that many mechanics caution against: Squeezing the brake lever without the wheel/brake rotor in place.
Squeeze the lever just a little to force the pistons and pads closer together, then replace the wheel and try the brake(s) again. Do this iteratively and with caution, a small amount of squeeze each time. You do not want to squeeze the levers too much and extend the pistons too close together, or you will have to reset the pistons back into the caliper.
If you’ve reset the disc brake pistons and the lever still feels squishy, or you can pull it all the way to the handlebar and still not achieve good braking, it might be time for a full disc brake bleed.
Pistons not retracting
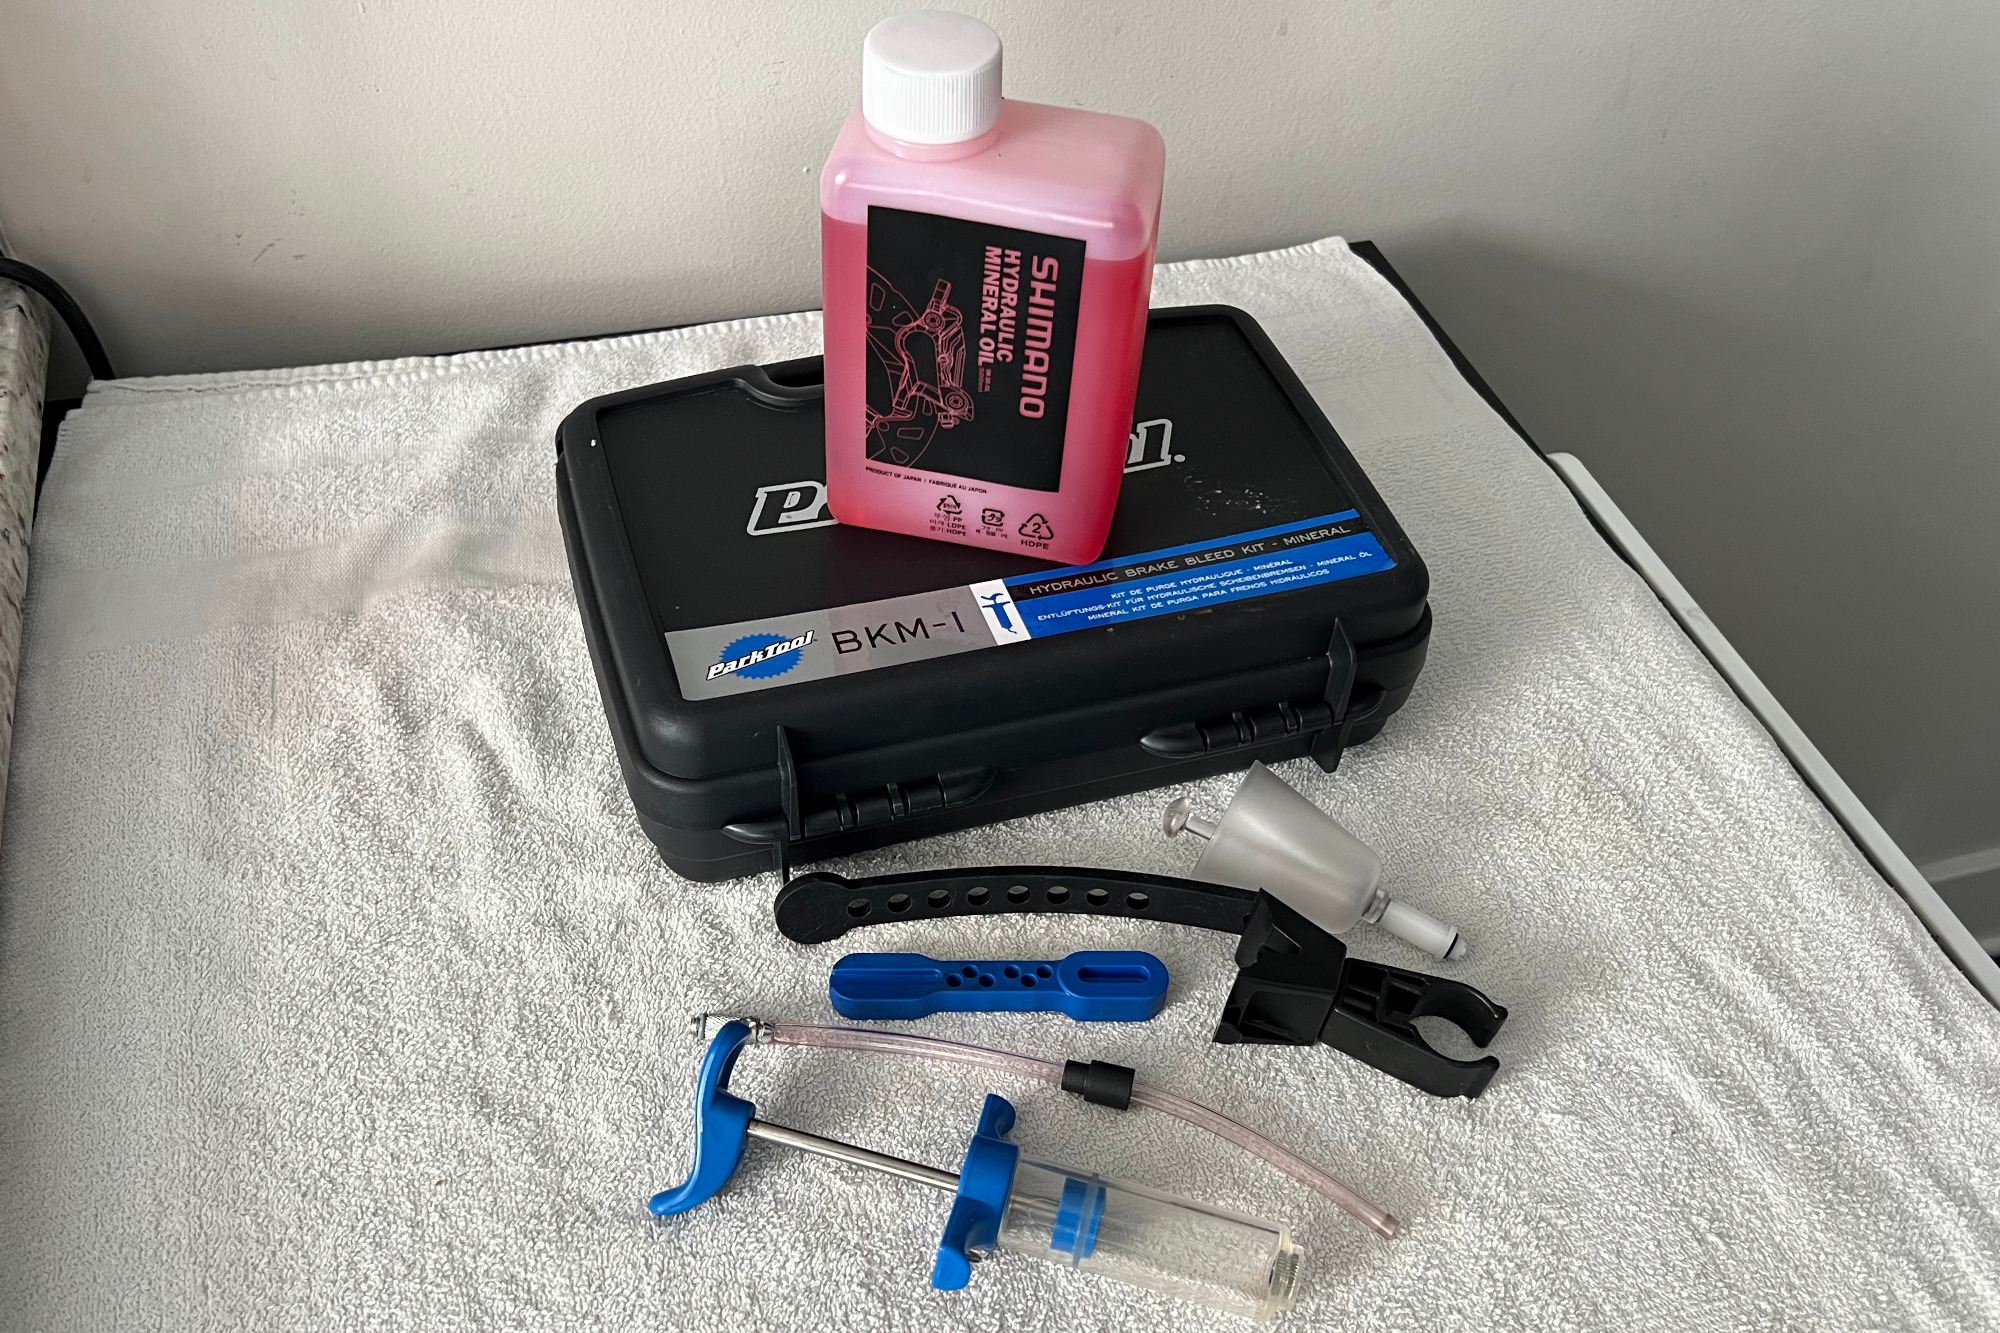
Over time, the hydraulic brake pistons may collect dirt and not fully retract after releasing brake levers. If your brakes are still loud when not breaking, and if you’ve already verified that your disc brake rotors are true and centred, you should clean the hydraulic caliper pistons to ensure they retract into the caliper housing when brake levers are released. If that ting ting ting sound of your brake rotors brushing against your brake pads doesn’t go away almost immediately after you release your brake lever, it could be an indication that you may need to clean the pistons that press brake pads against disc rotors.
After carefully removing the brake pads while keeping the braking surface clean of contaminants, gently squeeze the brake levers to expose the pistons. It’s advisable to not fully squeeze your brake levers to fully close the gap between pistons. Holding the brake levers to expose the pistons, wipe the pistons with alcohol to clean them and then let them dry for a few moments.
While still holding the brake levers to keep the pistons exposed, apply just a few drops of hydraulic brake fluid to the sides of the pistons (ensuring that you use the fluid appropriate for the specific type of brake). Release the brake lever to retract the pistons; you may need to use a flat, plastic tool (either a brake piston tool or a tire lever) to push the pistons into the caliper body.
Taking special care to keep the brake pads free from contaminants, reinstall them into the brake caliper body. Then, gently work the brake levers to allow the brake fluid to fully lubricate the caliper pistons.
After doing any maintenance on brake calipers, pads, or rotors, and to ensure the calipers are properly aligned and brake pads are set equidistant from the rotor, use a device like the Hayes Feel'r Gauge Disc Brake Alignment Tool. The tool is easy to use — some riders even use it when doing wheel swaps.
Greg has been on and around bikes since his early teens. He got his start when tubulars and freewheels were still a thing, while working at local bike shops, and dabbling in the Philadelphia racing scene. Greg still geeks-out on bikes, cycling gear, apparel, and accessories as much now, as when he first discovered the sport. Greg has been on staff at VeloNews and Bicycling, and also was a contributor at Active.com.