Best CO2 inflators 2026: expert-tested instant, pocket-friendly inflation
Our 6 top picks for the best CO2 cartridge bike tyre-inflation systems, all tested and rated by our experts

Simon Fellows
The latest race content, interviews, features, reviews and expert buying guides, direct to your inbox!
You are now subscribed
Your newsletter sign-up was successful
One thing is guaranteed for cyclists: at some point, you will get a flat on the road or trail. However, being a good Scout and prepared for this eventuality can have you back on the road quickly, hopefully with minimal complaints from your riding buddies. This is where the best CO2 inflators can be a cyclist's best friend.
There is no denying that the best electric bike pumps are rapidly replacing the best CO2 inflators and will continue to do so. Electric pumps can now offer multiple inflations, are just as compact, and, given the environmental impact of single-use canisters, are a welcome change.
The best CO2 inflators still offer a turn of speed compared to electric pumps, however. For most riders, waiting for an electric pump to start and reach the required pressure, along with the noise, might still be too much. For racers or those under time pressure, CO2 might still have the edge.
Depending on your requirements, CO2 inflators come in various forms, ranging from simple, stand-alone chucks to units integrated into the best multi-tools or best bike pumps. My selection for the best overall, though, goes to the brilliant Muc-Off Road Inflator for its well-designed, easy-to-use chuck.
The Quick List
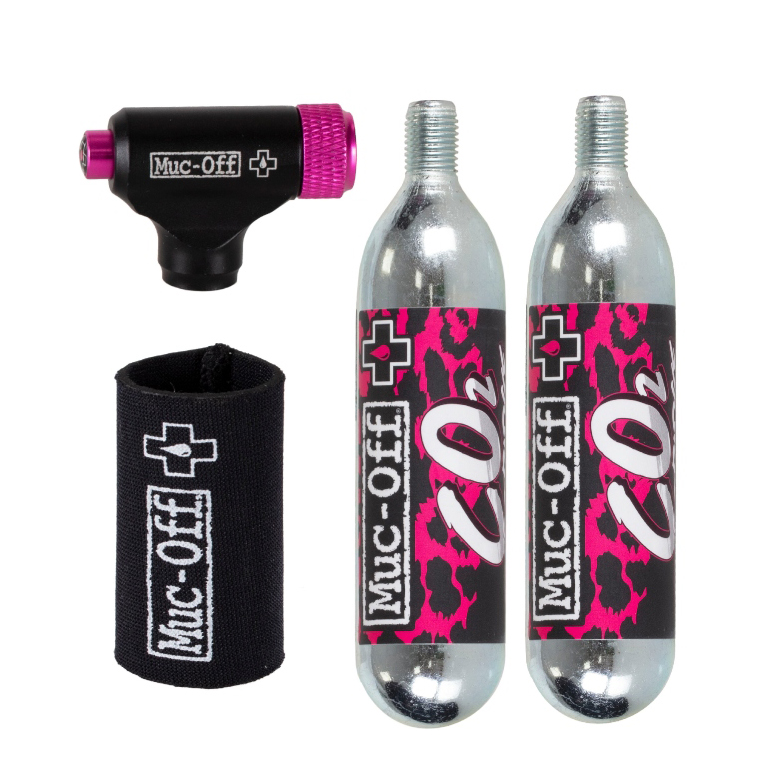
Simple, effective and easy to use, Muc-Off’s Road Inflator Kit works brilliantly. It's simple to control the flow of gas so that the desired tyre pressure is achieved, and it works with both Presta and Schrader valves.
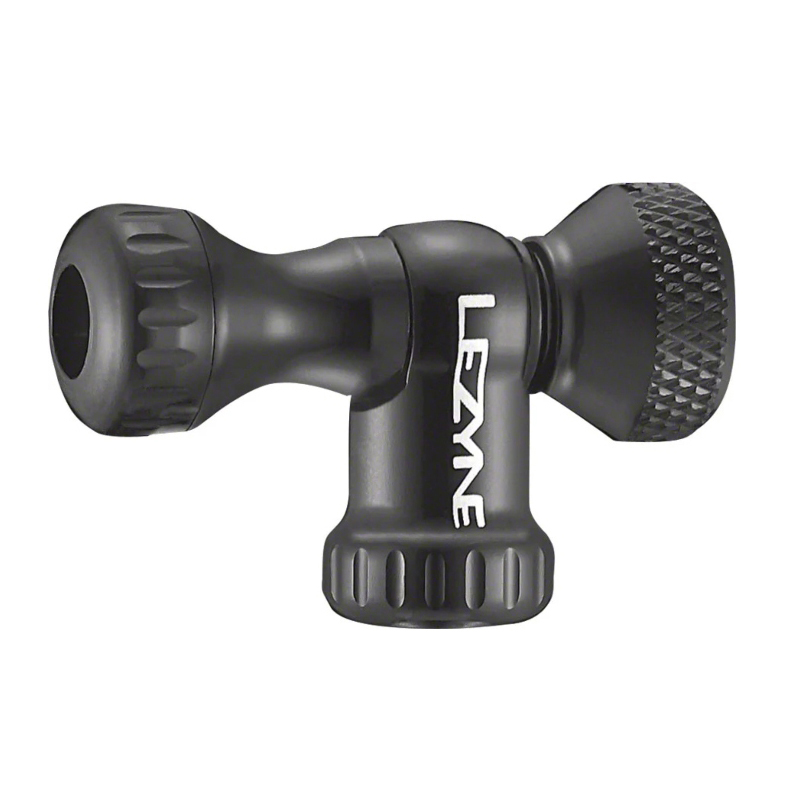
The Control Drive does its job well. The flow of gas is easy to control, and the chuck feels very well made. It is compatible with Schrader and Presta valves, and as it's a push-fit design, it will work with threaded and non-threaded valves too.
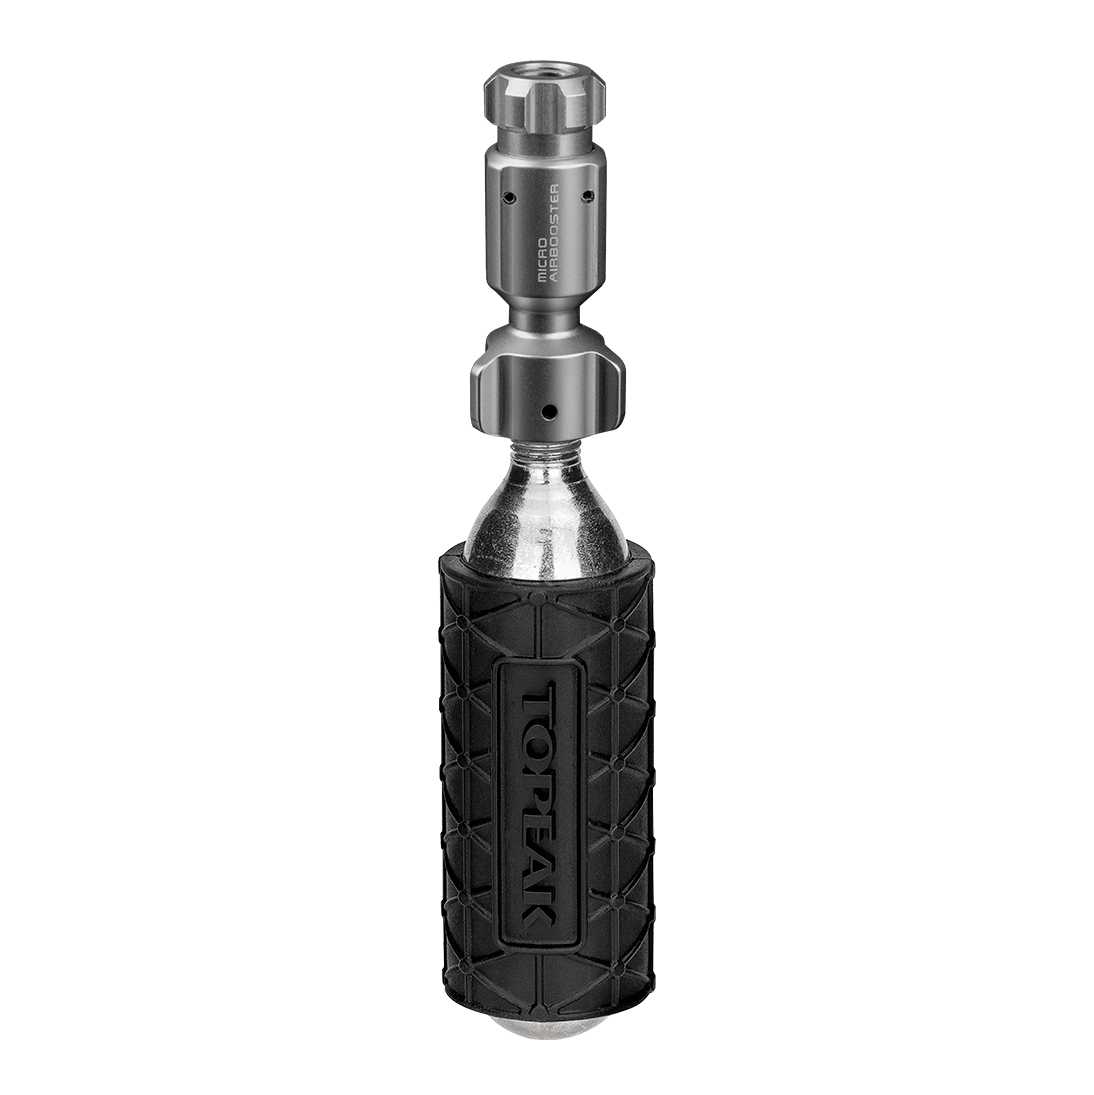
Slim enough to slip easily into a jersey pocket and equipped with a spacer that allows pre-loading of the cartridge to keep it all together. Flow is controlled by pressure on the valve, which makes it a bit awkward since the sleeve doesn't cover that part of the gas canister.
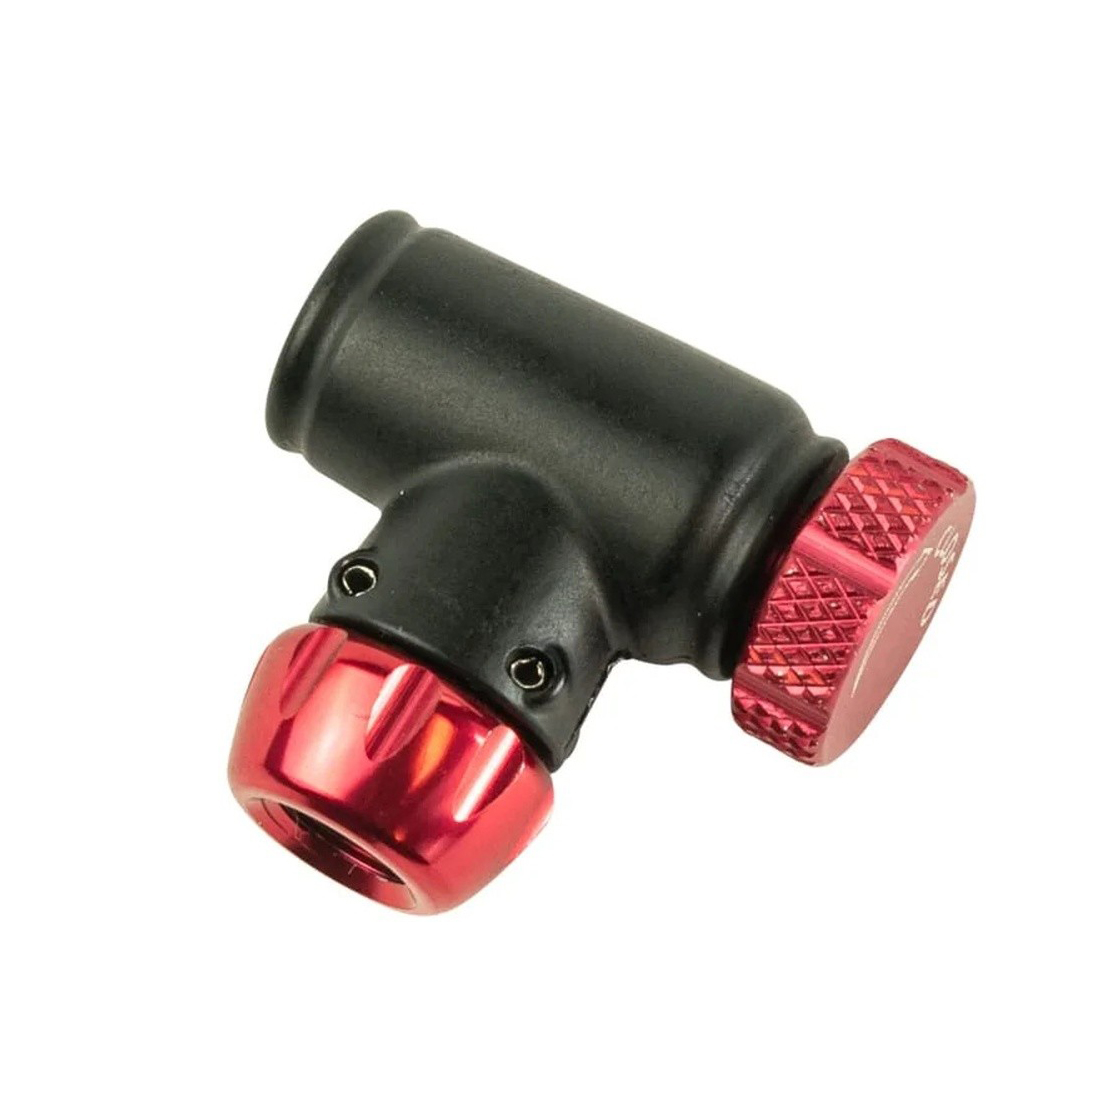
At just 30mm and 13g, you are more likely to lose the Silca Eolo than use it. Despite this, the Eolo features all the usual Silca build quality, and with not a single plastic part, it should last forever.
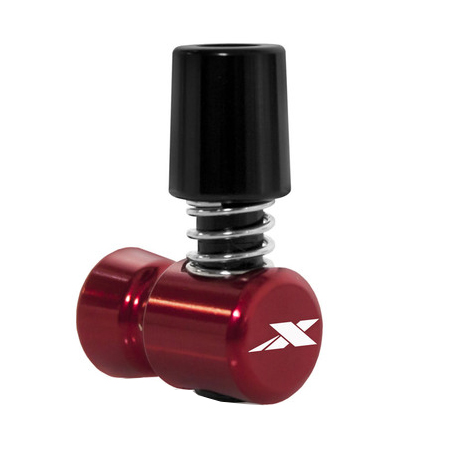
While its function is pretty basic, the Xlab Speedchuck is the cheapest in this guide before discounts are considered. It's a simple push fit and air release that requires some patience and practice, but when done correctly, it's speedy.
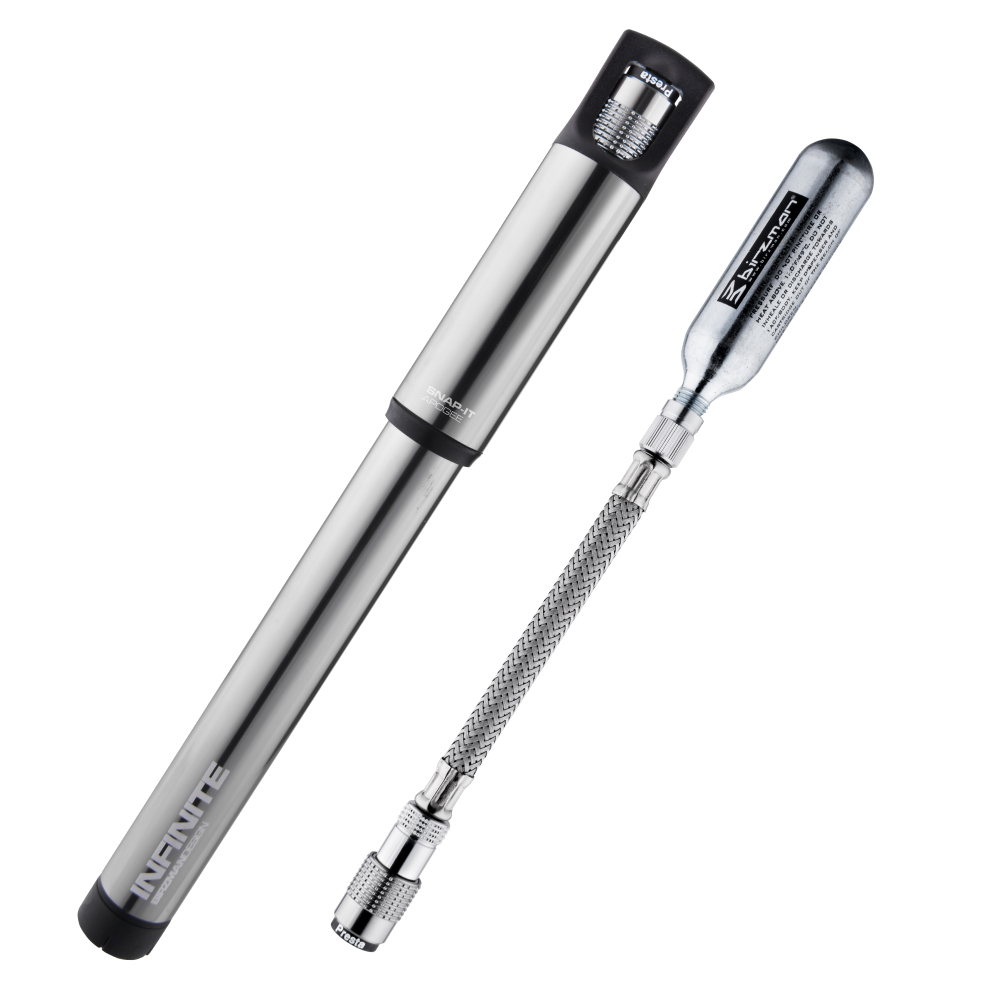
Works very well as a pump and adequately as a CO2 inflator, with a neat integrated hose which fits Presta and Schrader valves. It is on the large side, though, so the frame mount is handy, and the Apogee connector takes a bit of practice but is very secure.
Best CO2 inflators 2026: expert approved
Best overall CO2 chuck
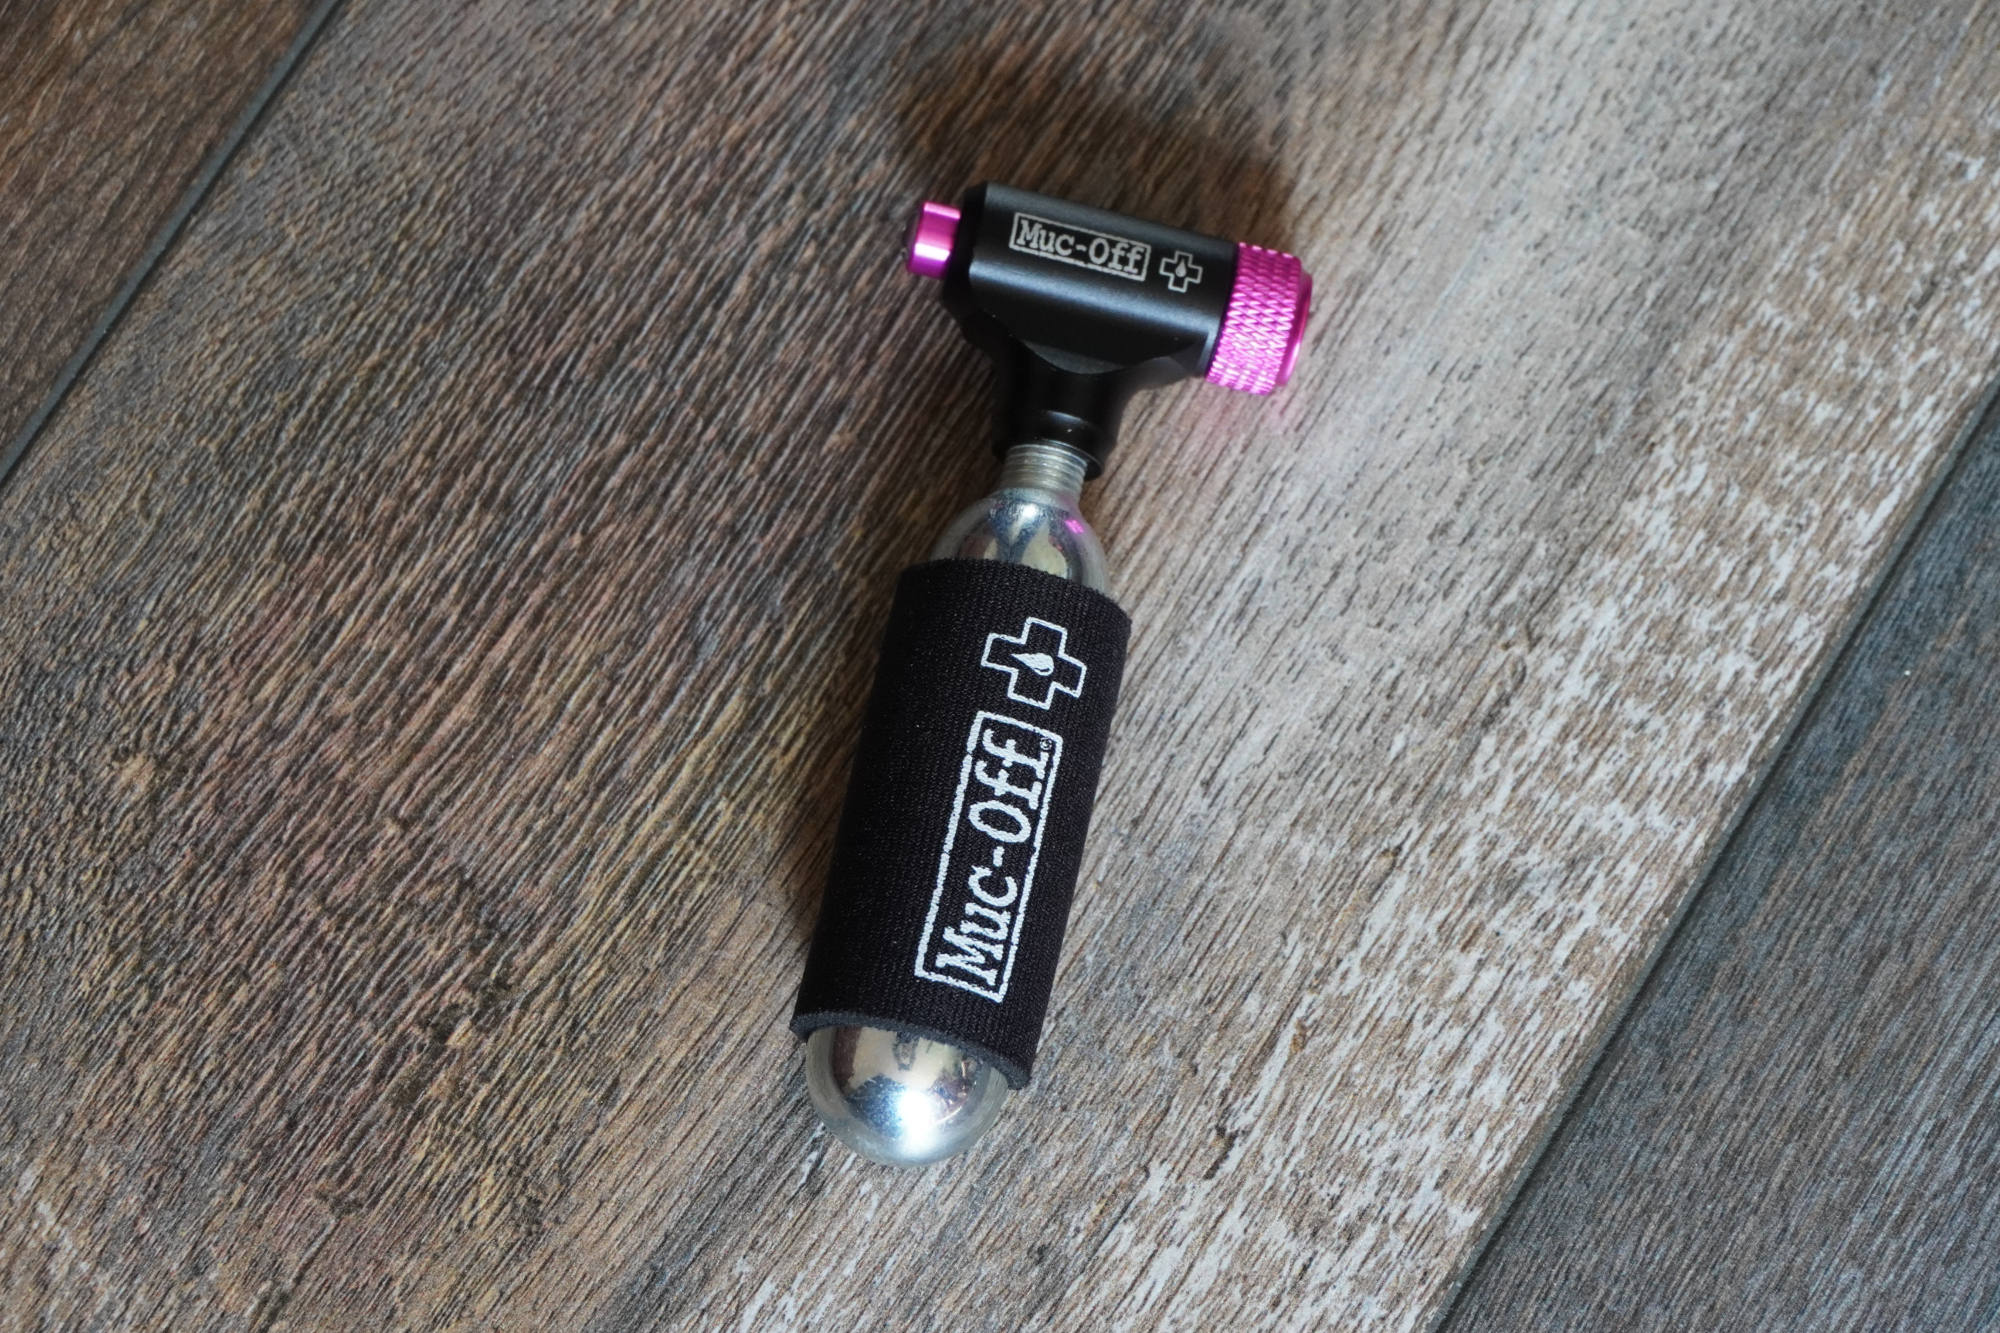
Muc-Off CO2 inflator
1. Muc-Off Road Inflator Kit
Our expert review:
Specifications
Reasons to buy
Reasons to avoid
Sometimes it's the simpler products that are harder to get right. With fewer aspects and parts, the onus becomes proportionally greater to get the execution spot on. Pleasingly, though, Muc-Off has done an excellent job with its Road Inflator Kit.
First is the size: it's pretty compact compared to other simple, inflator chucks. Some designs out there are smaller still, but they lack the features of this Muc-Off inflator – such as the sheer ease of use.
The moderately wide metal head makes it a doddle to screw the CO2 cartridges in and, once screwed all the way in, there's no notable leaking from anywhere on the unit. You could even have it primed and ready to go ahead of an important, unsupported race or event.
Thanks to the double threading, the chuck can be simply attached to both Schrader and Presta valves without any modifications. On the back of the inflator, there's a button for controlling the flow of CO2, from a fast stream to as slow a trickle as you like.
Perhaps because of the thickness of the metal head, I didn't find it got so cold when using the inflator and didn't require gloves or a foam sleeve on the cartridge to act as a barrier. Nevertheless, Muc-Off does supply a Neoprene sleeve with the unit.
It's one of those tools you don't give a second thought when you're using it because it simply works, straightforwardly and without hassle.
Best dual head CO2 inflator
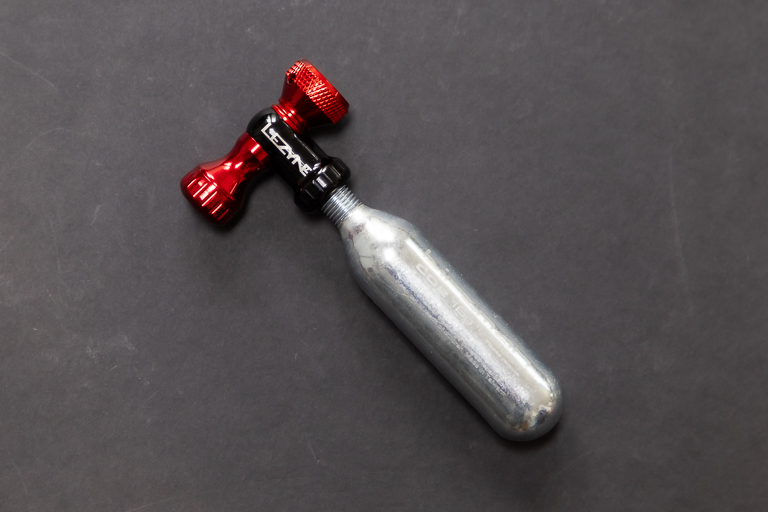
Lezyne Control Drive
2. Lezyne Control Drive
Our expert review:
Specifications
Reasons to buy
Reasons to avoid
Lezyne’s Control Drive has a quality feel to it; the CNCed aluminium unit looks very smart and the flow control knob is smooth and nicely damped. It can be used on both Presta and Schrader valves without having to change anything thanks to the stepped hole and the T-shape gives plenty of leverage to screw it onto the cartridge and pierce it.
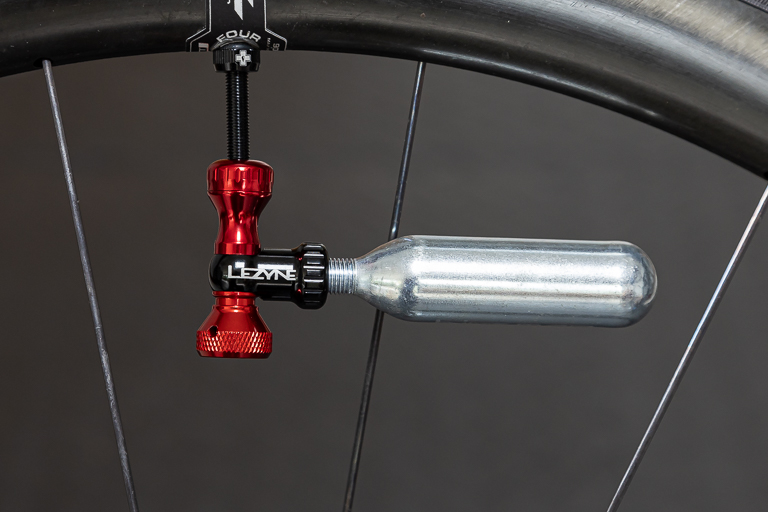
Lezyne Control Drive
Although it is a push fit, the connection was secure with no CO2 leakage. The flow control knob was very simple to use and controlled the gas well; I'd have no qualms about putting a half-used canister back in my pocket with the chuck attached for later use. The Control Drive has been around for a number of years, but Lezyne got the design right first time so why change it? Much like the Muc-Off inflator, this product simply works and is highly recommended.
Best inline inflator chuck
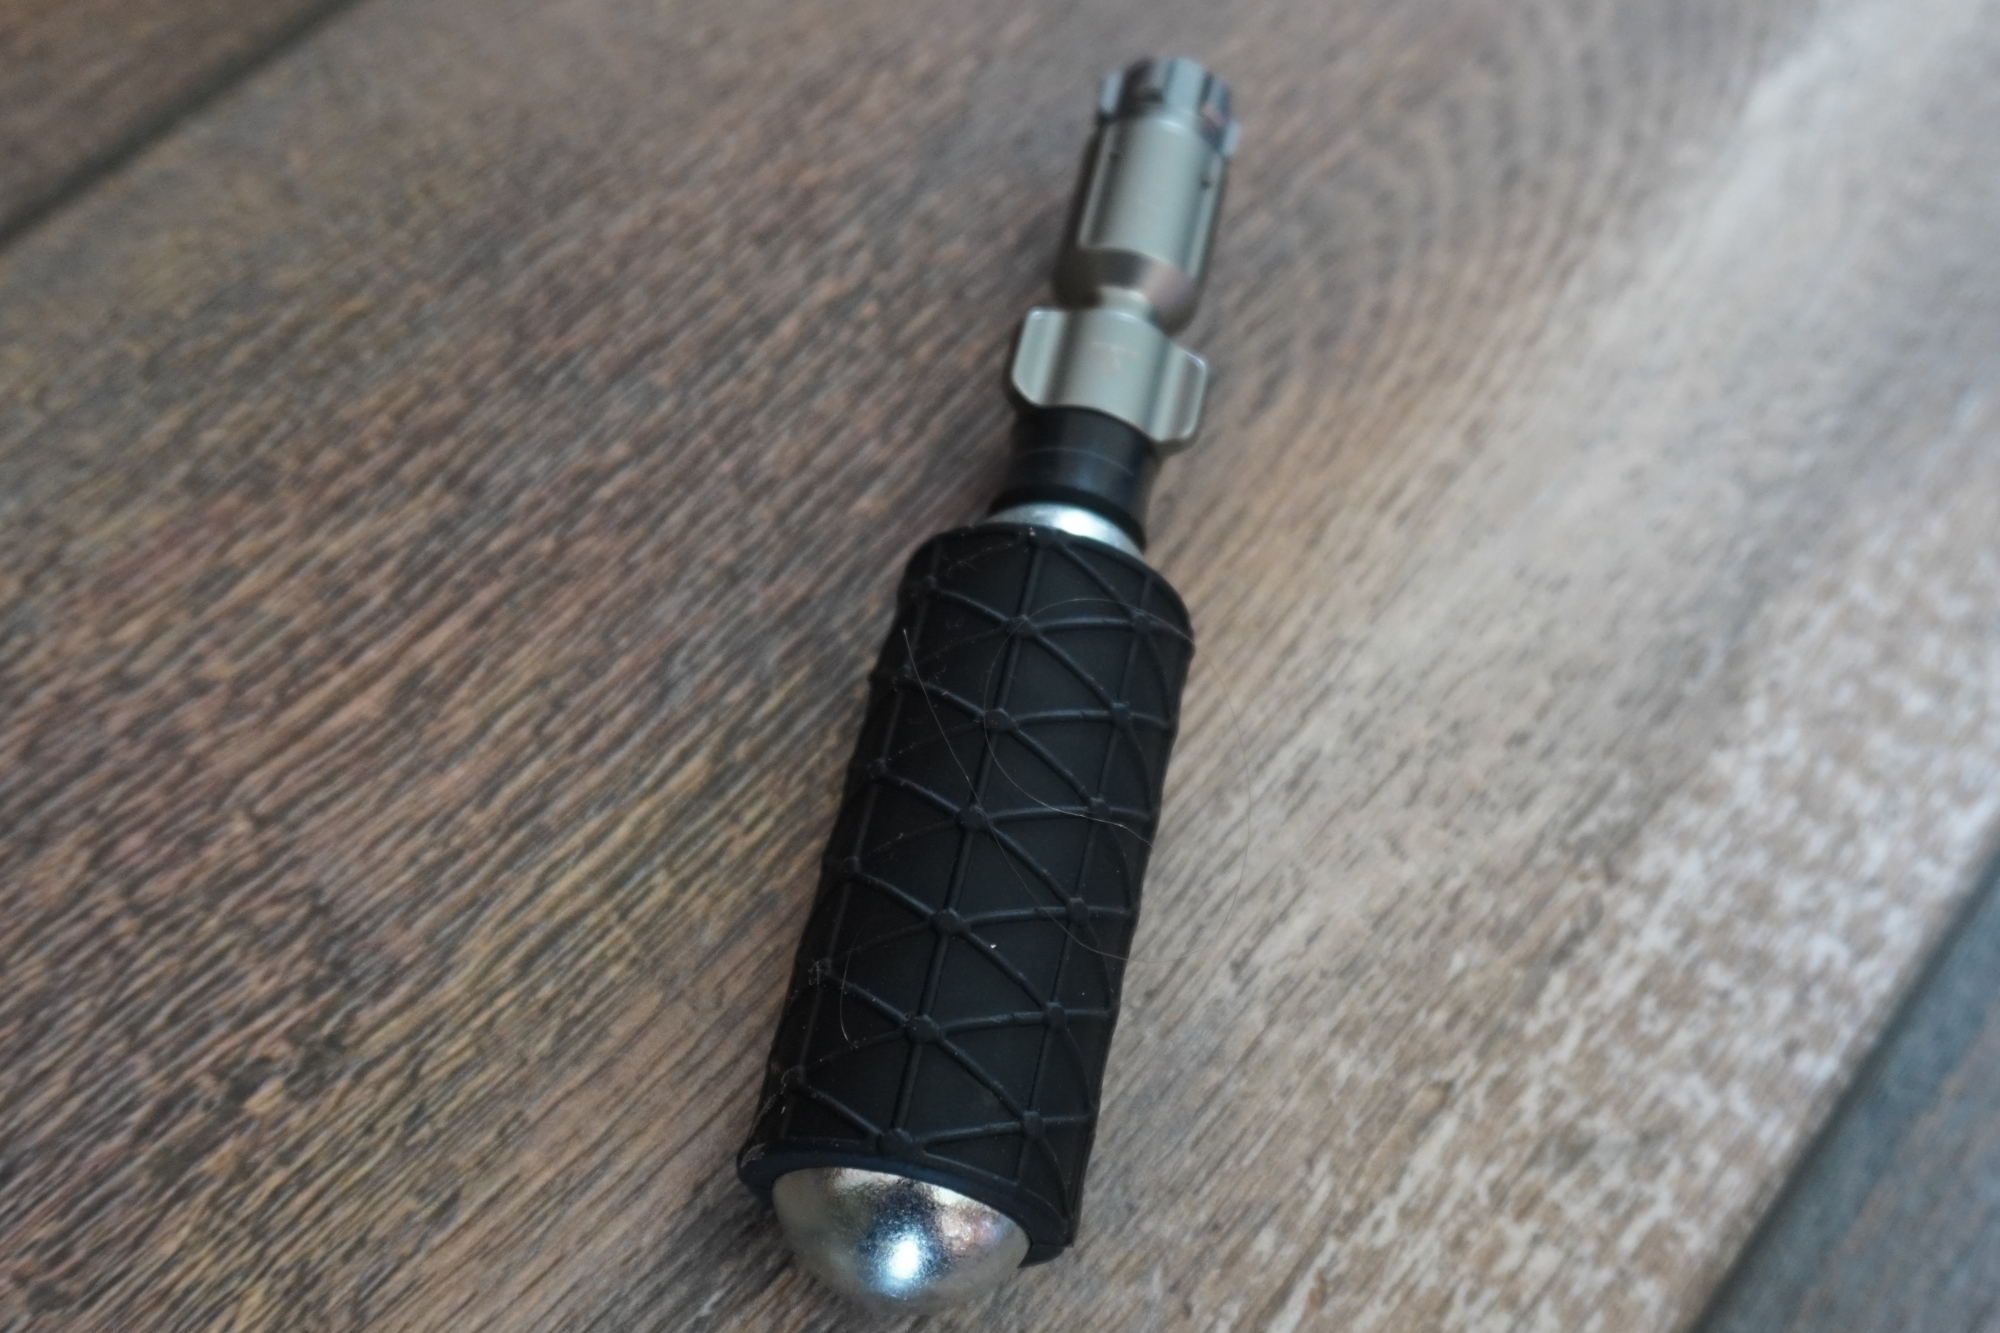
Topeak Microbooster
3. Topeak Micro Airbooster
Our expert review:
Specifications
Reasons to buy
Reasons to avoid
Topeak has one of the biggest ranges of pumps and CO2 inflators on the market. This Micro Airbooster fills a similar role to Muc-Off's Road Inflator Kit but goes about it with quite a different design.
It's much longer and thinner for one thing, which might suit certain people's packing requirements better. A really neat little feature is the safety spacer that allows you to screw a CO2 cartridge into the unit without the chance of accidentally piercing it – although this does make the whole package quite long.
Like the Muc-Off inflator, the chuck can be used with both Schrader and Presta valves without any modifications or adjustments. The flow can also be controlled by just how hard you press the chuck onto the valve.
But herein lies the problem for the Micro Airbooster. Although Topeak supplies a silicone sleeve, gripping by the sides to force the unit onto the valve meant that the sleeve slowly slipped down as I pushed.
What's really needed is pushing the unit onto the valve from the bottom – but that's one of the small sections that isn't covered by the gripper.
It's not the end of the world: you could add some tape to the cartridge or, if you're wearing gloves, it might simply not be a problem. The chuck does work well in other respects, but it's a bit of extra faff and a less clean execution than the Muc-Off inflator.
Most compact CO2 chuck
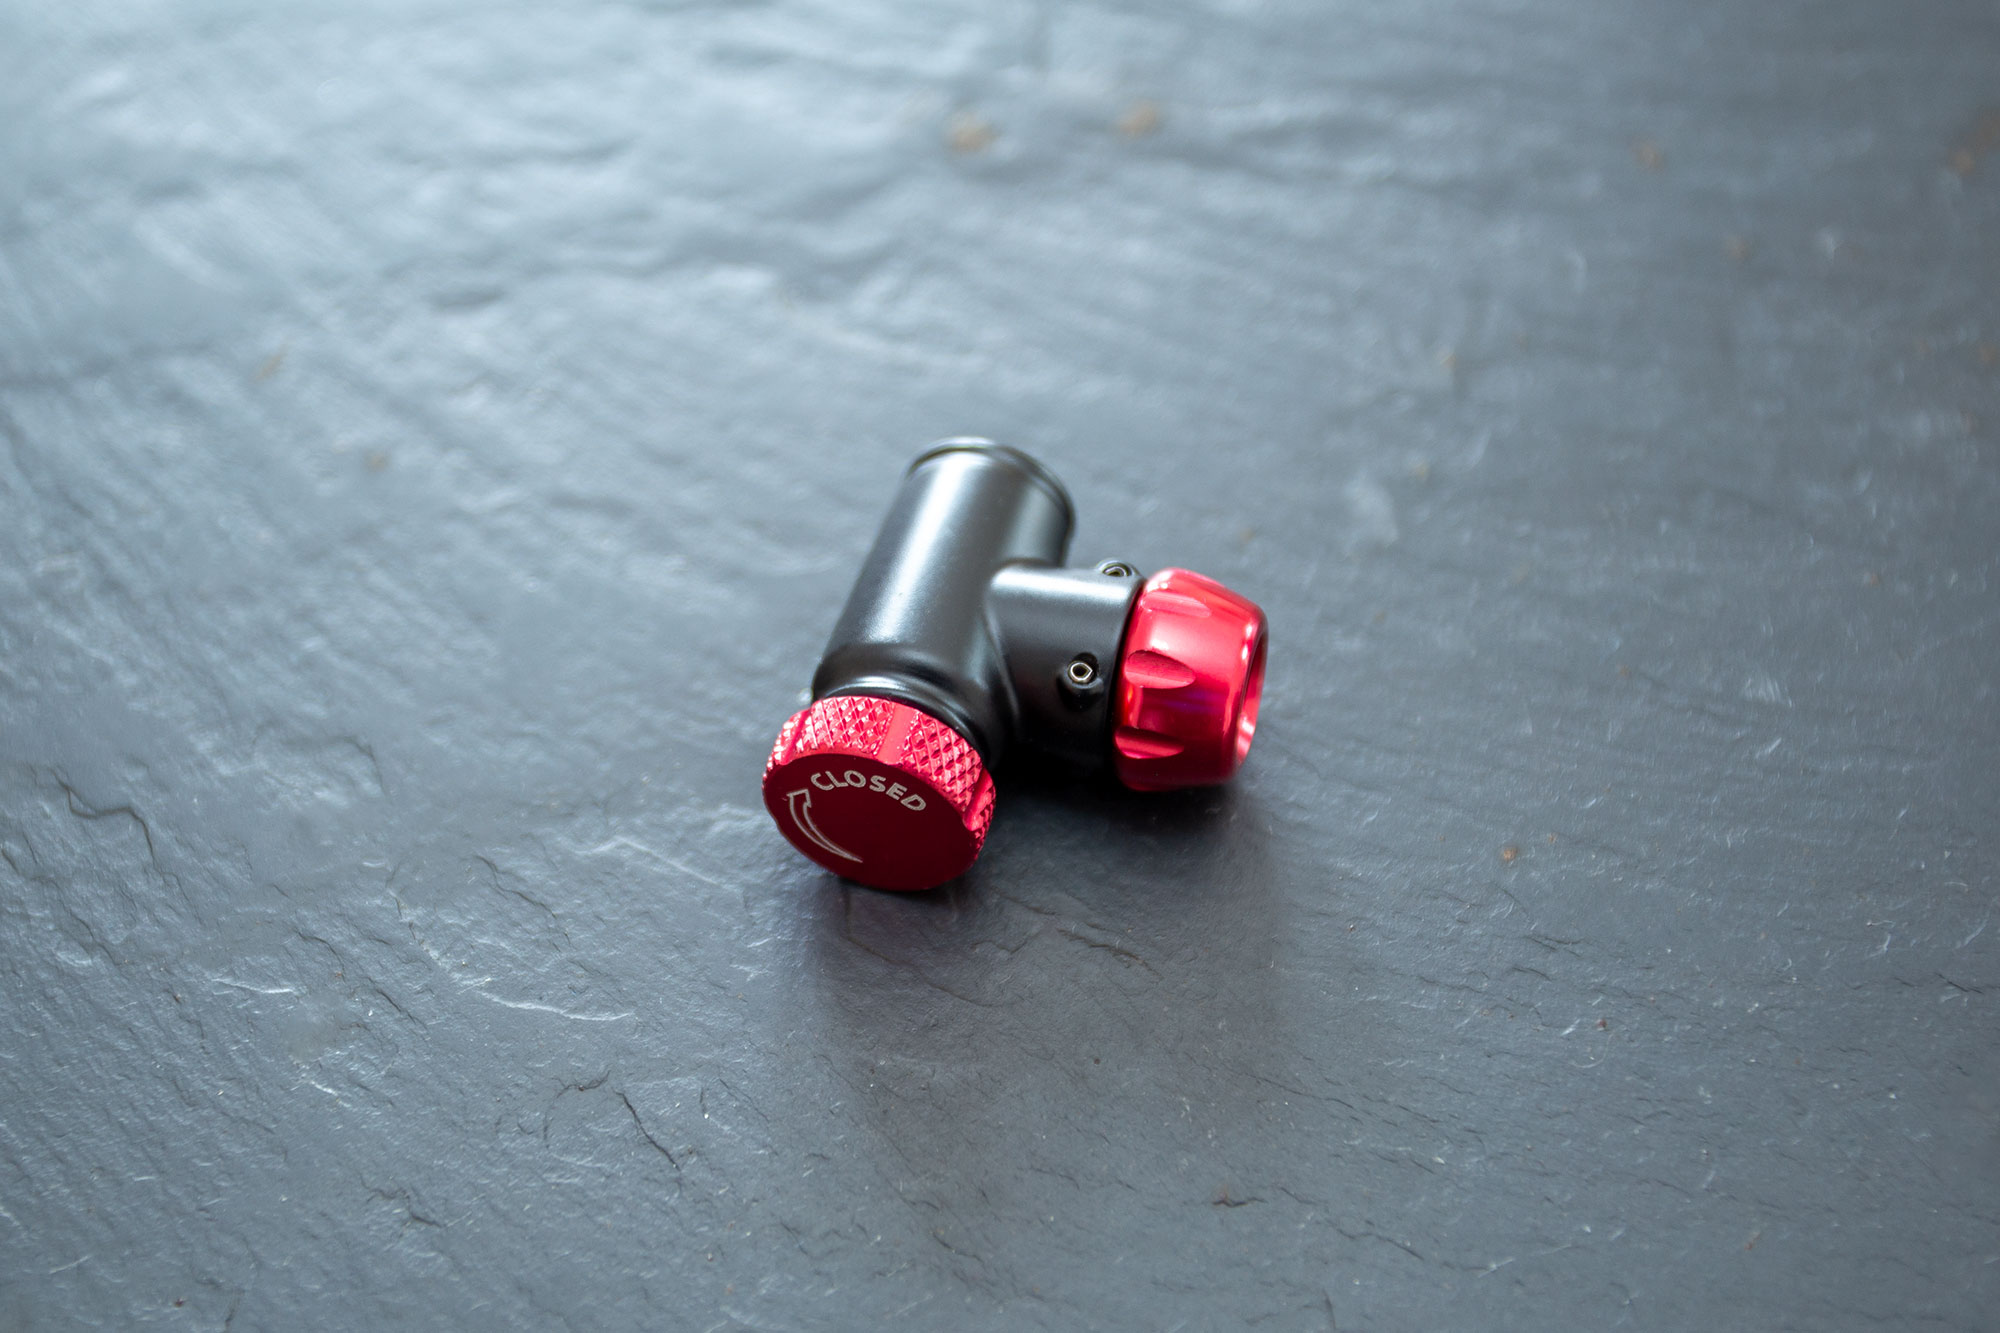
Even on small items like the Eolo IV, Silca upholds its high-quality finish and attention to detail
6. Silca Eolo IV
Our expert review:
Specifications
Reasons to buy
Reasons to avoid
Silca’s Eolo, now in its fourth iteration, is absolutely tiny at 30mm long and just 12mm deep. It’s so small I recommend purchasing the black and bright scarlet version because it’s less likely to become lost in your seat pack than the more covert green and grey colourway. At 13g, it’s also remarkably light, almost half the weight of the Lezyne Control Drive.
Build quality, in common with most Silca products, is excellent. The construction, save the O-rings, is aluminium throughout, so there are no plastic parts to discolour or fail with age. Despite its low weight, the Eolo IV feels sturdy enough to last a lifetime.
The application couldn’t be more straightforward. Ensure the flow control is closed, thread on a canister, press the Eolo onto the valve head (it will screw onto Schrader valves) and then open up the flow. Gas control is ultra-smooth and magnificently variable, making inflation virtually trouble-free.
My only caveat is that its diminutive size can make it fiddly to use if wearing gloves. This is unfortunate because gloves are pretty much required as the all-metal body immediately becomes icy-cold as soon as the gas is released.
Best budget CO2 chuck
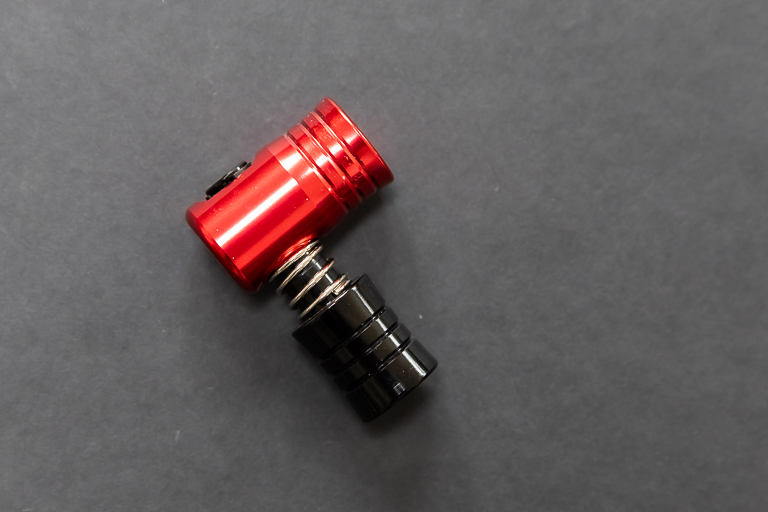
XLab Speedchuck
5. XLab Speedchuck
Our expert review:
Specifications
Reasons to buy
Reasons to avoid
Intended for rapid deployment in race situations, the L-shaped Speedchuck pretty much does what it says on the tin. As you push the inflator onto the valve, you can also press down on the spring, releasing the CO2 immediately - done right it is a very quick way to get air back into your tyres, but if you fluff it then it’s a quick way to empty a canister.
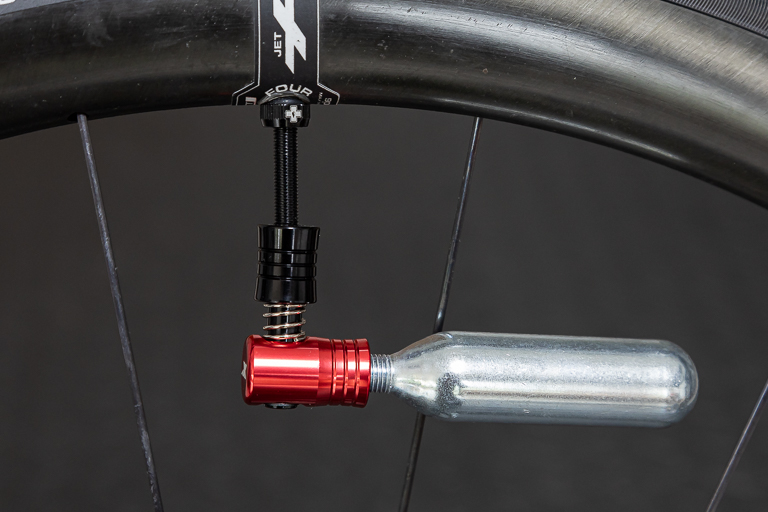
XLab Speedchuck
It is definitely worth spending a few extra seconds to ensure that the chuck and evolve are properly and securely connected before releasing the gas (which kind of defeats the purpose of the Speedchuck). Flow control is, like the Holeshot, purely reliant on the amount of pressure that you apply, so is a little crude, but it does allow you to stop mid-flow. Hand protection is probably a good idea when using this device as you are very likely to come into contact with the freezing chuck.
The Speedchuck is the least expensive inflator in this guide, so will appeal to riders watching the pounds as well as the stopwatch, but the other inflators offer better control.
Best pump for CO2
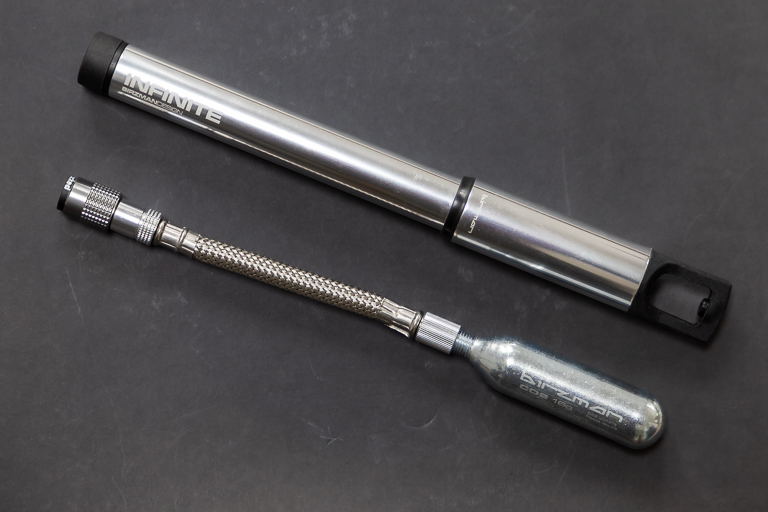
Birzman Infinite Apogee Road
6. Birzman Infinite Apogee Road
Our expert review:
Specifications
Reasons to buy
Reasons to avoid
My name is Tim, and my confession is that I had to read the instructions and watch a little video to figure out quite how the Snap-It Apogee connector worked. However, once I got the hang of it I liked the idea - more secure than push-fit but no chance of unscrewing the valve core accidentally. Perhaps have a quick practice at home rather than trying to figure it out by the side of the road for the first time, though!
The pump is quite long, so it would be best to use the supplied bottle cage mount, as I doubt it would fit in many saddle bags and would certainly protrude from a jersey pocket. The mount can also have a couple of canisters screwed into it to carry them securely alongside the pump.
Inflation is via the flexible steel mesh hose, which can either be attached to the pump or directly to a CO2 canister.
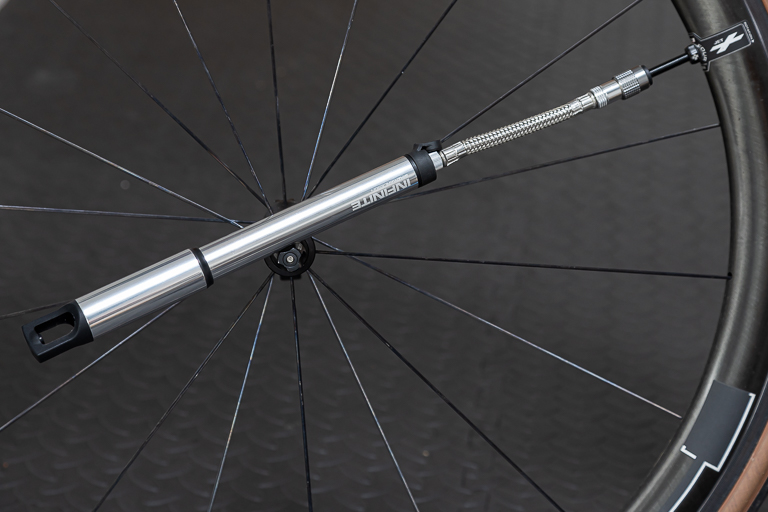
Birzman Infinite Apogee Road
When used as a pump it took about 150 strokes to get a 28mm road tyre up to rideable pressure (about 60psi), which isn't too bad at all. I did have to slide the rubber seal down the shaft and out of the way though, and the pump/hose interface got really rather hot.
It was effective too as a CO2 inflator, although again I needed a bit of guidance on how to use it properly. You screw the cartridge all the way in which both pierces it and blocks it off. You can then slightly unscrew the canister to start the flow of gas and control it. Obviously this needs to be done fairly gently so as not to simply undo the canister entirely.
How we test
When you ride as many miles or kilometres as the Cycling Weekly team do, you are bound to get a puncture or two. That has become less frequent with widespread adoption of the best tubeless tyres, but it hasn't completely eradicated them, and a good opportunity for us to put these tools to the test. CO2 is ideal for tubeless punctures, eliminating the need to carry a bike pump.
Our testing for the best CO2 inflators combines controlled environment testing with real-world usage. As real-world testing could be a few hundred kilometres down the road, we generally fall back on our controlled environment testing to give our overall ratings. If we have the opportunity to use them on the road, that would be even better, and any flaws or standout performances will be reflected in our ratings.
In these controlled environment tests, we are not only assessing for ease of use, size, packability and value for money, but most importantly, their ability to inflate a tyre. We will test all systems with both a tube type and tubeless setup, using basic metrics to gauge how quickly they can inflate a tyre and the number of inflation cycles. We will also pay particular attention to any additional features like possible value usage, and protective sleeves.
For more information about how the team here at Cycling Weekly put the best cycling products through their paces, visit our How We Test page.
Meet our testers
Tim likes to ride far and fast, which generally means he rides 'light', with the bare essentials. Over the last 20 years as a writer and photographer, Tim has refined what he needs on the road and trail into a fine art, and can easily discern the wheat from the chaff.
Our former Tech Editor and still regular contributor, Simon, now spends his time primarily riding even more bikes. His recent trip across France highlighted his need for quality, well-selected kit in his back pocket. Simon will also quite happily say that his hands-on mechanical expertise isn't always up to scratch, so anything that can make your life easier by the side of the road will score well with him.
How to choose the best CO2 inflator
What is a CO2 inflator?
CO2 inflators consist (broadly) of two parts: a CO2 canister (aka cartridge) which contains the compressed gas and some form of chuck for attaching to the tyre valve. Generally, you simply screw the canister in and the gas is released, inflating the tyre in seconds.
To inflate narrow road and gravel tyres, CO2 cartridges generally hold about 16g of the gas. Larger volume MTB models need about 25g. To put that in perspective, the average petrol car on the road in the UK emits 180g of CO2 every kilometre.
A few years ago, you'd rarely see a rider out without a mini-pump, but now you see a lot of smaller loads stuffed into jersey pockets, in the shape of the CO2 inflator and canisters. But there are pros and cons of both options.
CO2 inflators and canisters pros and cons:
Pros | Cons |
|---|---|
Lightweight and low bulk | Each canister is one use |
Gets tyre up to pressure in seconds | Can be tricky to get the desired PSI |
The quick blast of pressure can reseat a tubeless tyre | Not reusable and not so eco-friendly |
Mini pump pros and cons:
Pros | Cons |
|---|---|
Endless possibilities for tyre inflation, a pump never runs out | Your arms do... pumping to even 80 PSI can take some effort |
It's easer to hit the right pressures | Pumps are bulkier to carry |
One approach is to carry CO2 which will get you quickly up to pressure when required, but to have a backup pump as well. However, those who don't like the feel of too much kit jangling in their pockets may choose to chance it with CO2 alone.
What should I look for in a CO2 inflator?
Wrap that canister
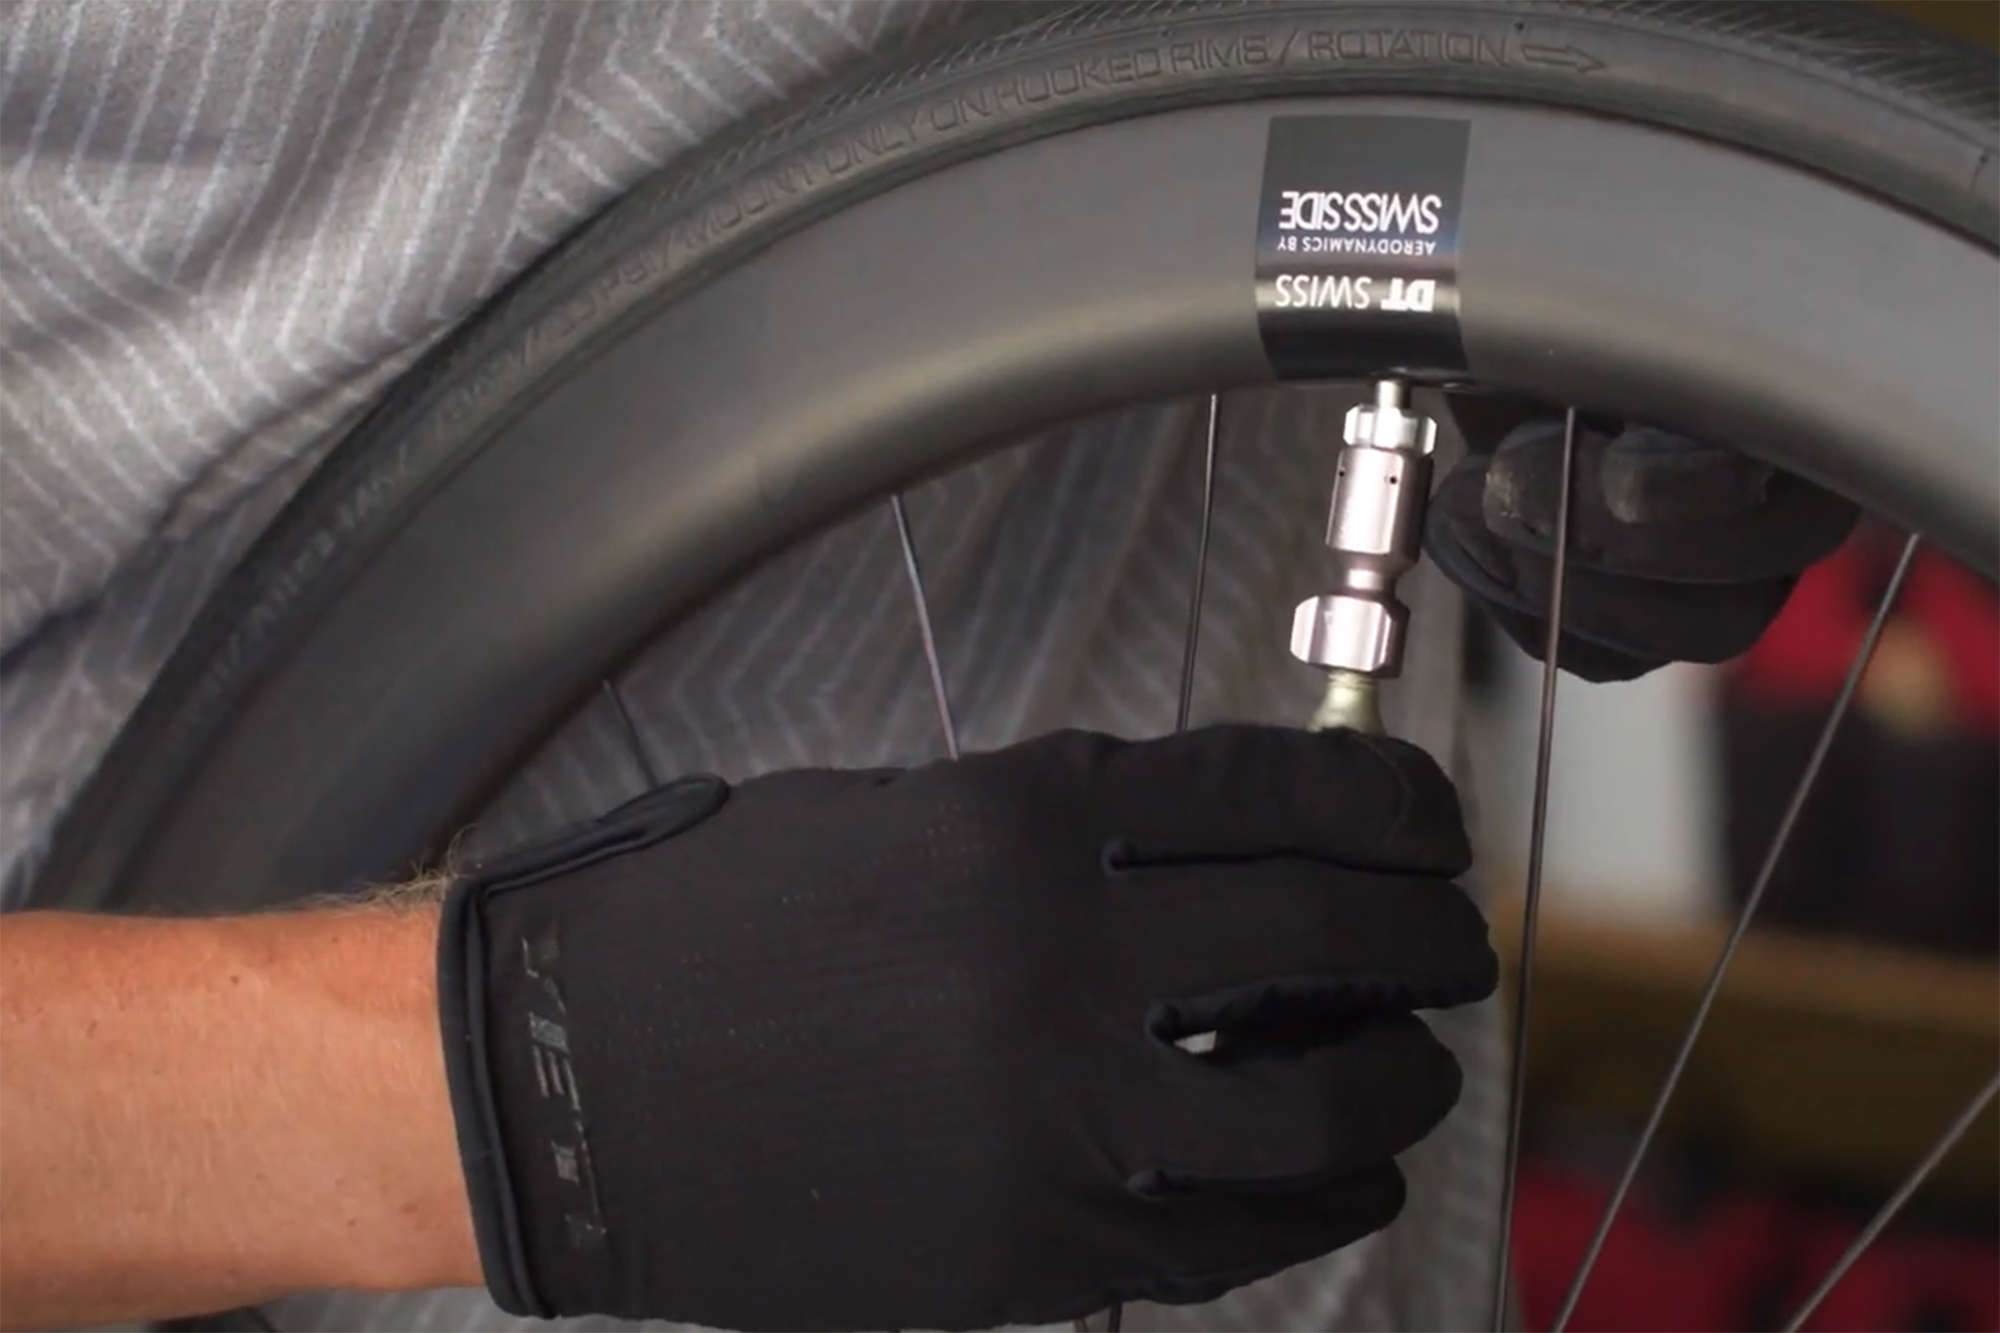
The metal canister will get to freezing point as it quickly discharges its gas — if you have bare fingers they’ll get stuck to it causing severe discomfort! Either wear long-finger gloves or better still put some sort of sock over it — it’ll serve the double purpose of stopping the metal bottle rattling in your seat pack. Notice that some of these kits cover the canister as part of the design.
Reduced bulk
Like your bike, you’ll be taking your chosen CO2 pump with you on every ride. Not only will it take up vital space in your saddlebag or pocket, but you’ll also have to drag the weight up and down every hill you ride. It therefore makes sense to get one that’s as light and small as your wallet will allow.
Ease of use
It sounds daft but you need to be able to use the pump quickly and easily so it needs to be quick and easy to use. When you’re cold and tired — the most likely time you’ll get a flat — you don’t want to spend time faffing with a complicated mechanism. A valve or push fit are therefore the best options.
Pressure tap
Some CO2 canisters come with an on/off valve so you can apply just the right amount of pressure. These are usually a little bit more expensive, but they save you from blowing a canister with every use as you can save some if you like, and it also means you can add that little bit of air to the inner tube before you fit the tyre, reducing the chance of pinch punctures.
Threaded/non-threaded canisters
All canisters are not created the same. Some have a threaded tip, whilst others are smooth. Neither is right or wrong, but when buying a new inflator, make sure you're getting compatible canisters.
Thread fit or push fit
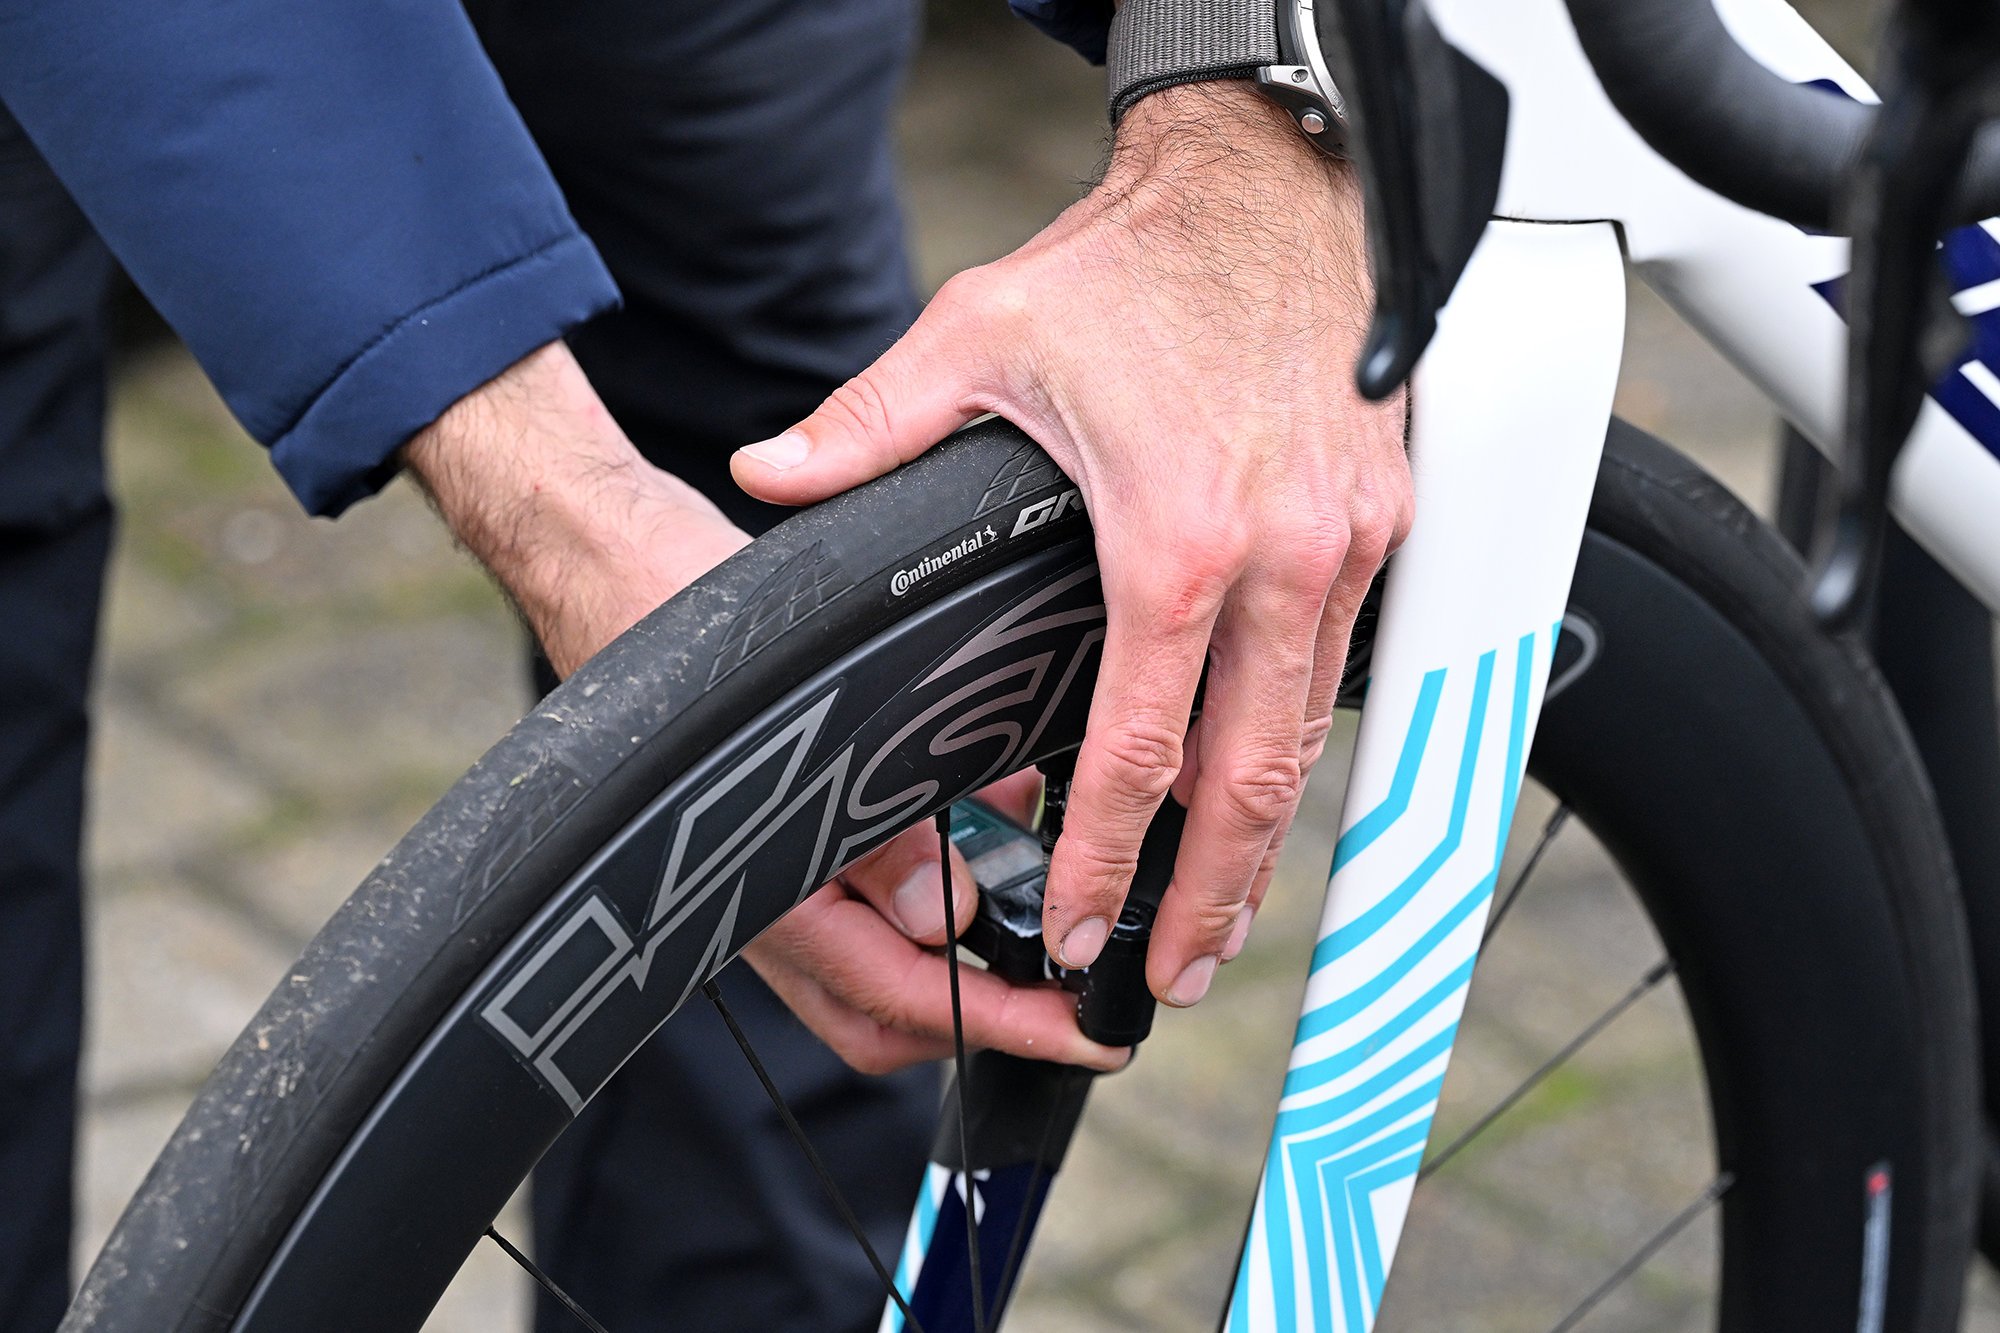
Some chucks simply push onto the valve, others need to be screwed on. Clearly thread fit id more secure, but takes longer and you do run the risk of the chuck unscrewing the valve core when removed, so always ensure that the core is tight before starting inflation. Thread fits need the valve to have a thread, so won't work work with non-threaded valves or valve extenders. Push fit is faster and won't unscrew the valve core, but make very sure everything is snug and lined up before releasing the gas otherwise it will go everywhere other than into the tyre.
Frequently asked questions about CO2 Inflators
Is CO2 compatible with Tubeless Sealant?
Although CO2 canisters and tubeless setups are seemingly a match made in heaven, surpassed only by hot coffee and a slab of cake, there is a potential problem with this dream team – CO2 doesn’t always play nicely with sealant.
If you read the small print on the back of a bottle of sealant, chances are you’ll find a warning advising against the use of CO2 canisters. There are a couple of likely reasons for this.
First, a sudden burst of frigid CO2 can induce a level of thermo shock cold enough to cause latex sealant to polymerize, resulting in large balls of solidified sealant rattling around in your tyre. Not nice.
Secondly, in the long term, CO2 gas can cause some sealants to separate.
Fortunately, there are a couple of workarounds. To avoid thermo shock, rotate the wheel so that, when inflating, the valve is as far away from any tyre-borne sealant as possible. This should provide the gas the opportunity to warm up a fraction before it works its way around to assault the sealant. In most cases, this means positioning the valve between 11 and one o'clock so that the sealant pools at six.
Preventing your sealant from separating is as simple as fixing your bike at the roadside with CO2, but remembering to deflate and re-inflate your tyre with air when you arrive safely home.
So, with a little care and forethought, CO2 can enhance, not diminish, your tubeless setup experience.
Are CO2 inflators any good?
I think if you speak to any cyclist, they all have a story about how a canister hasn't been connected correctly and leaked, etc. However, overall, at least in the last decade, they have been a fairly reliable way of inflating your tyre after fixing a puncture or changing a tube.
However, that is changing. The best electric bike pumps are really taking away all the reliability issues (assuming you remember to charge it). They are also more environmentally friendly and reusable, of course. While CO2 canisters can be recycled, they generally need to be taken to a recycling centre or a specialist.
What size canister do I need for gravel tyres?
For the most popular gravel tyre sizes, thats everything up to 45mm, you should be fine with a standard 'road' size canister. For many, that will be a 16g canister. However, as gravel tyre sizes continue to grow, with up to 50mm plus and indeed some 650b/27.5 inch wheels, you might want to consider carrying a larger 25g cartridge to be on the safe side.
The latest race content, interviews, features, reviews and expert buying guides, direct to your inbox!
Tim Russon is a writer and photographer who has worked in the outdoor and cycling industry for over 20 years. He can’t remember a time when he didn’t own a bike and has road, gravel, mountain and retro bikes in the shed. His favourite place to ride is the Dolomites, a simply stunning area which has breathtaking views and incredible roads combined with lovely food and great wine.
He prefers long, hot climbs in the big mountains, but as he lives on the edge of the Peak District he has to make do with short, cold climbs most of the time instead.
- Simon FellowsFreelance Writer. Former Tech Editor
