How to plan new gravel routes
Preparation is key to creating enjoyable off-road rides. We delve into the hows and whys with some route planning 101
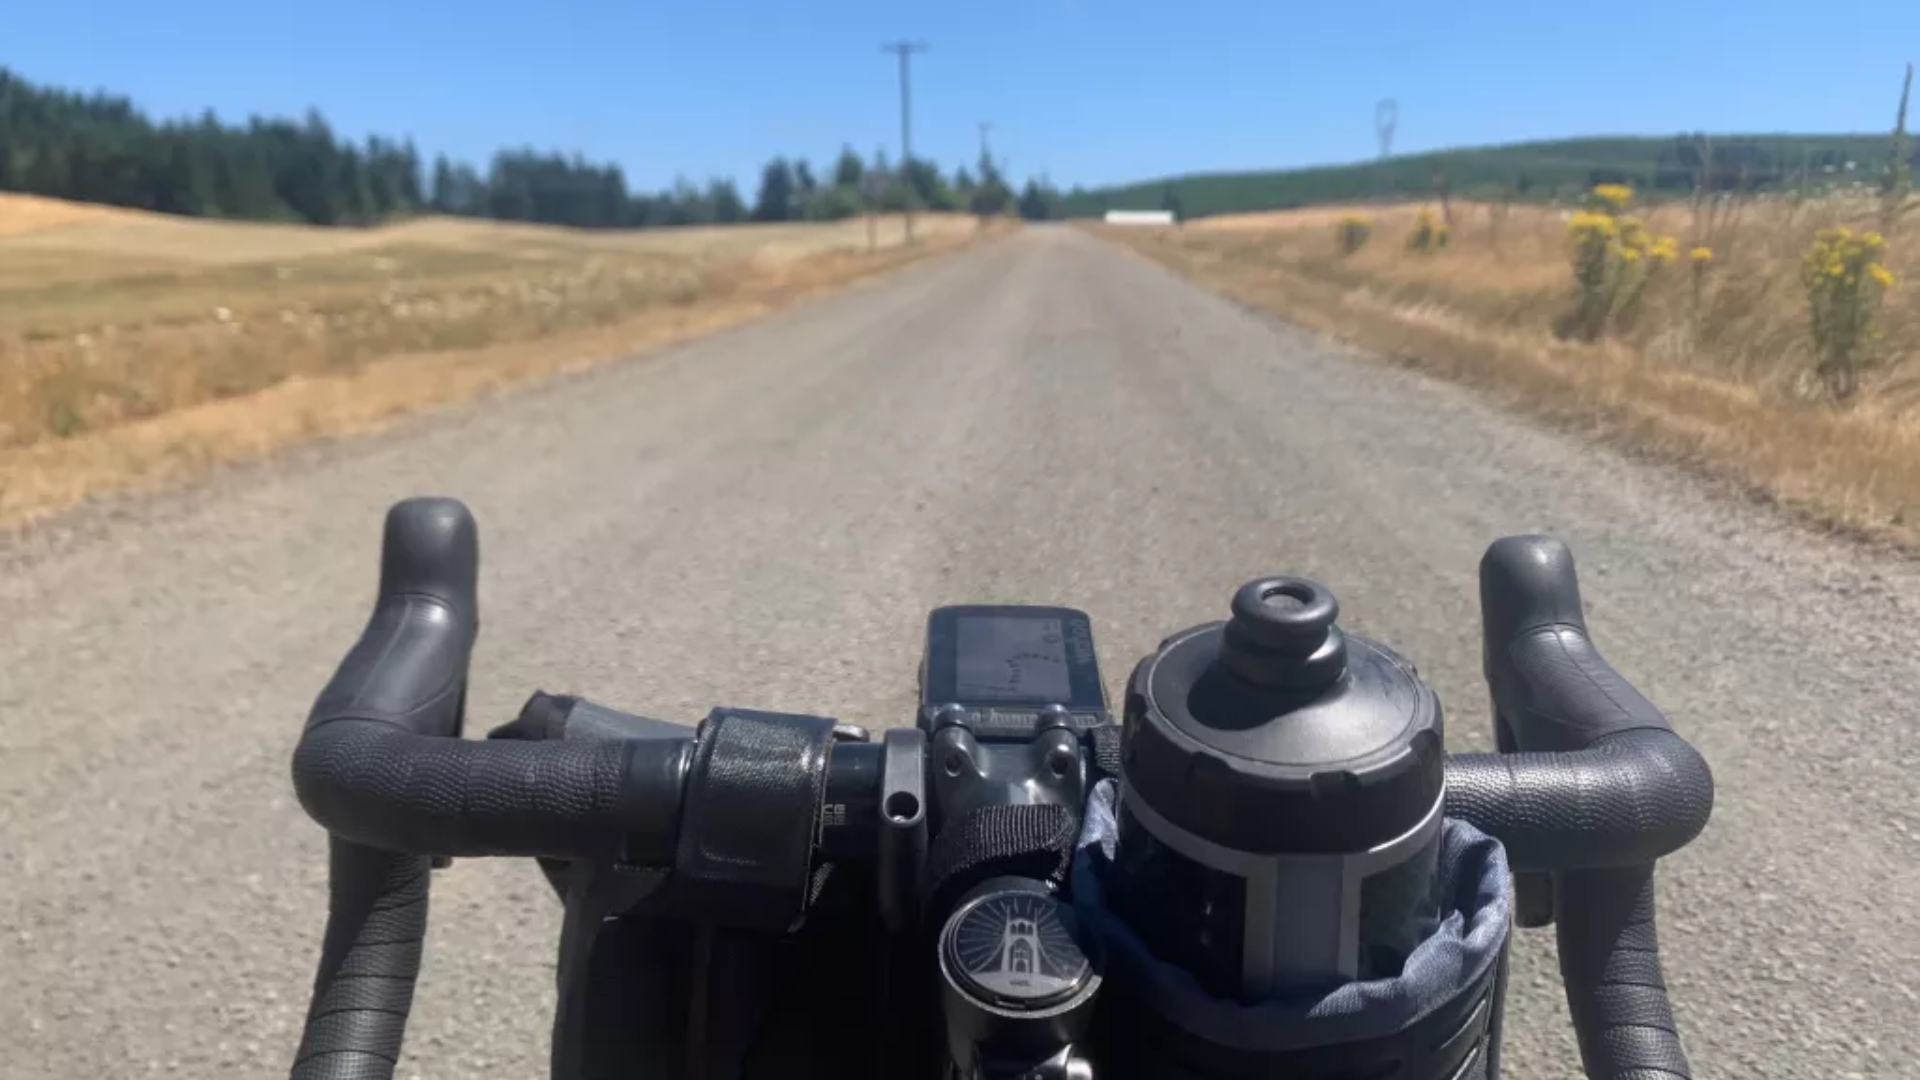
Traffic-free routes that channel a spirit of adventure are at the heart of gravel riding’s broad appeal. Even die-hard roadies at one with the hum of traffic and skilled at navigating road furniture large and small will likely appreciate the liberation that comes from not having to worry about moving vehicles for large swathes of the ride.
Gravel riding encourages you to explore. It urges you to stop wondering what’s up that track, and instead go and find out. Armed with wider tyres, the imagination too seems to expand as you unfold the map, real or otherwise, and begin to join dots, trails and byways in the hope of genuine discovery but mostly in the pursuit of fun.
But where do you start? If you’re new to gravel, which we’ll take as describing anything ‘off’ road, figuring out where to ride may seem a little daunting. Plotting a new road ride comes with inherent boundaries that make surveying fresh pastures somewhat easier. Remove the constraints of paved surfaces and both the map and the possibilities grow considerably. Lots of choice. Equally, lots of uncertainty.
To help you dip your toe in the water, we’ve set out a few hints and suggestions on how to find, plot and plan new gravel routes.
Match your bike and fitness level to the terrain
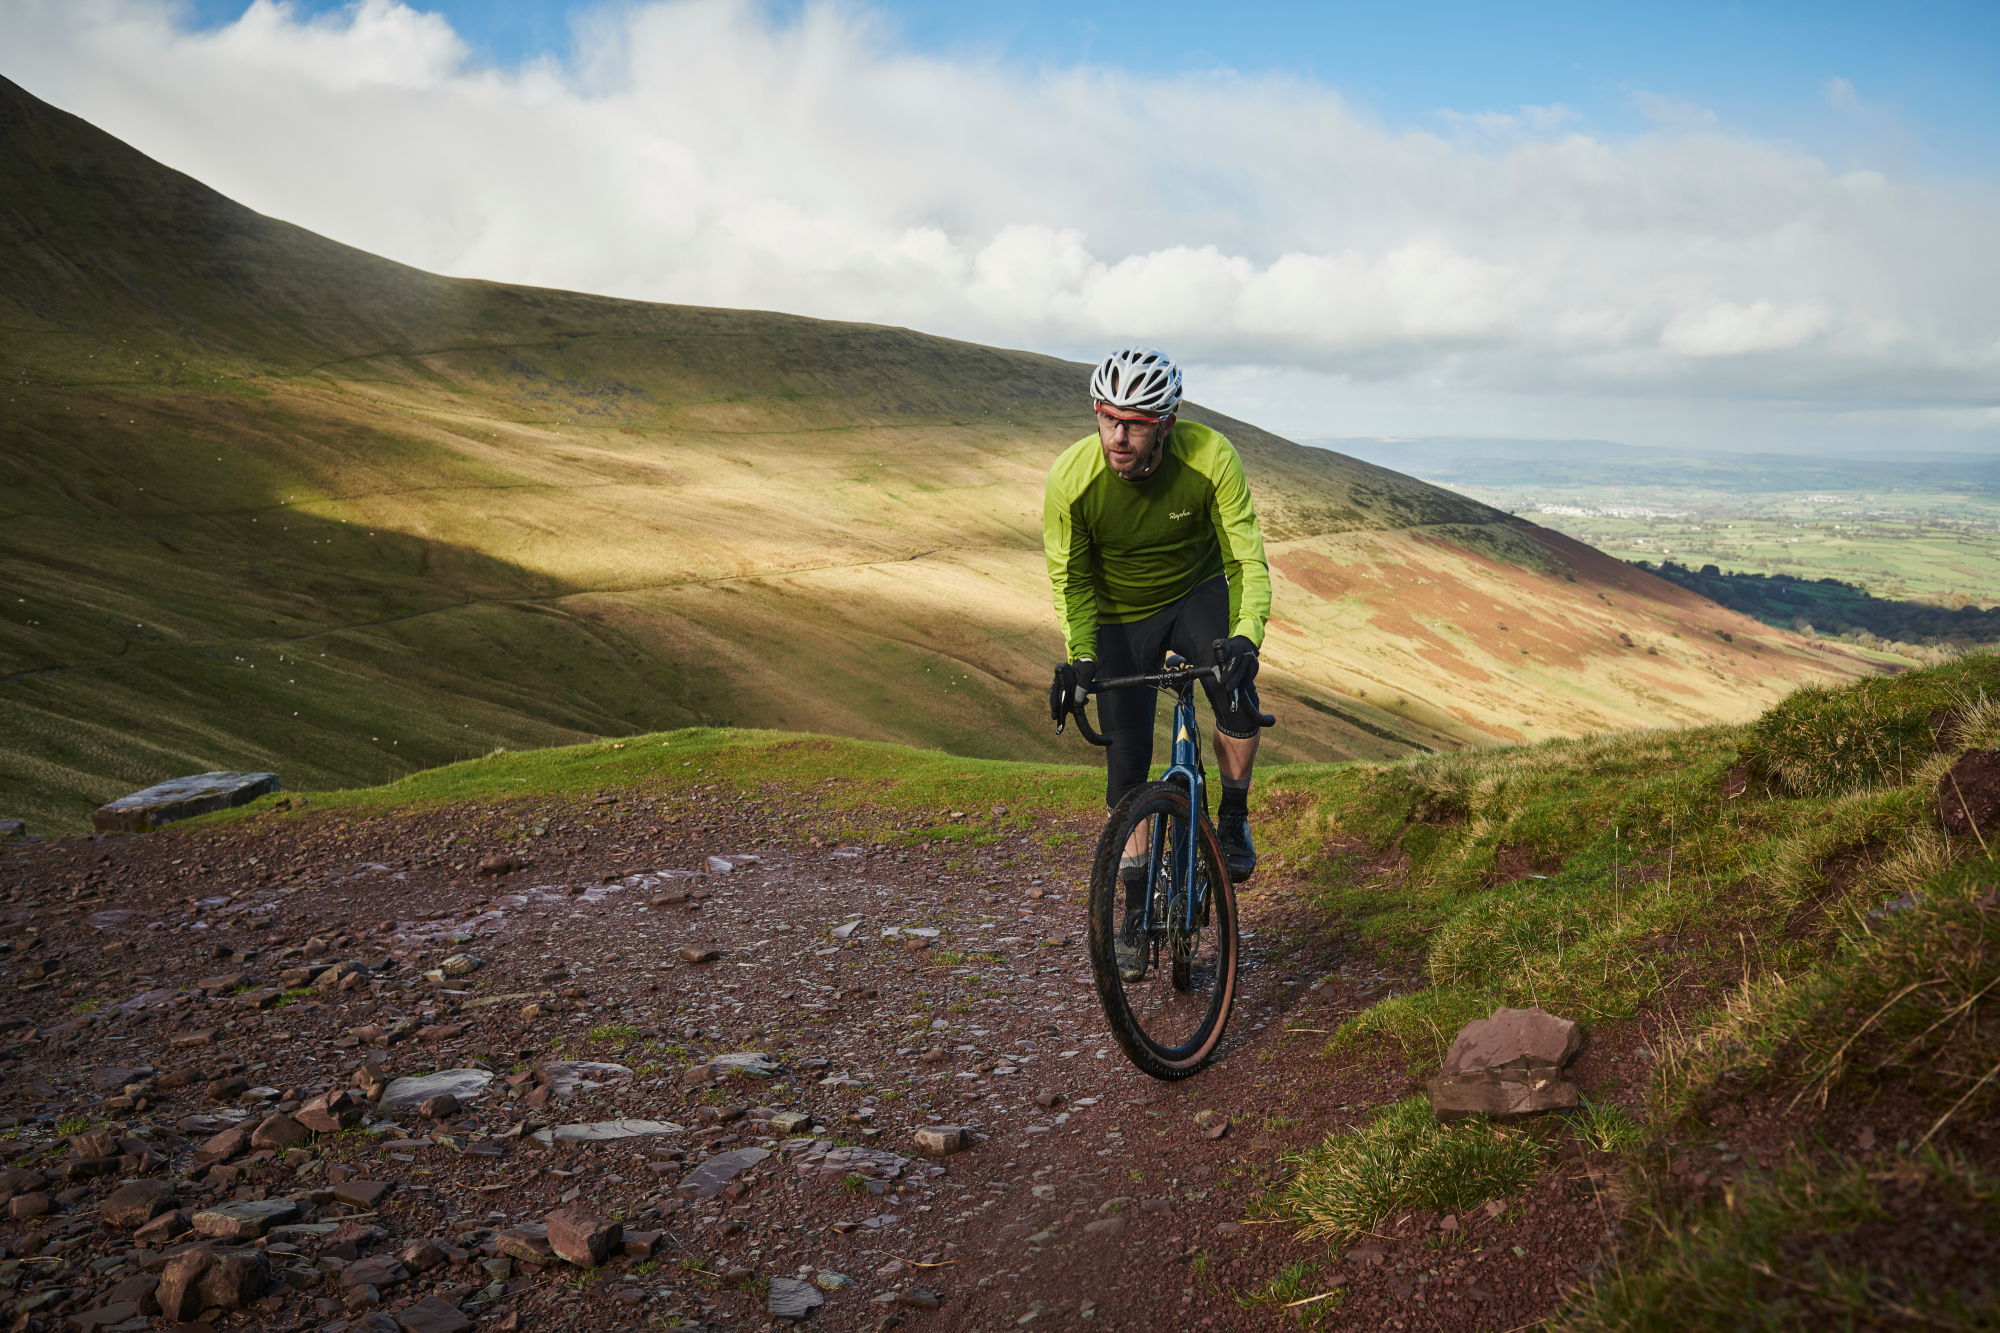
There’s a more expansive answer here than just ‘gravel’, and one that requires a little thought.
Knowing what kind of route you’re looking for starts with an assessment of both you and your bike.
If you're yet to buy your first gravel bike there's plenty to consider. However, even if you have a dedicated gravel bike you’ll want to look at your tyre options. If you own several sets with varying widths and tread patterns then you’re well-equipped to take on a variety of surfaces. However if you’ve just got one pair of tyres, you’ll be best to match the route to the rubber; tackling muddy terrain, strewn with large rocks in mid-winter on 35mm tyres with minimal tread might not be the best idea. Equally, a route consisting of hard-packed gravel linked together by tarmaced surfaces is probably going to feel a little sluggish on 50mm tractor tyres.
The latest race content, interviews, features, reviews and expert buying guides, direct to your inbox!
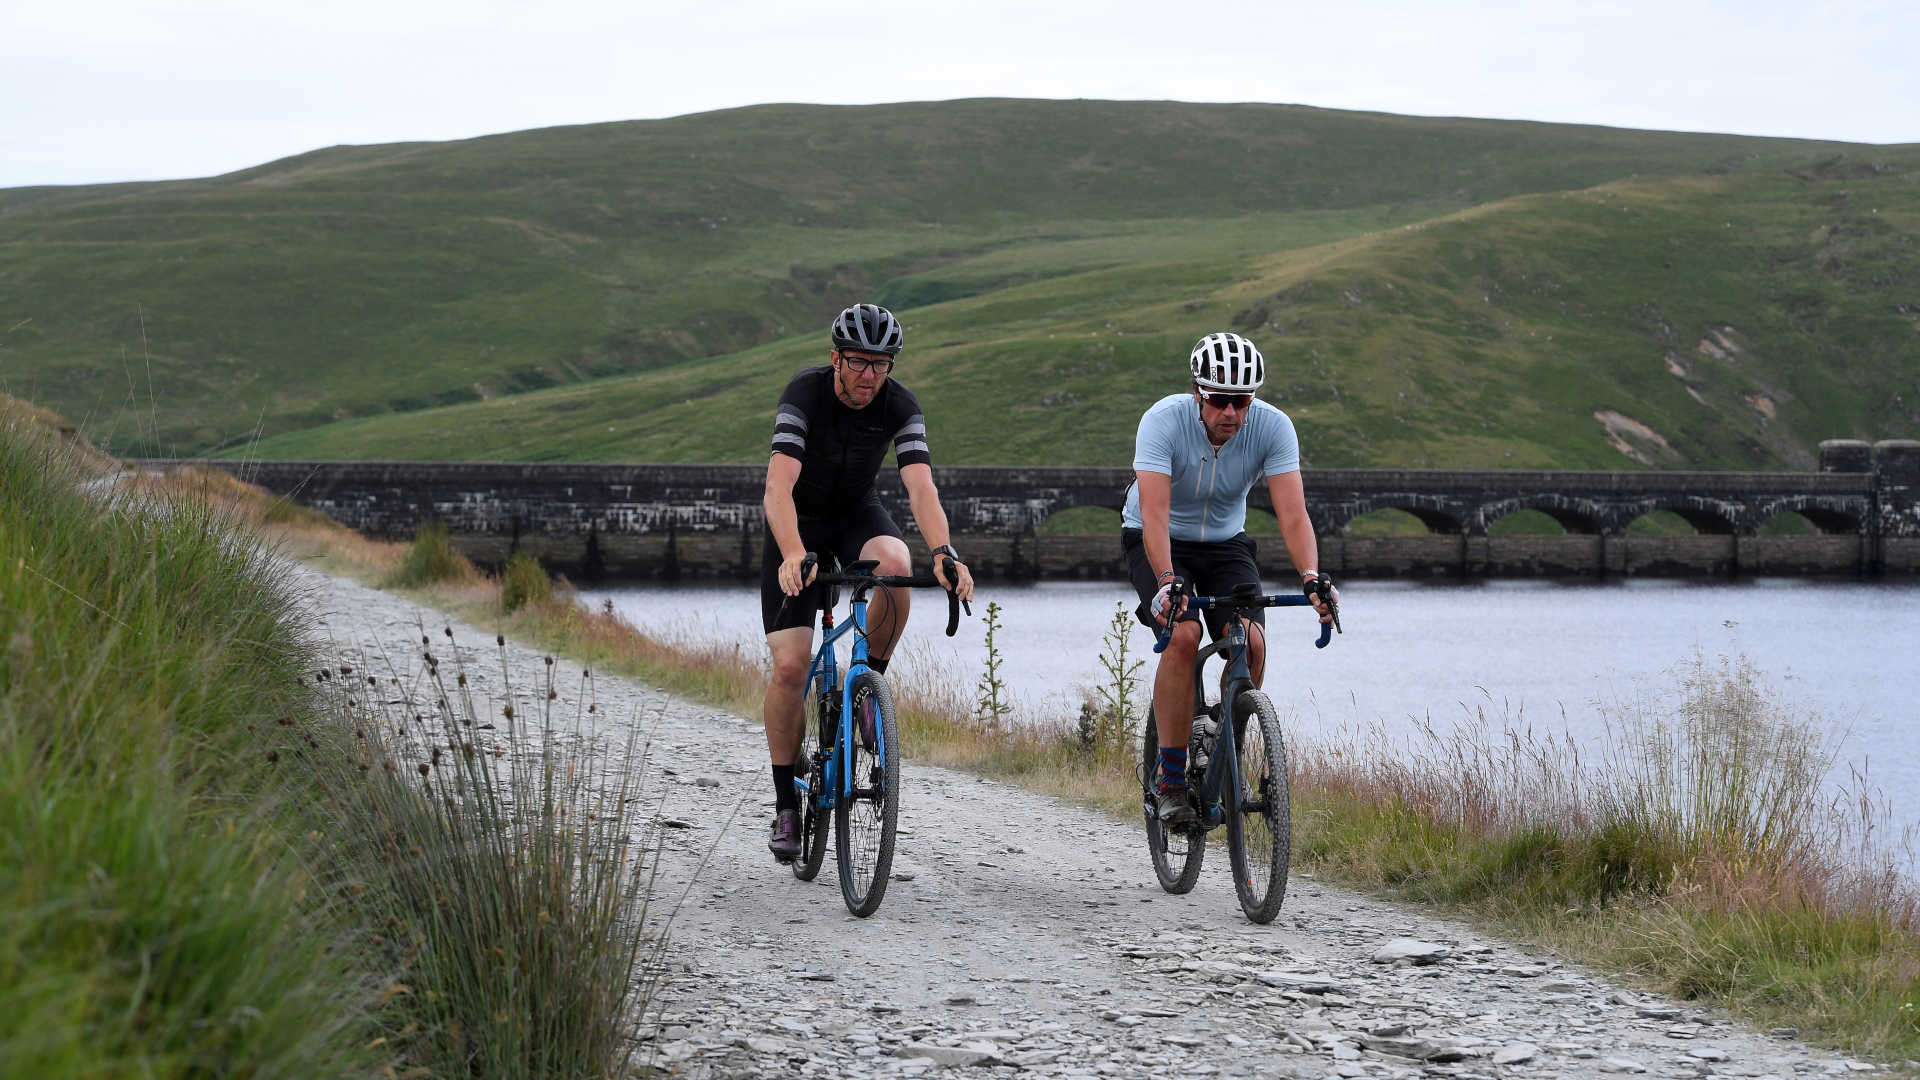
An honest assessment of your current level of fitness is also wise. Riding off-road can be challenging and distances can be deceptive. When starting out, pick a route with a sensible amount of elevation gain and a mileage that you know you can handle. You can use a regular road loop for numerical guidance, knocking back on both the miles and the amount of climbing for your gravel ‘adventure’.
Naturally, the terrain is a vital consideration here also - thirty rolling miles of fine grit isn’t the same as thirty miles of heavily undulating singletrack and so forth.
This also impacts on how long your ride will take. If you have a two-hour window you don’t want to plan a route with an extensive amount of hike-a-bike. As a general rule, you’ll be travelling at a slower average speed compared to on-road, so make sure you figure this into the equation.
Likewise if you’re new to riding gravel it makes sense to begin with less challenging terrain. You can then start adding in smaller amounts of technical riding, building your off-road skillset as you go.
Use route planning apps
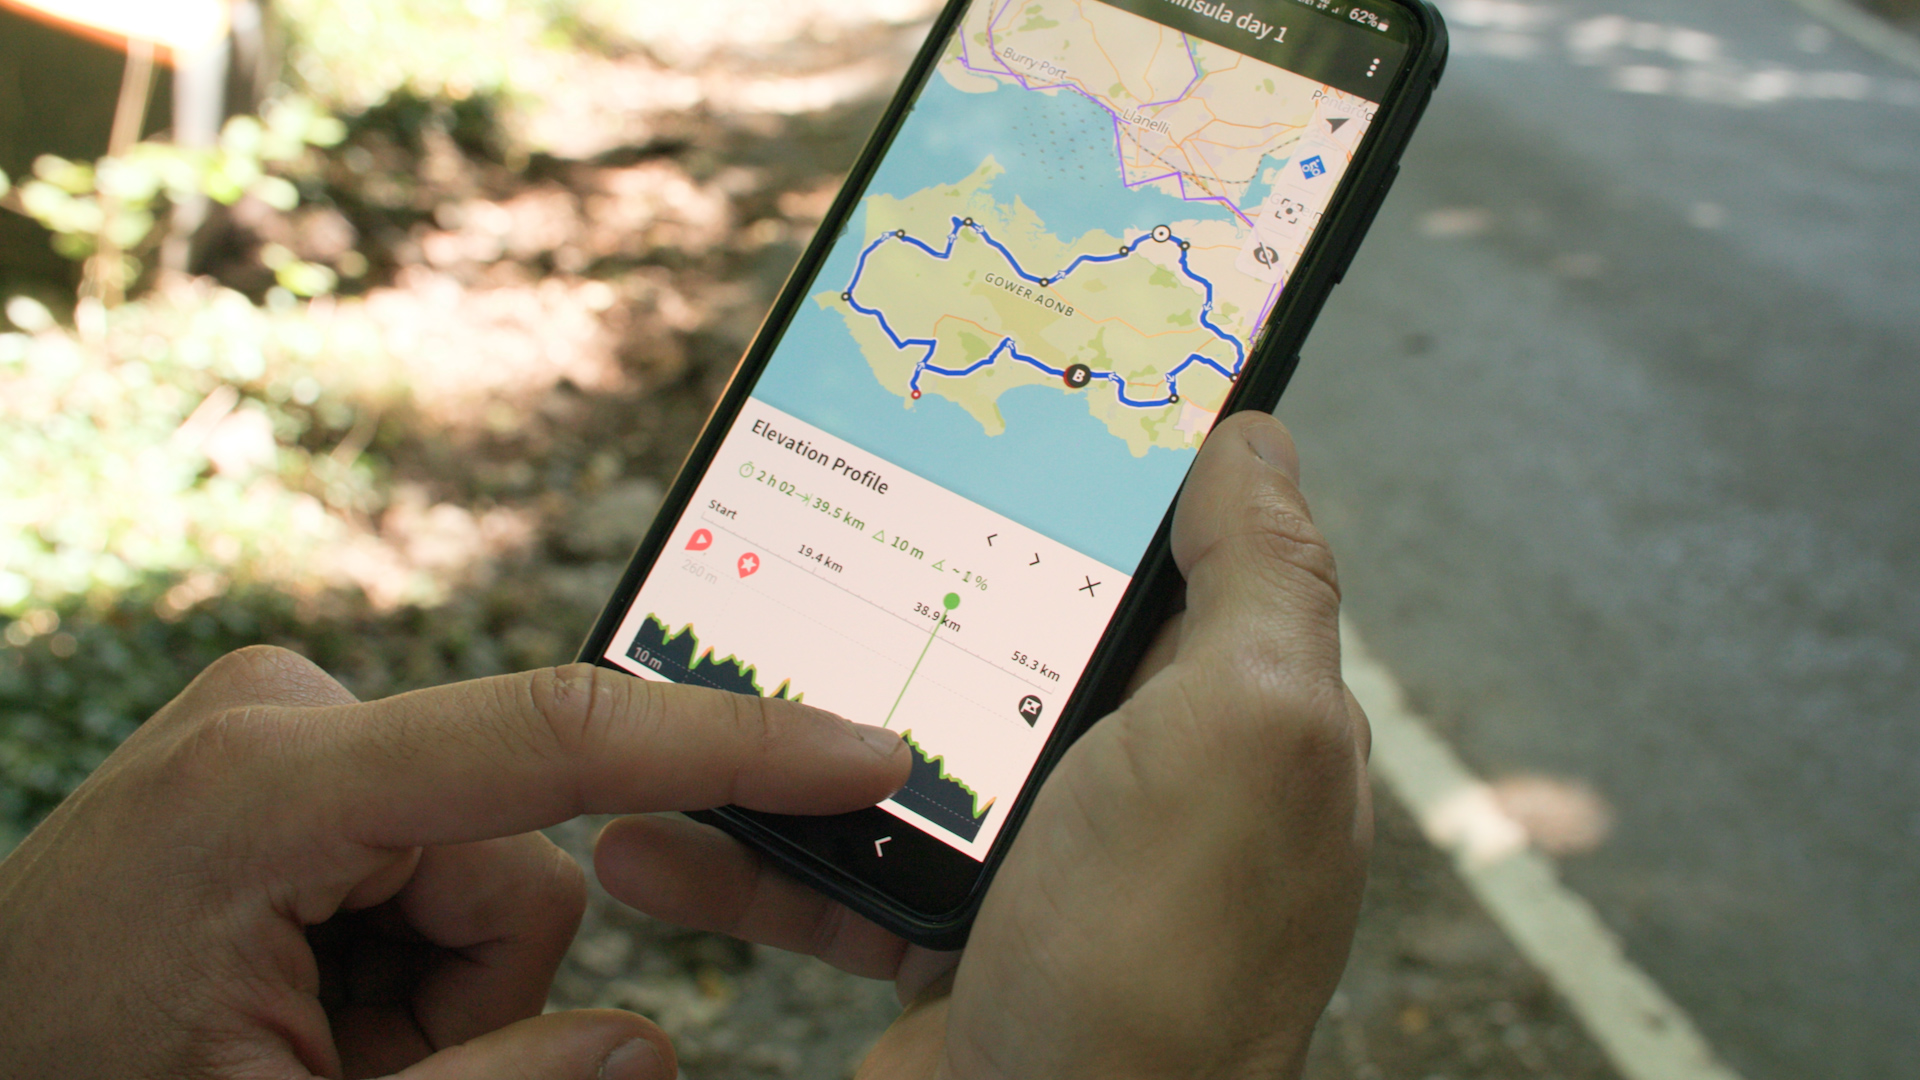
While Google maps and the equivalent, such as OpenStreetMap (an open source, collaborative project that creates a free editable geographic database of the world) are handy tools and a great additional source to cross reference against others, dedicated cycling route planning apps offer more nuanced information still.
Apps such as Strava, Ride with GPS and Komoot use OpenStreetMaps as well as the knowledge of their communities to great effect. Once you have a rough idea of a route mapped out you can use the apps to see if other riders have ridden it; these heat maps are particularly useful if you’re unsure about the difficulty of a particular stretch of trail or path.
Equally you can begin your planning on an app. The mapping tools allow you to select by terrain, will divide a route into ‘way’ types and even allow you to choose points of interest along the way. Of course they also contain a multitude of existing routes that you can use or adapt. In essence you’re getting a database of local knowledge at your fingertips.
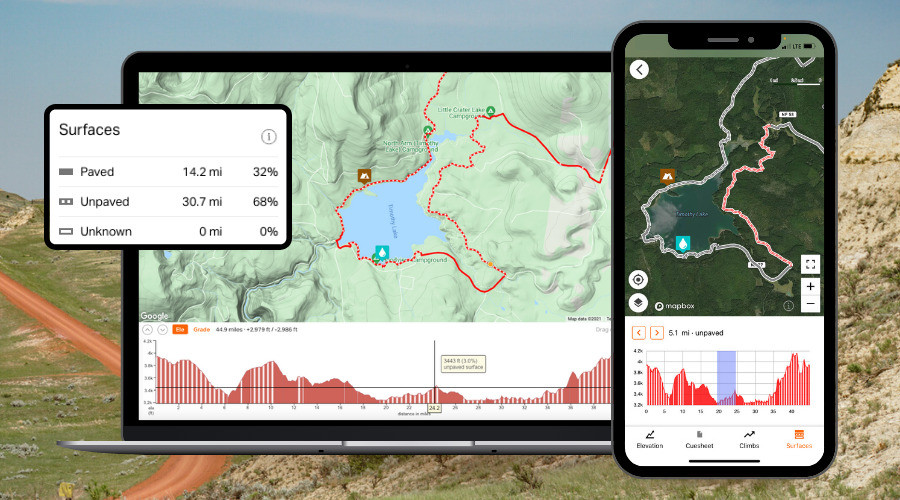
Ride with GPS gives you a visual and percentage breakdown of the varying terrain on your route.
Each app has different features so it’s worth exploring them all; we have a page dedicated to the best free and paid cycling apps.
Certainly the continued appetite for all things gravel has led to several of them creating gravel specific features.
Ride with GPS enables you to see the road’s surface type —paved, unpaved or unknown— as you plan, view and navigate routes so that you can prepare for the road —or trail— ahead. The software even gives you a visual and percentage breakdown of the varying terrain on your route. Paired with the softwares' heatmap overlay, satellite maps and street view, the planning software leaves little room for questions as you head out on your adventure prepared.
Similarly, Strava had added ‘trail’ activity types, including gravel riding, in recognition of the growing number of users who train off-road. Features include trail route recommendations with information on difficulty, with routes adjustable by both distance and elevation.
Komoot, which has a reputation as being attuned to the needs of gravel and off road cyclists, now boasts a trail viewer in its route planner. When you’re plotting a route it provides detailed information, including photos, that allow you to assess if the trail meets your requirements. It’s particularly helpful for gravel newbies who are keen not to bite off more than they can chew with regards to the terrain and the skills required to navigate it. Think of it as a reconnaissance mission from the comfort of your home.
Use a GPS device
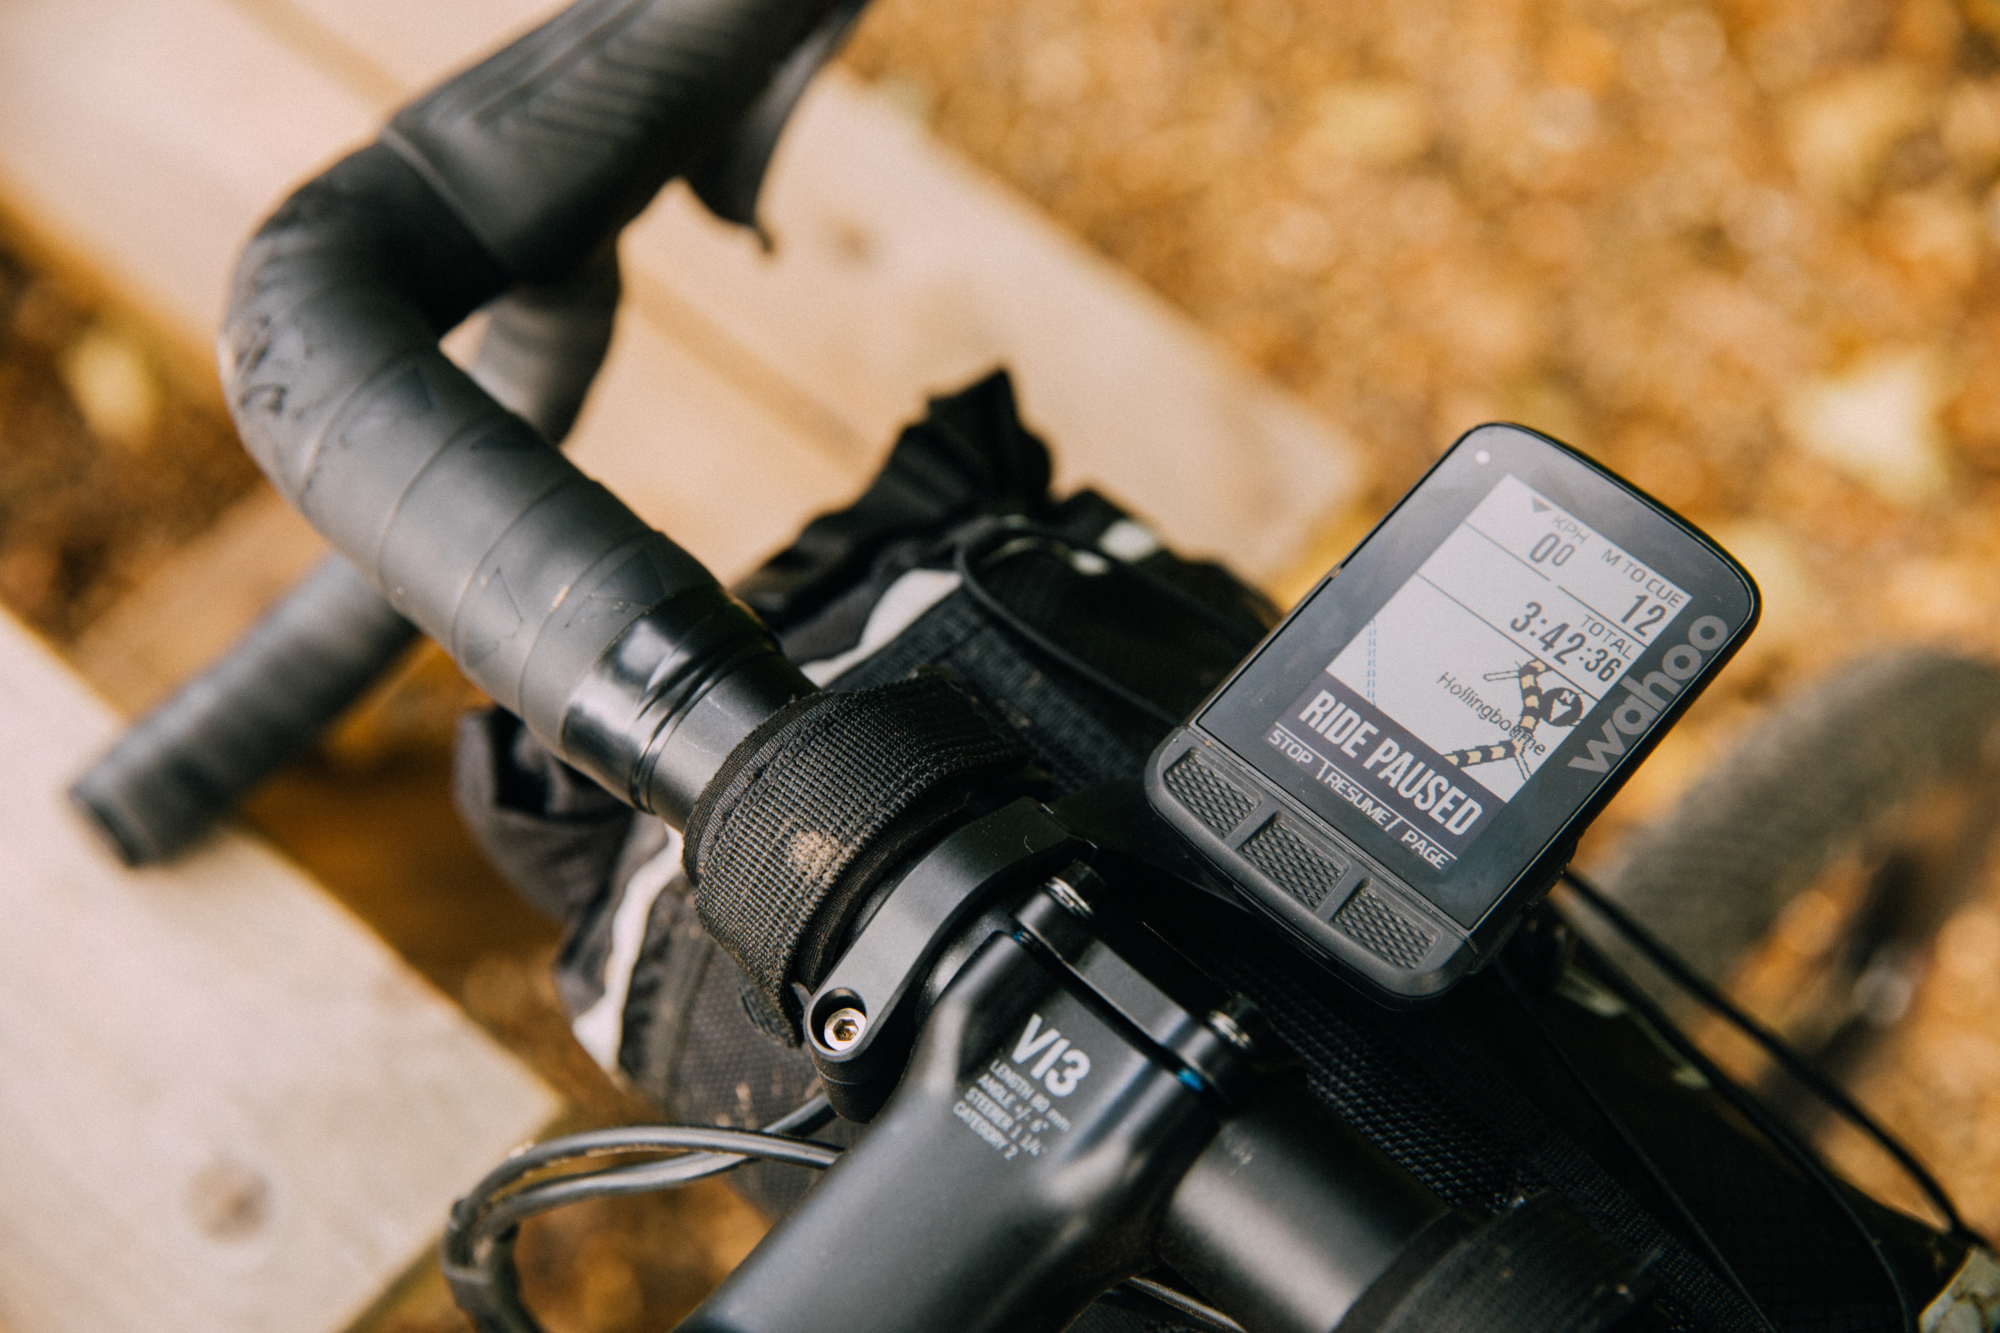
Once you have your route set you’ll need some way of tracking it as you ride.
Sticking a paper map in a bike bag is a good idea, but you’ll also want to be able to follow the route as you go along. Given the popularity of cycling computers, it’s likely you’ll already own one of the best GPS unit.
Armed with a Garmin, Wahoo or one of the other best cycling computers, you can download your route, and in some cases, even store it offline. This is always advisable as heading off-grid usually means that mobile signal quality can be sketchy at best. Komoot, for example, has an offline navigation feature that allows you to access the map without any internet connection.
Of course, even if you're working from an offline map you’ll need to be aware of the battery life of your GPS unit. If you’re riding a long, or multi-day route, you’ll want to take a battery bank with you to ensure that you don’t run out of gas.
Consult a map
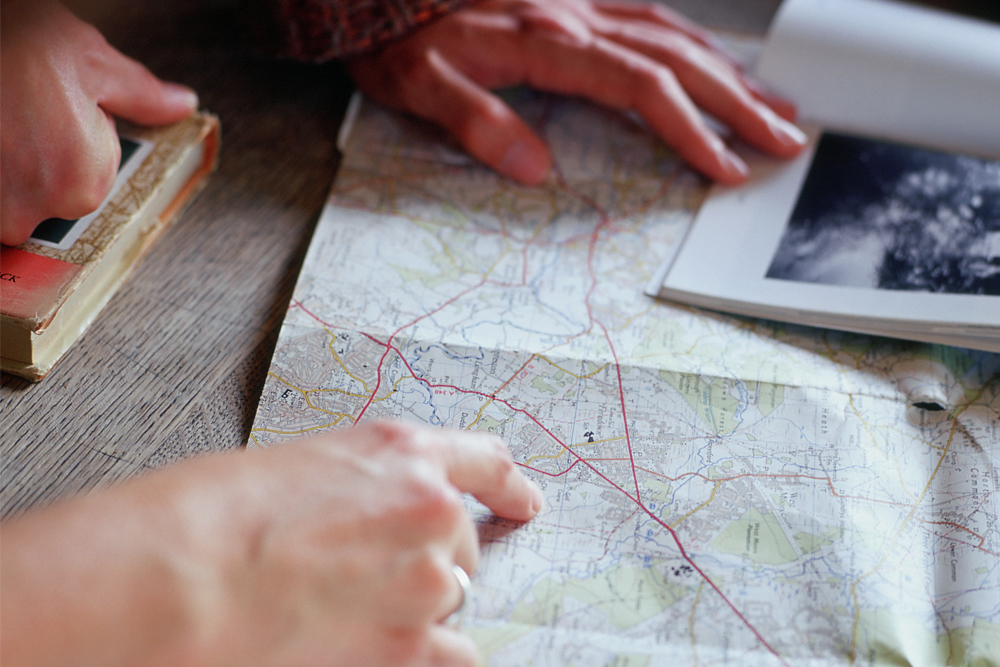
Looking at some maps of the area you’re going to be riding is another great way of getting started when route planning.
Personally I’d always begin the process with a real paper map. In the UK this will be an OS map but in the US, which doesn't have an equivalent of the Ordnance Survey, you'll have a range of maps available to you depending on where you are. When I lived in the US I used both National Geographic maps and those produced by local state organisations - in my case the New York-New Jersey Trail Conference. A word of caution here though, some of these maps could be outdated so it's always wise to check their date and cross reference them with a current digital source.
My preference for paper maps as a starting point may relate to the fact that I was born in the 1970s and remain an analogue creature at heart but even if you have both feet firmly planted in the digital age, there’s much to be gained from unfolding a map, spreading it out on a table and surveying the scene.
Physical maps tend to give a far better sense of scale than their digital equivalent. Laid out, it’s easier to see how certain trails, paths and roads may link together compared to having to scroll in and out on a computer or phone screen.
Even if your preference is for digital, using a paper map as a cross referencing tool is good practice.
Seek out local knowledge
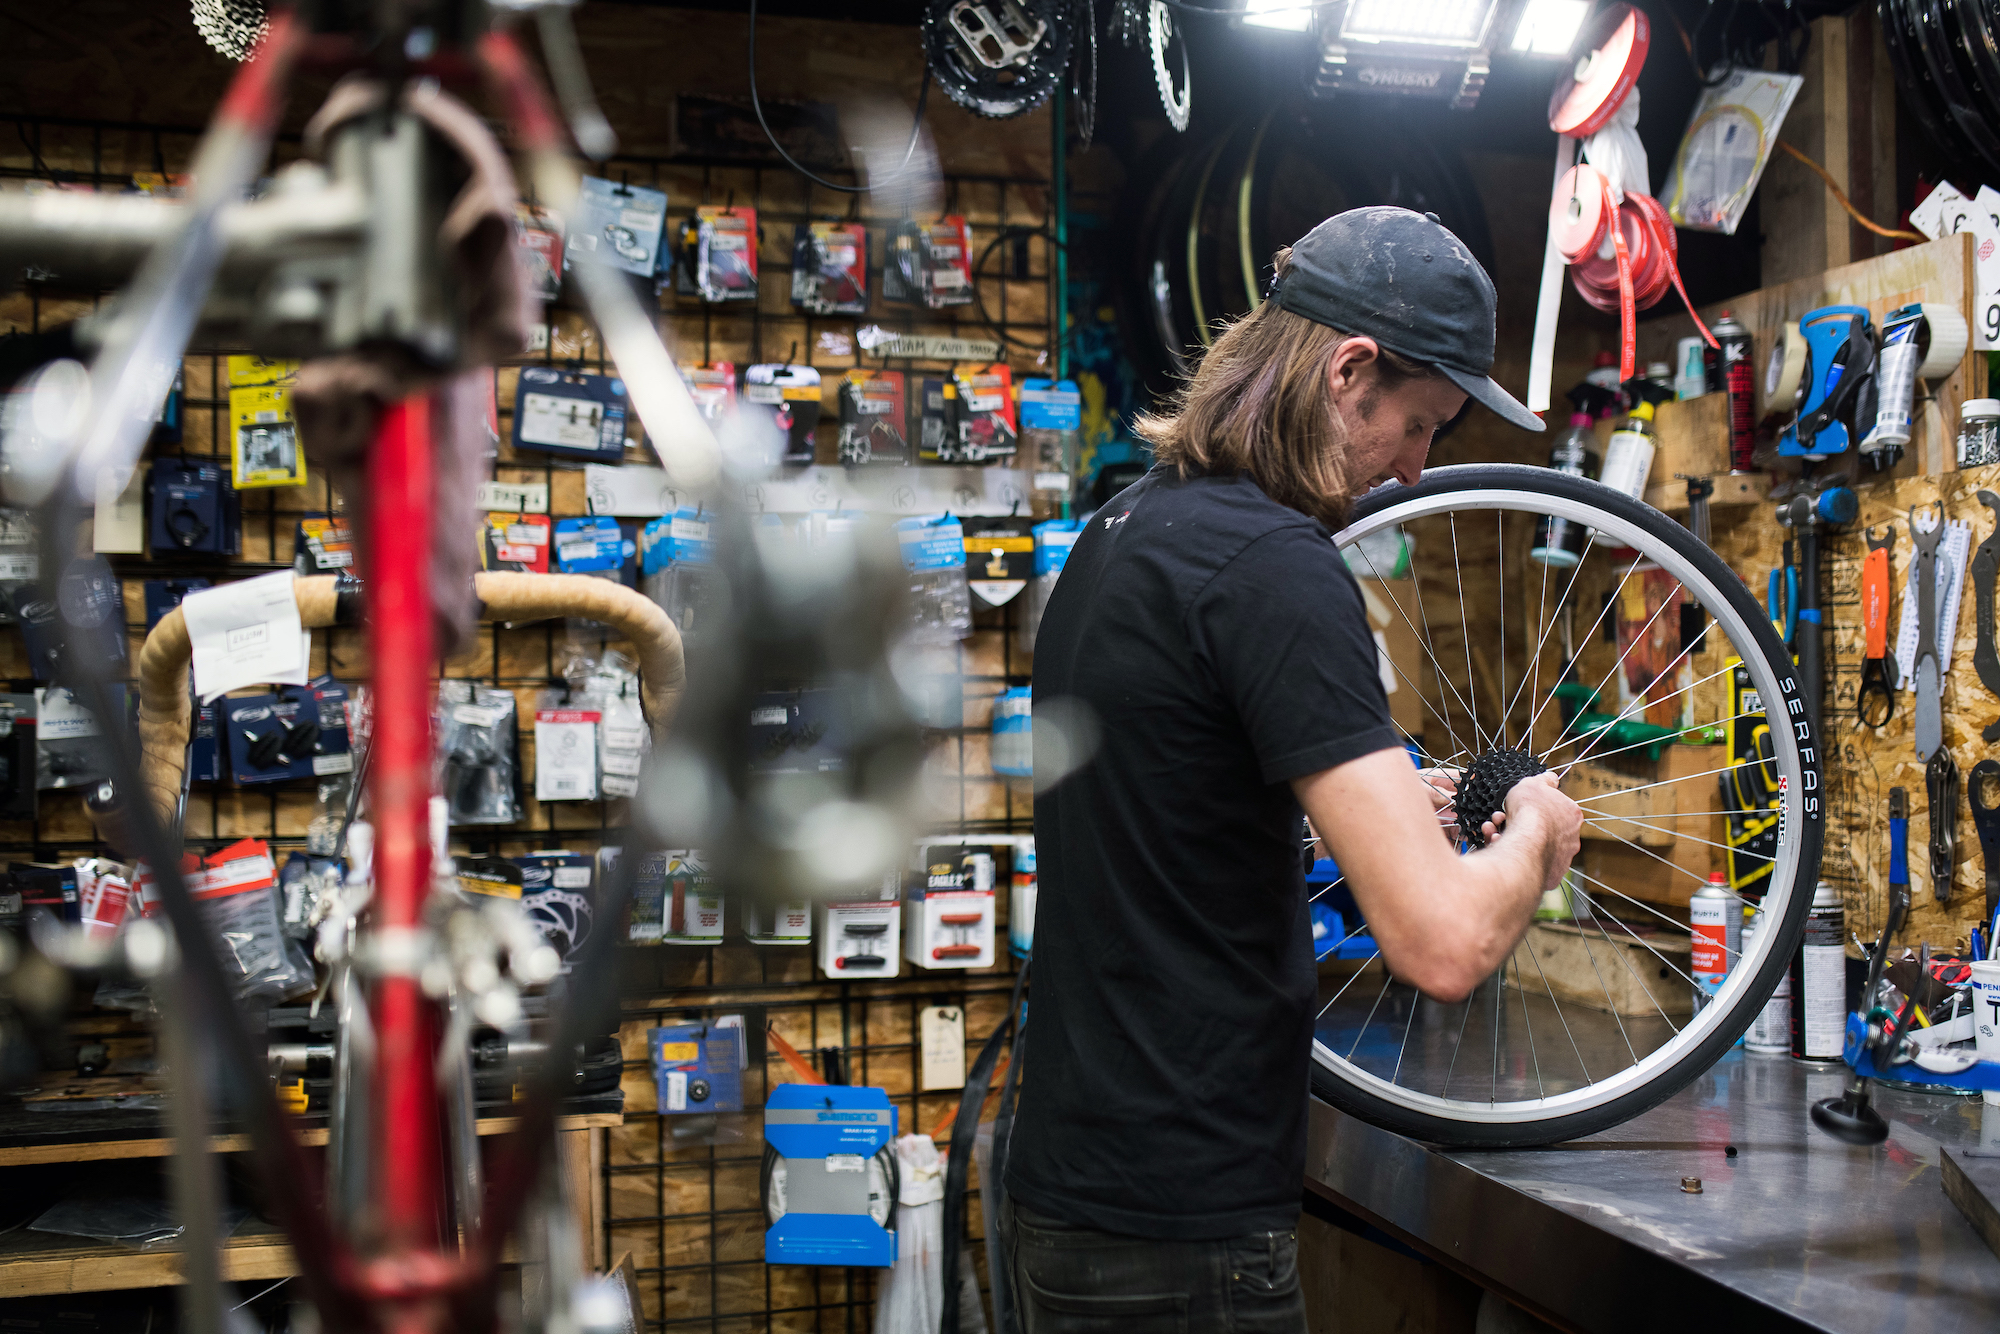
Of course, another way to access local knowledge is to speak to said locals. This is especially helpful if you’re planning a route in an unfamiliar area.
Bike shops are always a good starting point. For the most part they’ll be run by fellow cyclists who are usually pretty helpful when it comes to suggesting good places to ride - though don’t be surprised if they keep a few secret spots close to their chest.
Likewise cycling clubs are made up of dedicated cyclists with a wealth of knowledge. If you’ve moved to a new area it’s worth looking up any clubs to see if they lead gravel rides. Even if they don’t, chatting to members should help you to get a better lay of the land.
Understand access laws and use common sense
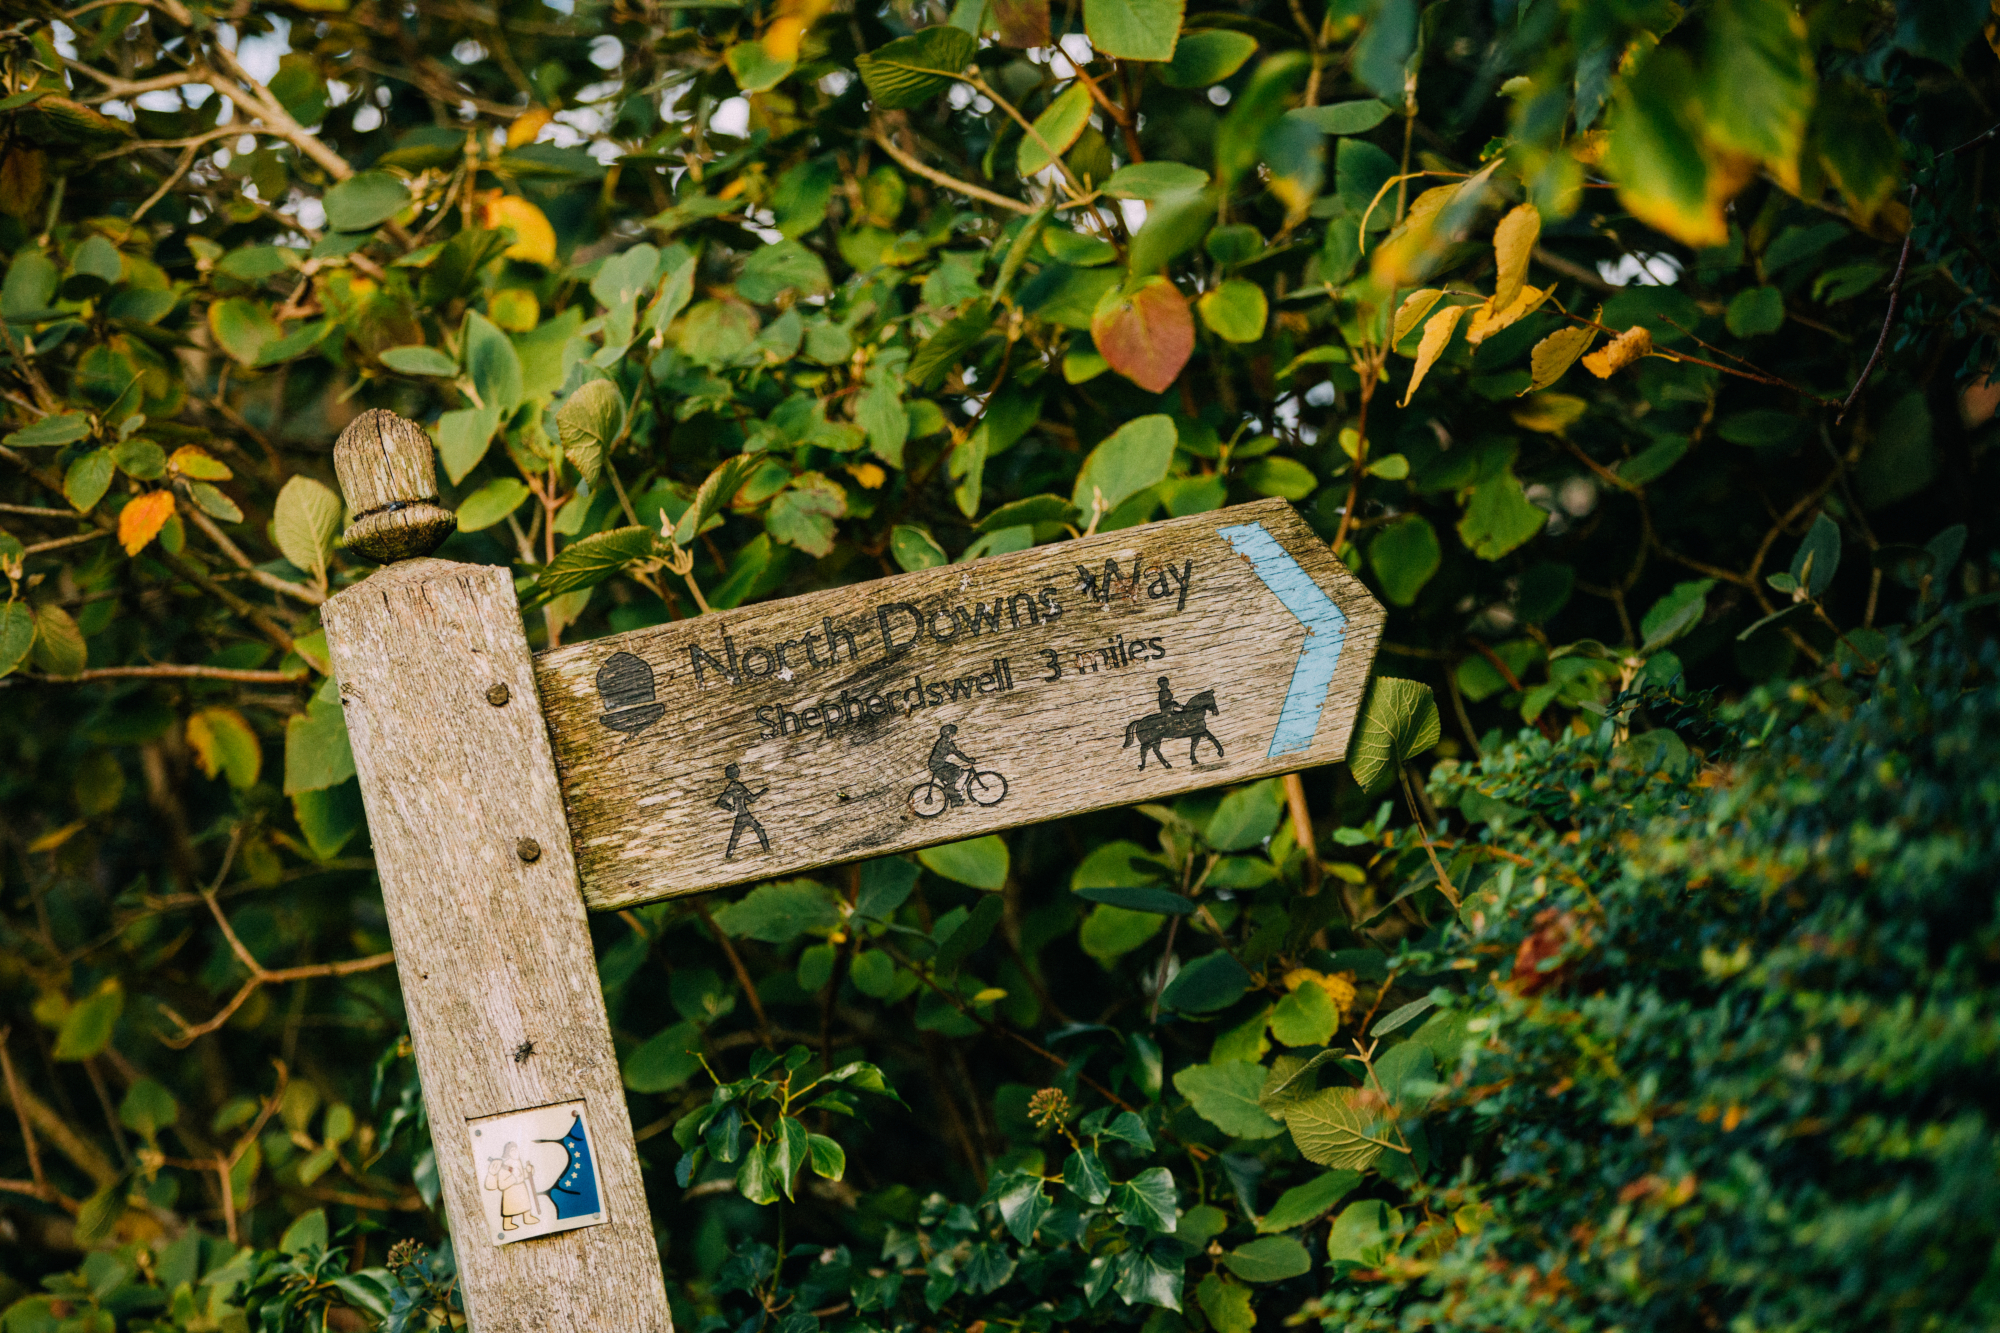
While a map may display an enticing network of off-road trails, paths and byways it’s important to consider where and where you can’t ride.
Restrictions will differ from one country to the next but wherever you ride it’s best practice to understand the basic access laws as well as the differences between those lines you’re tracing on your map.
In the UK there’s some clear delineation. A footpath requires you to hop off your bike and push it, whereas bridleways, old roads created for horse and rider to traverse, are open to bikes as well as four-legged friends. Byways are bicycle friendly but permissive paths aren’t.
Confused? If in doubt check the colours on your map for clarification.
There are blurred lines here perhaps but planning a UK route that only takes in bridleways, byways and cycle paths should ensure that you get to enjoy the ride without an issue.
Of course, how you behave off road is just as important as where you ride. The ‘leave no trace’ motto of wild campers, hikers and hill walkers should be followed by gravel riders too. Ensure you keep any food wrappers on your person until you can dispose of them correctly. If you stop to make trail-side coffee, be careful where you light your stove and again take any trash with you.
It’s also vital to remember that these are shared access routes. Be respectful of fellow users and use a bell to alert them if necessary.
Luke Friend has worked as a writer, editor and copywriter for over twenty five years. Across books, magazines and websites, he's covered a broad range of topics for a range of clients including Major League Baseball, Golf Digest, the National Trust and the NHS. He has an MA in Professional Writing from Falmouth University and is a qualified bicycle mechanic. He has been a cycling enthusiast from an early age, partly due to watching the Tour de France on TV. He's a keen follower of bike racing to this day as well as a regular road and gravel rider.