Five things I wish I knew before my first bikepacking trip
From the food to fuel with to your packing and route planning - there certainly is no shortage of ways to make mistakes while bikepacking! Here’s what I’ve learned the hard way…
The latest race content, interviews, features, reviews and expert buying guides, direct to your inbox!
You are now subscribed
Your newsletter sign-up was successful
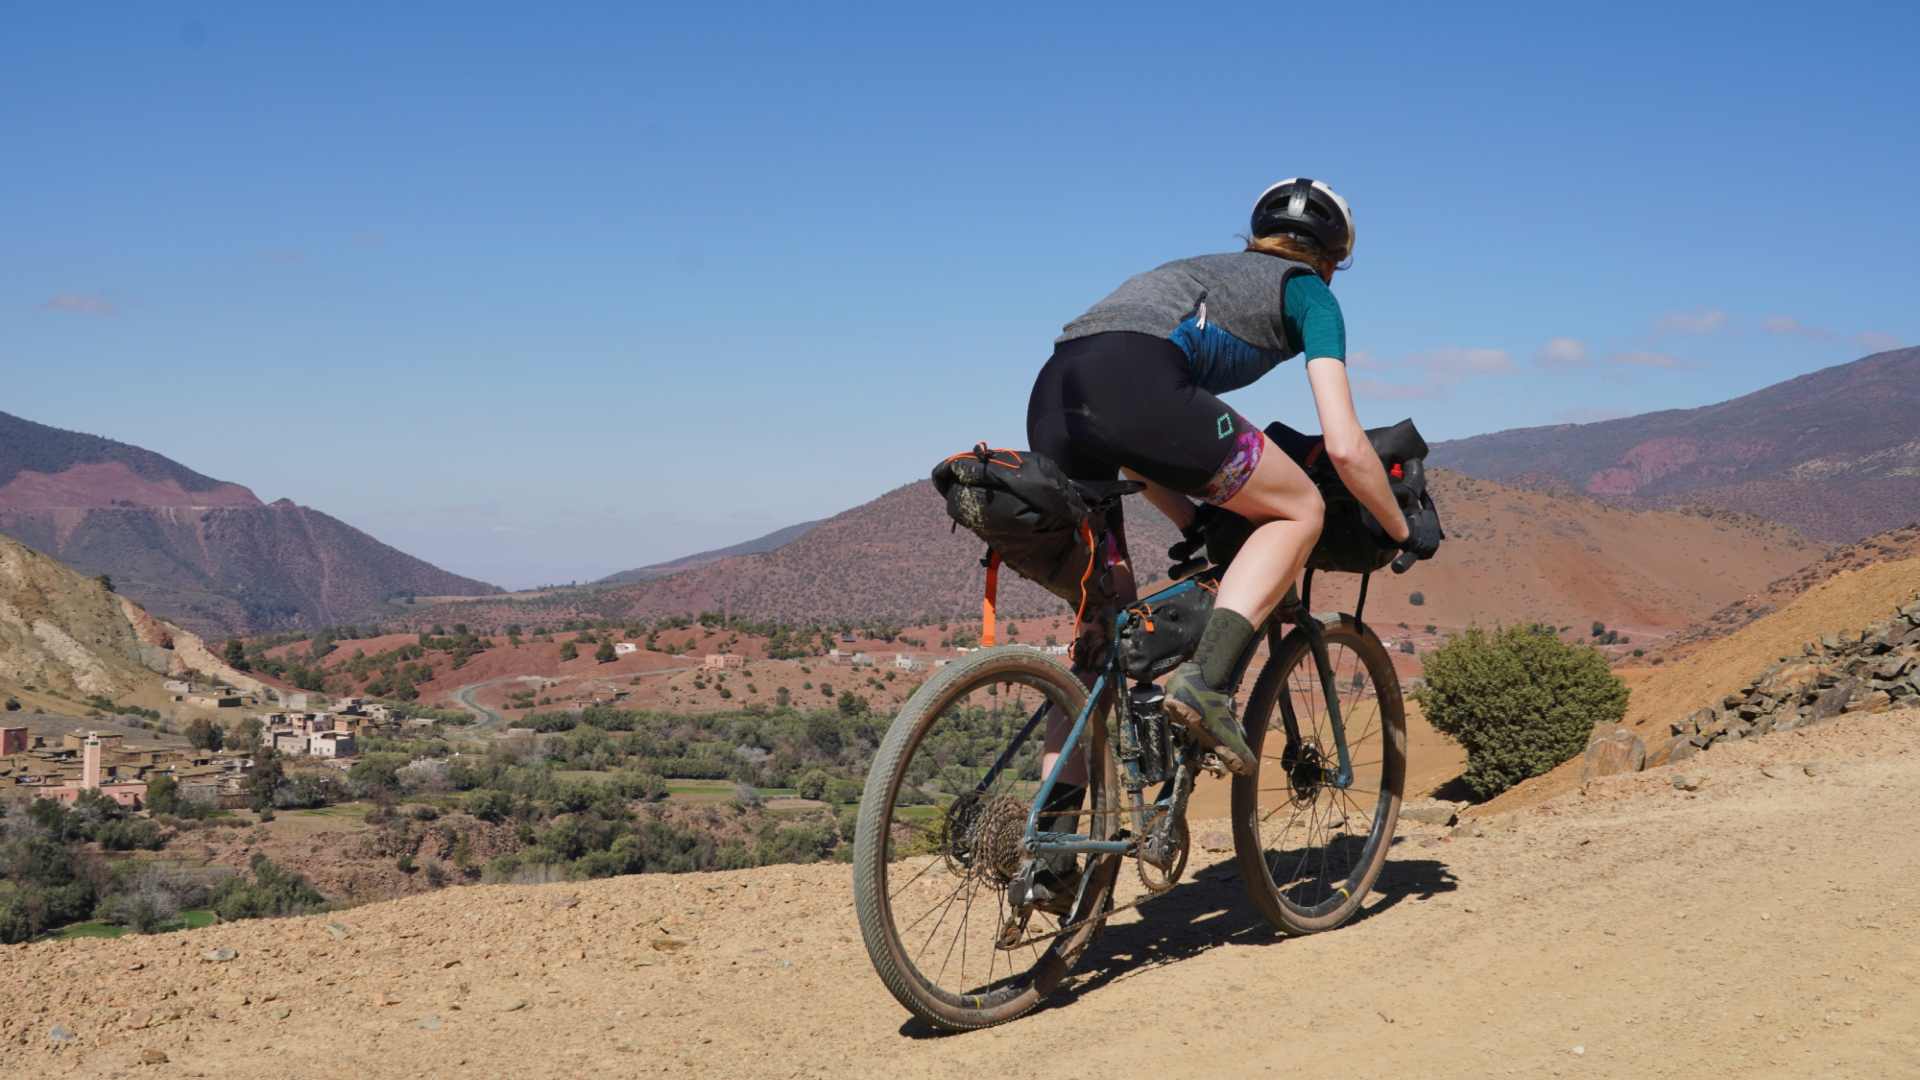
My bikepacking experience has really bloomed in the last 12 months, with a couple of weeks spent riding across the plains and mountains of Hungary and Slovakia - plus a few shorter excursions into the High Atlas Mountains of Morocco and the (not so high) Cambrian mountains of Wales.
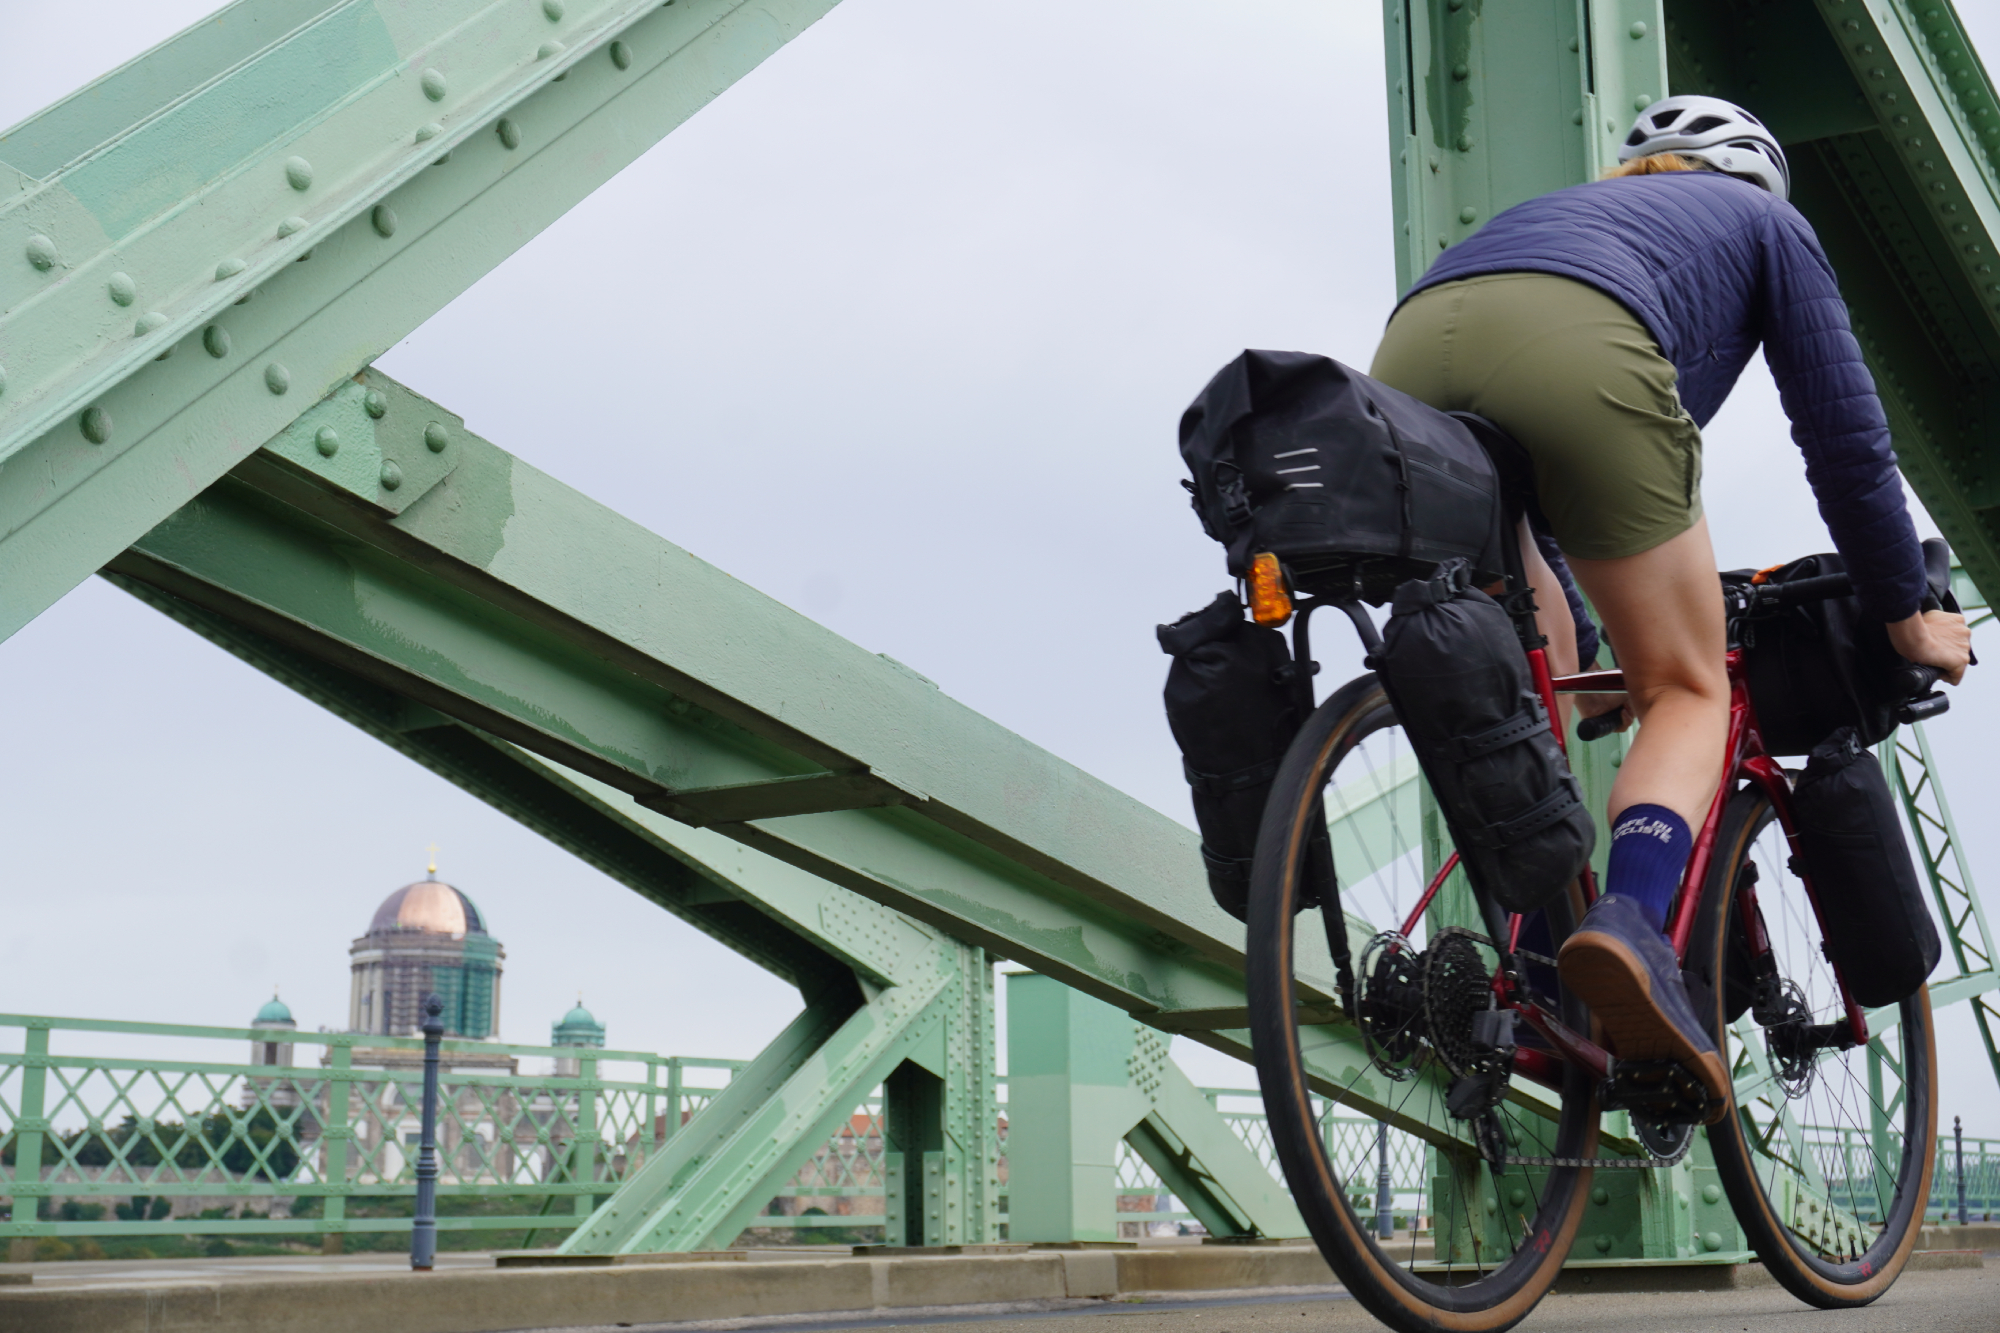
The bridge from Slovakia to Hungary, with a view of the Basilica of Esztergom
Those experiences have taught me a lot, such as just how excellent milk is as a cheap and widely available recovery drink. But there also seem to be some lessons I simply haven’t learned.
The main one of those being that if it looks like milk and is in the kind of packaging you’d expect milk to be in, it’s probably still worth checking the label that it isn’t actually buttermilk. Although great with lemon and some crushed biscuits as a Danish entrée, it’s really not good for drinking straight out of the bottle(!)
Perhaps that one’s a little specific just to myself, but from the many, many miles I’ve now spent on the road, riding from one camp spot to the next, I’ve got a clutch of more general tips and advice which (I hope!) would be helpful to share - at the very least, these are the five key tips I wish I knew before my first bikepacking trip…
1. Be prepared to rethink your packing system
There are a few rules of thumb which are always good practice when it comes to your packing order on a bikepacking trip: make sure your rain gear, tools/repair kits, food and money are all quickly and easily accessible.
But after that things start to get a little harder to order. Where exactly should fleecy mid layers go? What about lip balm, extra water, battery packs, electronics and everything else? There’s a few easy items which can definitely go right at the bottom of your bags - sleeping gear and the next day’s kit, for instance - but coming up with an order for everything in between is really tricky to get right.
I’ve found the best approach to be essentially just going with the flow and seeing what bits of kit I find myself using most and simply just taking some time to rearrange my bags to suit.
The latest race content, interviews, features, reviews and expert buying guides, direct to your inbox!
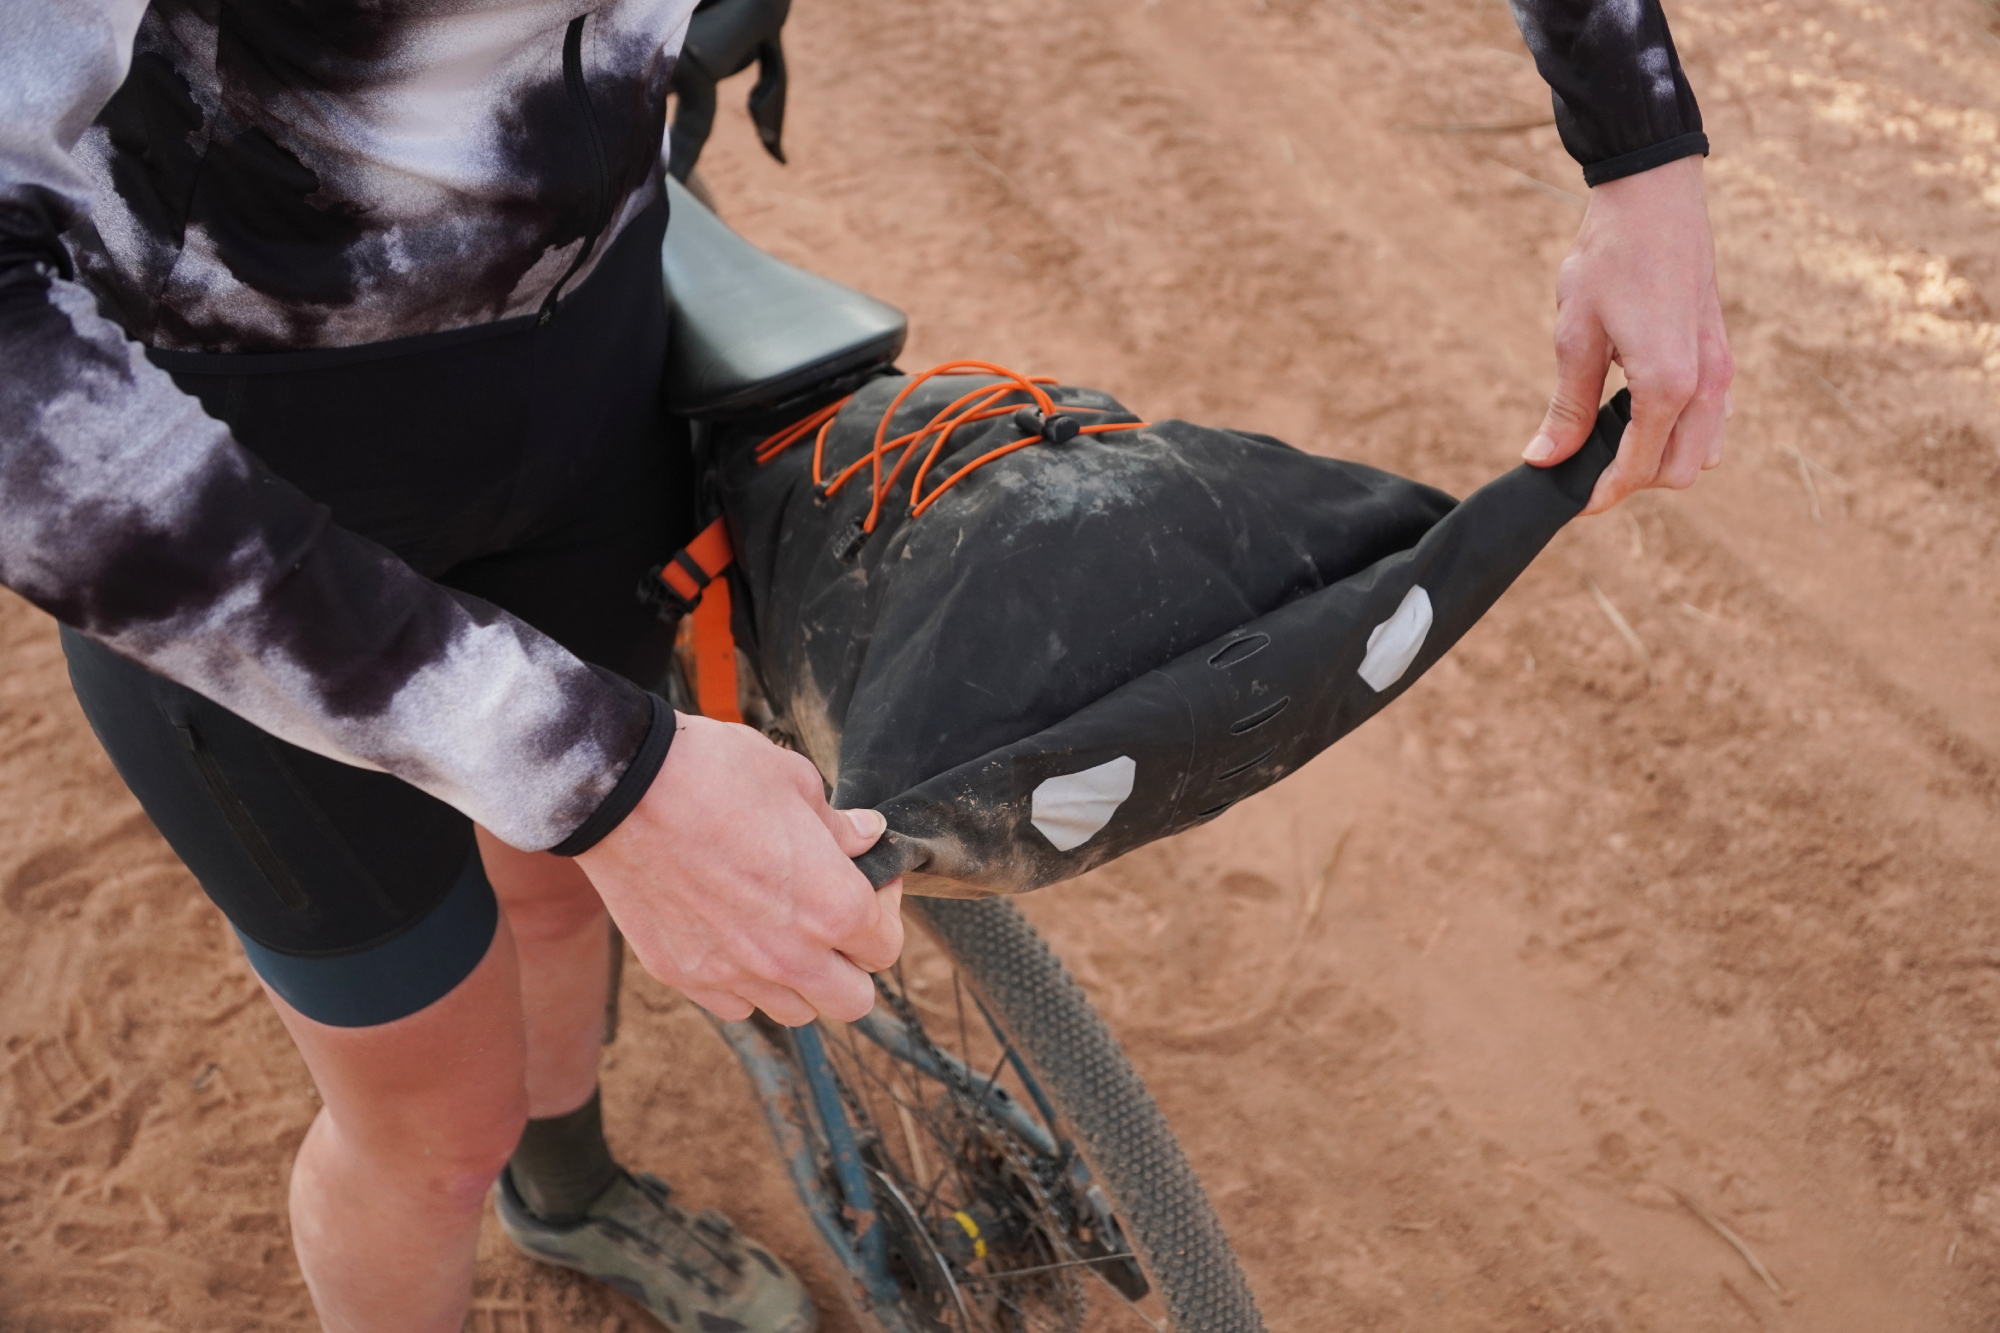
Initially I found that frustrating, feeling like this was prep I could have done beforehand, rather than wasting time at the trailside or faffing about at a cafe. But over time I’ve realized that this is actually the most time-effective and efficient way of getting everything exactly as I want it for the specific demands of that trip. If you just accept that from the off, it all becomes a much nicer experience!
One extra point I would say is to make sure that you have plenty of excess capacity for food. If you have the space, it can be tempting to fill it - but rolling out the door with your bags already straining at the seams and just a few snacks in your back pocket is a recipe for disaster.
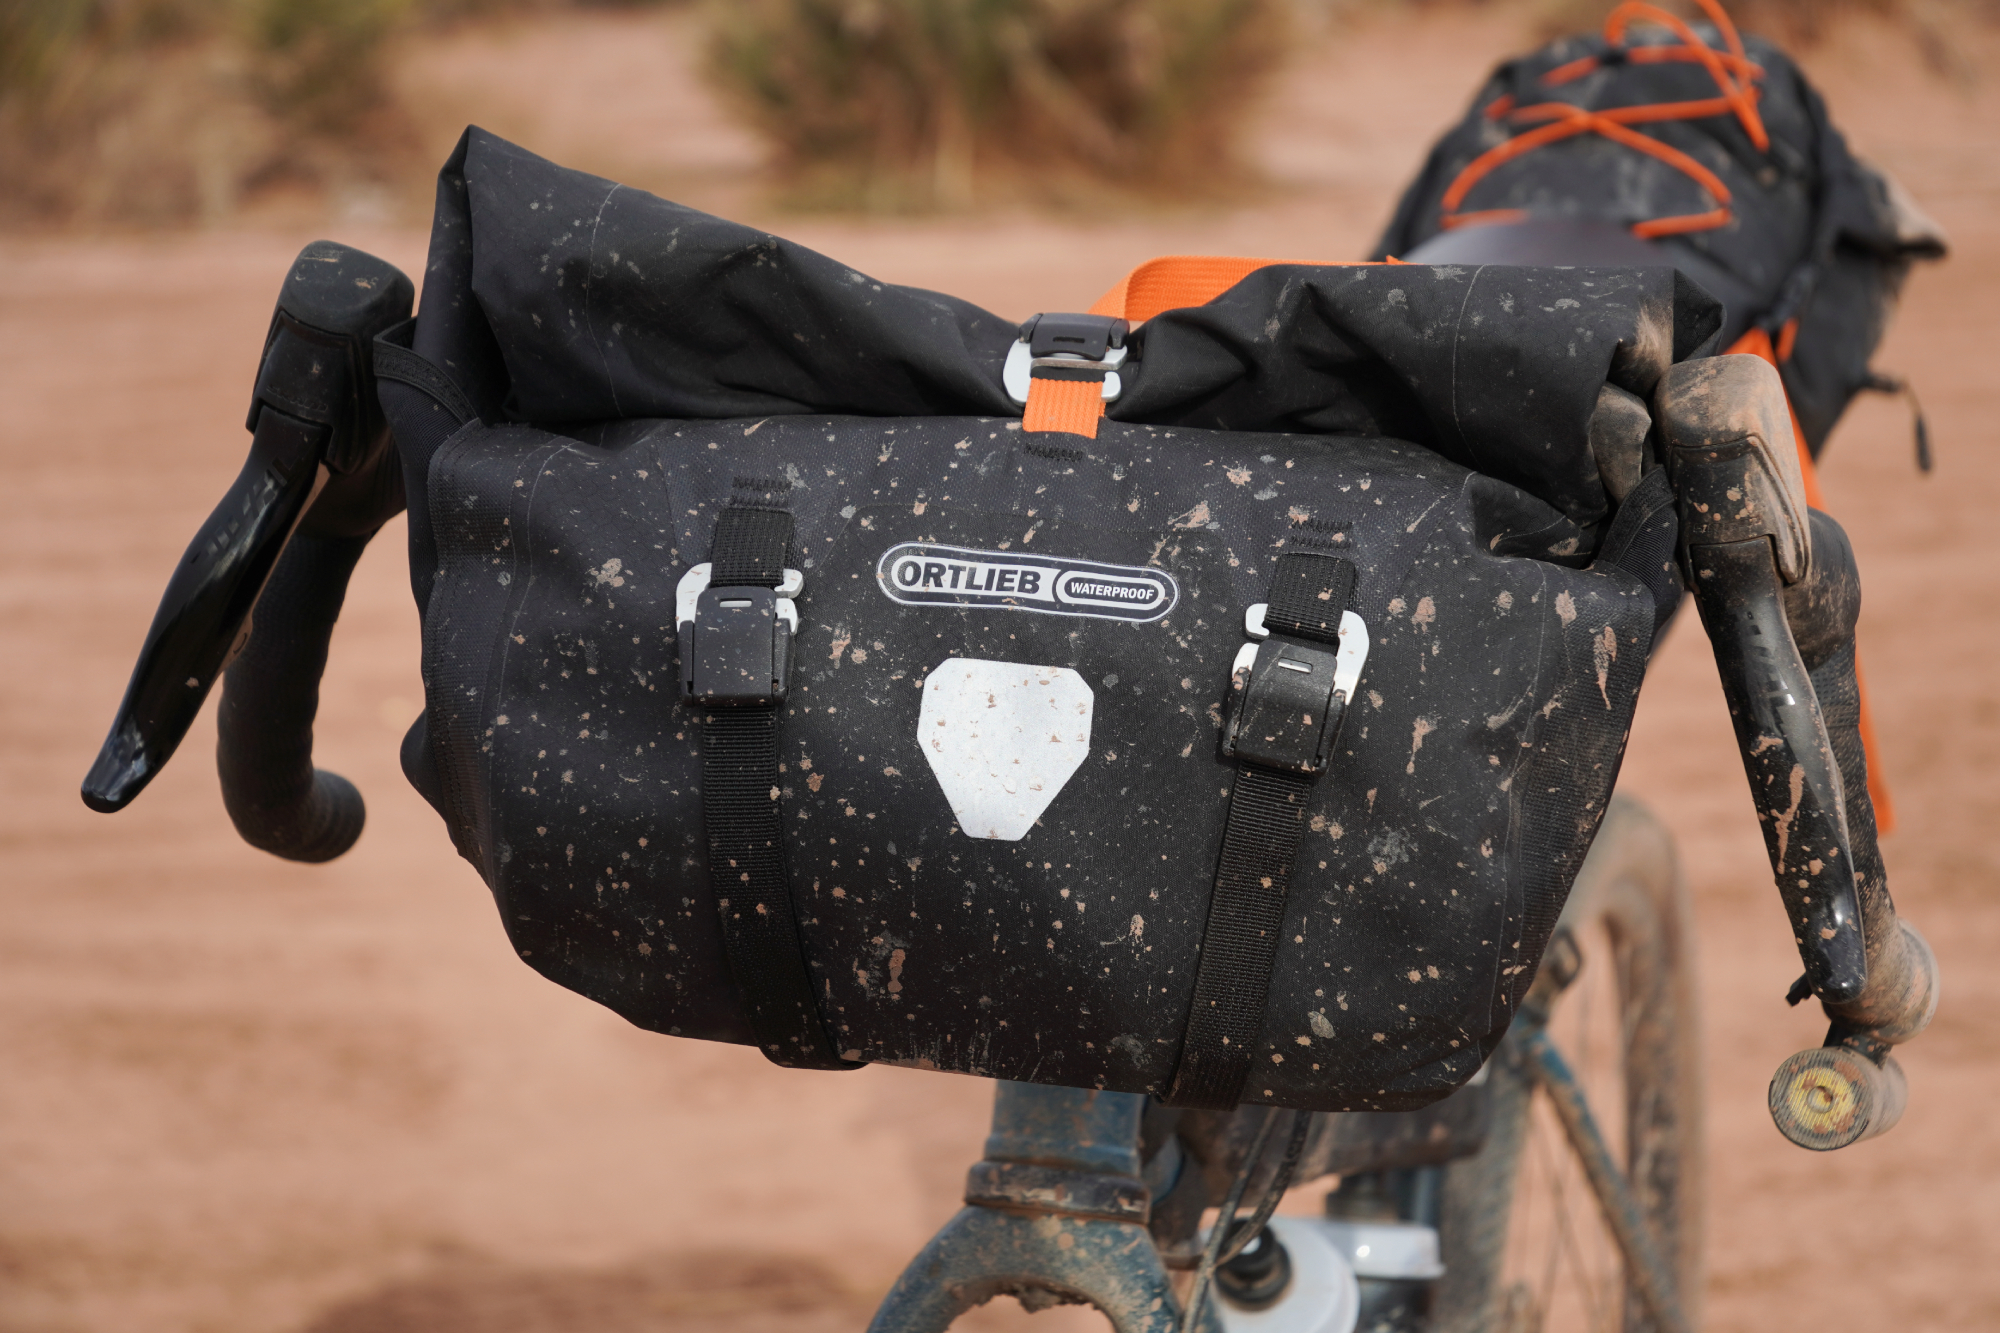
For context, I like to have a good-sized roll-top handlebar bag - such as Orltieb’s Handlebar Pack QR - reserved essentially just for food. I might stuff a fleece layer or an insulated jacket in there for easy-access convenience, but I’m always sure to have enough space in my other bags in case I need to really fill up with food ahead of some awkwardly spaced gaps between towns.
2. Always pack a mix of sweet and savoury food
This is a mistake that’s almost easier to fall into if you’ve got a raft of 100 milers and other epic one-day rides under your belt. On rides of that length, the main thing is just getting calories into your body as efficiently as possible - and sugary snacks are a super convenient way of getting that hit of fuel.
When bikepacking, those foods take on another level of convenience as they generally have a long shelf life and can be stored at ambient temperatures. However, after a while of consuming so much sugar, you’ll end up feeling quite queasy as a result.
That’s something I can fully attest to, with Milka chocolate biscuits making up far too much of my fuelling strategy when bikepacking in the High Atlas mountains in Morocco. It all came to a head at about 2,300 meters above sea level, on an isolated mountain side and with the sun steadily setting, when my stomach reached its limit and I threw up (twice) at the side of the trail.
However, good alternatives to sweet foods can be a little tricky to orchestrate. Things like nuts and trail-mix are a nice way of mixing things up a bit, but they’re still quite rich and can still leave you with stomach issues.
Bread is an excellent savory staple, but then there’s the question of what you’ll have with it. Plain bread is fine in a pinch, but not something you want to plan on living off for a week. A bit of cheese and charcuterie makes for a tastier meal - but that’s not something that keeps particularly well when bikepacking in the summer!
I try to make sure I fill up on savory food wherever and whenever possible, with the sweeter stuff being kept in reserve as just small snacks and as backup food. That way I have a bit of a sweet tooth buffer just in case somewhere I’m planning on stopping for an evening meal ends up being closed when I get there (as has happened before).
Bread, cheese and whatever other fillings work great - particularly when you’ve got riding buddies to share it with. Sausage rolls, cornish pasties, samosas - essentially anything wrapped in a pastry - are also go-to savory choices for me.
3. Your standard weather app isn’t going to cut it
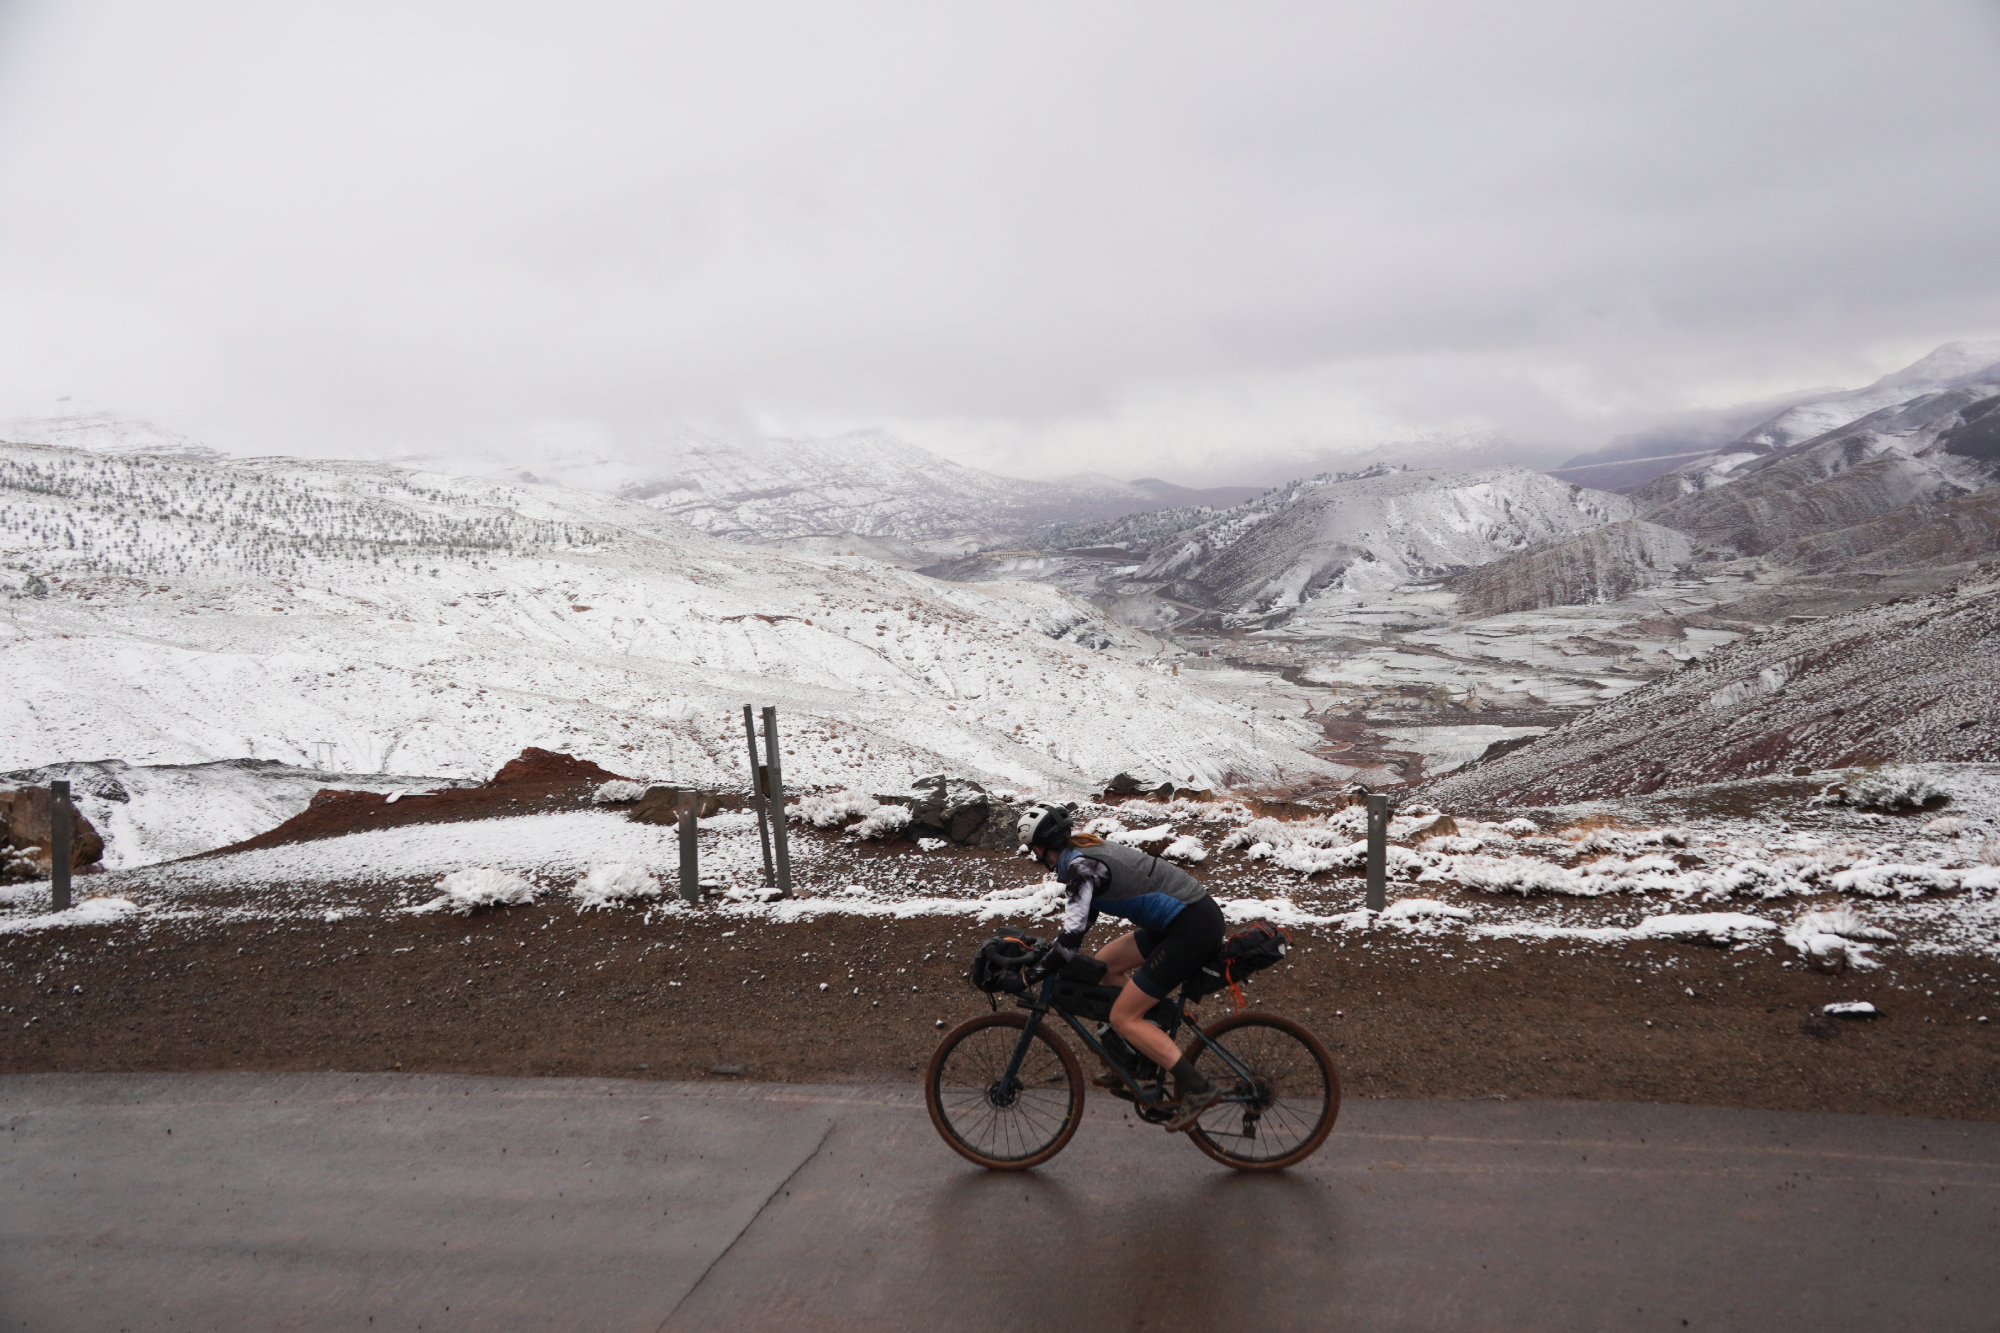
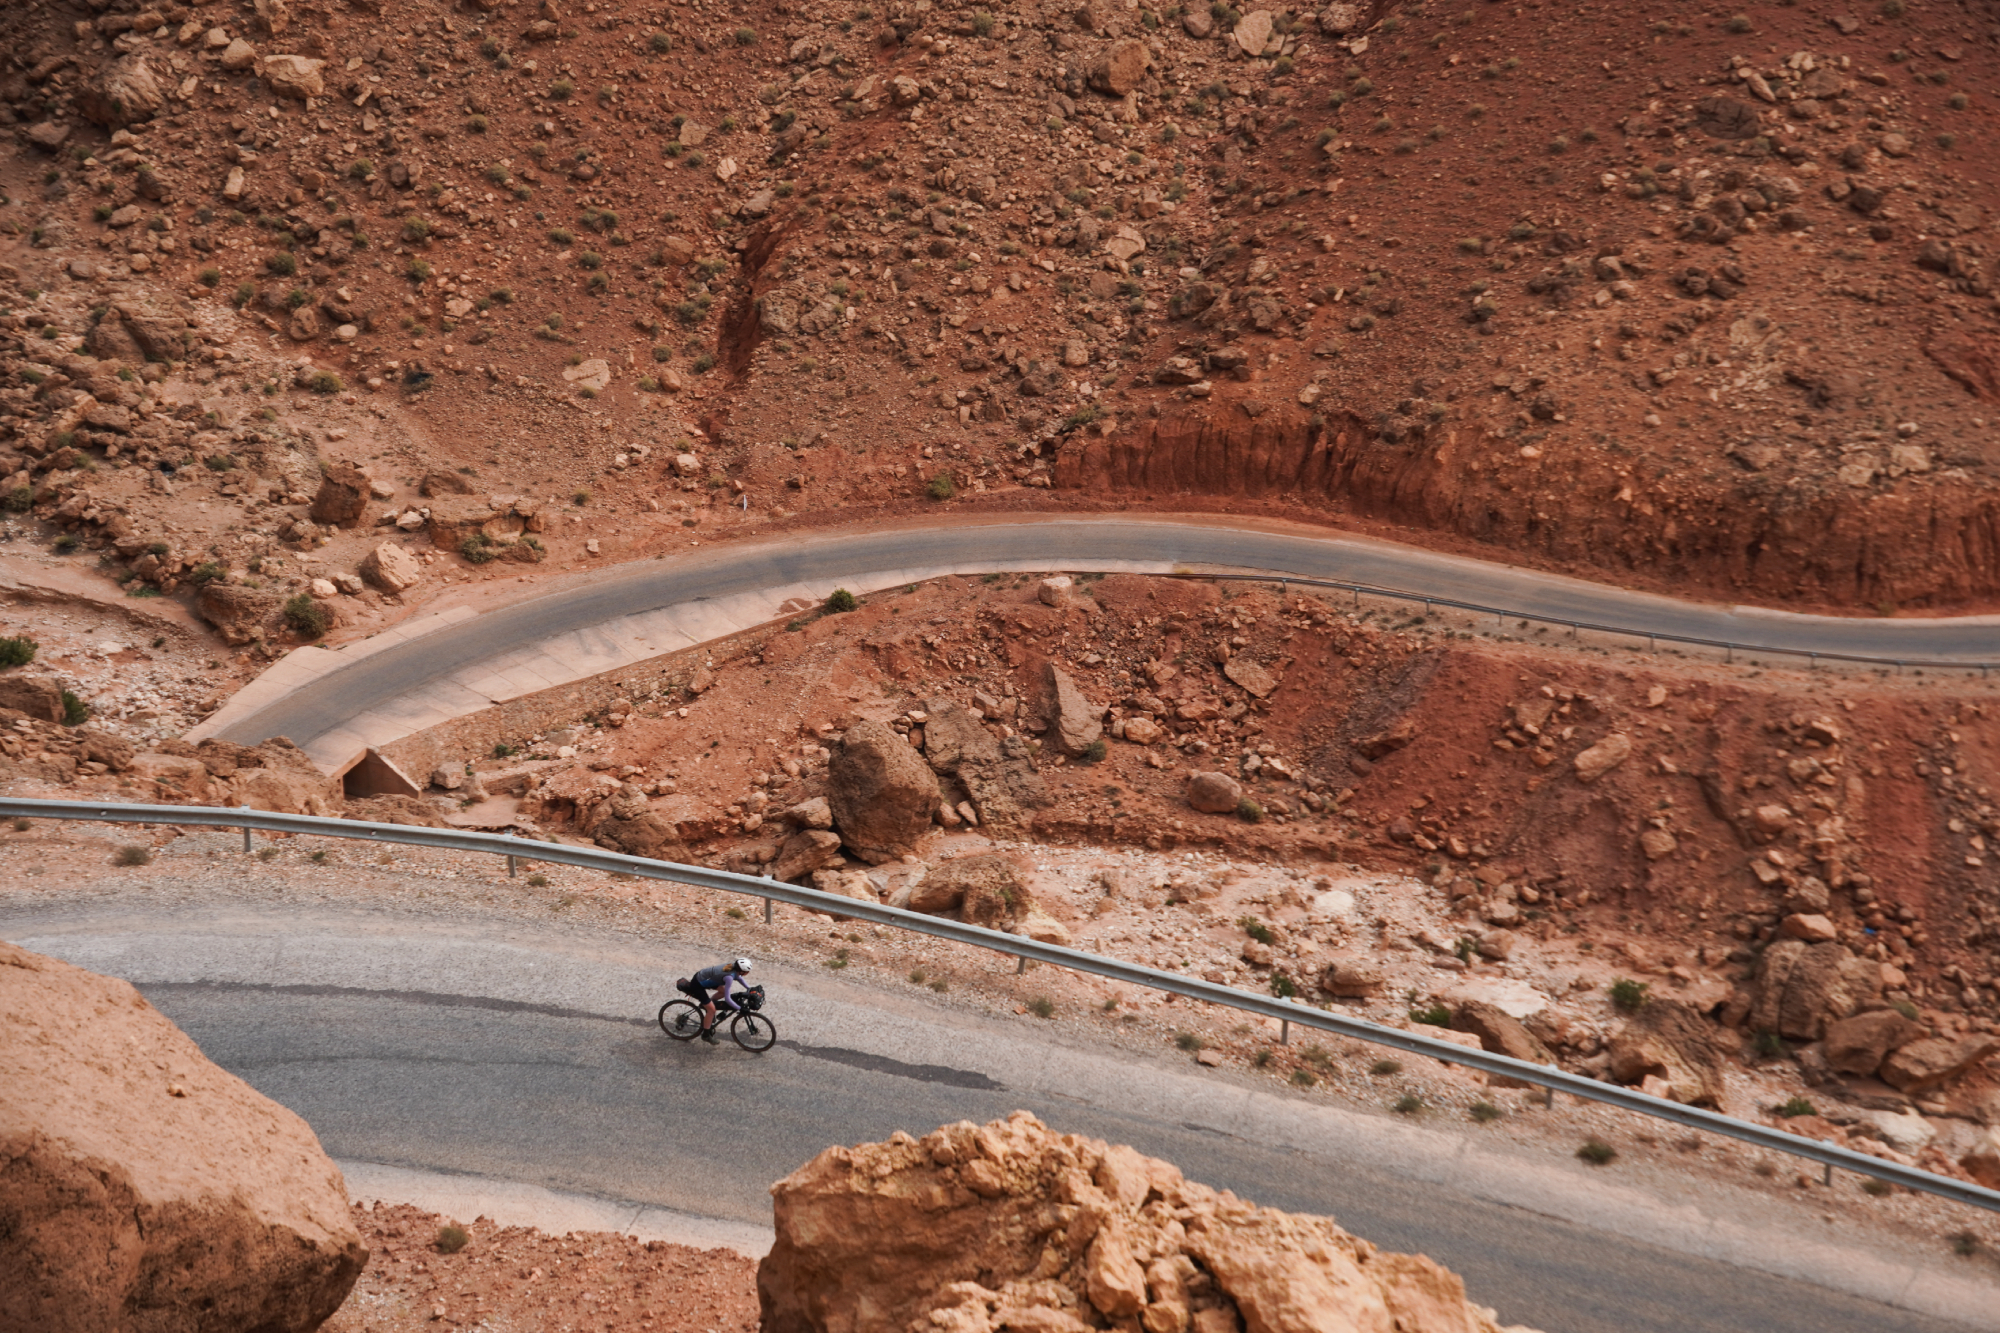
Temperatures can vary hugely in the High Atlas mountains in Morocco
The default weather app on your phone or a national forecaster like the Met Office might work fine when bikepacking closer to home - and even when on holiday for a city-break or some other stay near a large, populated area.
But when you’re heading out into the hinterland in a much more sparsely populated country or area, the accuracy of those forecasts drops precipitously. That’s even more of an issue if the area you’re riding is mountainous, as temperatures and conditions can vary vastly at different altitudes and valleys - and you want to know what you can expect.
After much (much) searching and trying different apps, the best one I’ve landed on so far is Meteoblue. Rather than confining you to weather forecasts only for population centers of a certain size, you can put in coordinates for any location and it’ll provide you with the forecast for that place in particular.
I found it super useful when riding in the High Atlas mountains of Morocco, as I could see what the weather was going to be like at an elevation of 1,258m in the village of Zerkten as well as at 2,516m at the high point of the gravel pass where no one lives at all. I’ve found the forecast to be really quite accurate, with the conditions I experienced at the locations matching up closely to what was predicted.
It also has a rain radar function, which is a must for every bikepacking trip. I managed to dodge quite a few rain showers when riding in Slovakia by spotting them early and seeing that it’s just a narrow band of rain - and therefore well worth taking shelter at a bus stop or in the porch of a church until it passes.
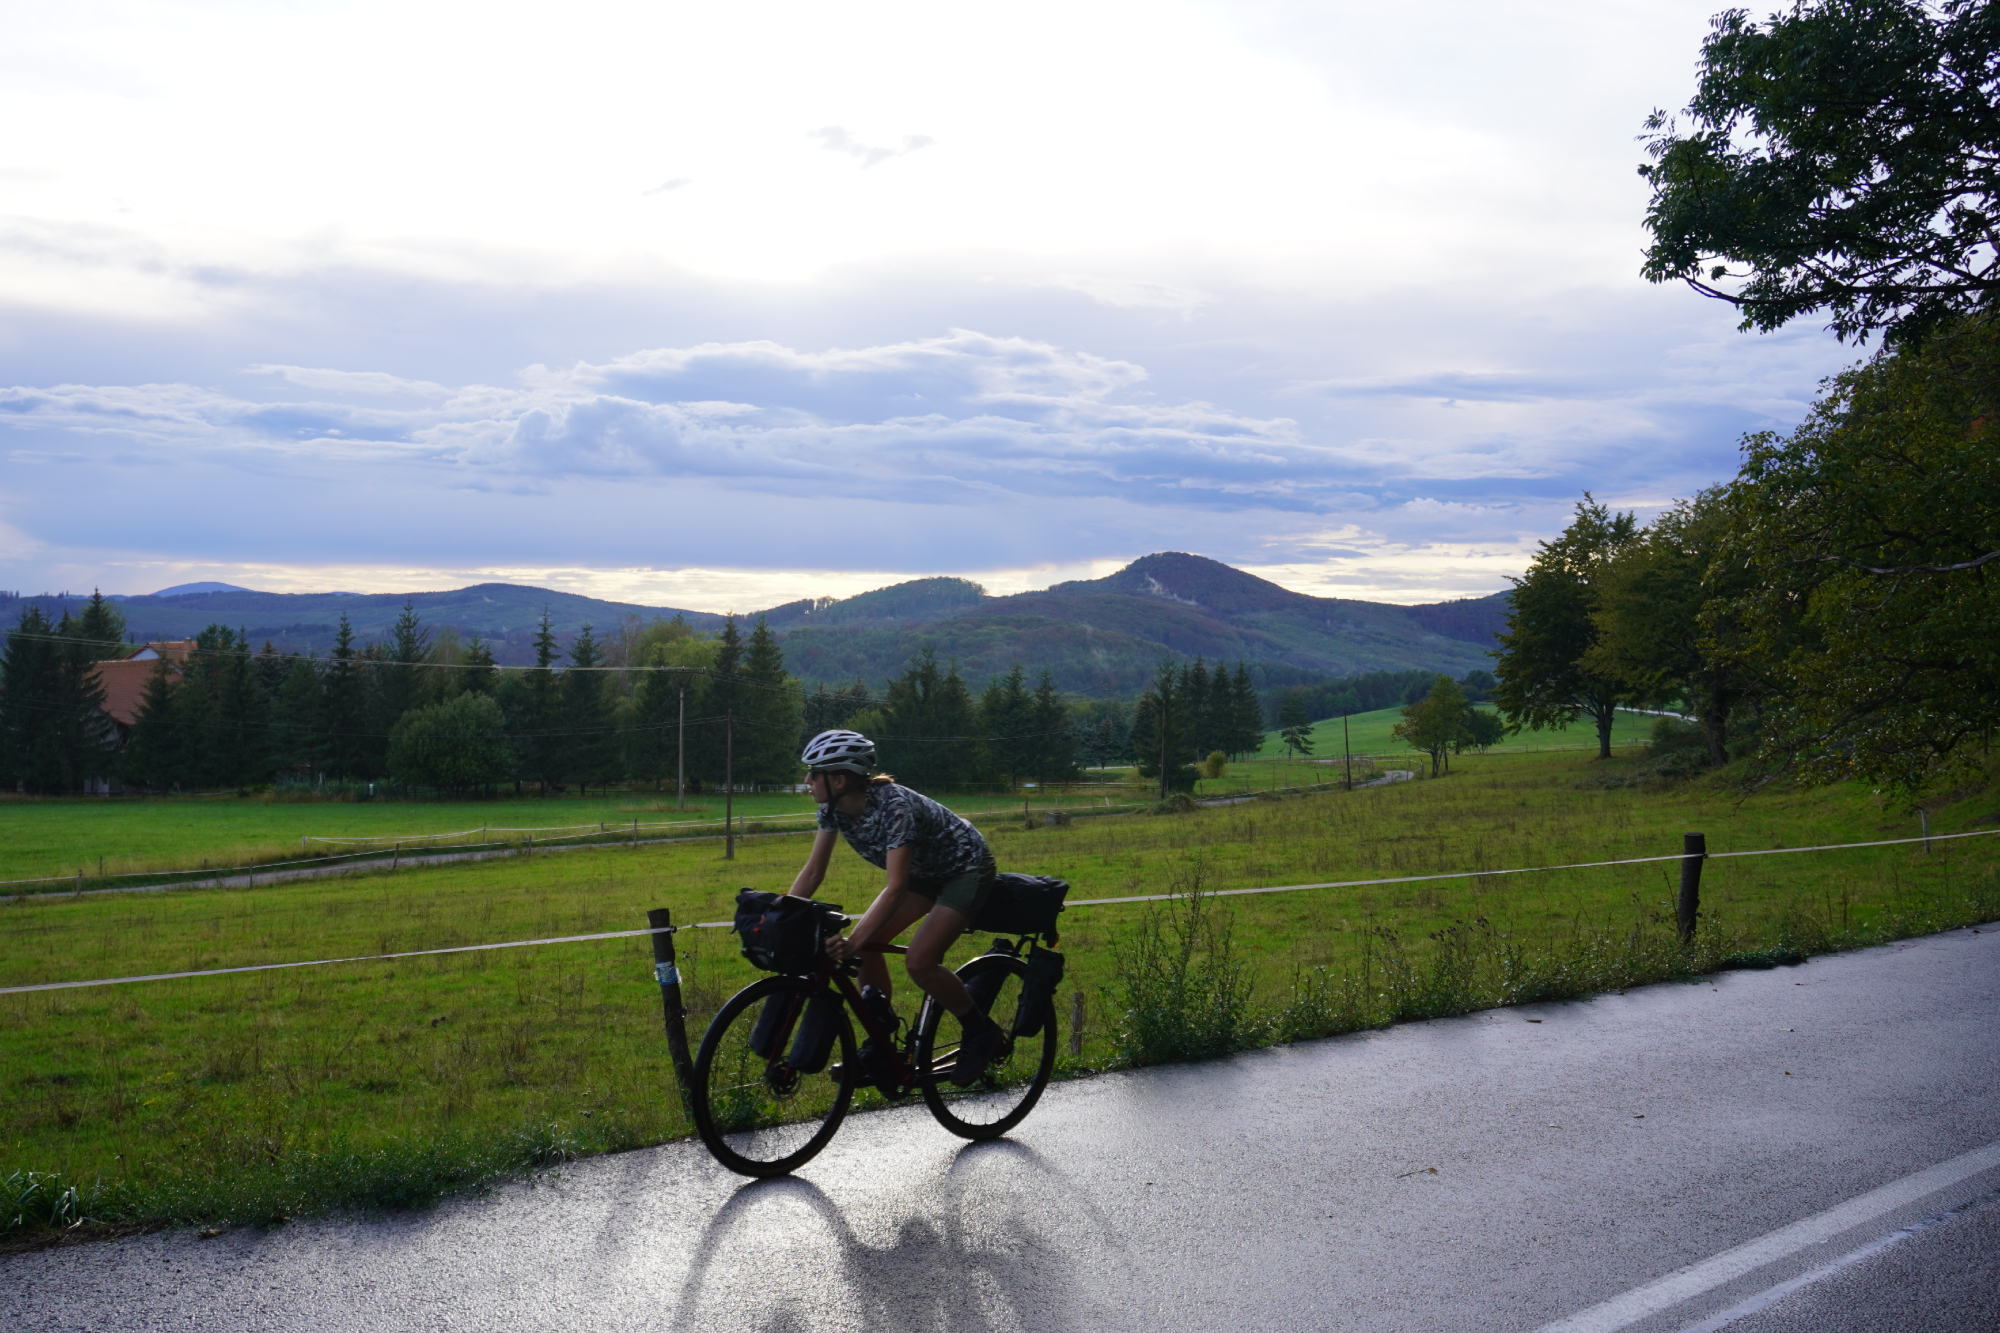
I’ve also had times when it’s clear that the rain is going to be hanging about for the rest of the day, so there’s no point in waiting around and putting off the inevitable. It makes rain-based decision making significantly easier!
4. Be prepared for the ride taking longer than you expect
It’s hard to anticipate just how much riding fully laden is going to slow you down by, but the chances are that your assumptions are always going to end up a little on the fast side - even if you think you’ve taken that into account!
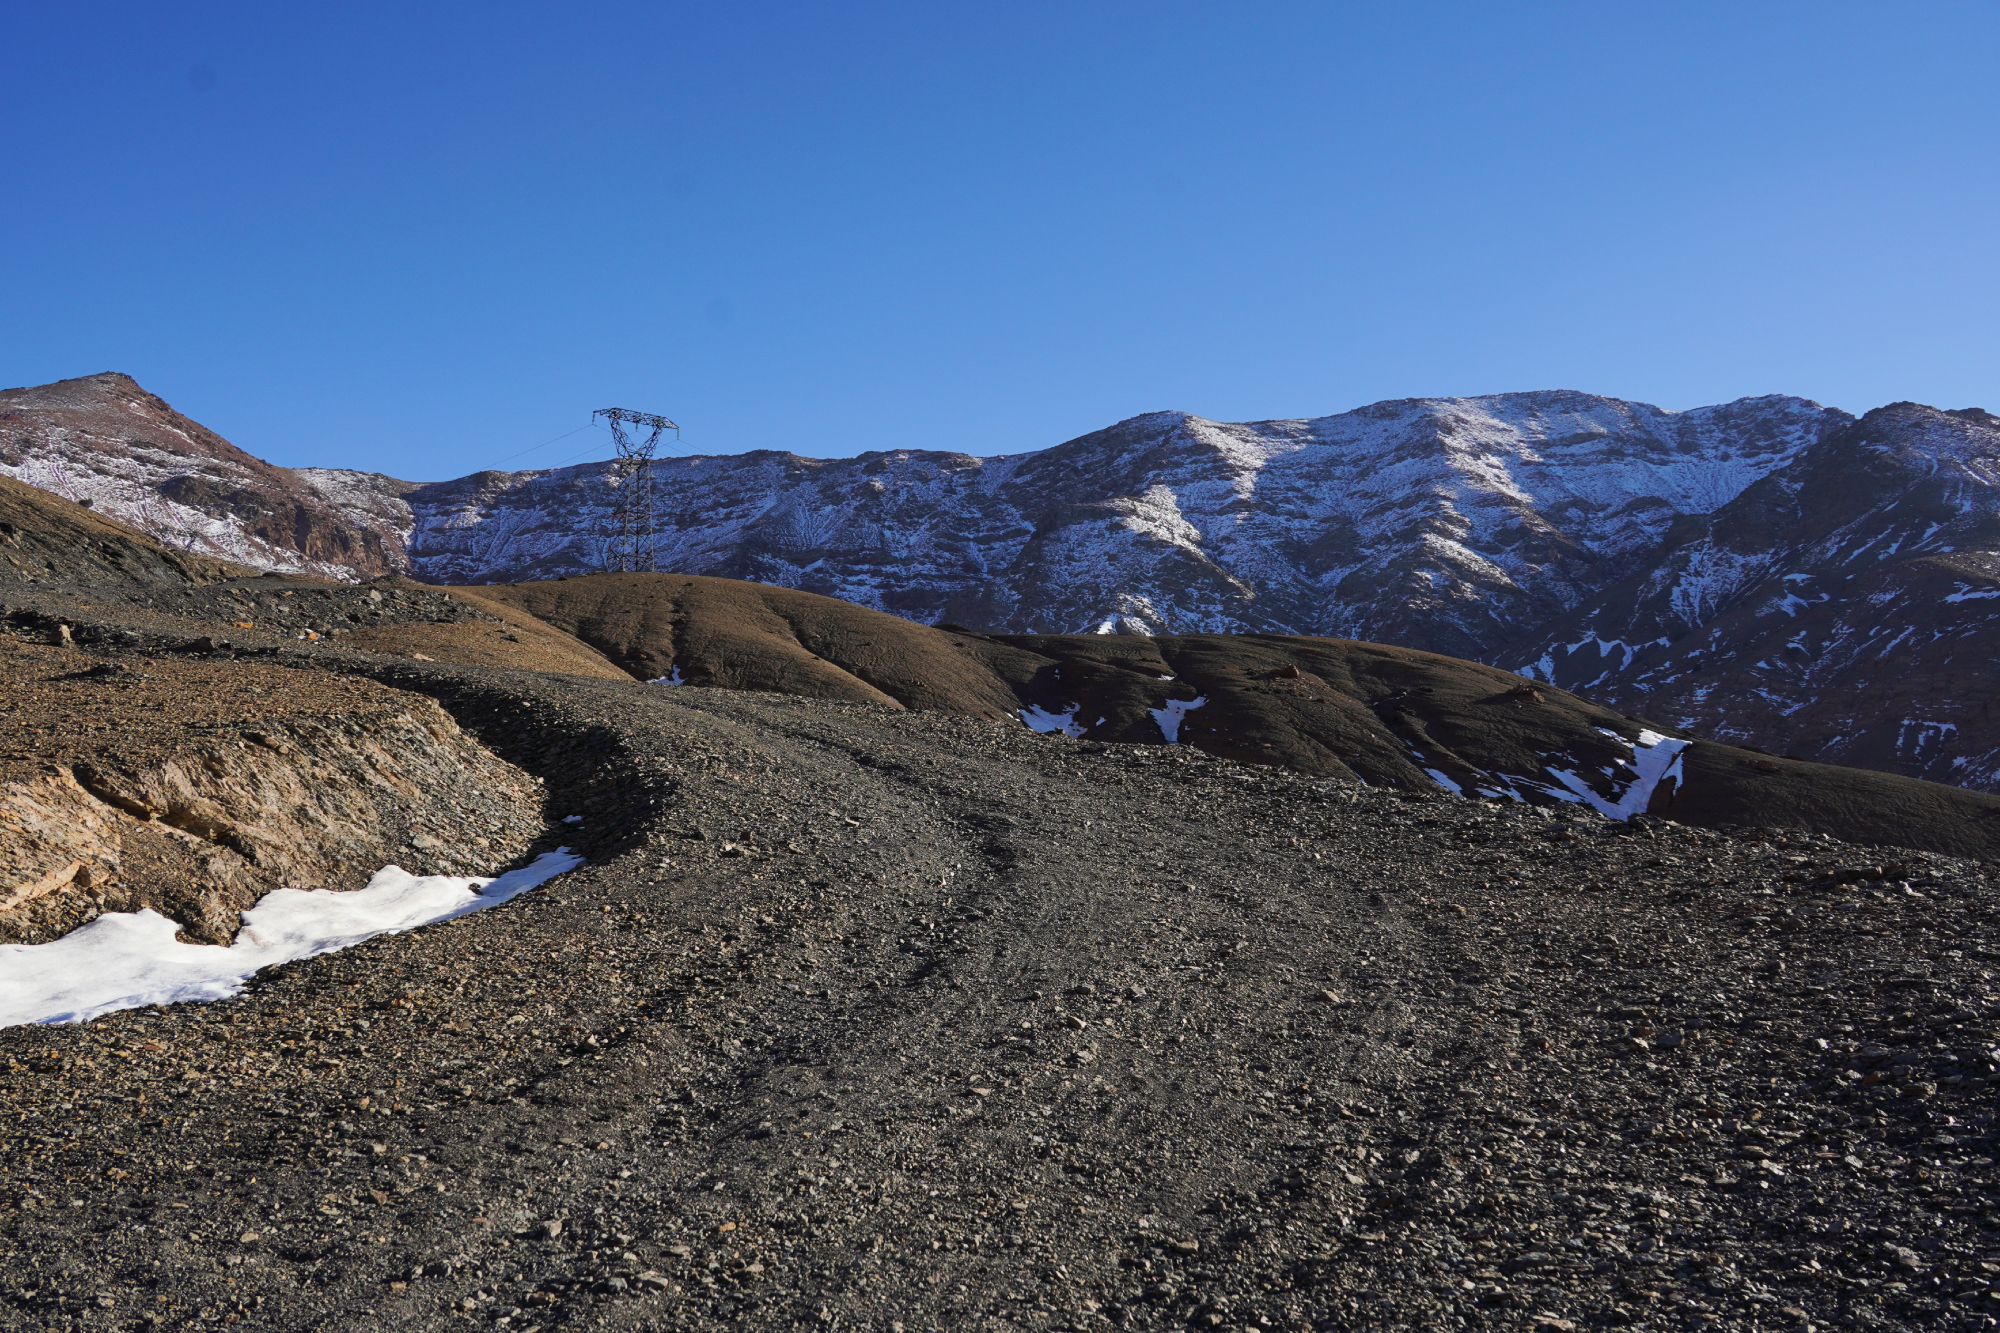
The terrain at the top of the High Atlas mountains in Morocco
Still, I do also really empathize with how difficult it is to plan a shorter route when there’s so much amazing riding and sights to see and you can’t bear the thought of missing any of it! For me, that over-ambition has resulted in far too many late nights - pitching the tent at gone 11pm - and the slow-motion car crash of having to absolutely bury yourself for the next two hours in order to make a booked train or ferry.
But it’s not even just miss-estimations of your average speed which can leave you with those issues. Closed roads or trails which turn out to be impassable can cause lengthy detours - as can long sections of hike-a-bike you weren’t expecting. Mechanicals are another time-sink which can really throw off all your best laid plans.
Now, after experiencing oh so many ways in which things can go wrong, I have a whole toolkit of contingency plans with which I try to pepper every route.
First, is trying to design the route so that there are loops that you can cut off if you need to make up time quickly. That way you can be fully ambitious with the distance and the sites you intend to see, but also giving yourself an off-ramp if anything doesn’t go to plan.
But, oftentimes, you’re not going to be able to make your route as circuitous as that. Likely you have a destination that’s ambitiously far away and it’s already going to be a challenge to make the route as direct as possible to give yourself the best chance of making it. In those cases, I like to find train lines I can keep nearby in case things start going badly wrong and I need to make up time to get to my next booked accommodation.
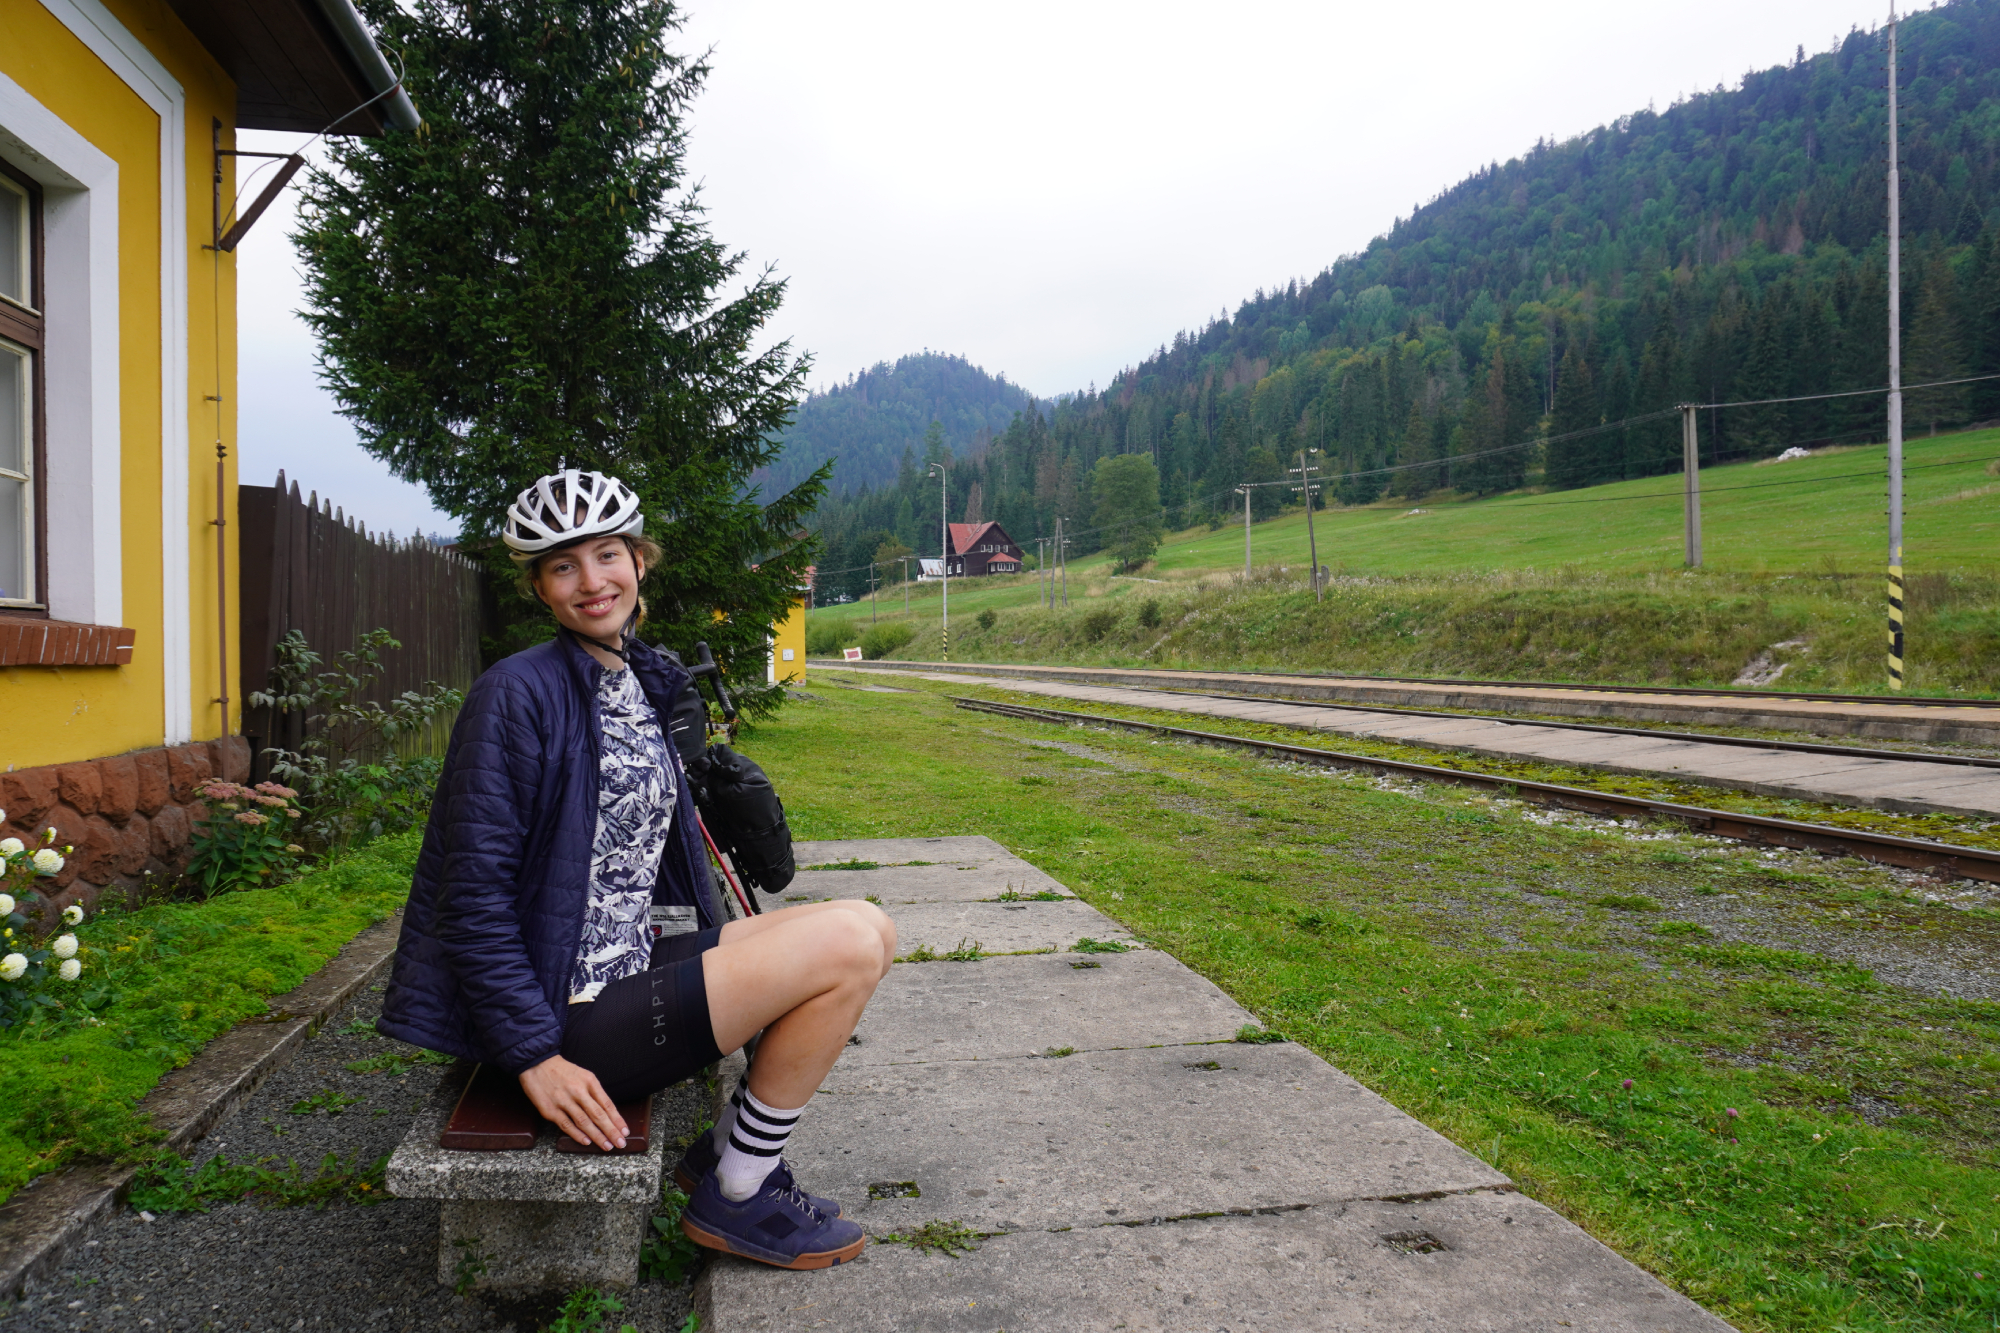
In the UK, Merritt Cartographic is an excellent site which shows you the actual on-the-ground routes of all the UK’s train lines - very useful for cross referencing with your Strava route, and so much more useful than all the abstract train maps which have all the stops listed along straight lines with no sense of their geographic location. I don’t have an alternative quite like that for Europe, but direkt.bahn.guru is super useful for showing all the direct connections from pretty much all of Europe’s stations, from which you can then infer where the train lines go.
Finally, when there aren’t loops you can make then cut off and if there aren’t any train lines to follow, the ultimate contingency plan is simply just having enough food, water and clothing to mean you’re self-sufficient no matter what happens. So long as you can batten down and get through the night, while still having enough food to get you fuelled and going the next morning, you should be able to get yourself to a point where you can recalibrate and work out your next steps.
5. Manage your caffeine
Lastly (but by no means least important!), if you’re a regular coffee or tea drinker, it’s a good idea to have some fall-back sources of caffeine to top yourself up with just in case.
If you’re travelling with a stove and moka pot or Aeropress, then no worries - you’re completely set for all eventualities! But for me and the amount I typically try to pack into my bikepacking trips, I tend to not have the time to cook on a stove and that’s one of the first things to go when trying to streamline my gear.
But it does mean that I’ve had several times when I’ve camped out somewhere remote and my route takes me further still from any towns or villages where I might be able to quickly pick up a cuppa.
Caffeine withdrawal is not something you really want to start experiencing when you’re halfway into a week-long bikepacking loop, so having something as a little backup can be a truly massive help. For space/weight efficiency and being something that’s easy to pack, I tend to bring just a couple of caffeine energy gels with me.
Generally, I won’t end up using them and they stay in my packs at all times. But if the airlock does get broken and I do break out those gels, then I’ll typically pick up a tiny can of Red Bull to be ‘just in case’ for the rest of the trip.
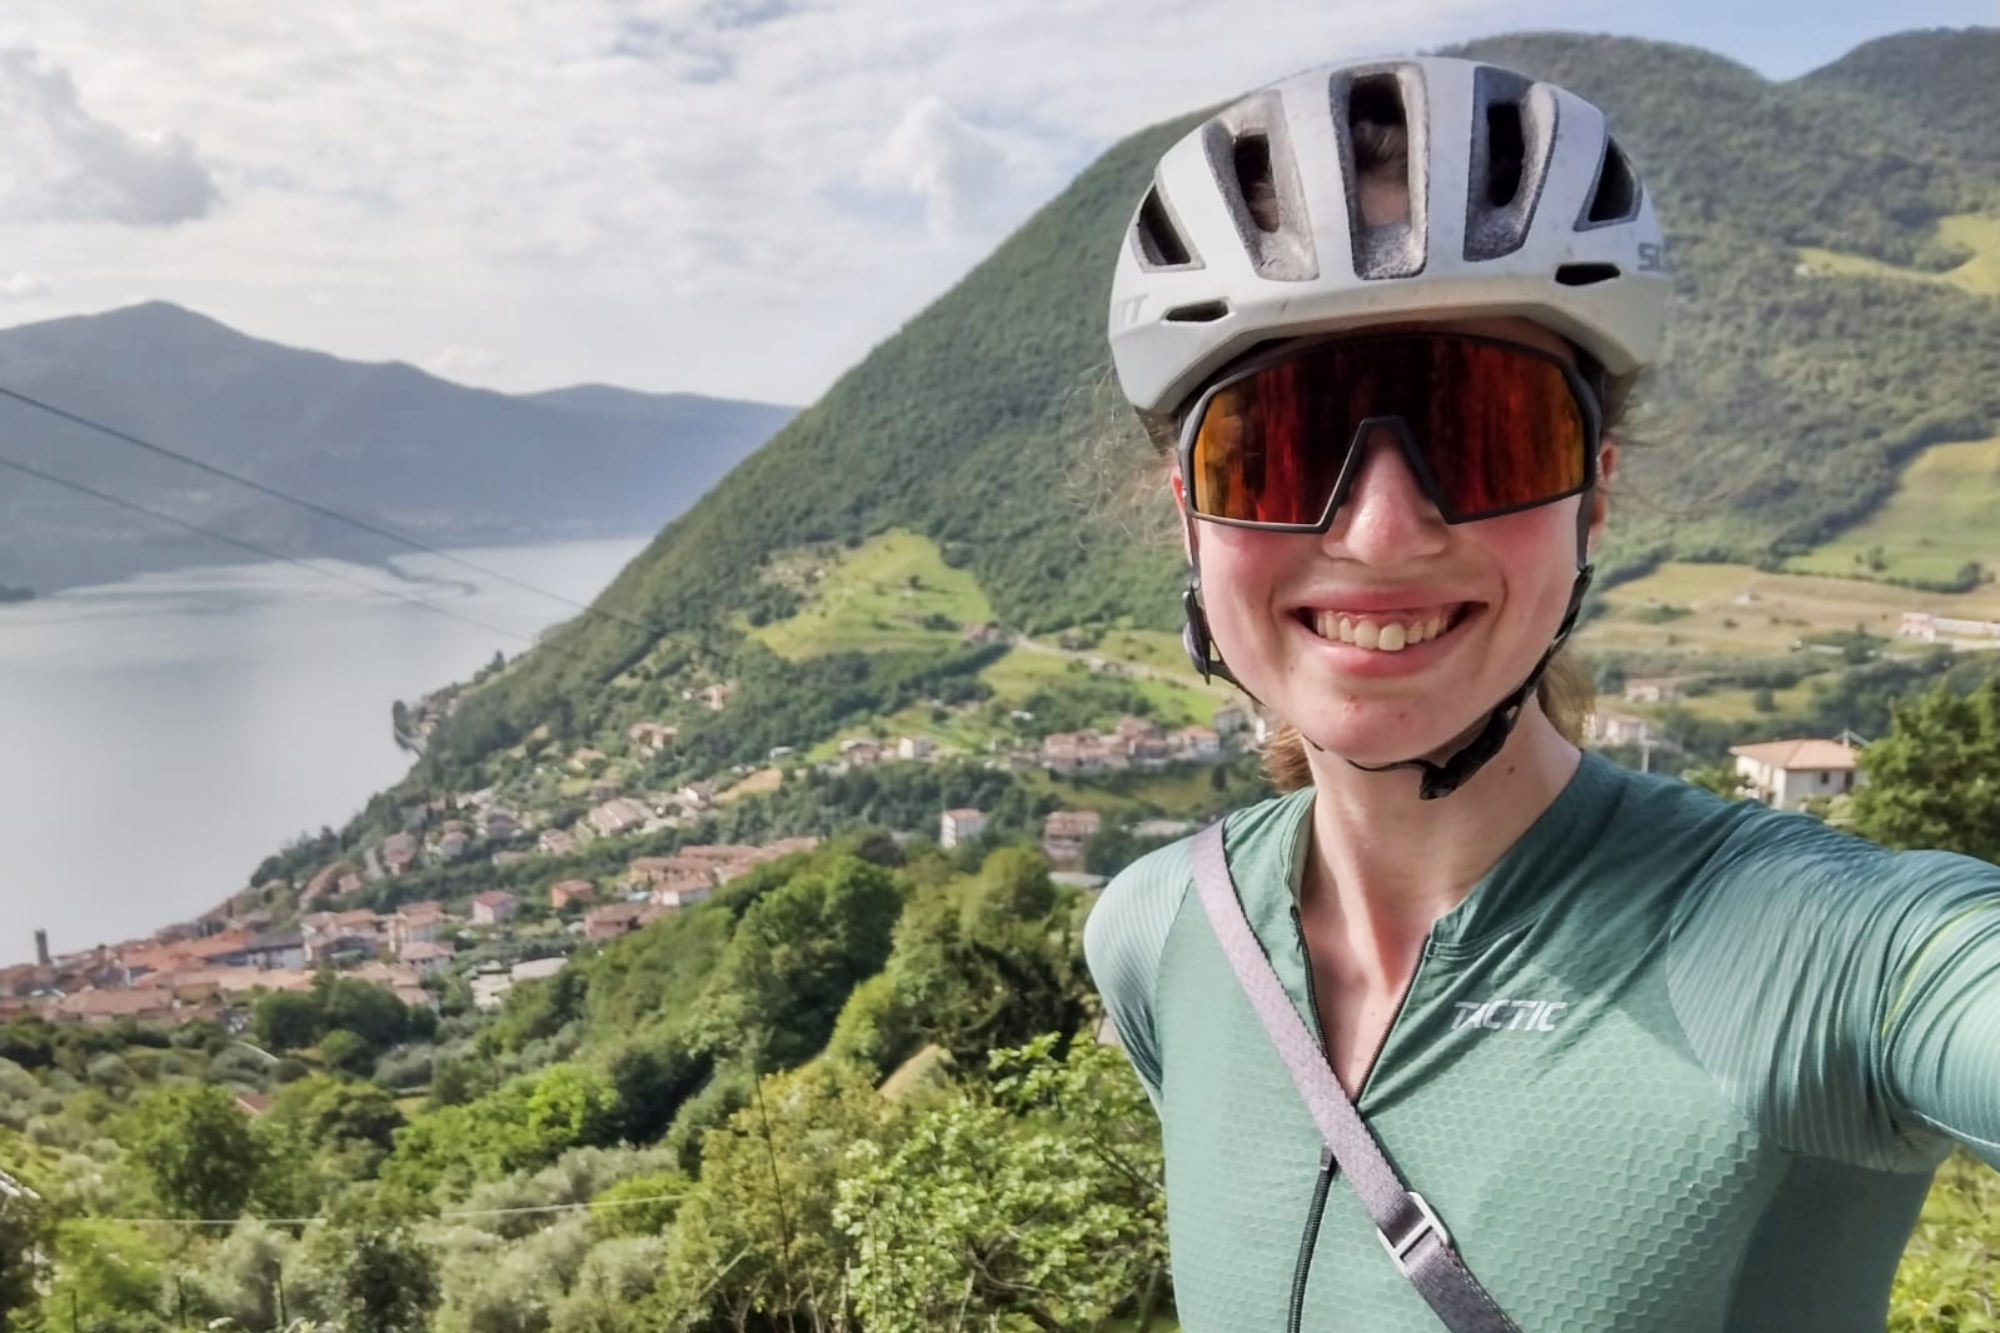
I’ve been hooked on bikes ever since the age of 12 and my first lap of the Hillingdon Cycle Circuit in the bright yellow kit of the Hillingdon Slipstreamers. For a time, my cycling life centred around racing road and track.
But that’s since broadened to include multiday two-wheeled, one-sleeping-bag adventures over whatever terrain I happen to meet - with a two-week bikepacking trip from Budapest into the mountains of Slovakia being just the latest.
I still enjoy lining up on a start line, though, racing the British Gravel Championships and finding myself on the podium at the enduro-style gravel event, Gritfest in 2022.
Height: 177cm
Weight: 60–63kg