how to: Tyre-some troubles

cycling active how to change a tyre
The latest race content, interviews, features, reviews and expert buying guides, direct to your inbox!
You are now subscribed
Your newsletter sign-up was successful

22nd November 2010 Words: Derri Dunn
Sod’s law; you’ll puncture in the driving rain, miles from home. Read our guide to tyre changing and don’t get stuck.
The first rule of changing a tyre is that you do not talk about changing a tyre. Cyclists can be a macho and insular bunch, and it’s commonly thought they are born with such basic mechanical know-how.
If, as I did, however, you come fresh to the sport as an adult, you may find that merely hanging around the Lycra-clad does not suddenly infuse you with this knowledge by osmosis. Unfortunately, you’re going to actually have to learn how it’s done.
Why bother?
The most likely reason you’ll want to remove and refit a tyre is because you have a puncture. The second most likely, is because you want to change your tyres for an armour-plated set that will reduce the likelihood of a puncture. Unfortunately, these tyres tend to be the hardest to fit.
Most cyclists face their first puncture far from home, in the rain, with an inadequate portable tool kit.
I suggest you try to beat sod’s law by having a go right now at home, in the dry.
The latest race content, interviews, features, reviews and expert buying guides, direct to your inbox!
Be prepared
First, clean your bike. This is a dirty job, but it’ll be made worse if you can’t see what you’re doing, and you don’t want bits of grit and muck ending up inside the tyre where they could cause another puncture. Remove the wheel from the bike and collect together a good pump, a new tube, if you’re putting one in, and tyre levers. Yes, that’s right, tyre levers.
The second rule of changing a tyre is that if you do talk about it, tell novice cyclists that real cyclists don’t use tyre levers. They use their thumbs o’ steel instead.
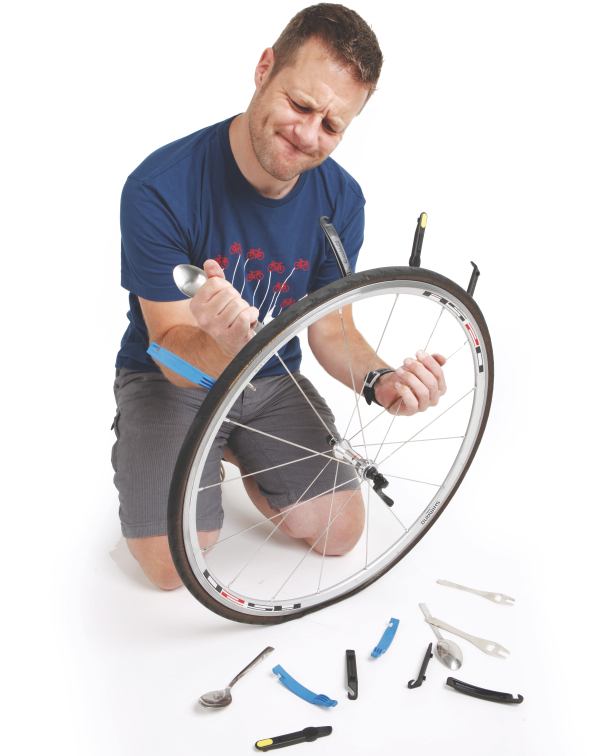
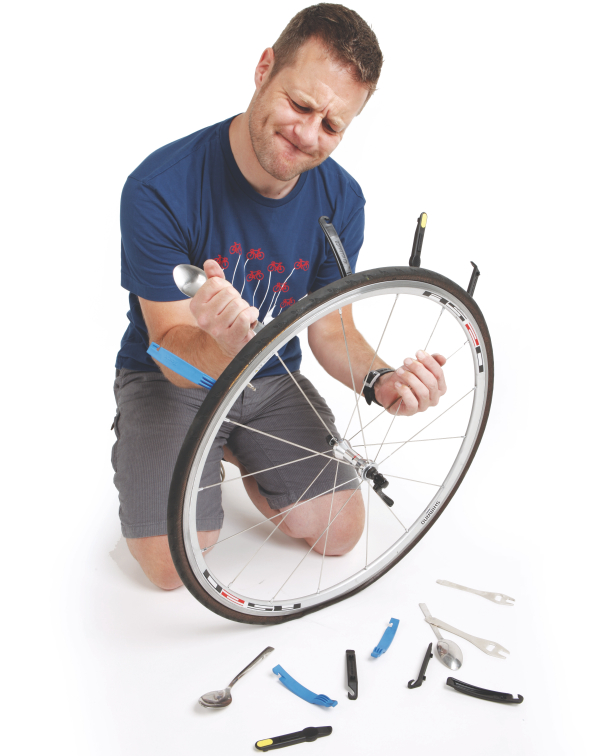
I don’t have thumbs of steel. I have a nice set of plastic tyre levers and I’m not afraid to use them. In the old days, cyclists would have kitchen drawers full of bent spoons from trying to press these into service but, like metal tyre levers, these can pinch the inner tube and cause punctures. This is less likely with plastic levers, so they’re a nice middle ground between thumbs o’ steel and spoons.
When you’ve collected everything you need, relax. Get comfortable, with the wheel propped between your knees or on your lap. It’s important not to rush.

Get it off
Unscrew and press the valve to deflate the tube. Put a lever under the edge — the bead — of the tyre and push down hard. It feels like you’re forcing it but, trust me, there’s a lot of forcing with tyre fitting. Anchor the hook at the other end of the tyre lever around a spoke. Repeat with another lever a few inches along the bead, again pushing it hard away from the rim. You’ll need to stick two or three levers in like this.
It’s probable at least one will snap and another will fly off the rim and blind you in one eye. Persevere, don’t cry and give up, this is perfectly normal. Take great care with those tyre levers on the inner tube, though; one false move can tear it. This is not normal and if this happens you will be cast out from the Real Cyclists’ Club.
You should now be able to run your hand under the bead, all the way around and remove the tube and tyre fairly easily.

Get it on
Right, easy bit over, now you have to put the tyre back on. This can be diabolical, so take some deep breaths. Slip the first side of the tyre bead over the rim. Some tyres have an arrow on them to make sure the tread will roll the right way. It should point in the direction the wheel will rotate when you are riding forward when the wheel’s back on the bike.
Generally, I have found I forget this arrow until I’m putting the wheel back on and notice it’s pointing backwards. Pump up your inner tube until it just takes shape, no more. Put the valve through the hole in the rim from the inside. Work round the wheel from the valve, tucking the tube into the tyre. It will most likely not want to stay put and will bulge out tauntingly in at least one place. Again, have patience.
The big finish
Now comes the most crucial part. It’s make or break — reseating the other side of the tyre on the rim. The big danger here is catching the tube between the rim and bead so when you pump the tyre up it punctures, deflates again and you’re back to square one. The first half of seating the bead is easy: just push it into place. With a hand on either side of the wheel, carefully stretch the tyre round, lifting it on, until you get to the final few inches.
This is where things can start to fall apart for the novice tyre fitter.
You can end up chasing those last few inches round and round the rim, you’re under-developed thumbs o’ steel trying in vain to lift that last bit over. It is difficult, but no matter how stiff the bead, keep telling yourself it isn’t impossible, stay calm and push those thumbs with all your might. Some people pry the last bit on with tyre levers, but this comes with a risk of pinching (and puncturing) the inner tube and is best avoided.

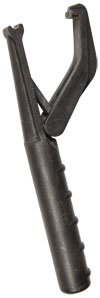
There is, however, secret option number three. Early in my tyre-changing career, as I struggled tearfully with the last section of a tight Kevlar-lined tyre, my Dutch boyfriend, after watching in puzzlement awhile, finally said “why don’t you just use a [unpronounceable Dutch word]?” He then produced his [unpronounceable Dutch word], which turned out to be a marvellous little tool that everyone in Holland has and nobody else in the rest of the world has ever seen, which effortlessly lifts that last section of tyre over the rim, no pinch flats, no tears.
In English, it’s called a Simson Tyre Mate, and it can now be purchased online from the nice people at www.sjscycles.co.uk. Just remember, it is cheating, you’ll never develop your thumbs o’ steel using one, and woe betide you if the real cyclists catch you at it.
Beat the bike shop
DIY saver
At the bike shop, getting them to remove and refit a tyre and fix a puncture can cost up to £20.
Splash out instead on tyre levers and this £17.99 SKS track pump.
Do it yourself twice and you’re quids in!