Buying a custom bike - Part 1: Fitting
Buying a custom bike is a unique process that only a lucky few get to experience. We've teamed up with Parlee to document the process from start to finish, beginning with the all-important process of fitting

To those looking for a custom bike there are many great options out there. You may have heard of Trek's project 1 custom bikes, and there are other companies that offer complete custom geometry hand-built frames. To name but a few: Brian Rourke is famous for his custom steel frames, and Seven offer custom steel, titanium and carbon.
For this journey we have decided to team up with Parlee. For those unfamiliar with the Massachusetts-based company, Parlee produce customised carbon-fibre frames that are hand-built in the USA. That's a rare proposition in the current world of mass-produced Far Eastern carbon.
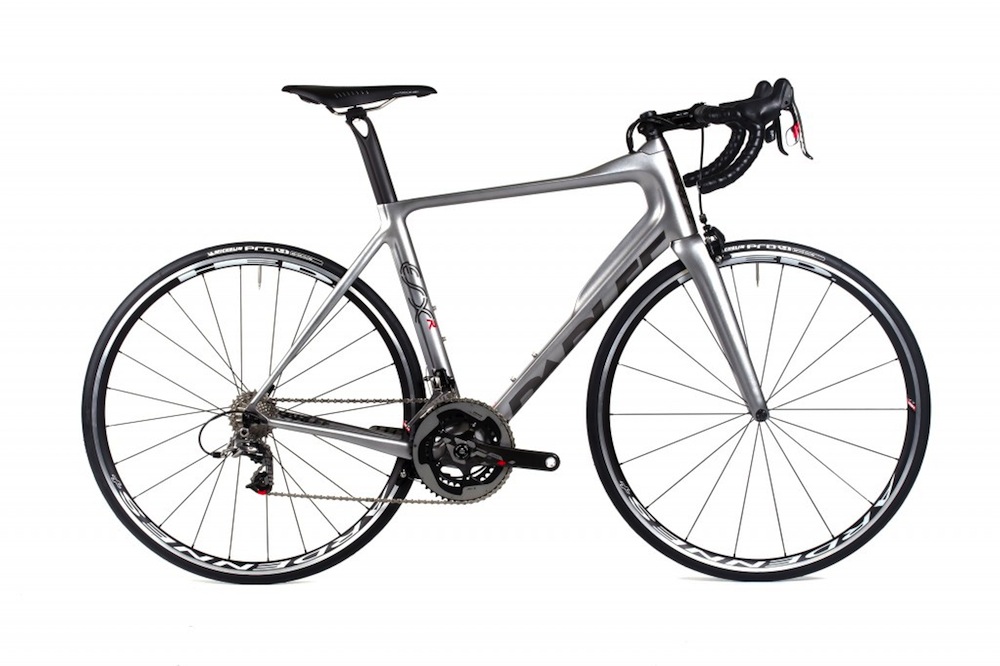
New for 2015 is the Parlee ESX-R (£3,299 for the frameset), which is a slightly more affordable version of Parlee's aero road ESX. The ESX-R is claimed to feature the same stiffness and ride quality as the ESX (£3,999) at the cost of a 100g increase in weight over the ESX. We have chosen the Parlee ESX-R for our custom build option and look forward to seeing how it stacks up against its bigger brother the ESX.

Parlee offers its Z-Zero model in full custom geometry, but not on the ESX and ESX-R . Instead they offer an extensive range of sizes to go with custom specification and paint job. The sizes range from small to extra large, with each individual size offering three different stack and reach combinations. This huge choice means that a relaxed geometry is possible, which is in contrast to the aggressive stock geometry on many aero frames, such as the Canyon Aeroad CF SLX we featured recently.
>>> How to set your saddle height
The fitting process
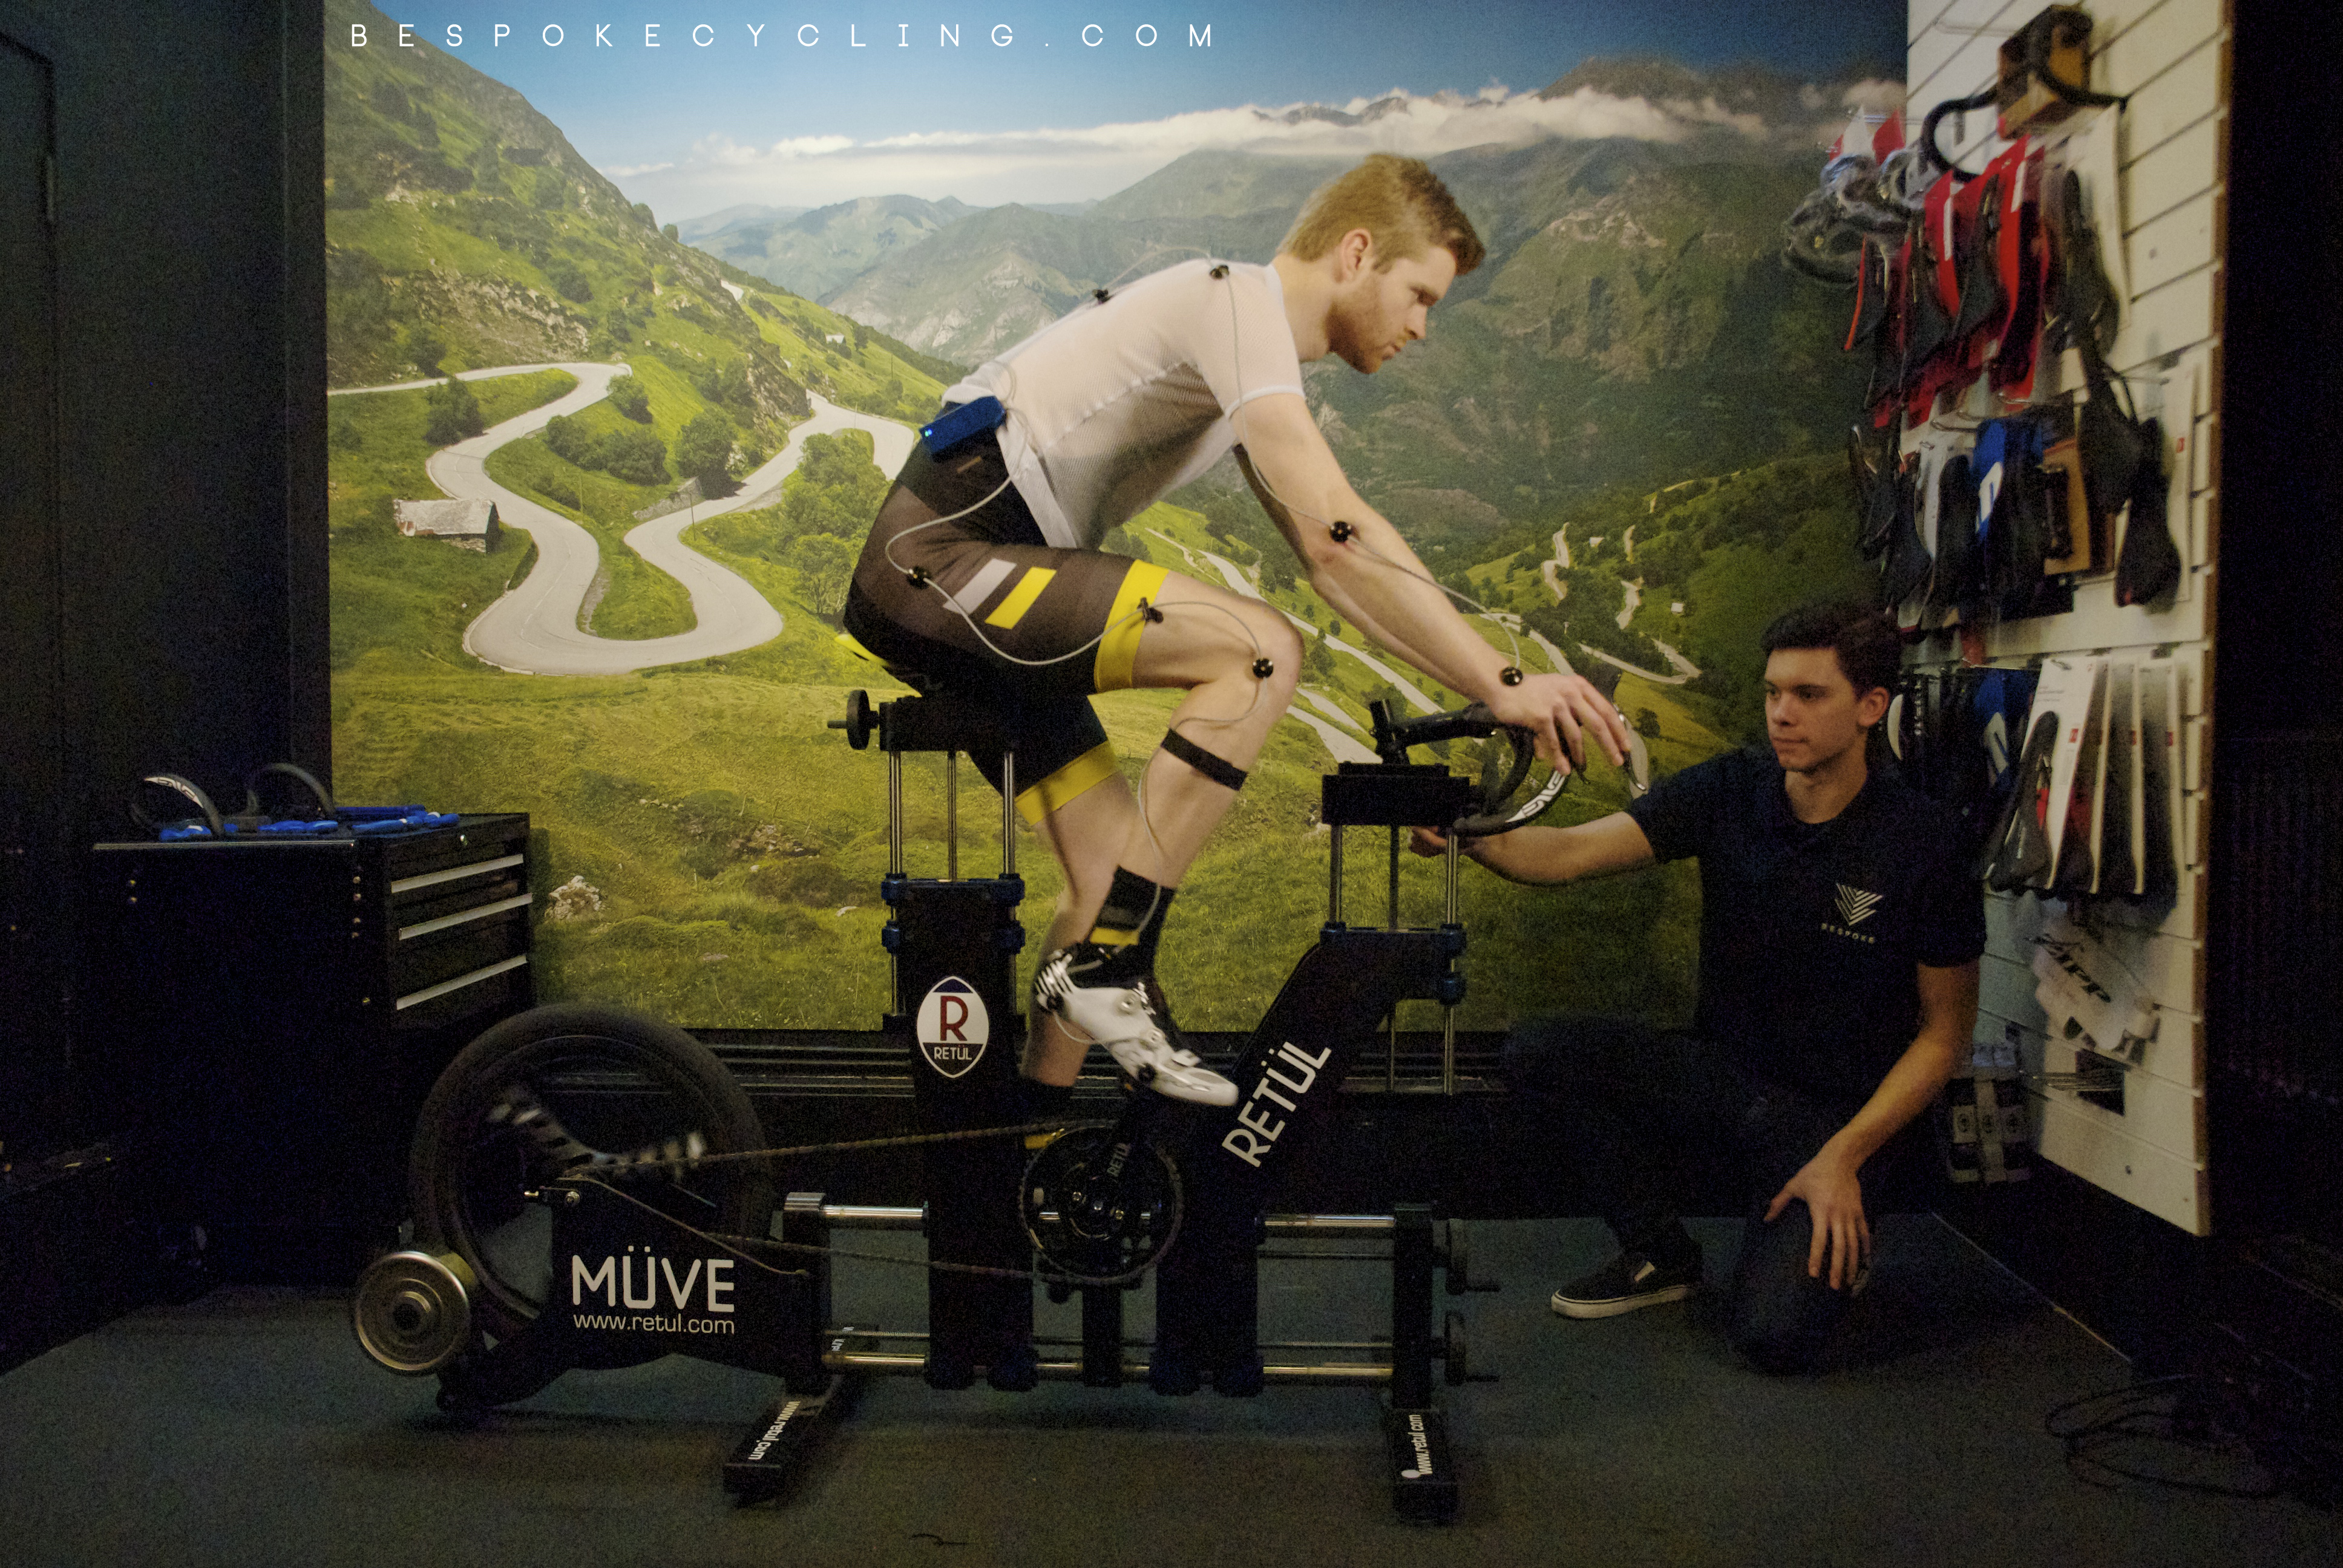
Having decided upon the ESX-R, the next step was to establish which size we would require. Here at Cycling Weekly we know the importance of a good bike fit, so we sent Oliver Bridgewood down to Bespoke in Farringdon for a Retül bike fit.

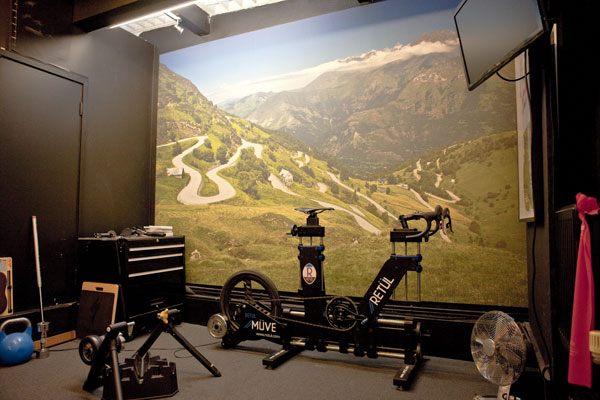
My fitter on the occasion was Dr Chris Bartlett, a former professional cyclist, expert bike fitter and biochemist. Chris guided me through the process step by step. The Retül jig is great as it can be set up to mimic the geometry of any frame. In my case, I was unsure which size ESX-R frame would best suit my needs.
The latest race content, interviews, features, reviews and expert buying guides, direct to your inbox!
The steps of a Retül fit
- The first step was to get changed into my cycling clothing. It might go without saying, but to be properly fitted you need to be in appropriate attire.
- Chris consulted me on what I wanted out of the bike, what kind of riding I had done previously and what I intended to do in the future. He asked about any previous injuries, as all this is taken into account.
- Flexibility and stability are important too, so any potential imbalances are assessed, and advice on how to strengthen certain muscles is given.
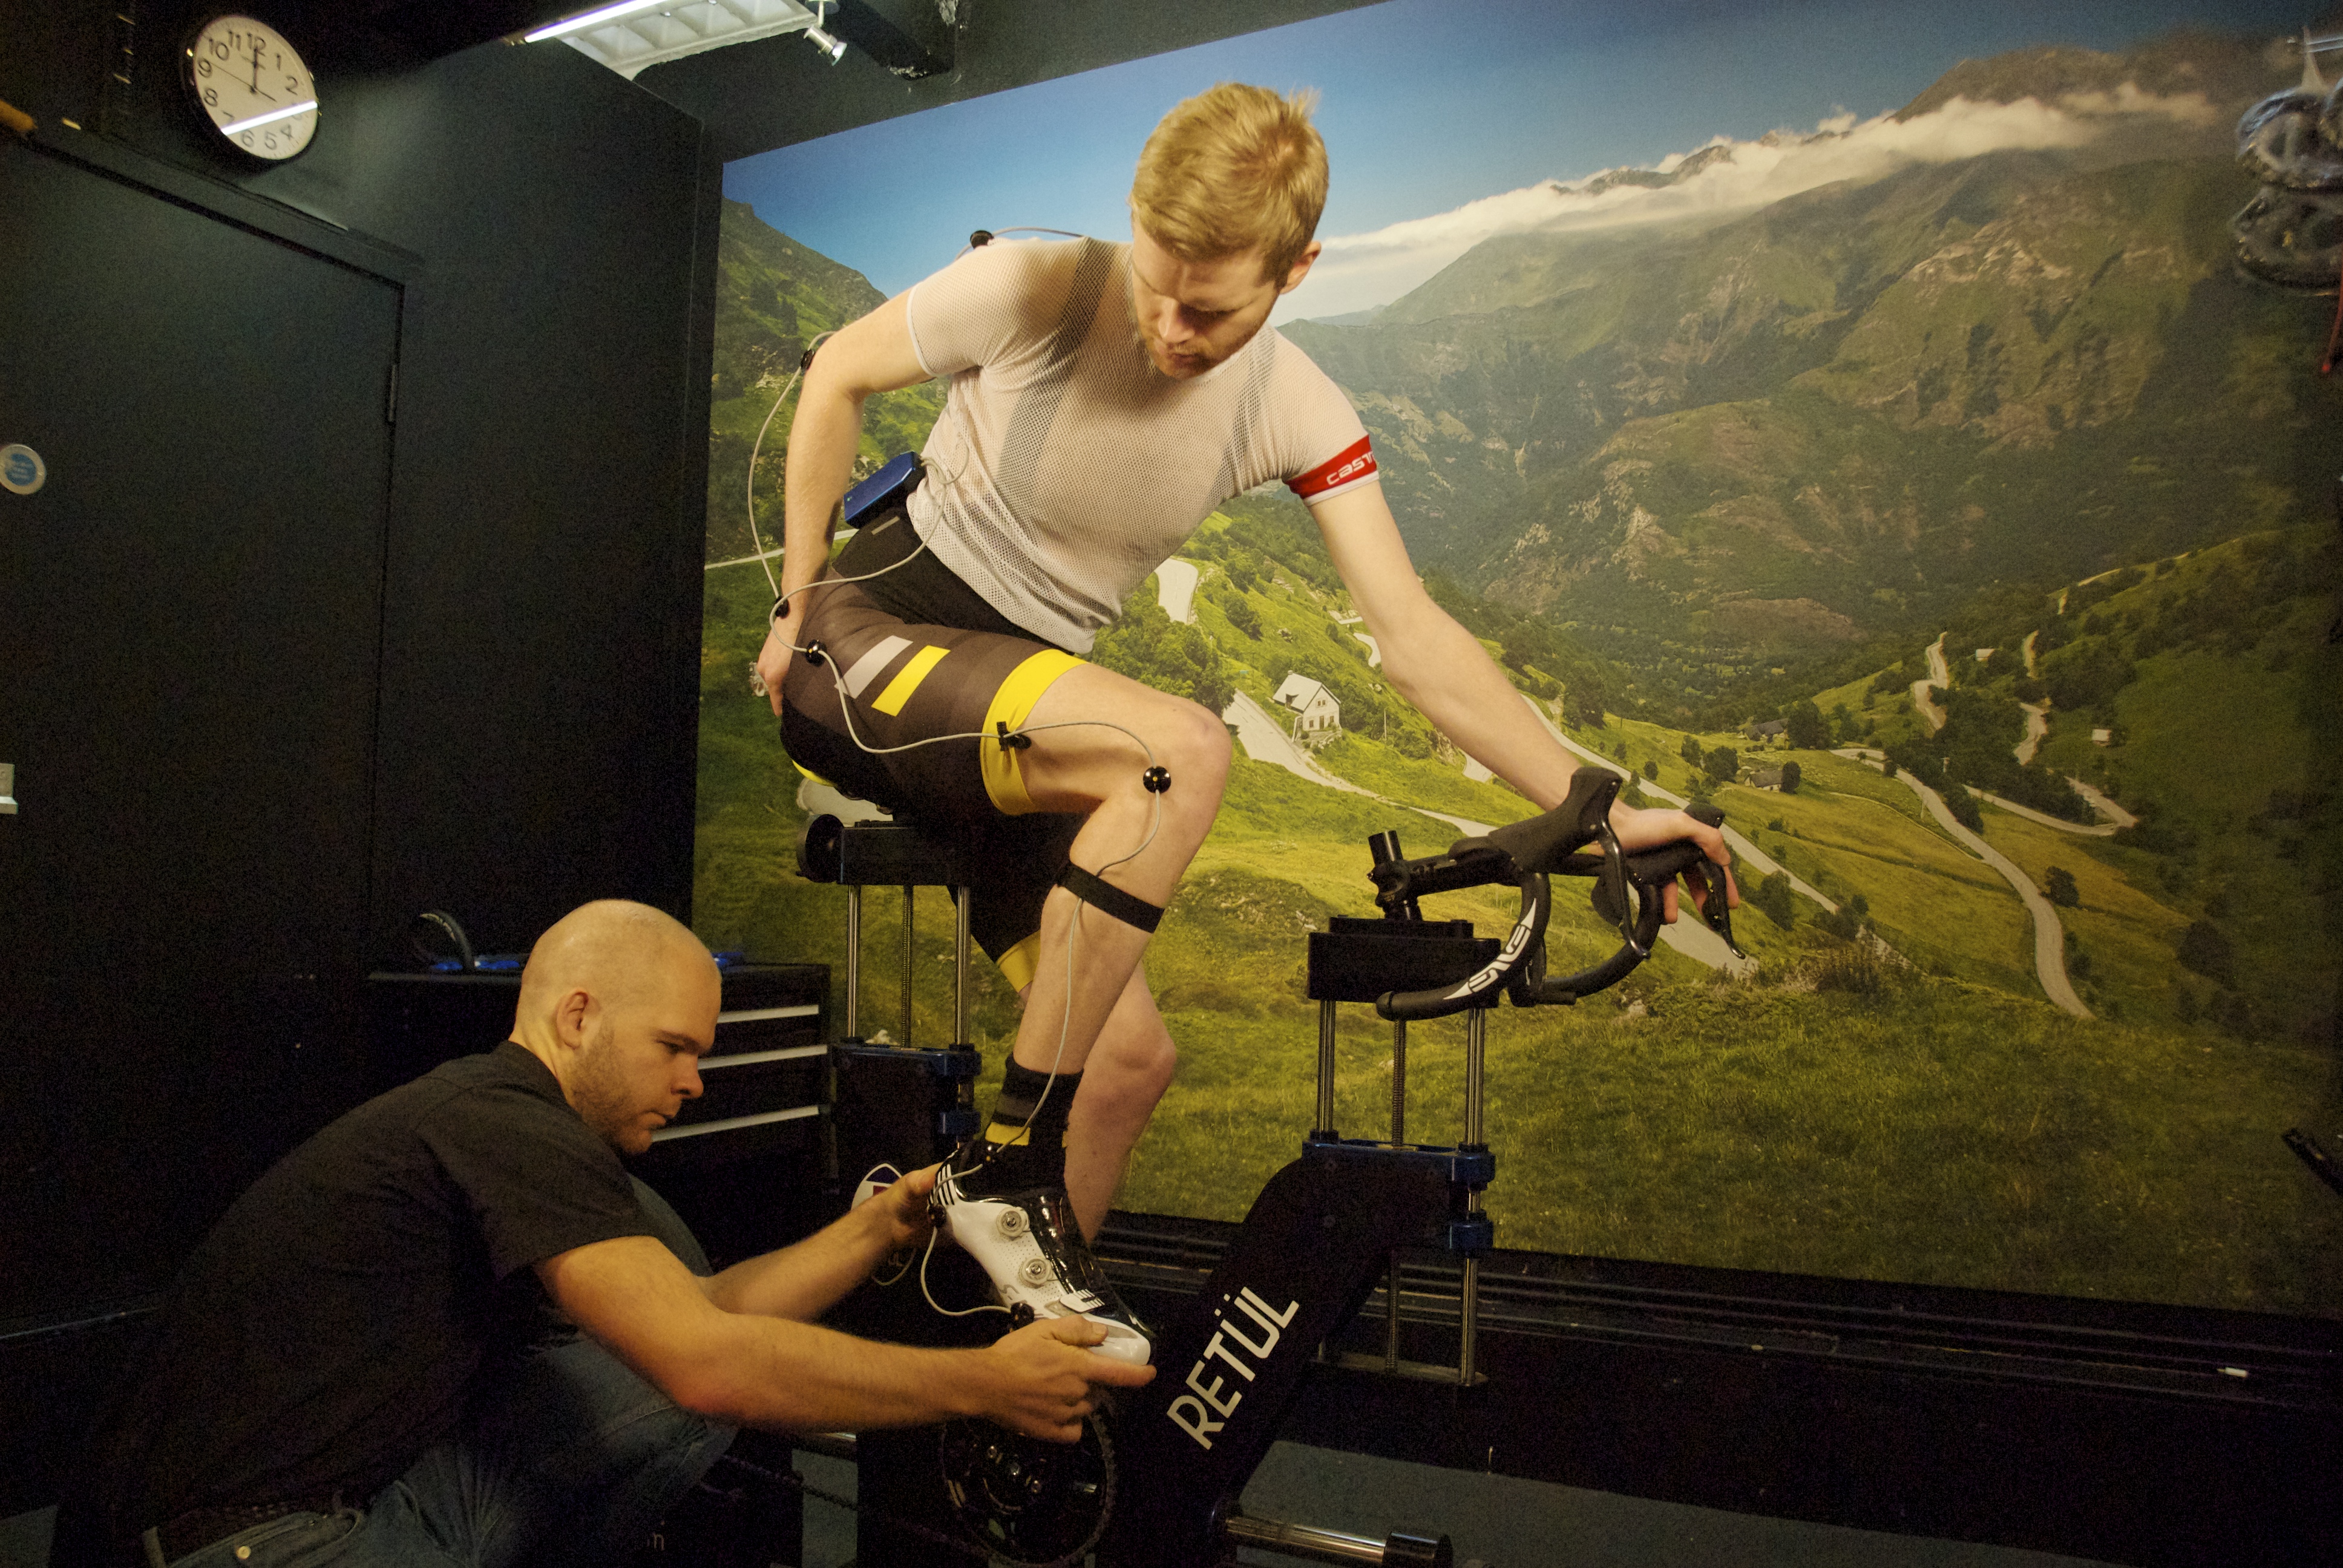
- Cleat position. The position of cleats is important and can cause injury or at the very least be inefficient. Having previously had a fit, I was encouraged that using the same system a different fitter agreed my cleat position was correct.
- Attaching the sensors. The eight sensors are attached to key anatomical points on the body and the Retül system captures the motion. This is first used to evaluate your current position. This can either be done with your current bike on a turbo trainer, or on a jig (pictured) if you are buying a new bike.
- Optimisation. Using the motion capture sensors the fitter assess the angles of the joints through motion, to determine to best balance of comfort and efficiency. This helps maximise power output, while minimising the risk of injury.
- Testing. This is important. Having adopted a new position, Chris made me ride at different intensities to see if I moved, or tried to adopt a different position. This ensures you are comfortable and will not be tensing your arms and looking at your stem when you hit a climb.
- Tweaking. Small changes to the position are made. Finishing options such as handle bar shapes and saddles are looked at, to establish which ones are most comfortable.
- Collation. The fit data is collected, processed and sent to you as a PDF. This can be forwarded on to frame builders as a template, or be used to suggest which frames will suit you best. In my case, the system recommended the ESX-R in a medium-large frame with a short stack allowing for a lower, more aggressive, aerodynamic position, ideal for breakaways.

Having previously had a Retül fit a couple of years ago, it was interesting to see that my position had changed. A few years of intense riding had developed core strength and stability, allowing me to adopt a much lower, more aggressive position.
Chris also measured my shoulder width and suggested that narrower 40cm bars could be more comfortable (and aero). If you are a keen rider, it is good to update your fit — I had changed my shoes and saddle since my last Retül fit and this had affected my saddle height. Consequently, I had been riding with my saddle 6mm too high without realising.
Chris will now email the Retül fit data across the pond to Parlee, who will use it to confirm the frame size before applying the rest of the data to select the optimum stem (length and angle), bars, crank length, saddle angle and fore/aft position.
The next step will be to decide the parts, groupset and paint job we want. If you have any suggestions for our custom paint job, please comment and let us know!
Oliver Bridgewood - no, Doctor Oliver Bridgewood - is a PhD Chemist who discovered a love of cycling. He enjoys racing time trials, hill climbs, road races and criteriums. During his time at Cycling Weekly, he worked predominantly within the tech team, also utilising his science background to produce insightful fitness articles, before moving to an entirely video-focused role heading up the Cycling Weekly YouTube channel, where his feature-length documentary 'Project 49' was his crowning glory.