Integrated cockpits on gravel bikes: is it fashion over function, or an upgrade worth considering?
Are the pros really worth the mechanical cons? Here's what to know before going all in(tegrated)

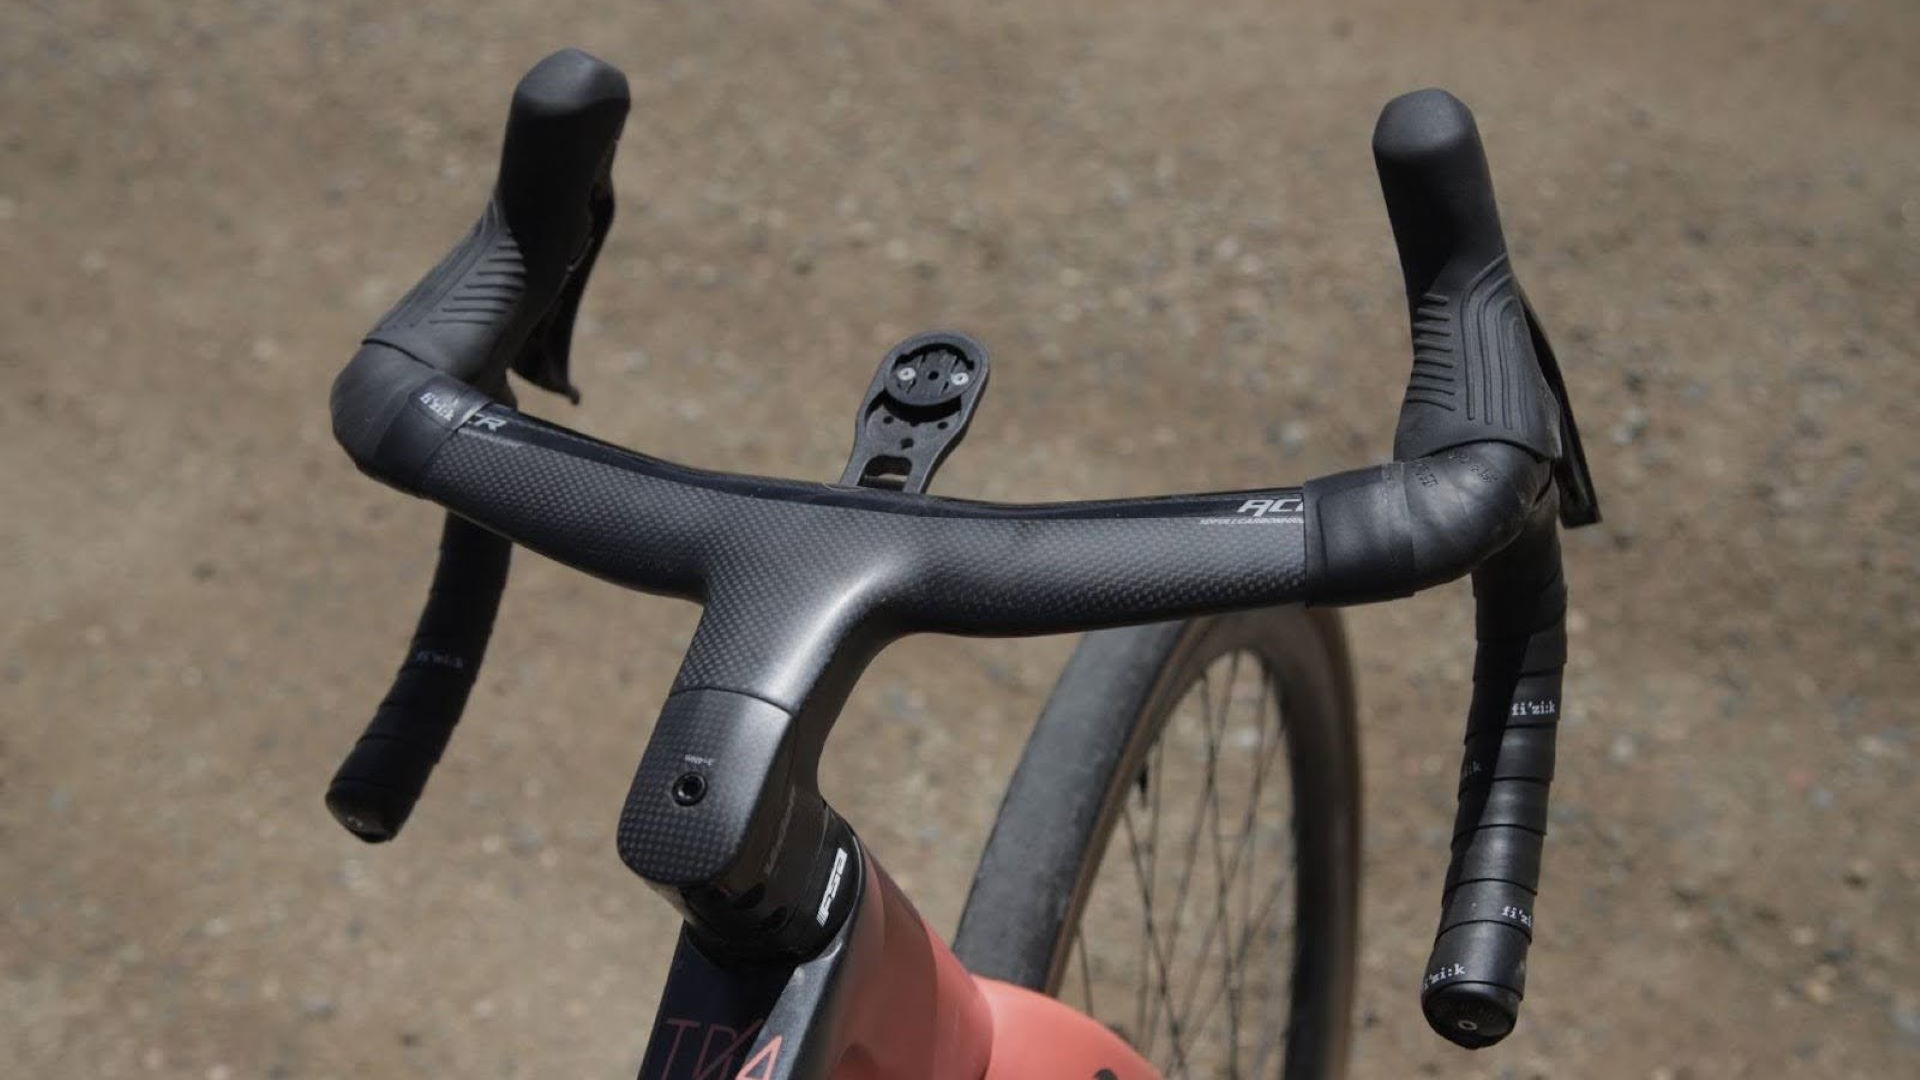
Integrated cockpits are all the rage in racing right now and not just in road racing but increasingly in gravel as well. With their clean lines and promises of aerodynamic gains, it's hard to ignore their growing presence. As someone who spends equal time writing about bikes and racing on them, I finally caved in and decided to give this sleek setup a try.
I made the choice for the performance benefits rather than aesthetics, but I will admit that I do love the look of a sleek front end.
There has been a consensus for many years now that tucking away the cables from the front of the bike is important for overall aerodynamics. In fact, when it comes to aerodynamics, the front end of the bike is increasingly seen as the most important part of any type of bike, with even minor improvements here producing significant results.
Beyond the aero gains, there are also weight savings that come from having a one-piece cockpit vesurs a bar-and-stem combination. One glance around the pro gravel peloton and it's easy to see that standard round-tubed handlebars are a thing of the past as the top athletes are all using integrated cockpits, even on gravel. In fact, both the men's and women's Gravel World Championship races were won one-piece cockpits with hidden cables.
Still, I had my doubts. Once I passed the point of no return—after swapping out hydraulic lines, shifting cables, and spacers—it became clear that reversing this whole process would be a major pain. As a DIY mechanic, my primary concern was the initial maintenance pull of making the change. Even pro mechanics dread this job due to the time-sucking activity of fumbling with integrated systems.
Mechanical headaches aside, other concerns include a potential change in bike fit and front-end compliance, and issues packing your bike in your usual travel case. There are many variables that go into the choice of going fully integrated on your gravel bike, so here are some things you should consider before going all-in(tegrated).
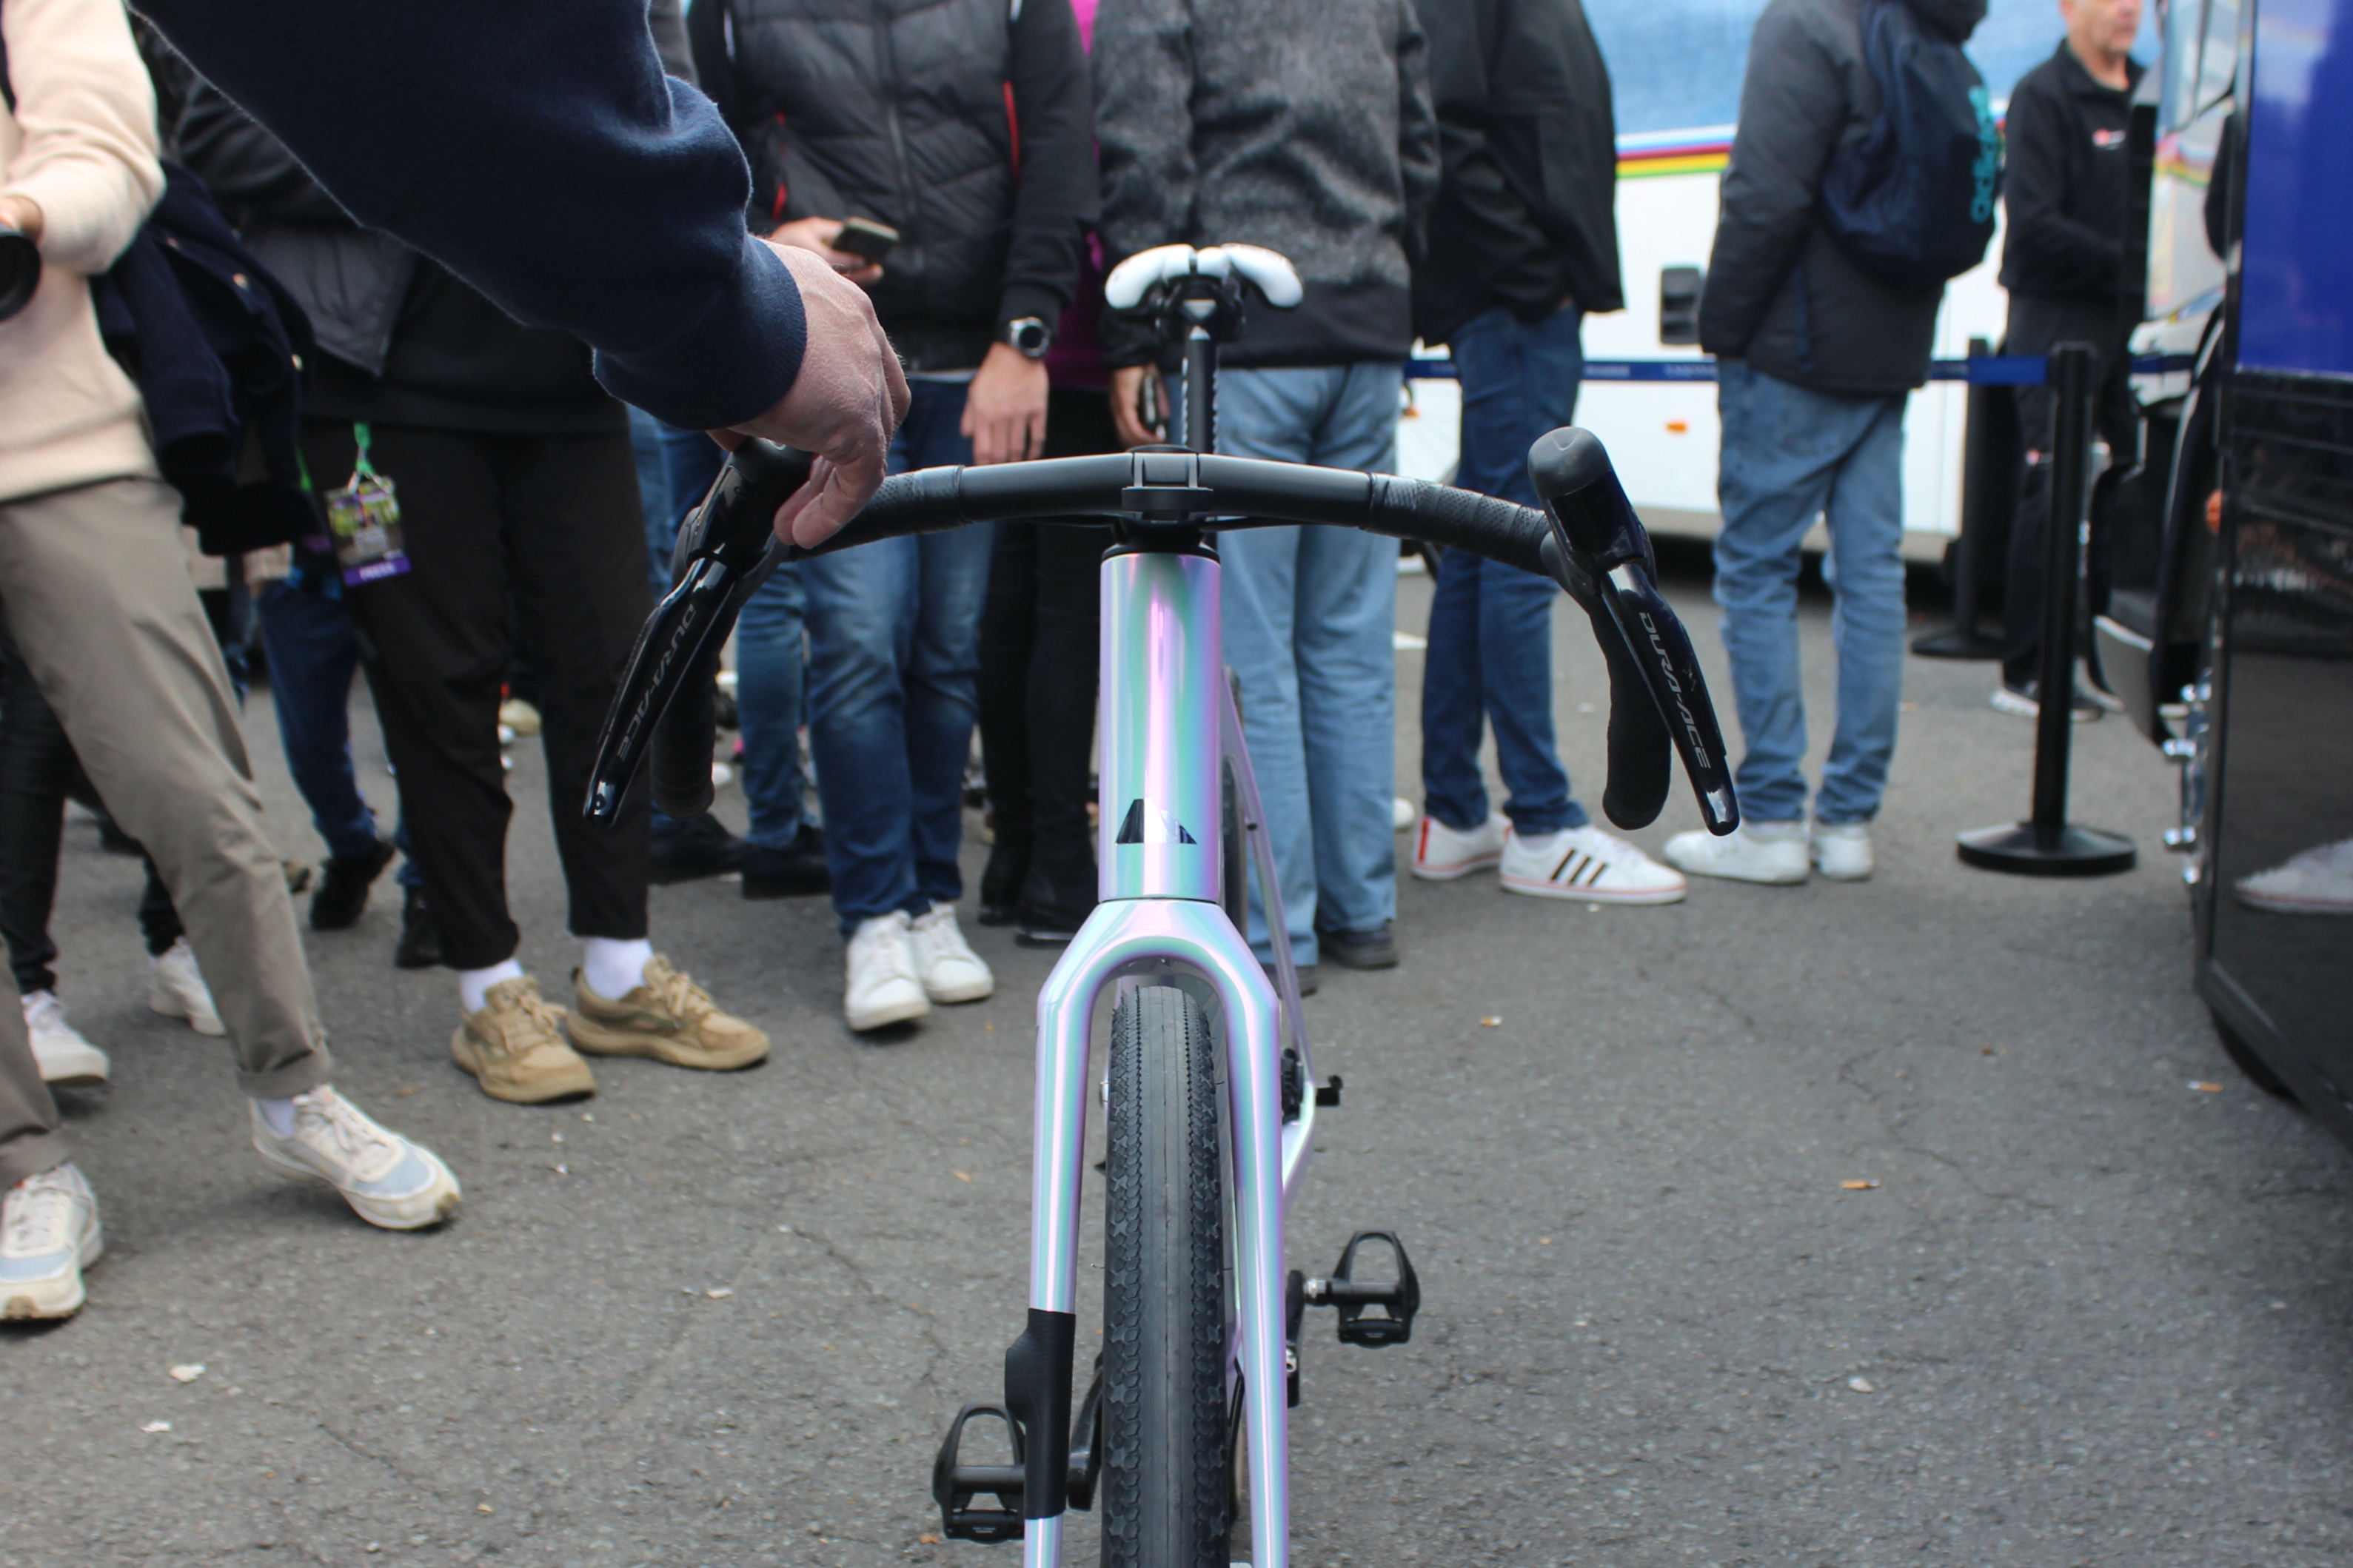
Know before you go
Not all bikes can support a fully integrated cockpit, and whether yours can depends largely on a few key factors:
The latest race content, interviews, features, reviews and expert buying guides, direct to your inbox!
- Fully integrated cockpits route cables through the cockpit and into the frame, which means your bike’s frame must be designed with internal cable routing.
- Integrated cockpits often require a tapered or oversized steerer tube to handle the routing of cables and wires. Some systems, particularly those that hide everything internally, need a compatible fork and head tube design to manage cable routing and ensure stability. If your bike’s fork or headset doesn’t allow for the cables to be hidden, it might not work with a fully integrated setup.
- An integrated cockpit combines the handlebars and stem into one piece, meaning it has to fit your bike's current stem and handlebar specs. If your bike has non-standard sizing, you might run into issues.
- Bikes with mechanical shifting or rim brakes may face additional challenges with integrated cockpits. Many modern integrated systems are designed with hydraulic disc brakes and electronic shifting in mind, which simplifies the internal cable routing. If you use mechanical disc brakes or older shifting systems, you’ll need to ensure compatibility or consider an upgrade, as routing these components might not be possible with an integrated cockpit.
- A hydraulic brake bleed kit and cable routing kit are required gear for this swap. If you don’t have them in your toolbox, chances are its best to consult your local bike shop. This is a fairly high degree of difficulty job.
My experiment
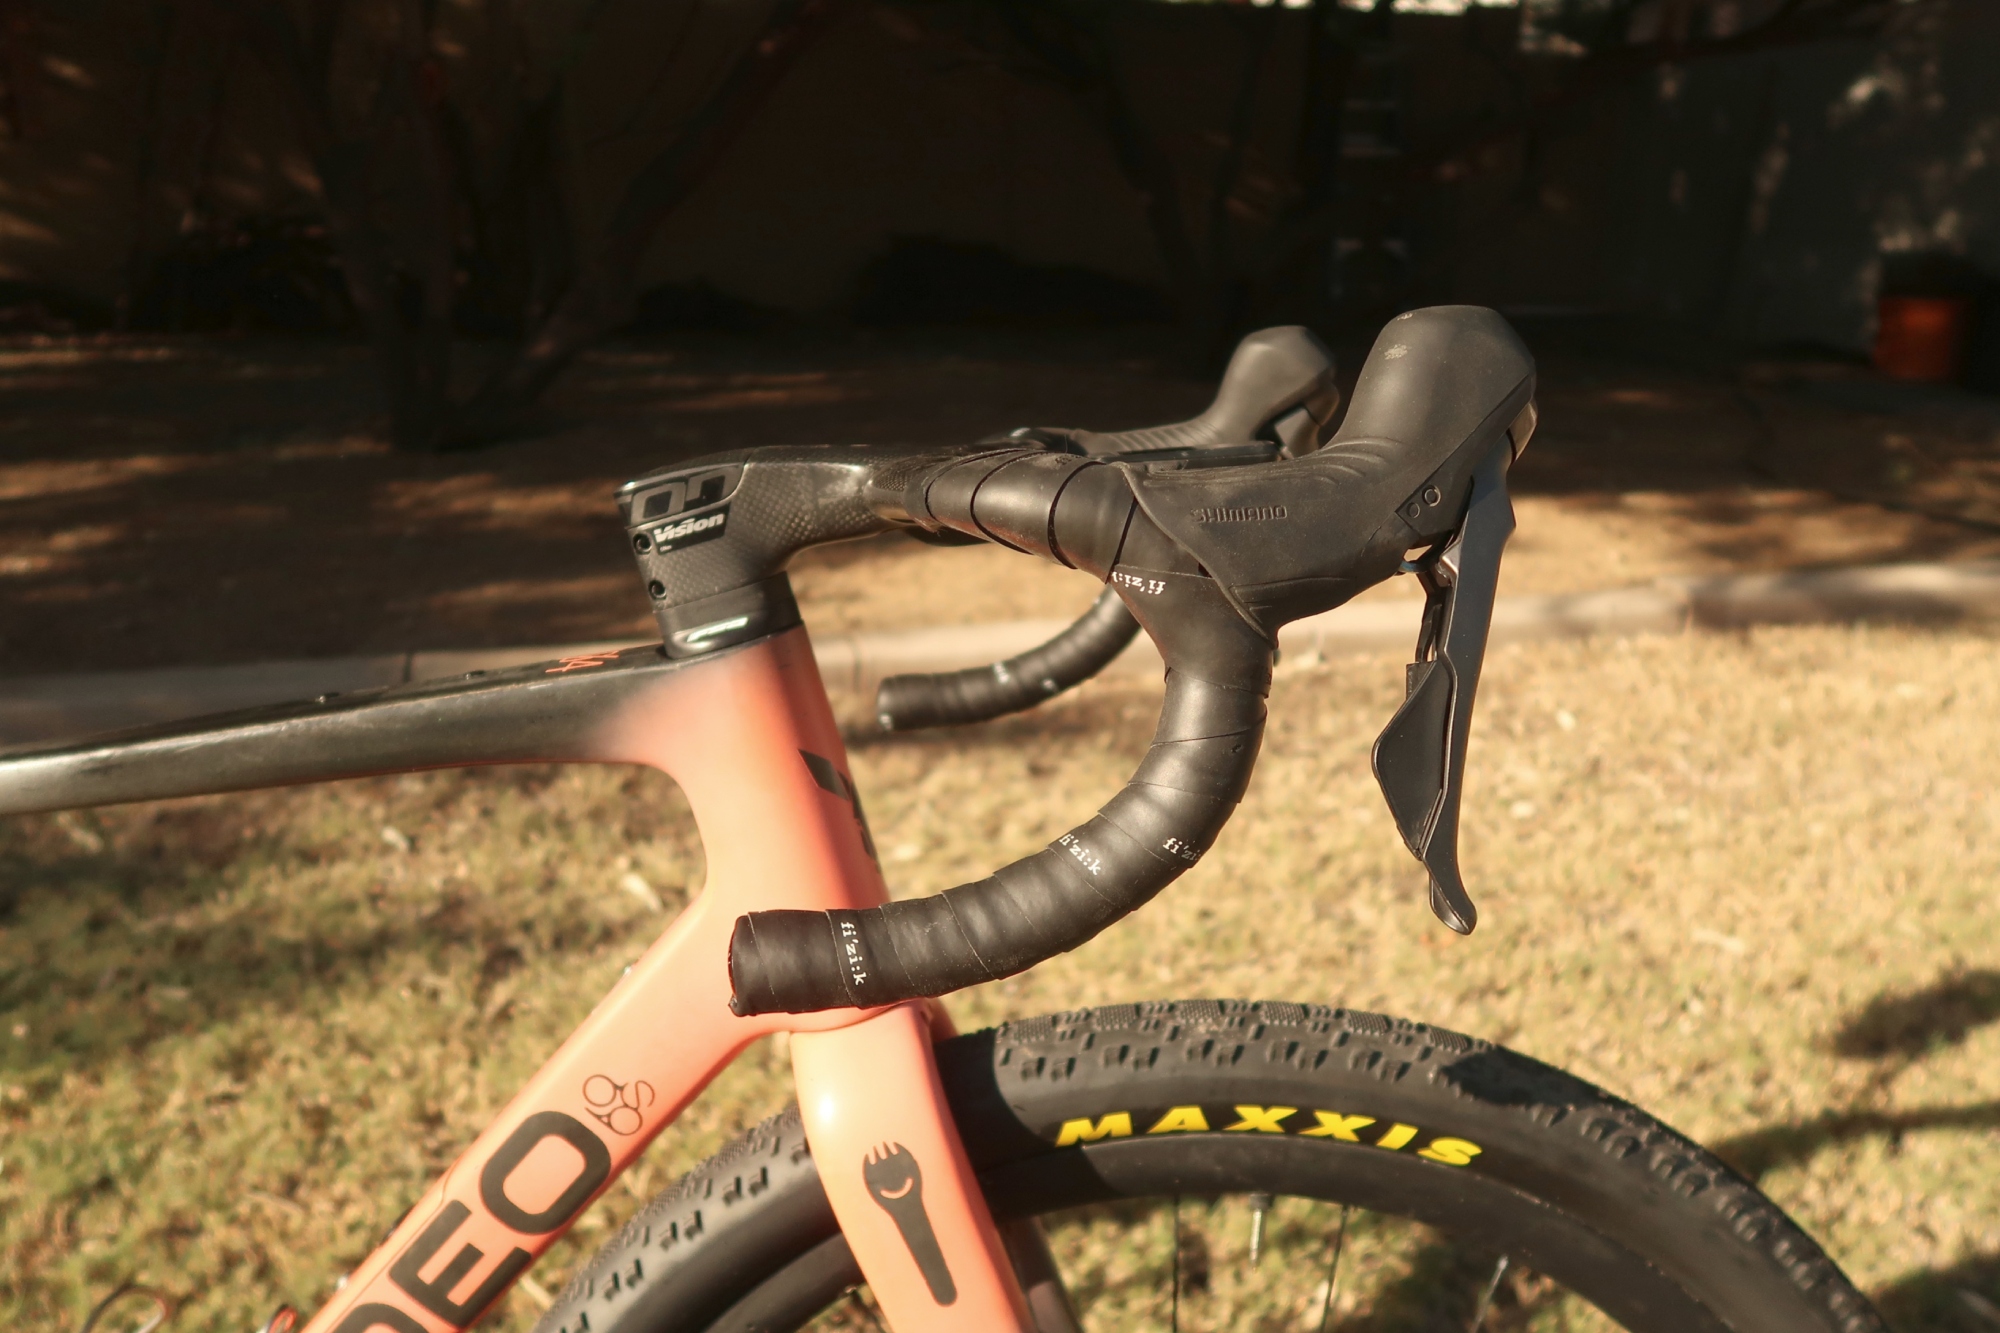
For my personal experiment, I chose the Vision Metron 5D cockpit for a couple of reasons. First and foremost, after testing a few different types of gravel handlebars I have come to the conclusion that most of the gravel options are either too wide or have too much flare for my liking.
Since I come from a road background, drop bars have always worked best for me when they are narrow and straight, especially in racing where tight quarters and bumping is frequent. Additionally, flare seems to put too much pressure on my wrists, so a more classic bar shape is certainly the direction I wanted to go.
I could have stayed with a two-piece system and swapped only the bars for a slicker road option, however, what really attracted me to the Vision 5D bars was what the one-piece construction could bring in terms of weight-saving and aerodynamic benefits. While these things may seem secondary factors in gravel racing, where tyres and long-distance comfort are paramount, the effects of weight reduction and aero gains can be disproportionately beneficial when you consider where they are applied.
For aerodynamics in particular, handlebar shape is incredibly important, especially in gravel where the wheels and frame shape is a more complicated equation. Handlebars are unique in the bike system because, with the exception of perhaps the headtube, handlebars are unencumbered by any other element beyond the wind hitting the front of the bike. This means that the aerodynamic gains can be easy to track and it's all positive when it is on the front of the bike.
Have patience in finding the fit for you
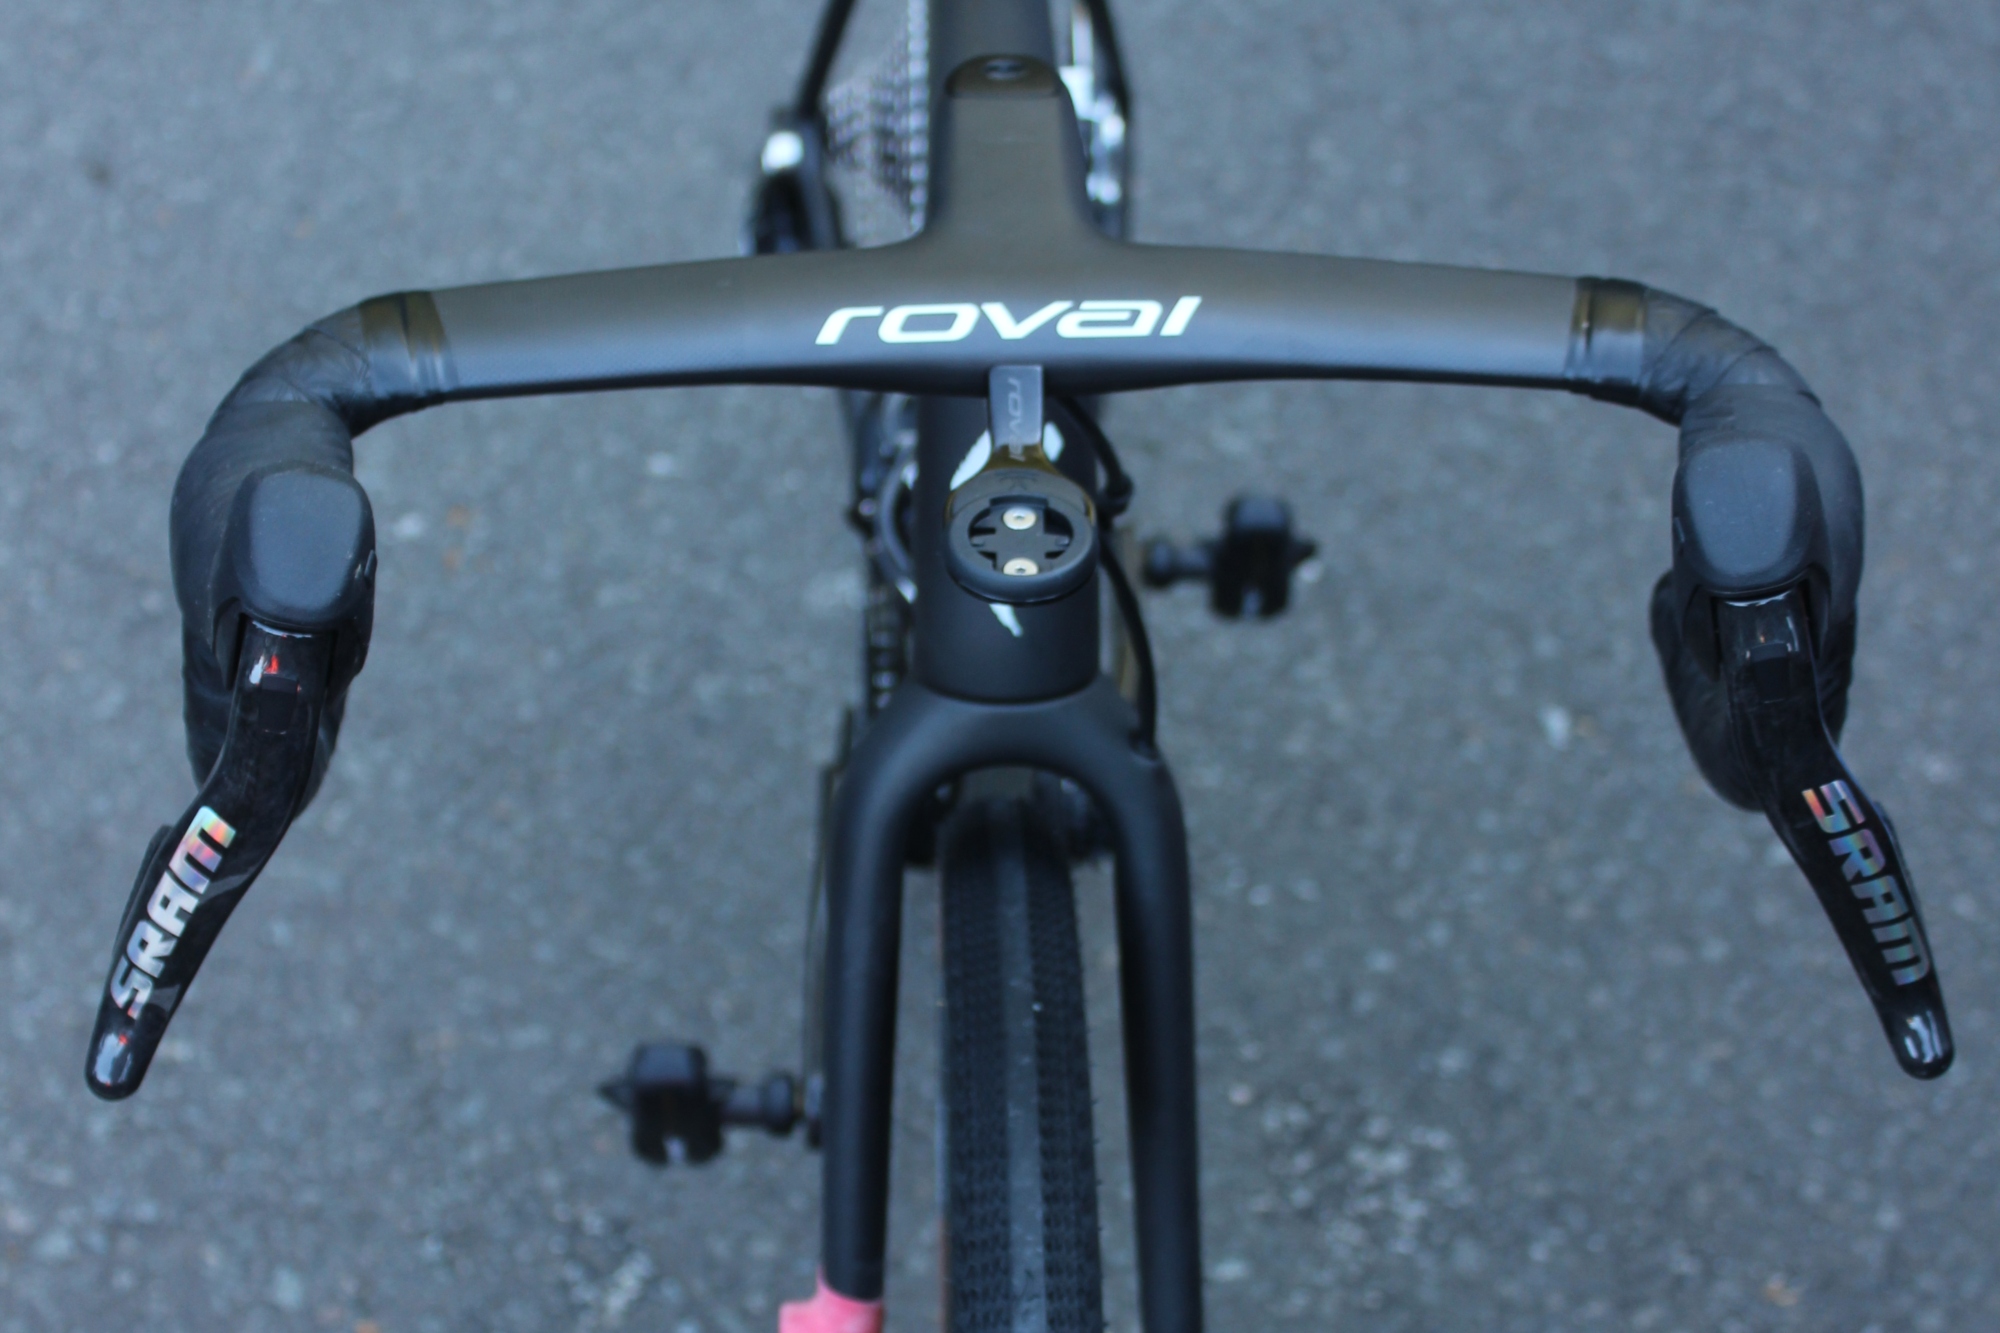
The number one question you should ask yourself before locking into a one-piece bar-and-stem combination is: Is your bike fit right for you? If yes, then keep reading to see if the pros outweigh the cons. If not, chances are you will want to retain the flexibility of a two-piece system.
With a change as extensive and, in most cases, expensive as going fully integrated, conviction is key because it’s difficult to go back. Even a simple change, like swapping a spacer, could be impossible without completely re-cabling the entire system.
For cyclists with a lot of experience, this jump is not a huge leap since you are pretty set on things like reach, stack and drop, which are three factors affected by the cockpit's dimensions. Moreover, all of these variables can affect the other elements as bike fitting is a zero-sum proposition, with one change always having downstream consequences elsewhere.
For my test, the new cockpit has the equivalent dimensions of a 110mm stem and 40mm of width. Normally, I run a 120mm stem, but with the shape of the bars and a change from SRAM hoods to Shimano, the reach is the same as my old setup. That is all to say: do make sure to double-check your reach and width dimensions before switching systems.
And if you're at all in doubt, it may be a good idea to get a bike fit and talk to your bike fitter about your desired swap. They should be able to guide you in your cockpit choices..
Ride Impressions

After three months of riding, I'm convinced the integrated cockpit was the right choice for me.
Beyond the aerodynamic and weight benefits, the systems feels better, too. Allow me to explain:
The Metron 5D bars feature a unique offset of the drop in lieu of flare. This achieves what most flare bars can’t: it brings the drops out to a position that offers more stability and moves the rider's forearms away from the upper curve of the bar without changing the angle of the rider's wrist.
For riders like myself, that angle puts stress on my wrists which makes riding in the drops something I am hesitant to do. None of the same concerns come into play with the new setup as the offset creates a nice compromise. This is especially handy when the going gets rough on gravel as riding in the drops provides more security and braking control than the hoods.
Rough terrain is also where the integrated bars make a positive difference to the ride feel, as the bars offer a level of compliance that makes a noticeable difference compared to other drop bars I have ridden, which include a number of both carbon and aluminium options. While it is no Redshift suspension stem, the Metron 5D bars drastically reduce small vibrations yet balance that with responsiveness over the large bumps when other, more compliant, systems can feel inconsistent even if they absorb some of the impacts.
Lastly, there is the aesthetics of it all. A long-standing idiom in the cycling world is “look good, feel good, ride good”, and while this has its limits, in this case, I believe there is power in looking down at your cockpit while riding hard and feeling like your equipment is giving you the platform to be fast. It is that impression that the full system is working towards the goal of speed that can be inspiring, especially when the going gets tough. This concern wouldn’t be important if the other positive variables weren’t the case, but after a few thousand miles of riding the smoothest tarmac to some of the gnarliest “gravel” of Colorado’s alpine zone, it seems to be a win for both fashion and function.
The mechanical downside
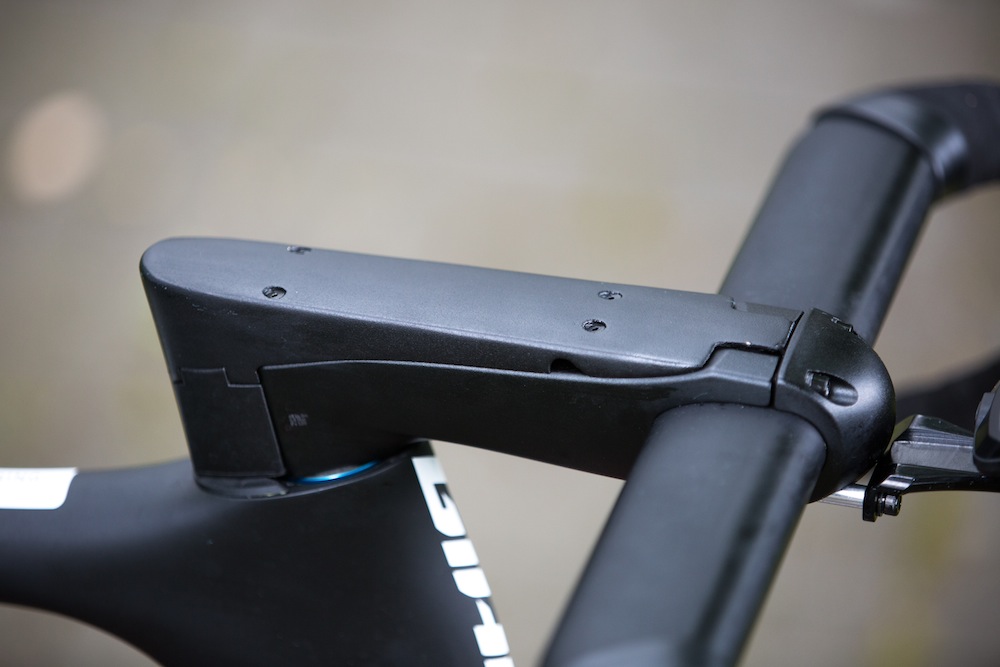
Now, with all the performance gains come the very tangible cost of one-piece installation and upkeep, whether it be costs at the shop or time costs at home.
To make things more complicated for myself, I used the swapping operation to also transition from a SRAM mullet eTap setup to a Shimano GRX mechanical setup. While it was a welcome change for my love for acoustic shifting, mechanical cabling added a curveball to the mix with a third piece of housing crowding the internal system between the cockpit and the fork. However, with a 1x option, it was still one cable rather than two.
Additionally, the one-piece cockpit requires a couple of tight right angles for the shift cable to pass through, which adds more friction to the shifting system and reduces the shift speed.
None of these hurdles are deal breakers, however, with the mechanical intricacies – aided by the fact that I had never done the swap before – the job took around two hours. I am a good mechanic, but I am self-trained and haven’t been a professional mechanic. Making the switch is possible if you have the tools and know-how to replace hydraulic brakes and internal cable routing. Of course, you can also take the bike into a shop to do the swap, but beware it is a time-consuming task for even the best mechanics and so the cost – and potential for a stink eye as you come into the shop with a bike and a one-piece bar – is high.
Other tips and cost factors
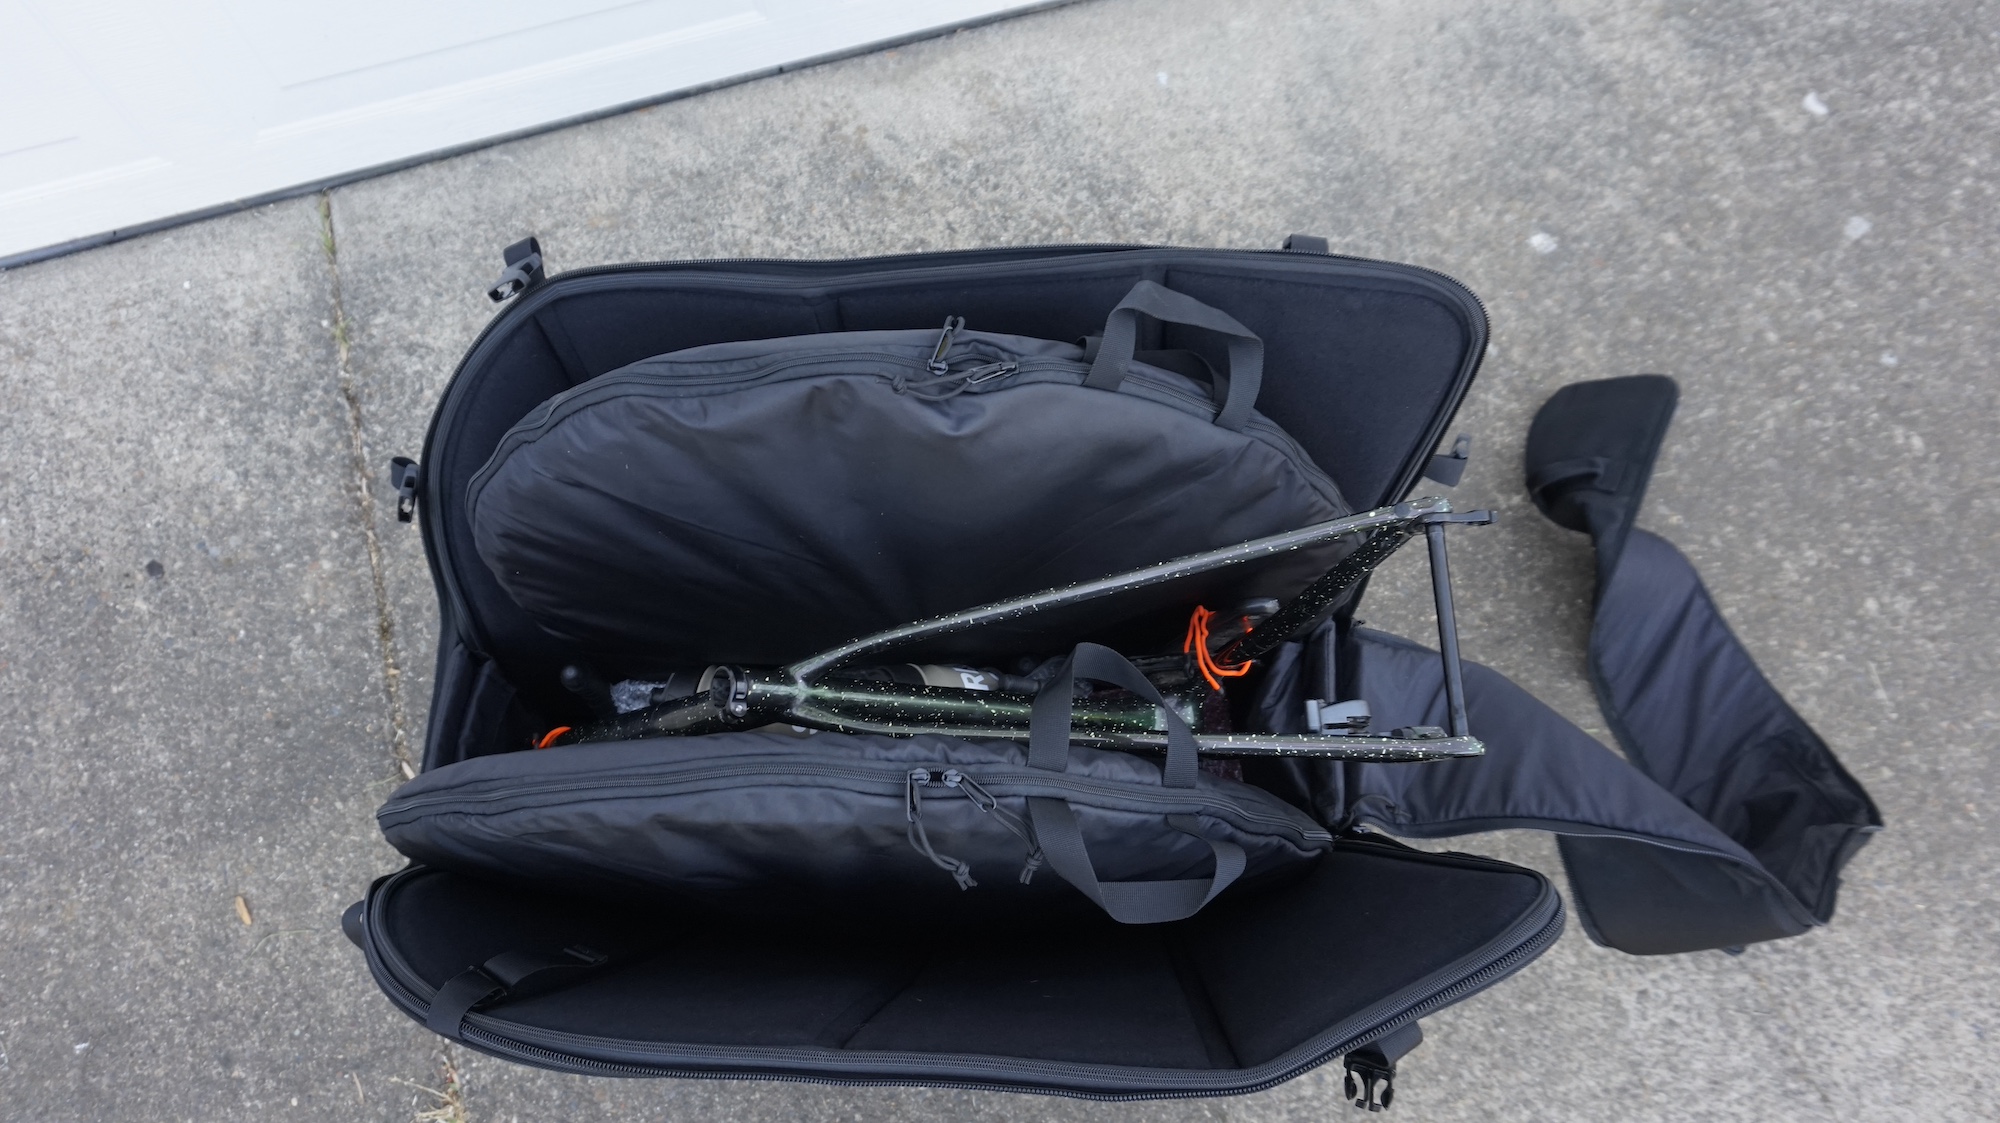
Another hesitation for going fully integrated is travelling with the bike and the potential headache of stuffing a bike with inflexible bar positions in a bike box that always seems a bit too small. If you use a case like the Orucase Ninja Bag, which requires the removal of the fork, this may be a real issue.
Personally, I use the EVOC Bike Travel Bag, and I have not found this to be an issue, having flown with my bike about 10 times since installing the bar. I was able to find a workable system this summer by building slack into the system via the hydraulic cables.
When installing the cockpit and measuring the hoses, be sure to not cut the hoses very short. If you can, leave a little bit of slack in the lines in order to flip the bars around and stow them along the side of the frame. When travelling, it is important to pad the cables and bars so there is no damage to the exposed cables or the frame in transit, but overall, I've found the travel not to have been any more challenging than a conventional, nonintegrated frame.

Logan Jones-Wilkins is a writer and reporter based out of the southwest of the United States. As a writer, he has covered cycling extensively for the past year and has extensive experience as a racer in gravel and road. He has a Bachelor of Arts from the University of Richmond and enjoys all kinds of sports, ranging from the extreme to the endemic. Nevertheless, cycling was his first love and remains the main topic bouncing around his mind at any moment.