Here's how cleaning your bike regularly can save you money in the long run
Bicycle components don't come cheap so we offer some cleaning tips to help improve their longevity

The latest race content, interviews, features, reviews and expert buying guides, direct to your inbox!
You are now subscribed
Your newsletter sign-up was successful
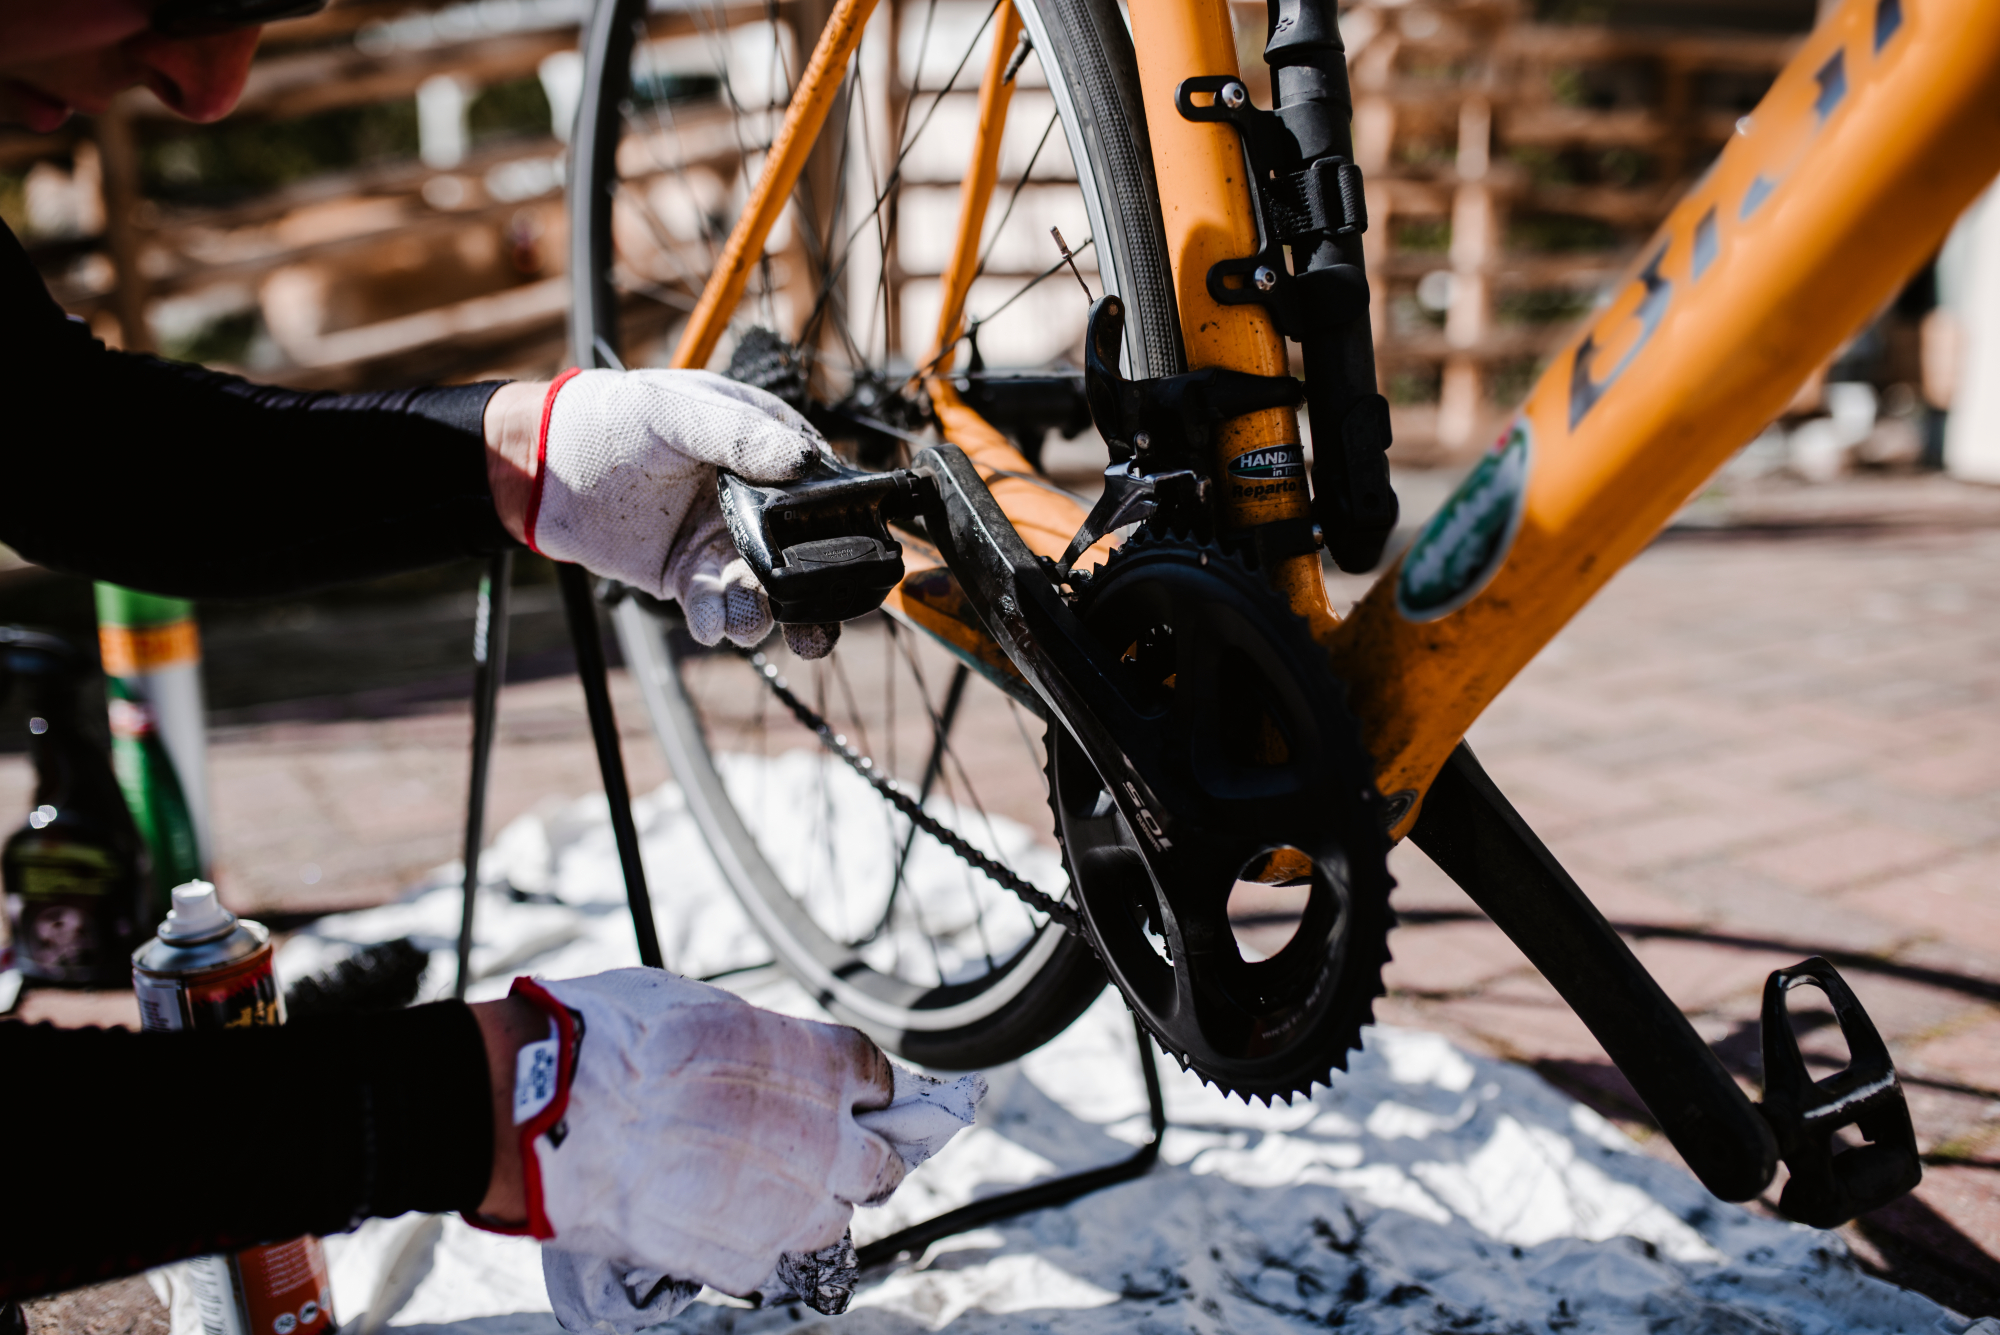
Cleaning your bike after every ride has always been a good idea. Not only is it essential for even the best bikes to run smoothly on their next journey, regular cleaning also prolongs the life of many of the components, especially the drivetrain.
But with the rise in the cost of living, ensuring the longevity of your bike’s moving parts has never been so important. Add in the continued supply-chain issues that can make finding the right cassette, chain or crankset a little tricky, and there’s more incentive than ever before to give your bike some regular TLC in pursuit of a long life.
We've got an explainer on how to clean your bike, but ultimately, how extensive each clean is will depend on the amount of time you have to spare and also the season and terrain of your last ride.
Winter miles may lead to summer smiles but they also often add up to dirty bikes that require a fair amount of effort to get clean. Conversely a short spin on a dry summer evening can leave your machine needing not much more than a wipe down.
But whether you’re giving your bike a quick blitz to get rid of some accrued dirt or you’re stripping it down, degreasing and lubing before reassembly, if done correctly both your bike and your wallet will thank you.
The drivetrain

Given that your bike’s drivetrain, comprising chain, chainrings, cassette and derailleurs, consists of many moving parts, it’s important that you keep it clean. It’s an area of the bike that’s particularly susceptible to both picking up dirt and then distributing it.
A mucky chain is a super spreader, leading to a dirty cassette, chainrings and jockey wheels, all which adversely affect the running of your bike and the speed of wear of the components themselves.
The latest race content, interviews, features, reviews and expert buying guides, direct to your inbox!
Chain and cassette
When it comes to cleaning your drivetrain after a ride, a dedicated cassette cleaning brush and some degreaser are sensible investments. A chain-cleaning device also works, though isn’t essential: a sponge or cloth can do the job here.
What’s important is that you thoroughly clean the chain and cassette, ridding it of dirt that not only slows the drivetrain down and impacts smooth shifting, but also causes the parts to wear at a faster rate. The cost of 10, 11 and 12-speed cassettes, and especially those from top-tier groupsets like Shimano Dura-Ace and SRAM Red, can be eye-wateringly expensive, so keeping them clean to help prolong their life makes a lot of sense.
As well as cleaning your chain and cassette, it’s also worth checking your chain for wear. A worn chain won’t shift well, may slip under load, and will also cause the cassette to wear more quickly. Equally, matching a new chain with a worn cassette is also a bad idea, causing your new chain to wear faster than it should.
As a rule of thumb, if you can’t remember the last time you replaced your chain (or if you know it was a very long time ago) it's a good idea to change both your chain and cassette together.
If you have been replacing your chain regularly – before it’s gotten too worn – then you can typically use several chains on the same cassette, helping to lengthen the intervals of when you have to replace that more expensive part.
To help keep an eye on how worn your chain is, a simple ‘chain-checker’ tool is an inexpensive investment that will pay for itself quite quickly. There is also a tool that checks for cassette wear but it’s just as easy, and cheaper, to do this by eye. The teeth of a worn cassette will be sharp, akin to the shape of shark tooth.
Once you’ve cleaned the chain and cassette, you’ll need to relube the chain to ensure it runs smoothly. The best chain lubes should be selected for the conditions you’re riding in: a wet lube works well during the winter months while a dry lube is better suited for summer. If you’re racing or training for a race you might want to look into waxing your chain, which can help save a few watts.
Front & rear derailleur

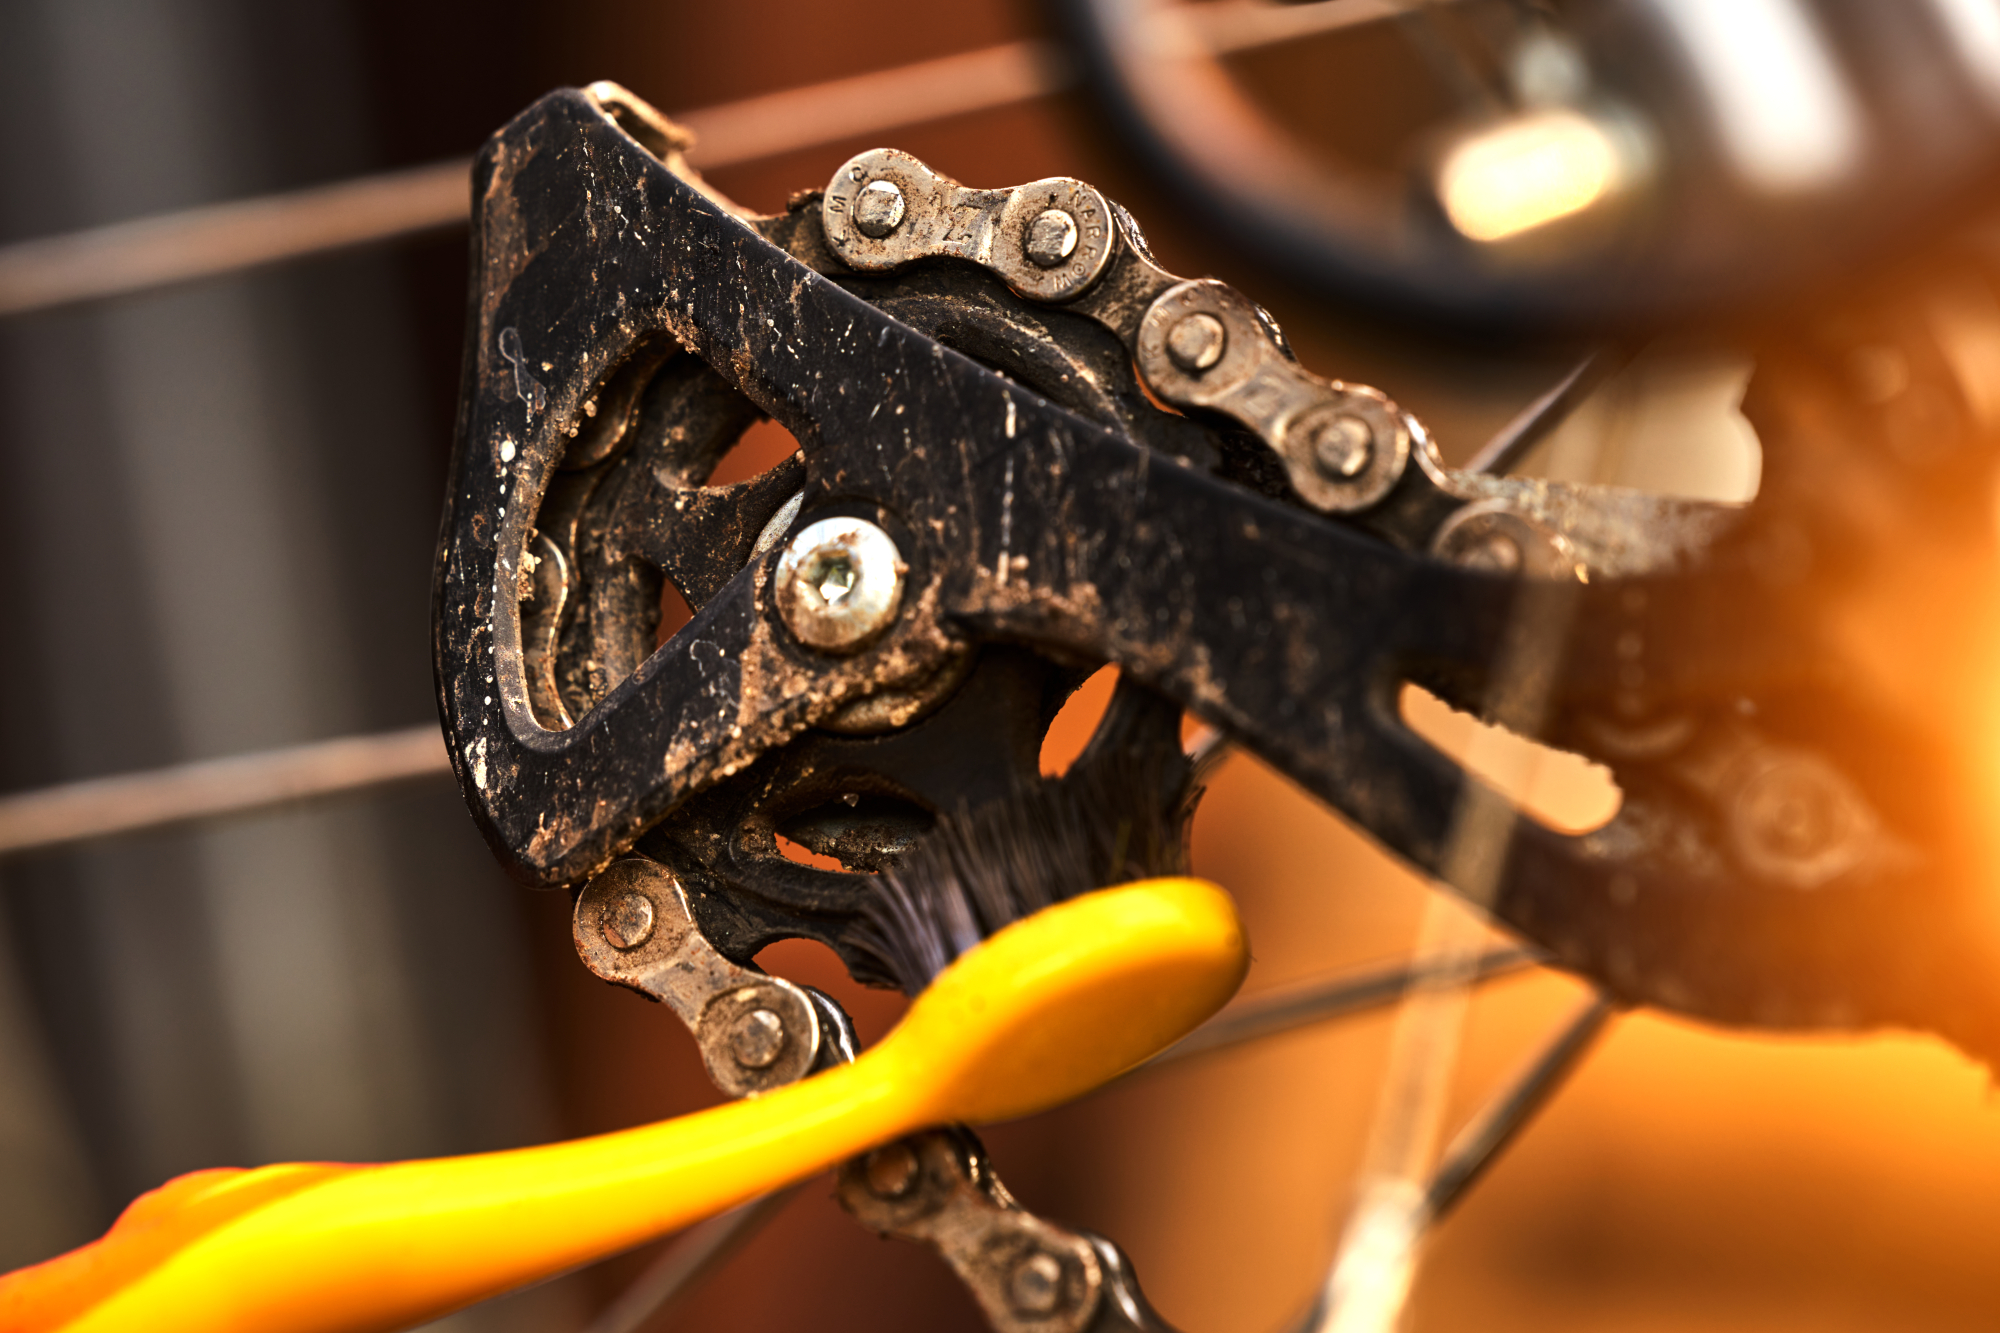
The jockey wheels on the rear mech collect grime for fun. Keeping them clean is integral to an efficient drive chain. Like any moving part they eventually wear out, so when you clean them also note the condition of the teeth; they should be uniform in their profile. Likewise, check that the wheels are spinning freely.
Regularly lubing the pivots of both the front and rear derailleurs certainly prolongs their life as well as keeping your shifting precise. A light spray lube is effective here but be careful with your aim. You don’t want lube all over your mech, wheel hub or disc rotors.
If your derailleur has seized up entirely, it’s worth soaking it overnight in a sealed bag full of spray lube before deciding to replace it. I’ve seen mechanical derailleurs work as good as new after a ‘deep clean’ such as this. It (almost) goes without saying that this practice shouldn’t be used on electronic derailleurs!
Cleaning your mechs is also an opportune time to check that they’re positioned and adjusted correctly. A poorly positioned front mech will affect your shifting but it’s also likely to impact wear too. A front mech should sit around 1-3mm above the teeth of your largest chainring with the cage parallel to the chainline.
If it's rubbing on the chain in certain gear combinations check its position; if you’re using cable-operated mechs also check the cable tension is adjusted correctly to allow the trim facility of the front mech to work as it should.
Wheels, tyres and brake pads

As the only part of your bike (hopefully) that comes in contact with the road surface, it’s worth checking your tyres after each ride for debris. Small pieces of glass and metal, if not removed, are likely to embed further into the tyre tread. A quick clean and inspection could help add a few miles to the life of even the best road tyres.
If you’re running rim brakes on your road bike, you should also clean both the braking surface of the rim and the brake blocks, located on the brake caliper. Again, they’re likely to pick up debris, which if not removed can quicken the wear rate of your rim.
Like your front mech, also check that your brake pads are positioned correctly; they should meet the braking surface squarely. Too low or too high not only compromises your braking but also causes the pads to wear unevenly, which will see you having to replace them sooner than you’d wish.
Disc brakes also require a little attention. When you’re cleaning your bike, take time to check the pads for wear. Disc brake pads that are well worn can damage your disc rotor, the braking surface in a disc-brake set-up.
I’ve seen pads worn through to the metal backing, with severely scratched and damaged rotors as a consequence. Given that rotors can comfortably cost north of £50, it’s well worth checking the condition of your disc brake pads during a clean.
Headset and bottom bracket
Prolonging the life of your headset and bottom bracket, both which contain bearings, can also be done when you’re cleaning your bike. Again, this isn’t something you’ll need to do after each ride. Depending how much you use your bike, it can be done once or twice a year and still be effective.
If you have a threaded bottom bracket and traditional bar and stem set-up it’s a process that you can undertake at home without too much trouble. If you’re running sealed bearings then you may just be happy to replace these once they start to get a little gritty or exhibit play.
It’s still worth cleaning the bottom bracket and headset cups from time to time, whilst also checking the condition of your bearings. A quick clean and regrease of the headset cups, for example, can protect against water ingress and also keep your steering running smoothly.
However, some bearings have removable seals, which allows you to clean and regrease the bearings. You can even choose to add a ‘winter’ grease to protect against wet and mucky conditions.
Frame

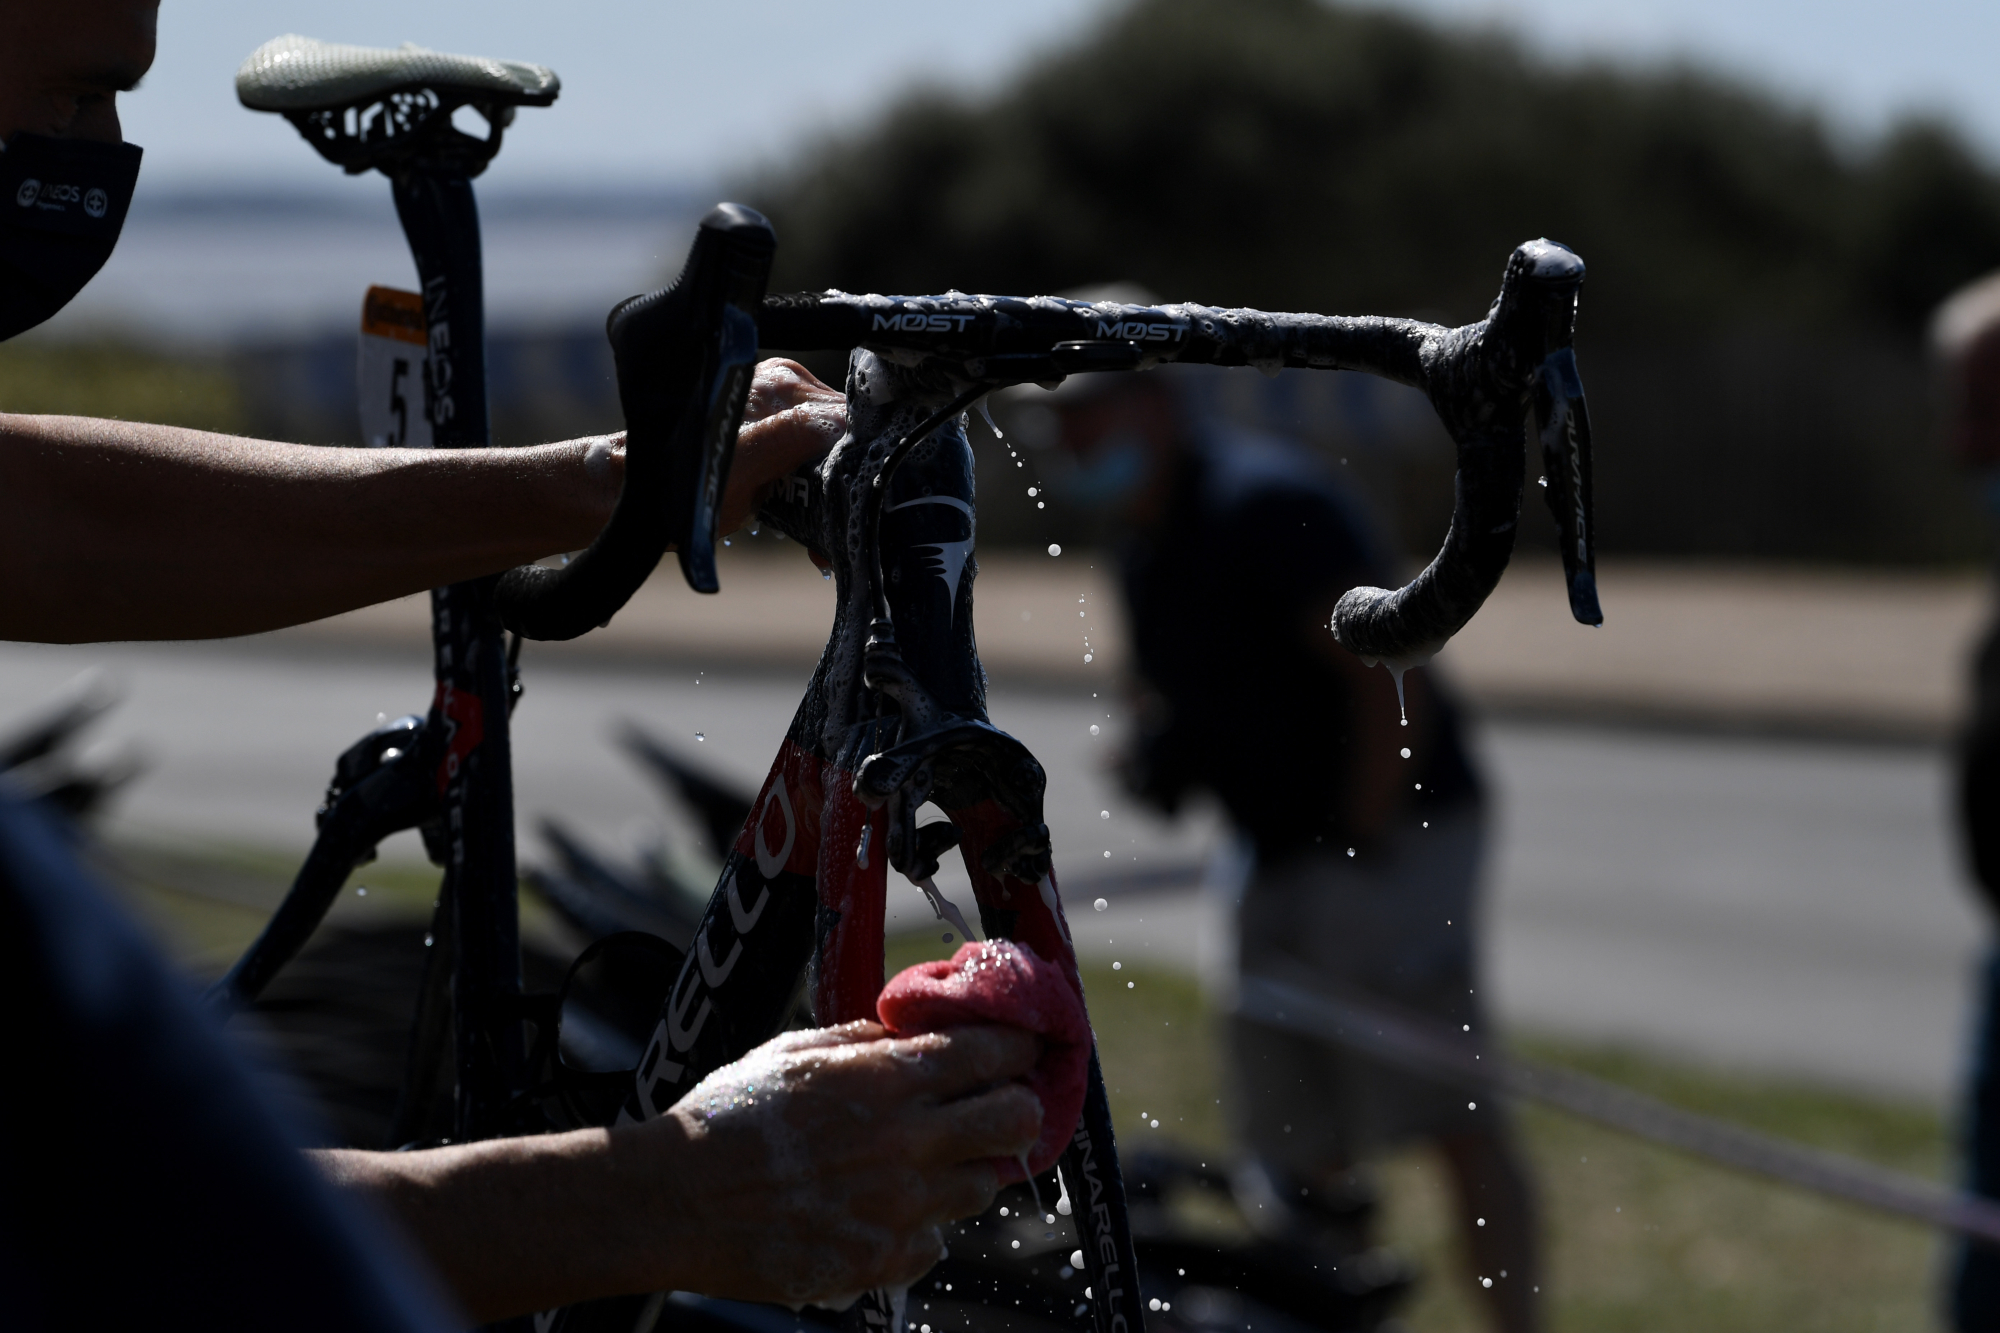
When cleaning your frame and forks you should also check it for any signs of wear, be it cracks, or dents. Frames can be repaired if need be but really this inspection is to prevent any frame failures while you’re riding – which could then involve writing off more than just the frame.
As with many areas of the bicycle, quick intervention can stop a problem from getting bigger, and invariably more expensive.
Luke Friend has worked as a writer, editor and copywriter for over twenty five years. Across books, magazines and websites, he's covered a broad range of topics for a range of clients including Major League Baseball, Golf Digest, the National Trust and the NHS. He has an MA in Professional Writing from Falmouth University and is a qualified bicycle mechanic. He has been a cycling enthusiast from an early age, partly due to watching the Tour de France on TV. He's a keen follower of bike racing to this day as well as a regular road and gravel rider.