8 pro mechanic set-up hacks inspired by the Spring Classics
Riding the rough stuff? Glen Whittington, our resident pro mechanic, ramps up speed and comfort with hacks from the cobbled classics

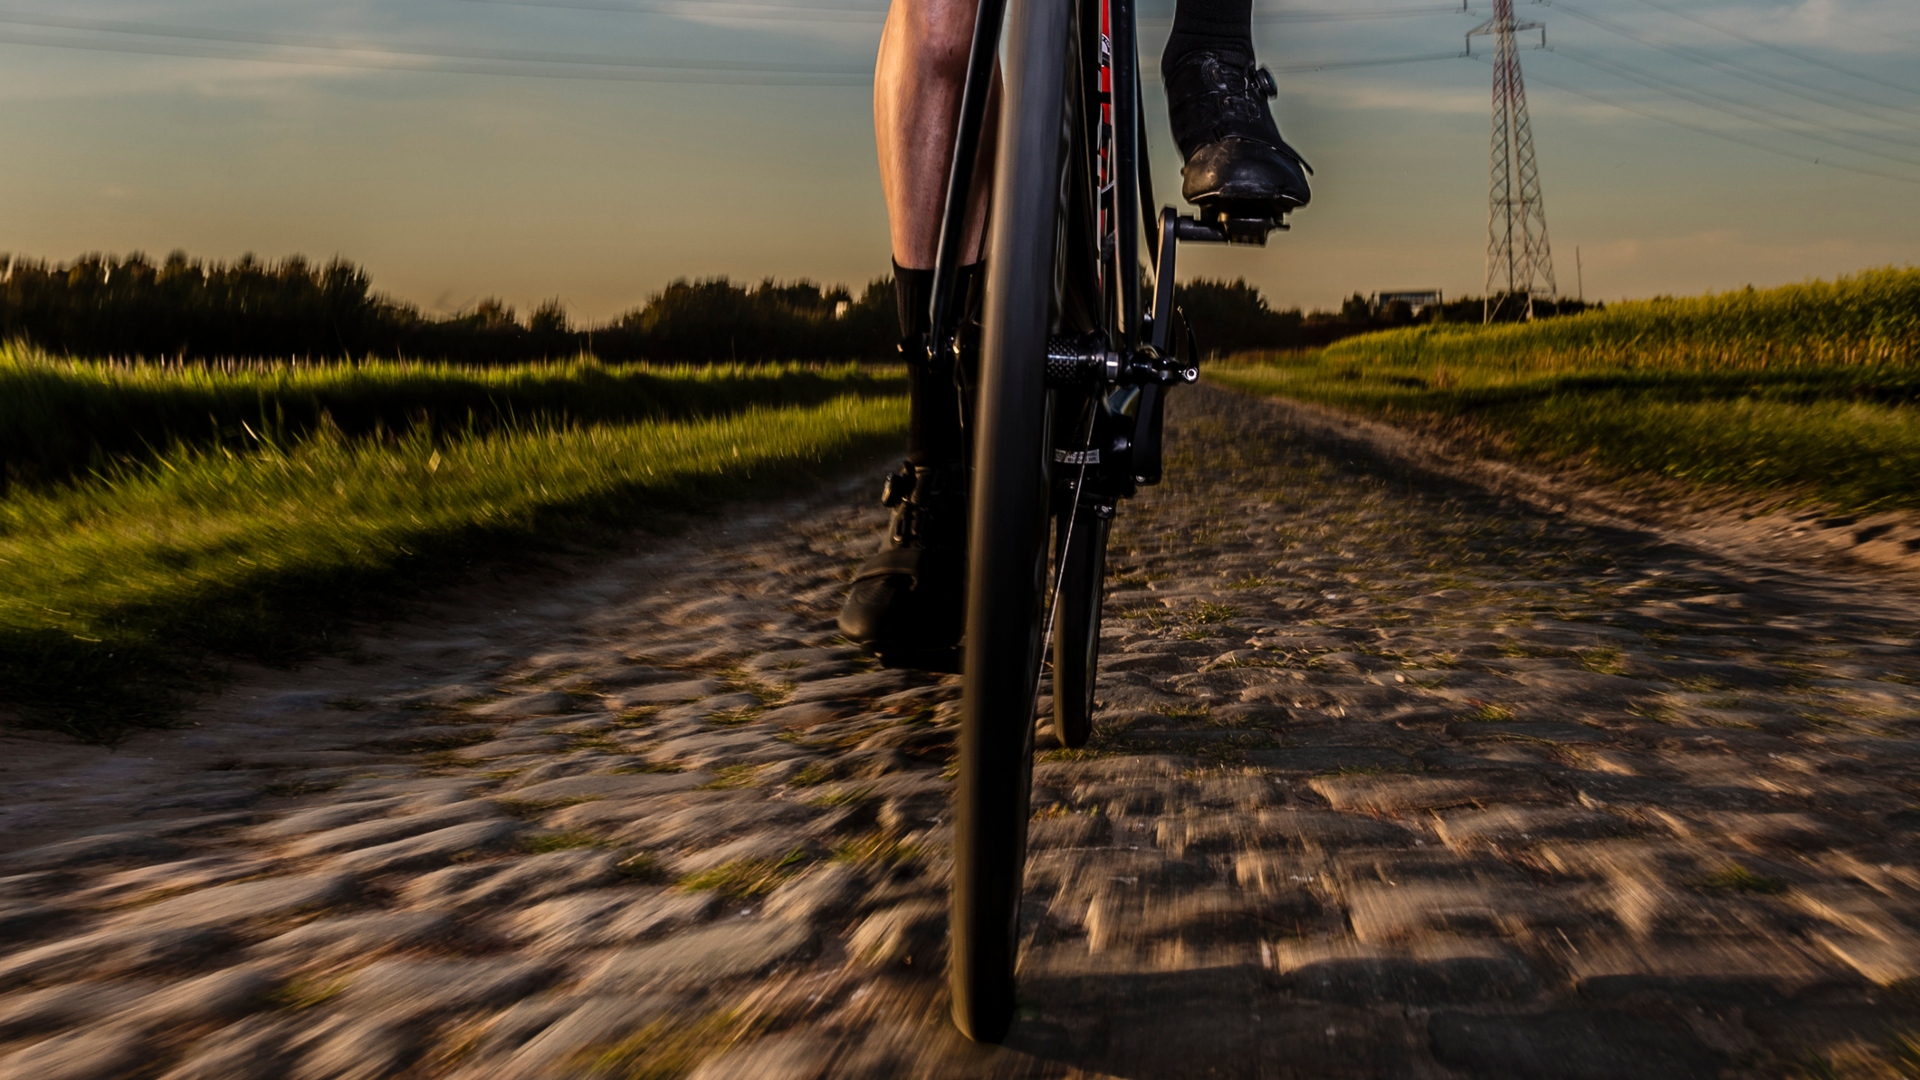
Spring has sprung! Well kind of - it’s been a wet start to the year in the UK, but we’re now fully in the mood for the Spring Classics, and a little bit of mud surely amplifies that? If you’re planning a trip to the cobbles, the Hellingen, or even some rougher roads closer to home, here's a list of the bike hacks I recommend.
Specialist tires
This is probably the place where most riders and teams will start - ditch the full-length fenders and fit the biggest tires you can right? Well, almost. The sheer abundance of wide tires available these days can be confusing. There are a few things to bear in mind so I’ve split this into three sections.
Size
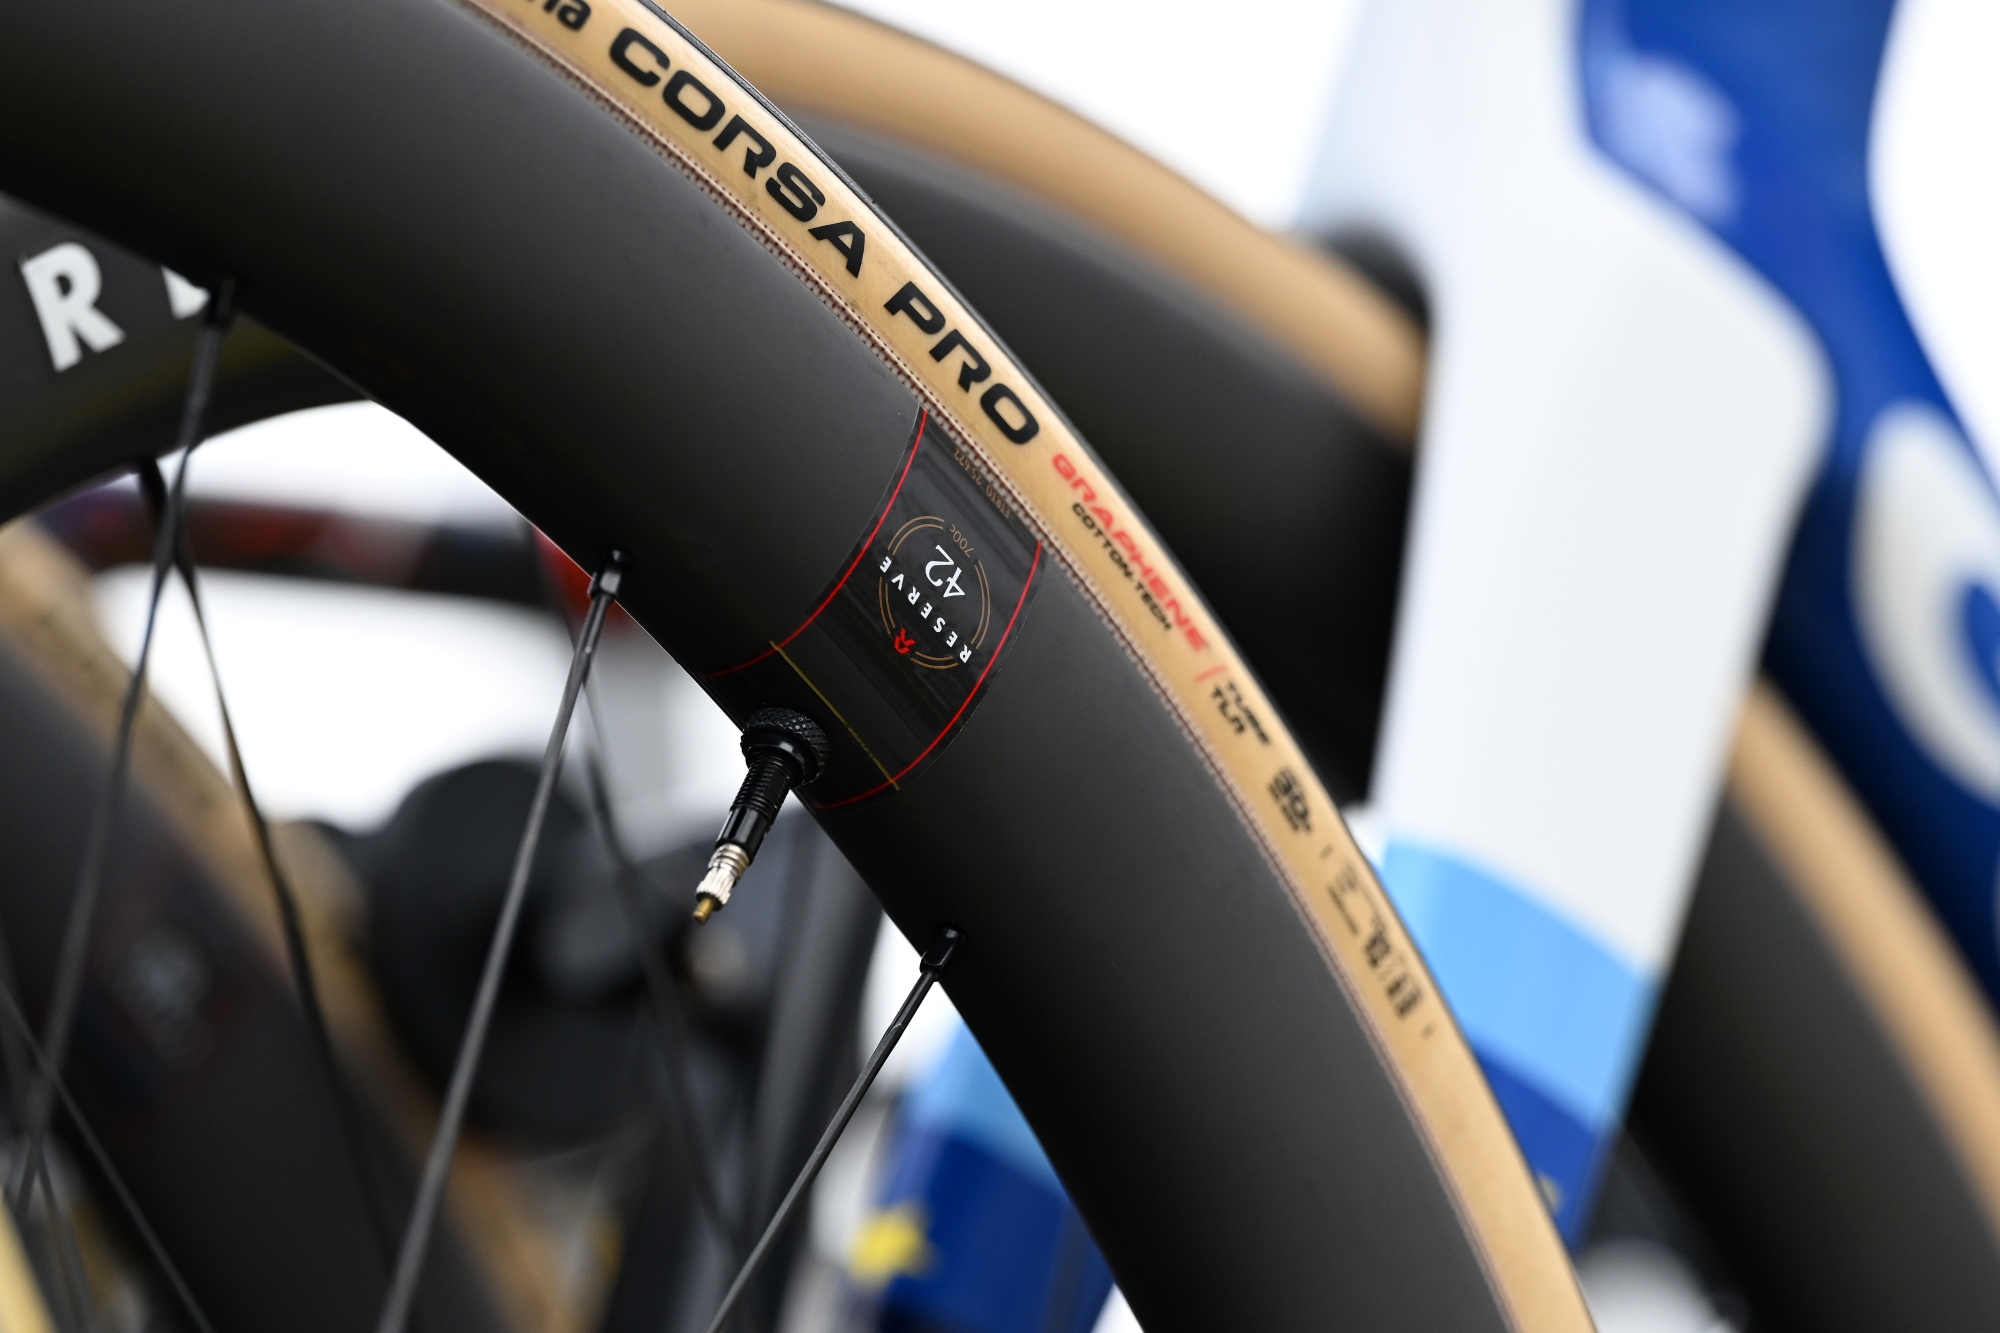
It all started in the ‘00s with the Vittoria Pave, which at 27mm was revolutionary at the time – most riders spent the season on 23s or even 21s back in the day. With newer disc frames, we can run 30s, 32s or even wider for improved grip, comfort and performance. Of course, there’s a slight weight penalty, but in general, I’d recommend fitting the widest tire you can for the bad weather and terrain. Beware of your clearances, as a thin layer of mud can quickly mark or even damage your frame.
Grip
Tread on a tire does little, except give you a false sense of confidence. A far more important thing to consider is the compound. Most brands make a wet-weather or winter tire, so these are the ones to look out for. They will handle wet and dry tarmac and even a little light gravel. Primarily, this is because these tires use two or more compounds – usually a hard compound in the center, which is good for speed but less so for grip, and a softer compound on the edge of the tire to aid grip when cornering. It’s also important to choose a tire with a compound developed to work in cooler temperatures.
Pressure
If you’re running wider tires then consider running lower pressures. There are some great tire pressure calculators online, many provided by the tire manufacturers. The quoted pressures may be a bit lower than you expect, but after a couple of rides you will adjust to your softer, grippier, more comfortable tires. If you're not happy, then experiment with slightly different pressures.
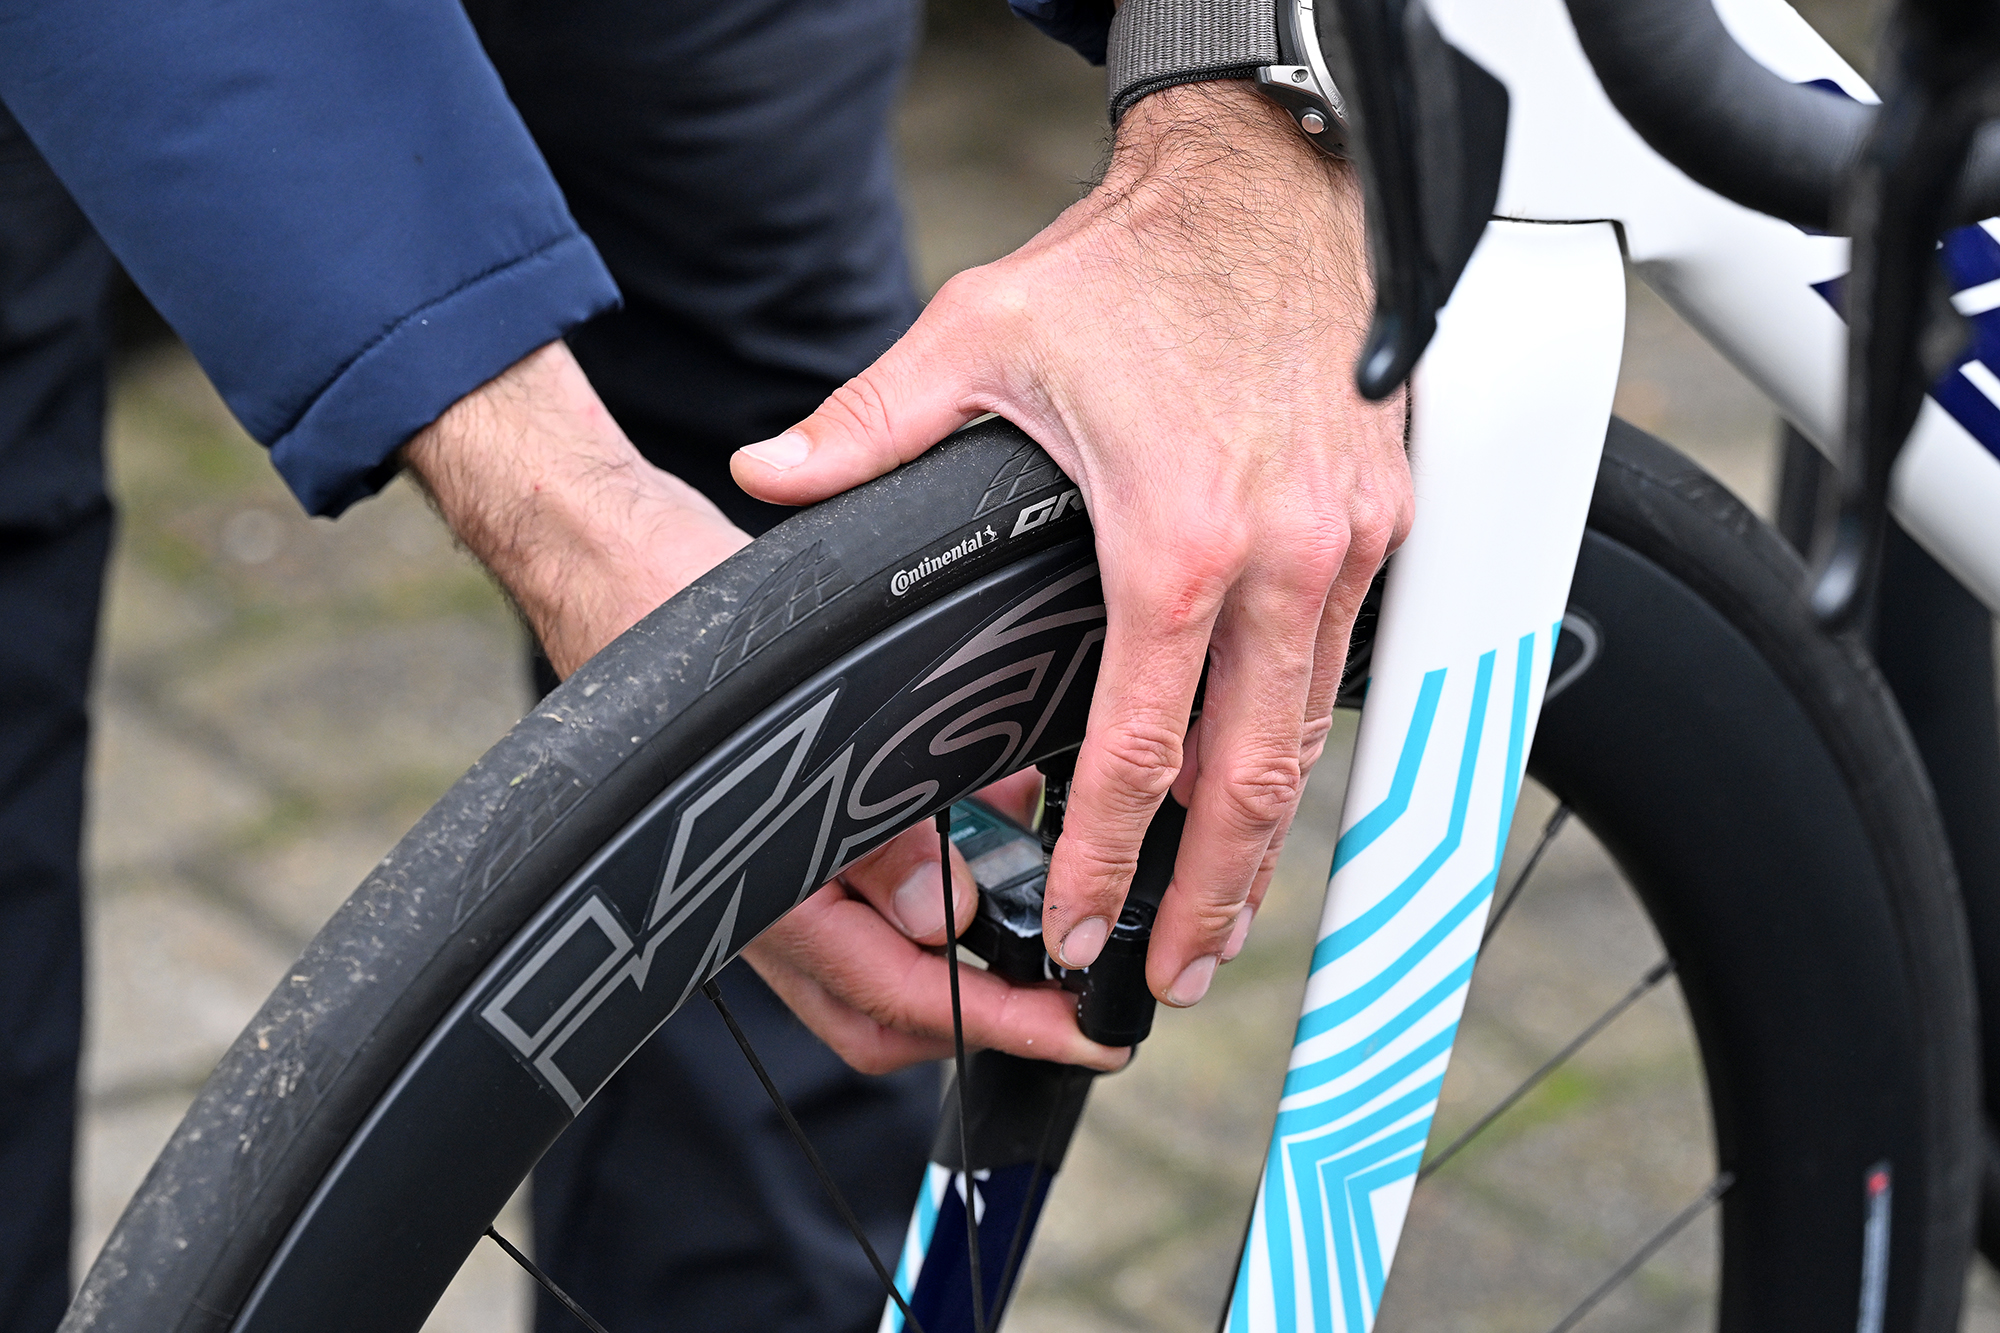
A note on tubeless - it’s often mistakenly assumed that puncture protection is the primary reason why the pros like tubeless. In fact, tubeless is all about rolling resistance and speed (performance rather than protection), which is why the pros have adopted it. For this reason, it is by far my favourite option for summer riding. But for bad weather, you are at no real disadvantage if you stick to tubes for your everyday club riding. The big benefit of tubes in the winter is that when you do have a problem, it’s usually a quick simple fix. Simply check the inside of the tire and fit a new tube.
Grip tape and cages
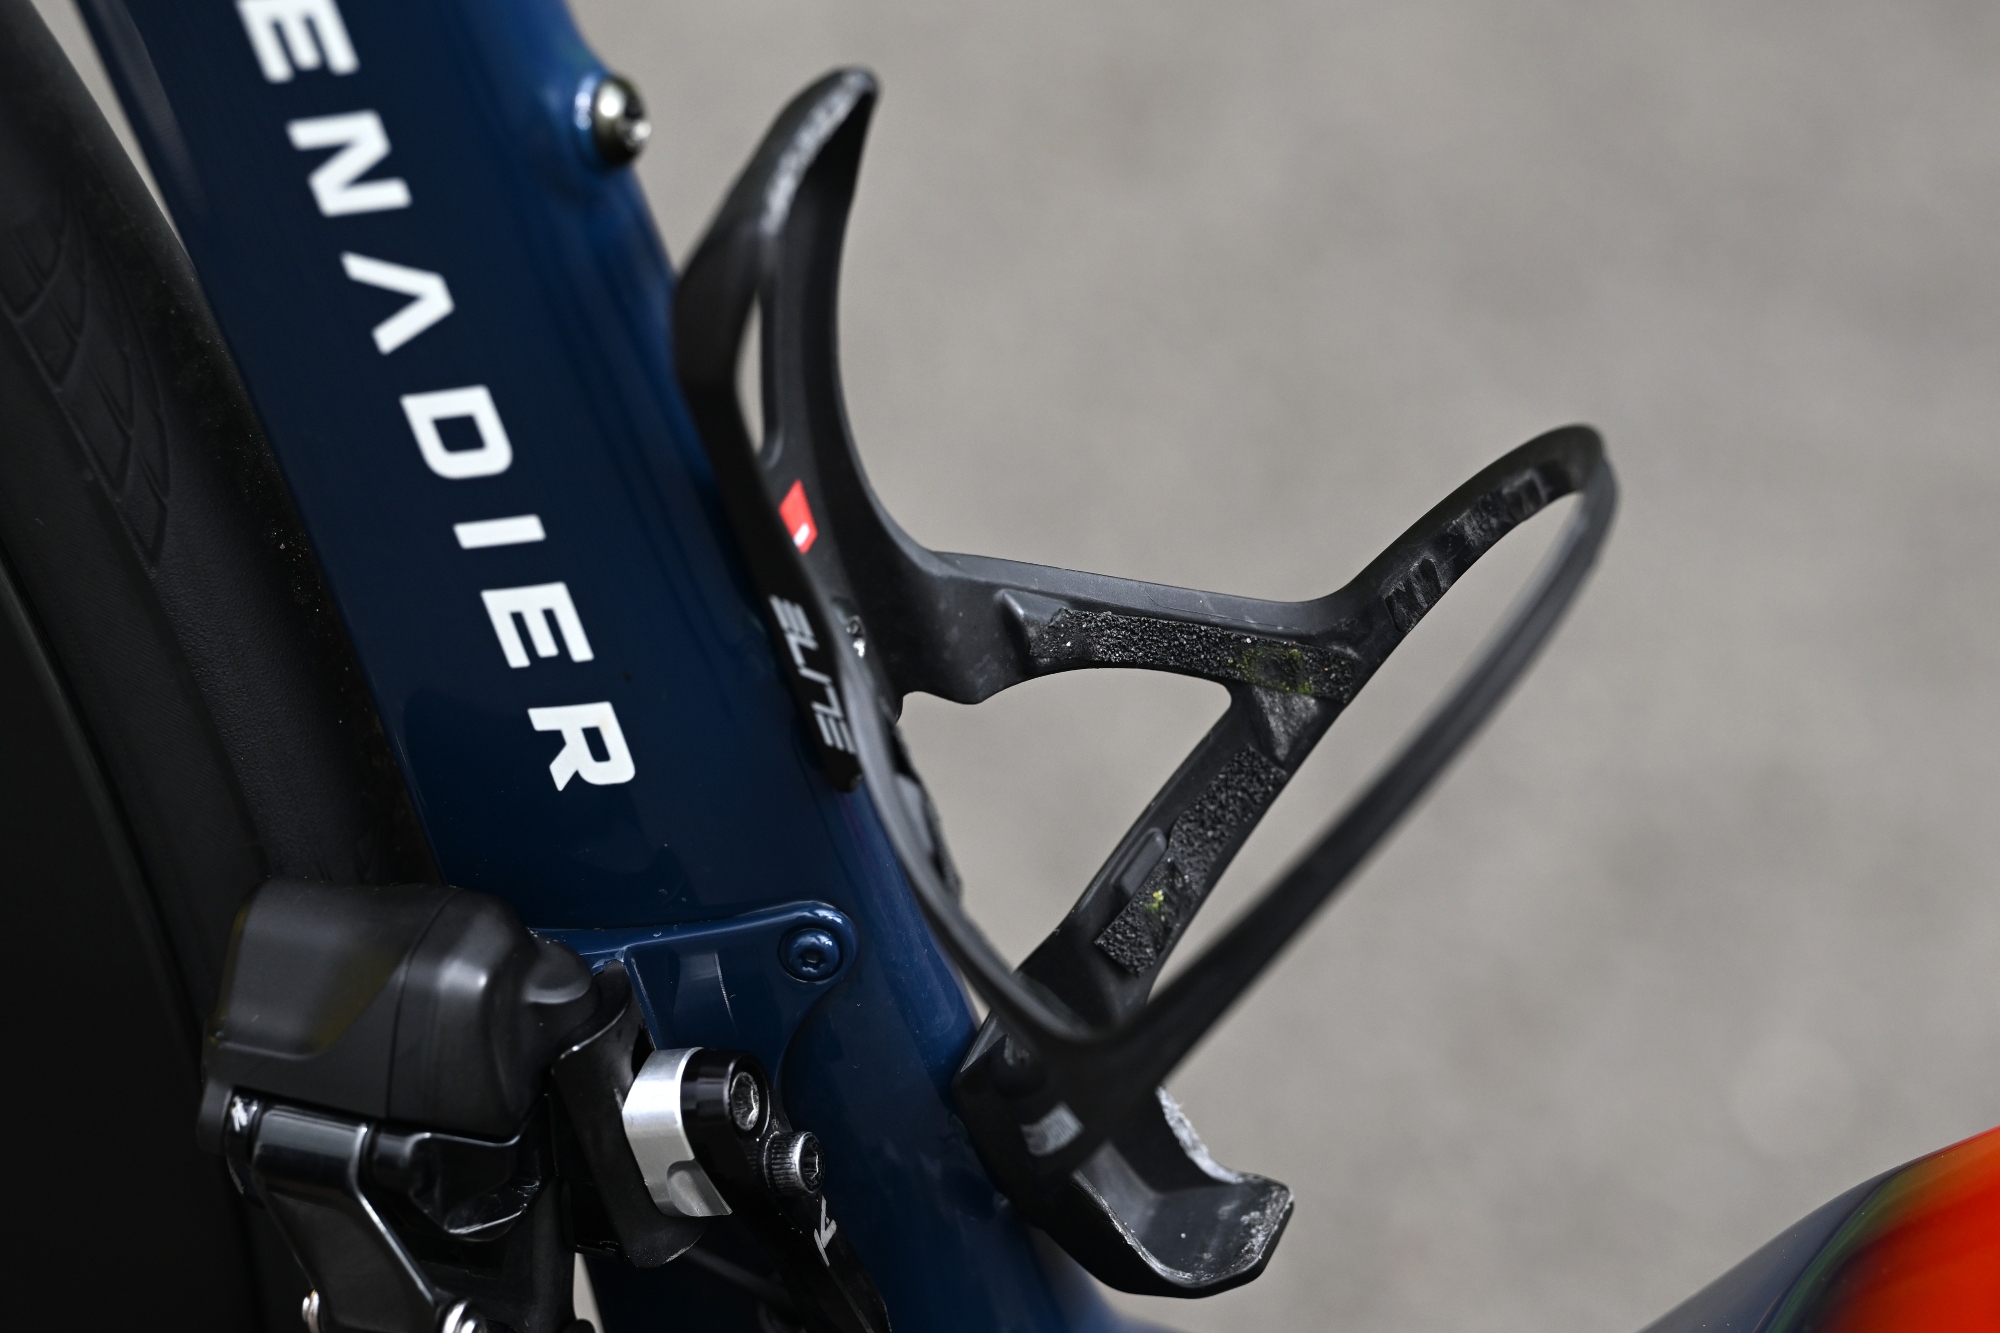
A popular hack we can borrow from the world of cyclocross is to fit grip tape (sometimes known as skateboard tape) to parts of our bikes. You can buy this tape cheaply online and cut it to fit any area of your bike where you need more grip. I recommend the front of your brake levers, the top of the handlebars close to the stem (so you can wrap your trigger finger around it) and the insides your bottle cages.
The latest race content, interviews, features, reviews and expert buying guides, direct to your inbox!
Sintered brake pads
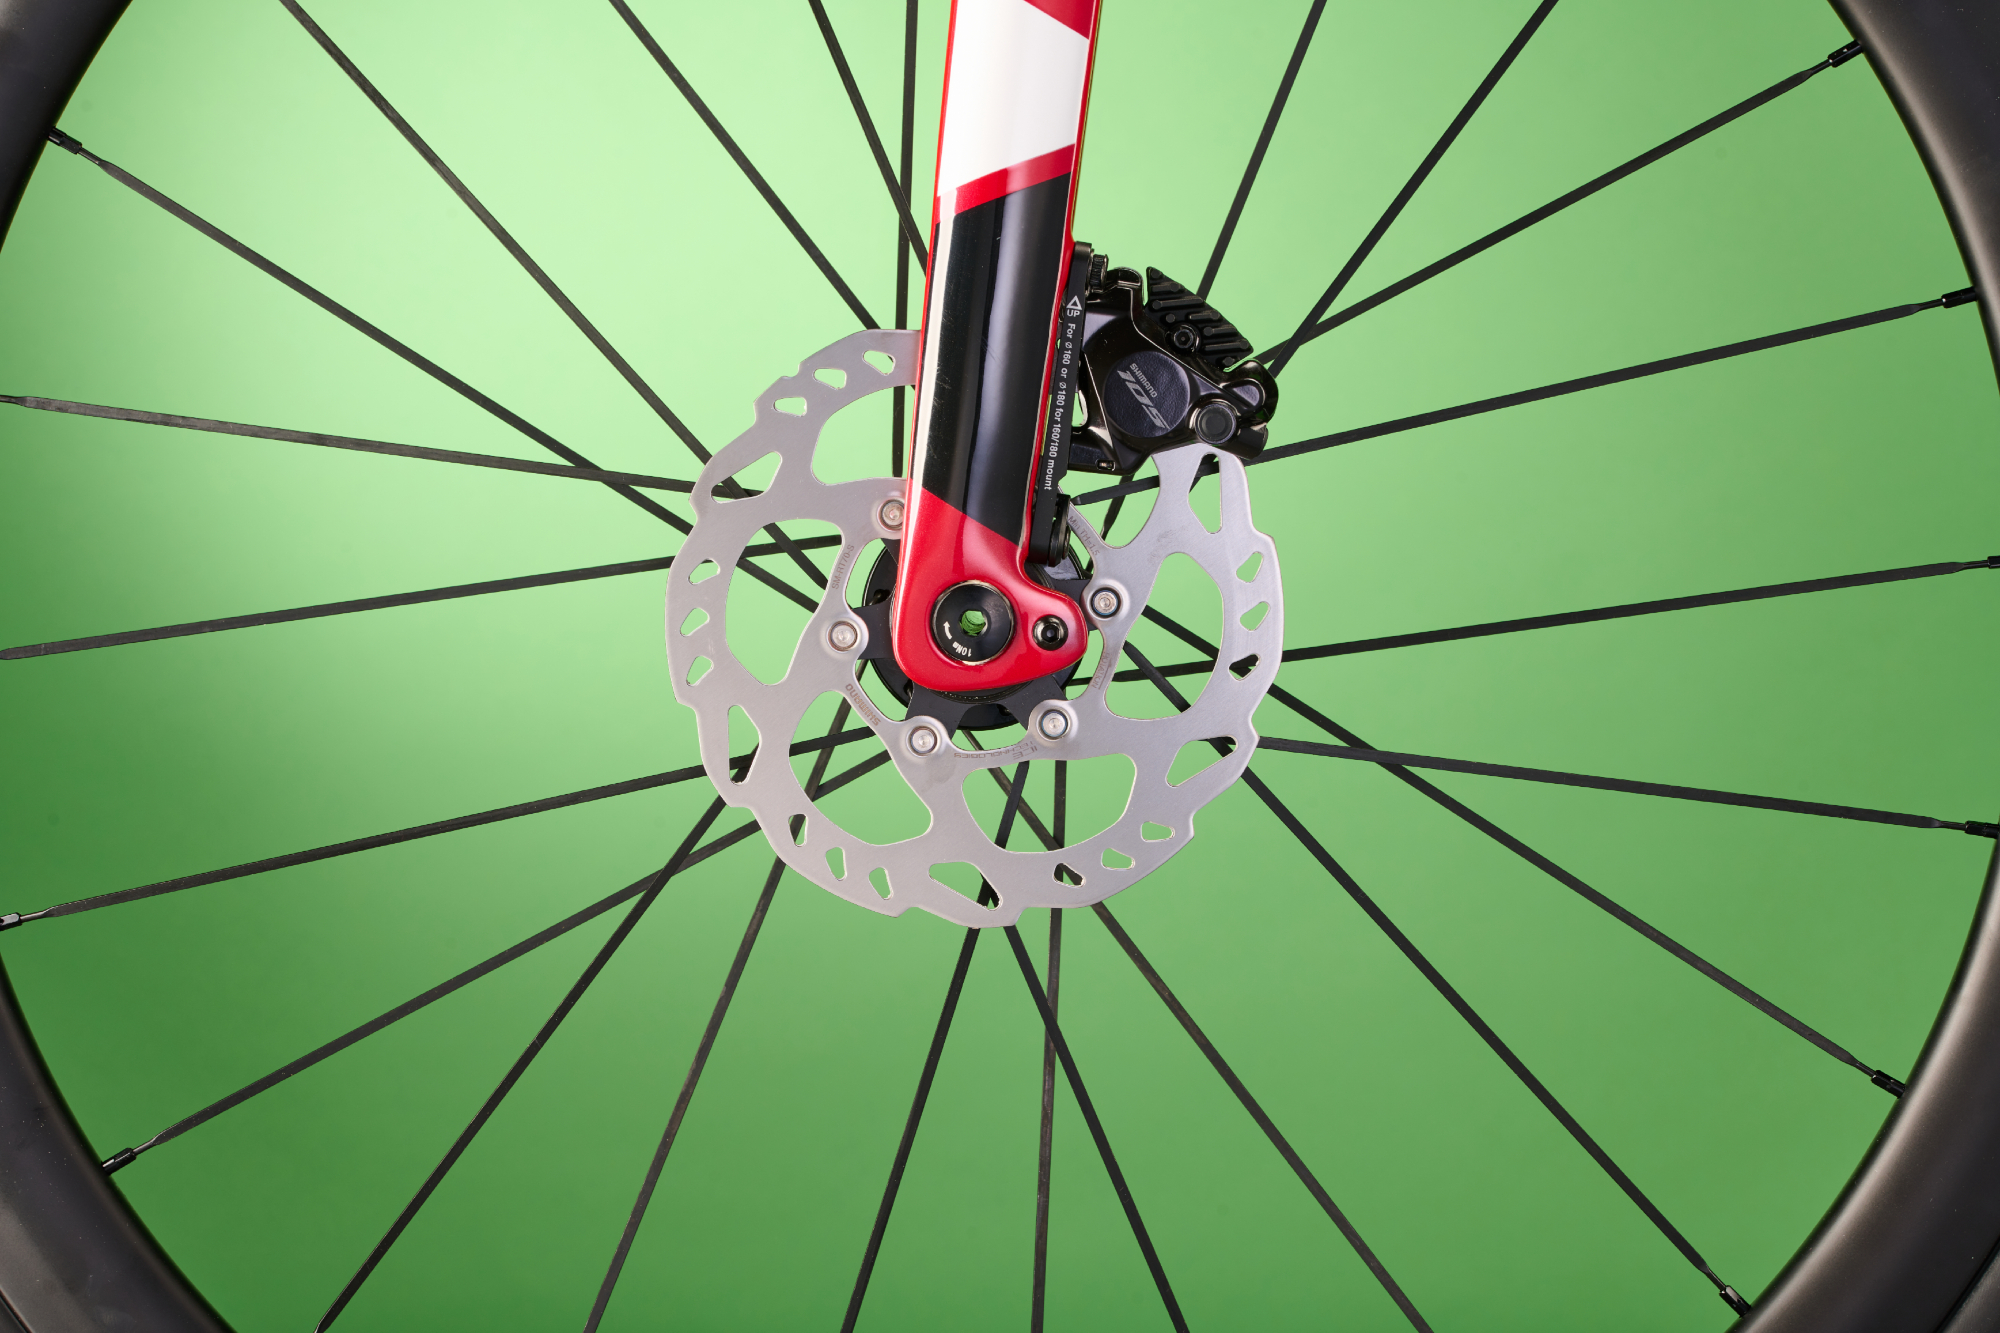
Grip again! The ability to brake consistently in all weathers is key to your confidence, which in turn helps you to ride faster and more smoothly. Resin or organic pads are quiet, but a couple of wet rides in sandy/gritty conditions can see the end of them. Most brake manufacturers produce a sintered pad, made out of a much tougher material, often embedded with tiny flakes of metal. These pads offer better performance but must be used with a sintered/metal-compatible rotor - typically this spec is written on the rotor itself.
Tape on your derailleur batteries
When the going gets rough, you better make sure that everything is properly secure. If you’re running one of SRAM's electronic groupsets, such as Force AXS, I would suggest running a strip of tape around the batteries to keep the tabs down and the battery in place. Bottle cages can be fitted with grip tape, as mentioned above, or swapped out for metal cages that can be manipulated to squeeze bottles more tightly. Make sure you secure your expensive computer to your handlebars too - Garmin and Hammerhead head units come with a lanyard for this reason, while Wahoo computers have a tiny bolt to keep them in place.
Invest in some handbuilt wheels
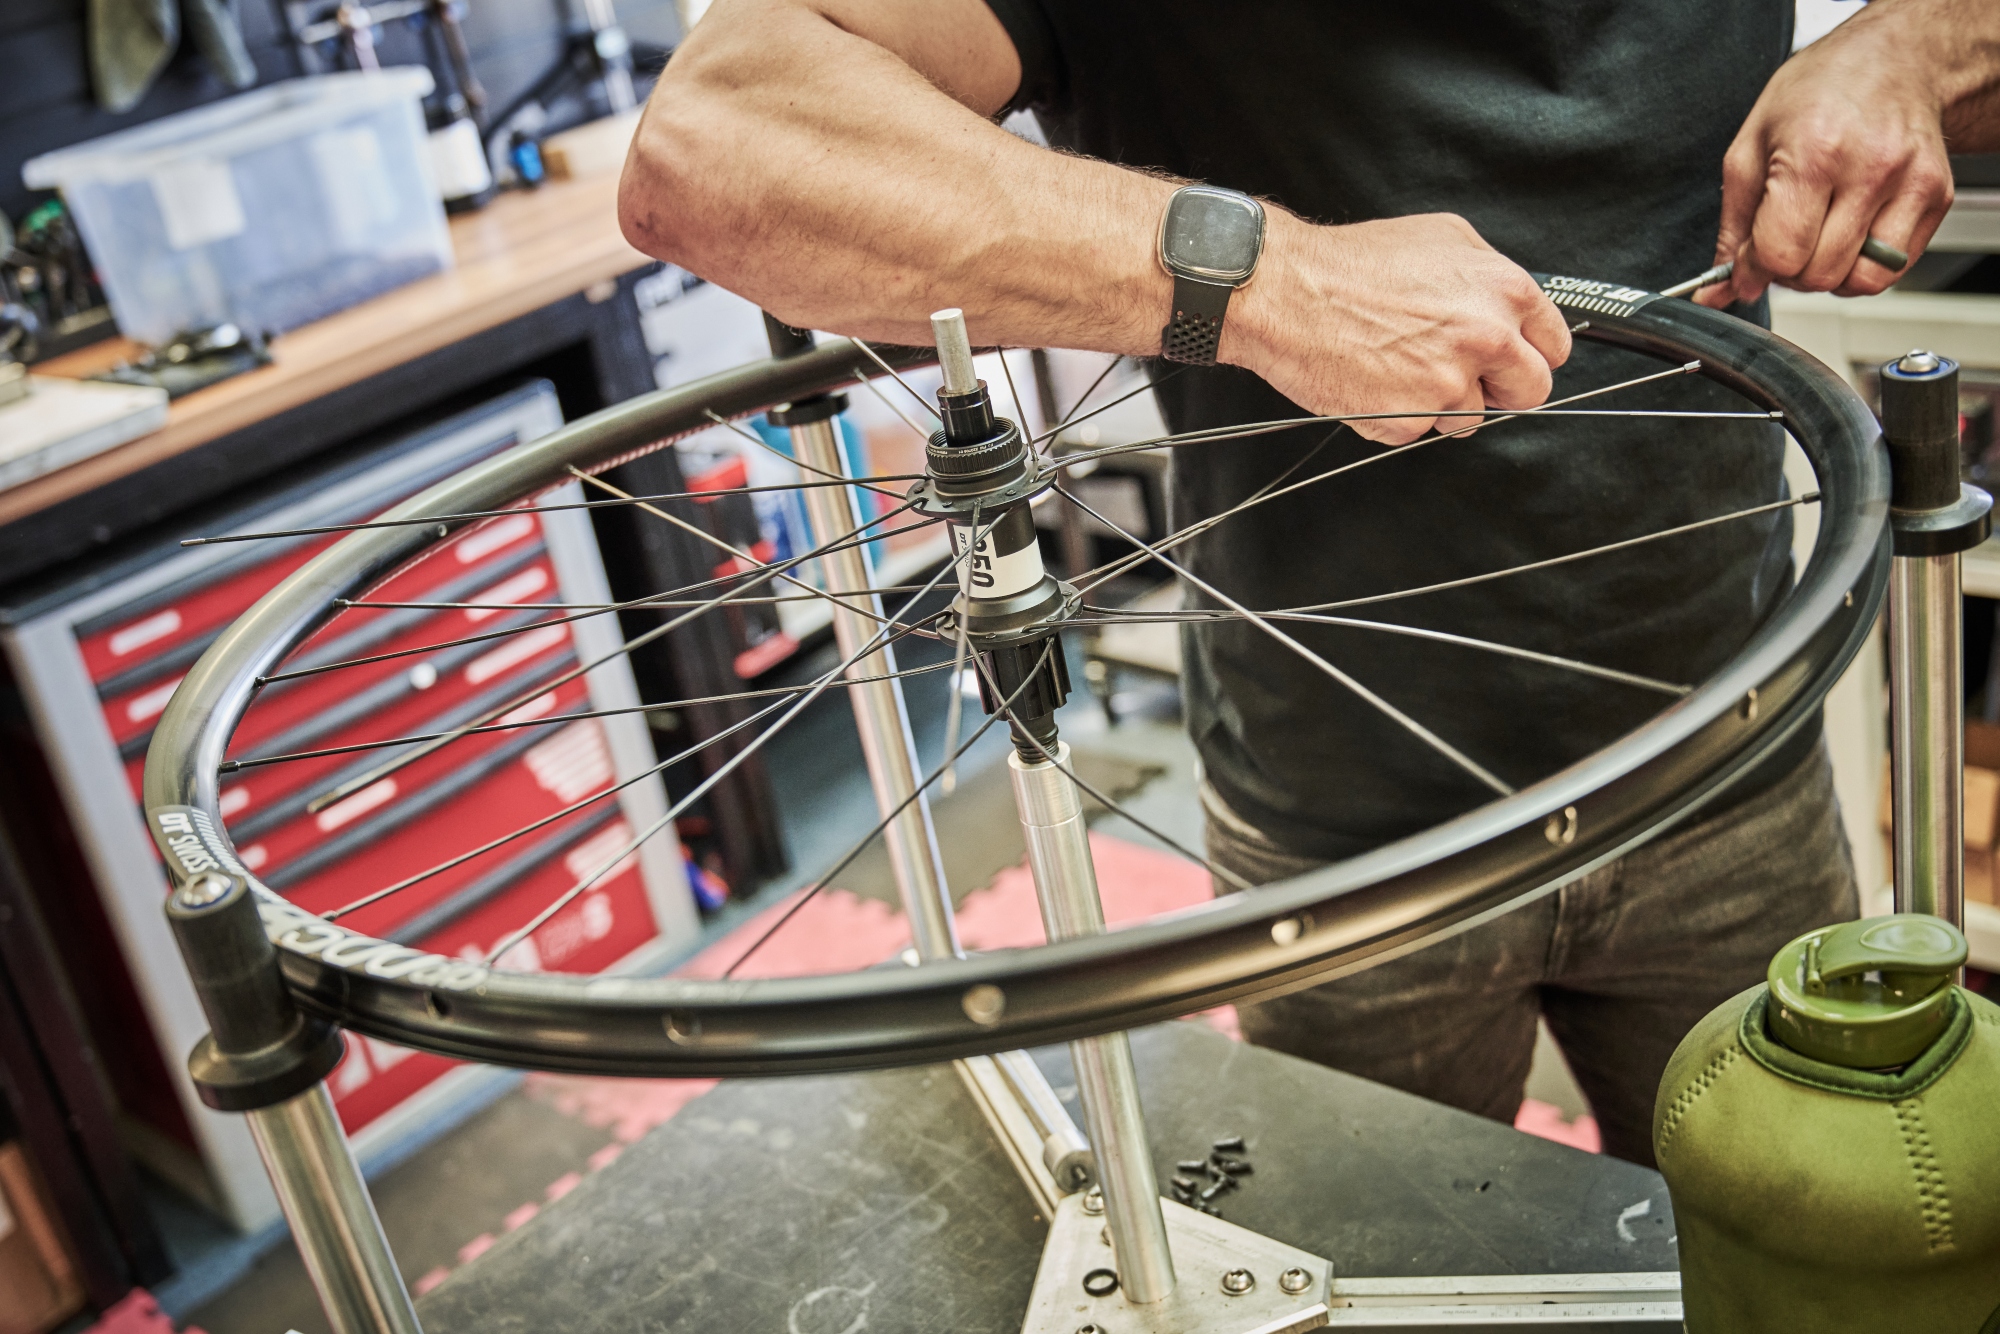
Deep-section carbon wheels are faster - that’s what the pros use, even at Paris-Roubaix. But almost always the speed and stiffness of a carbon wheel comes at the cost of comfort. Pros don’t care about comfort, but you and I do. By commissioning a wheelbuilder who understands how to get the best out of your bike, you’ll get a pair of wheels that can transform it. You'll really be able to feel the difference. Alloy, or low-profile carbon, rims have more natural compliance than deep-section wheels, a quality that massively impacts the comfort of your bike. This is another reason why the pros are using wider tires, modern rims have simply become too stiff so they need the additional suspension. We’re not pros, so we can have both.
Carbon seatposts
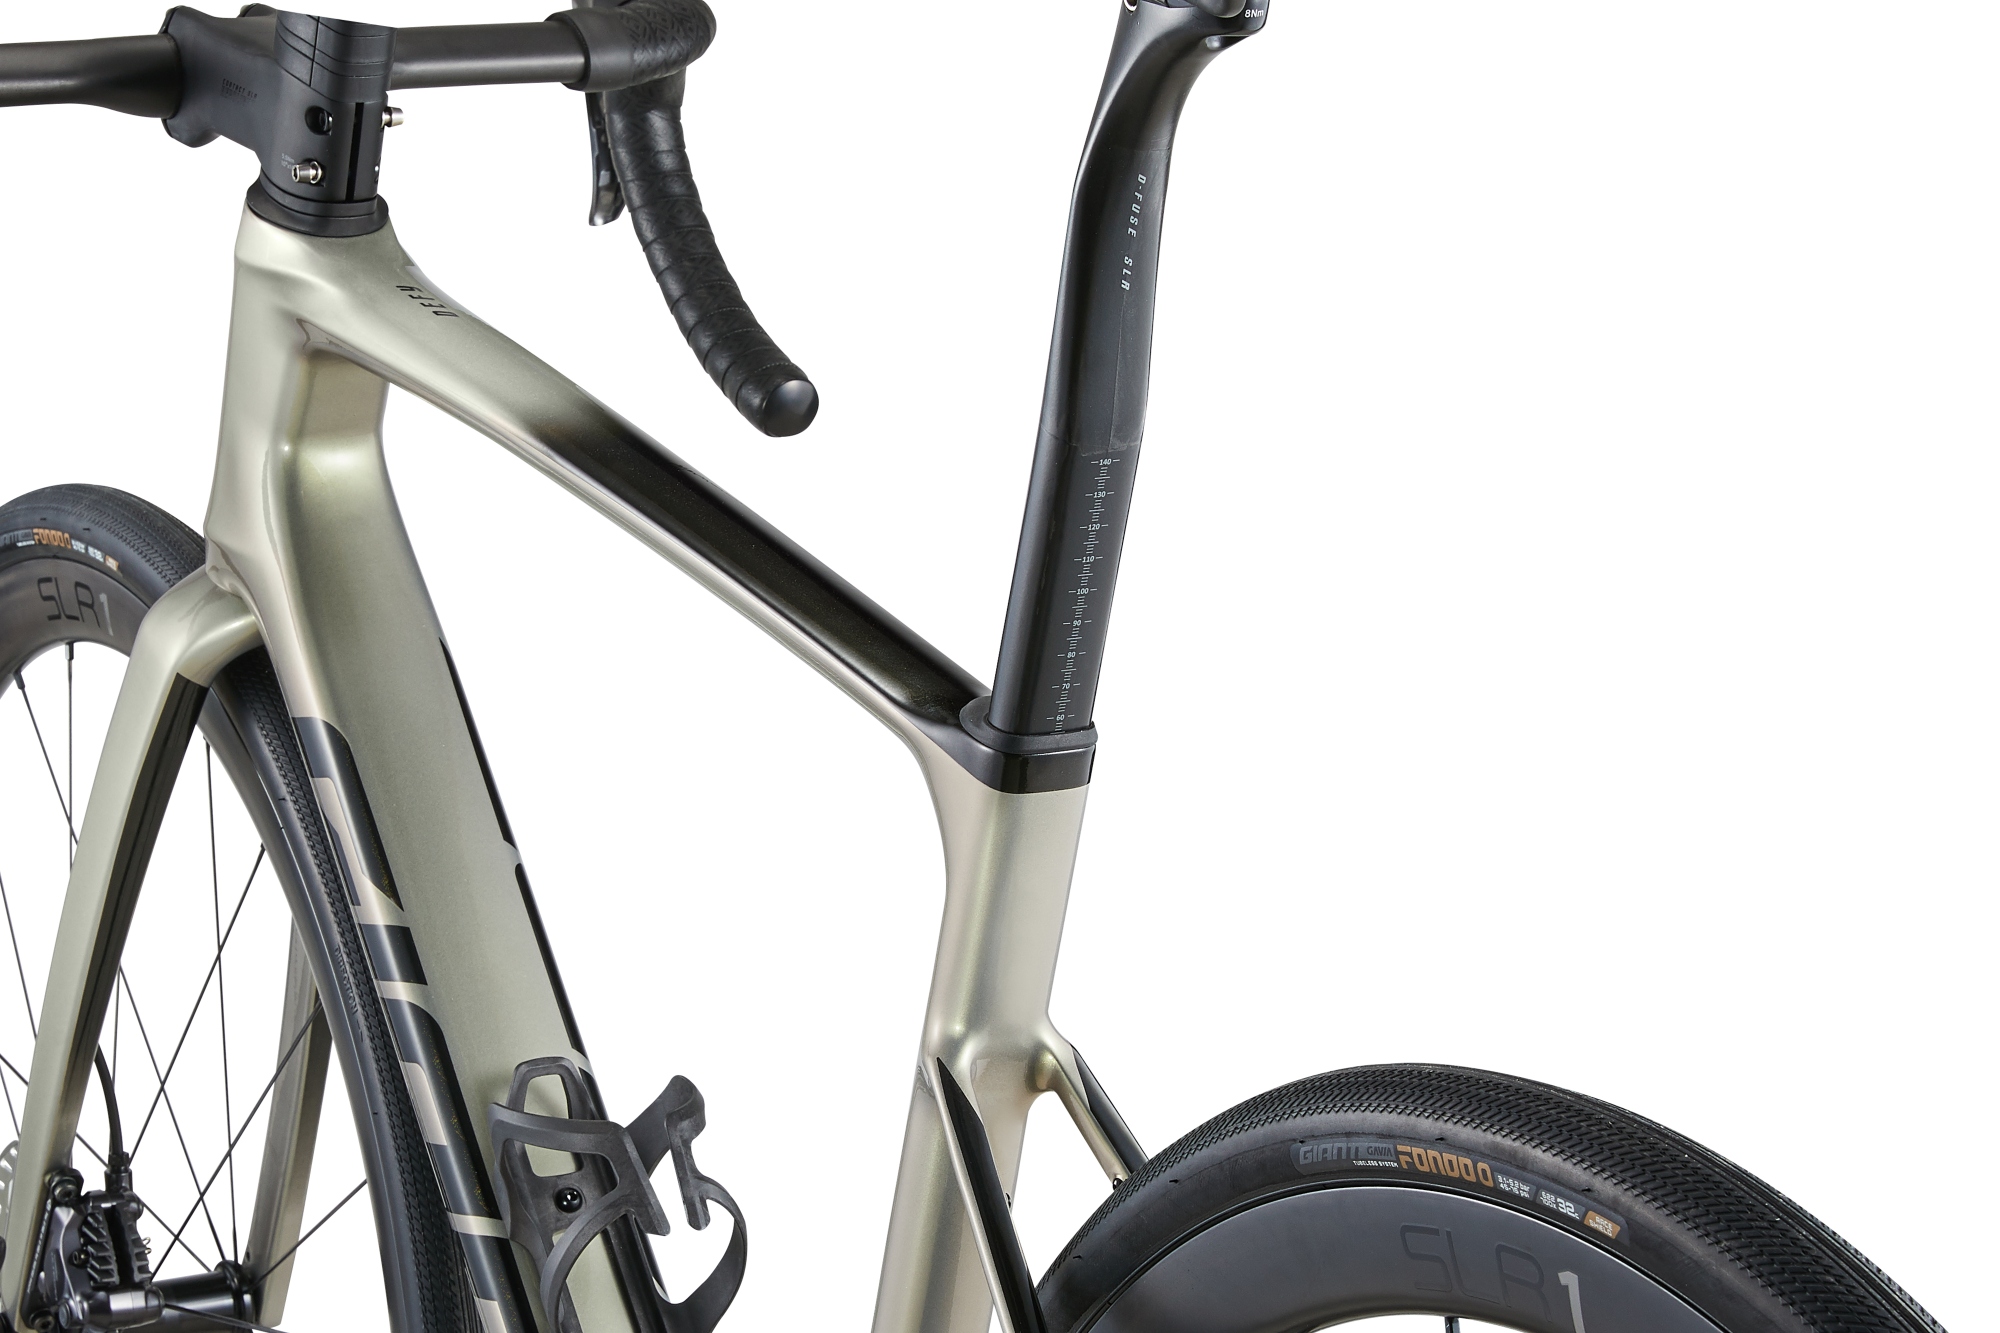
Usually when someone mentions carbon we think of lightweight products, but a part of the bike that is often overlooked is the seat post and its compliance. Many posts are developed with a certain amount of flex intentionally built in. By choosing wisely you can shave a little weight from your bike and add an additional level of comfort. My advice - don’t change your saddle, change your post.
Satellite shifters
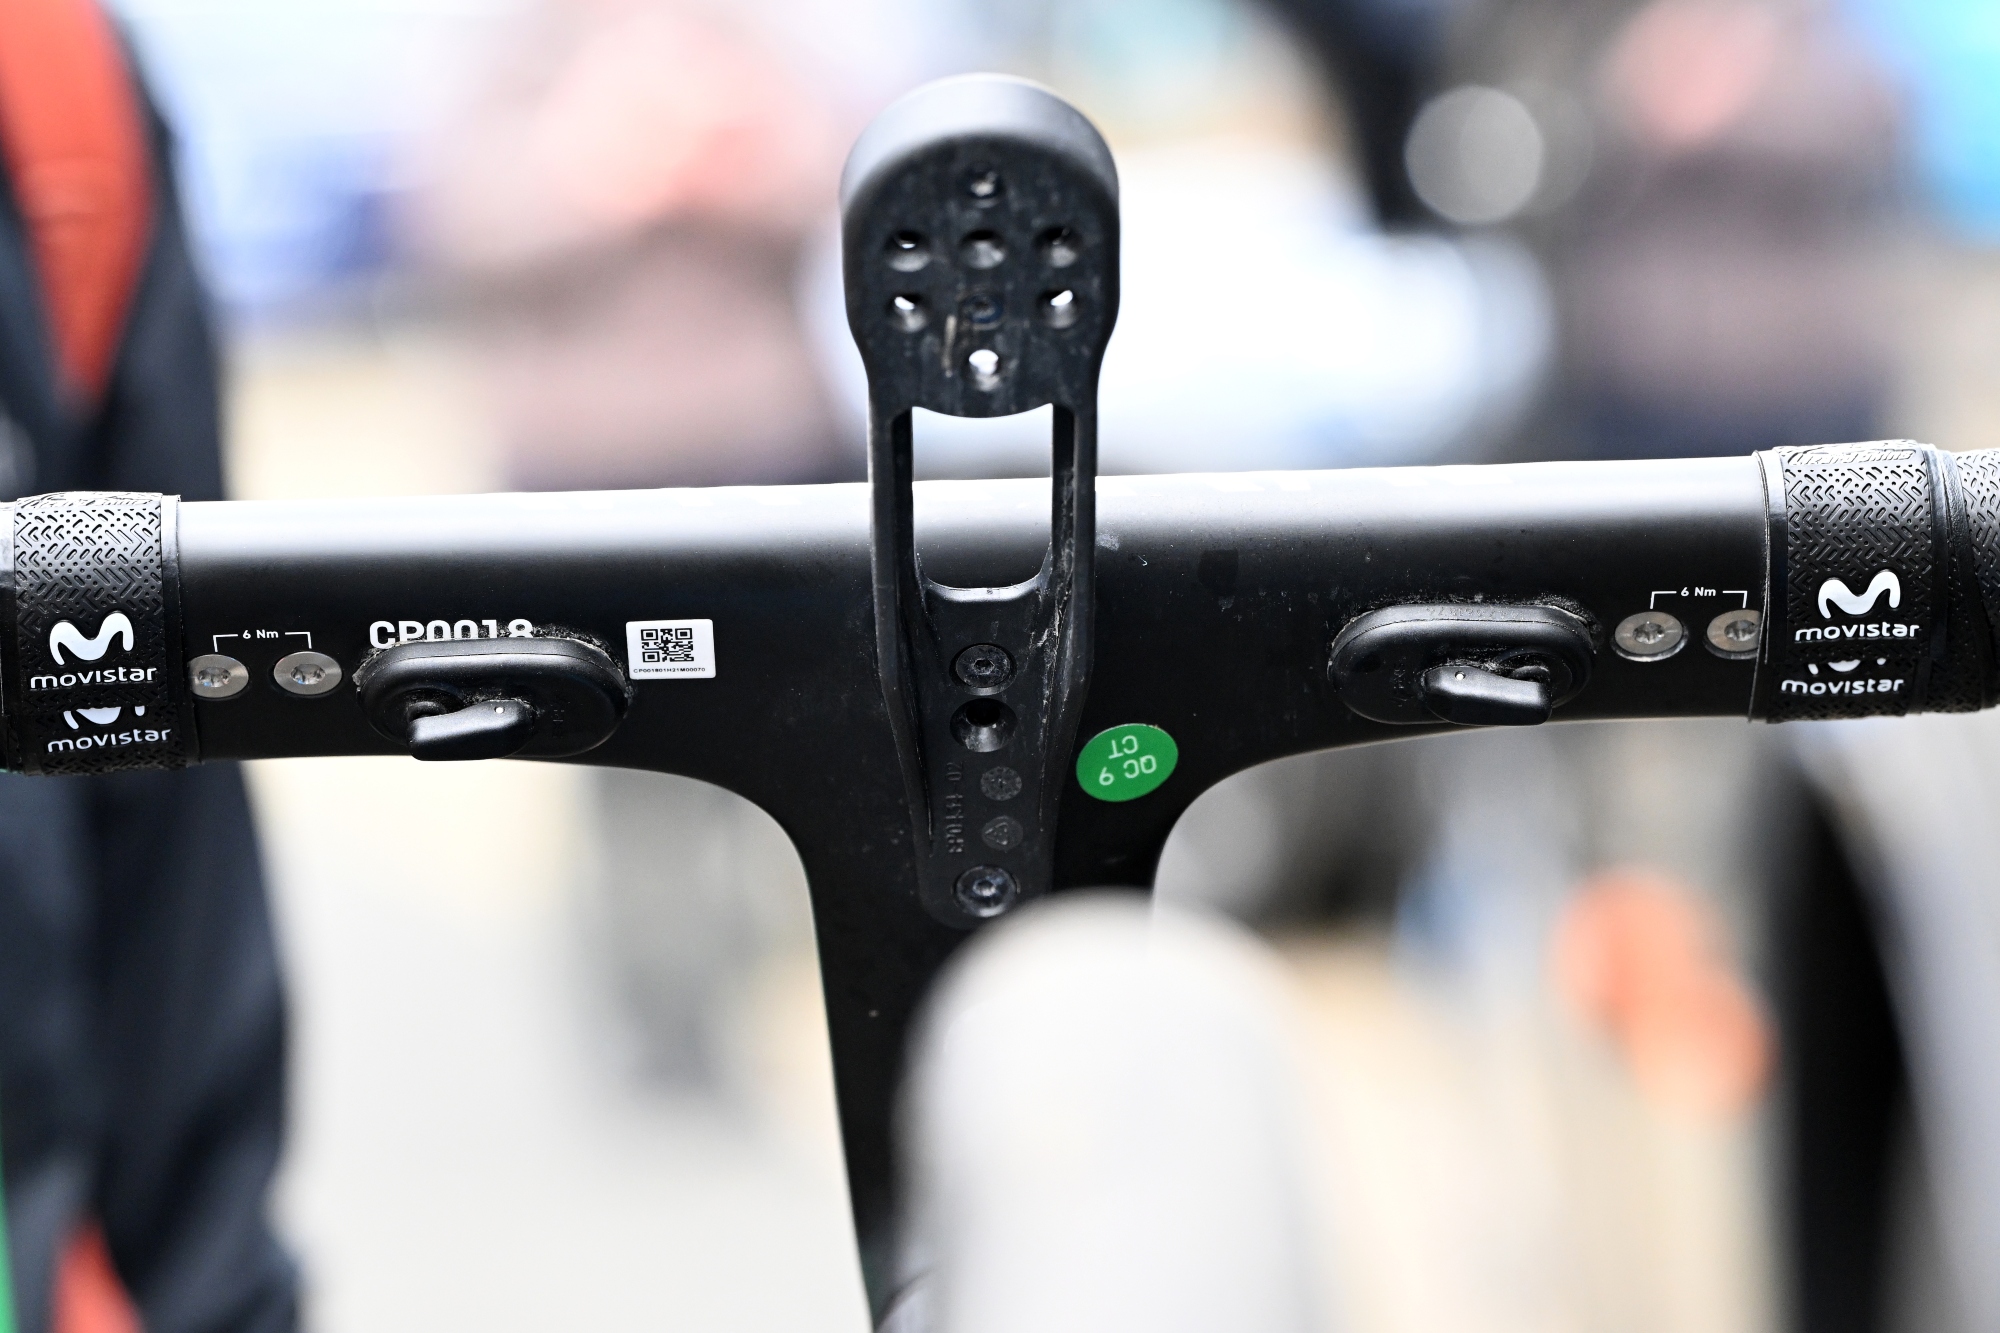
Most electronic groupsets can have remote shifters added to any area of the handlebar. This is a big benefit when you’ve got your hands on the top of the bars, a position favored for riding pave and rough roads. As the gradient changes, you can shift gears without changing your hand position. They can even be placed beneath the tape for that stealth look.
Gel inserts or double wrapping your tape
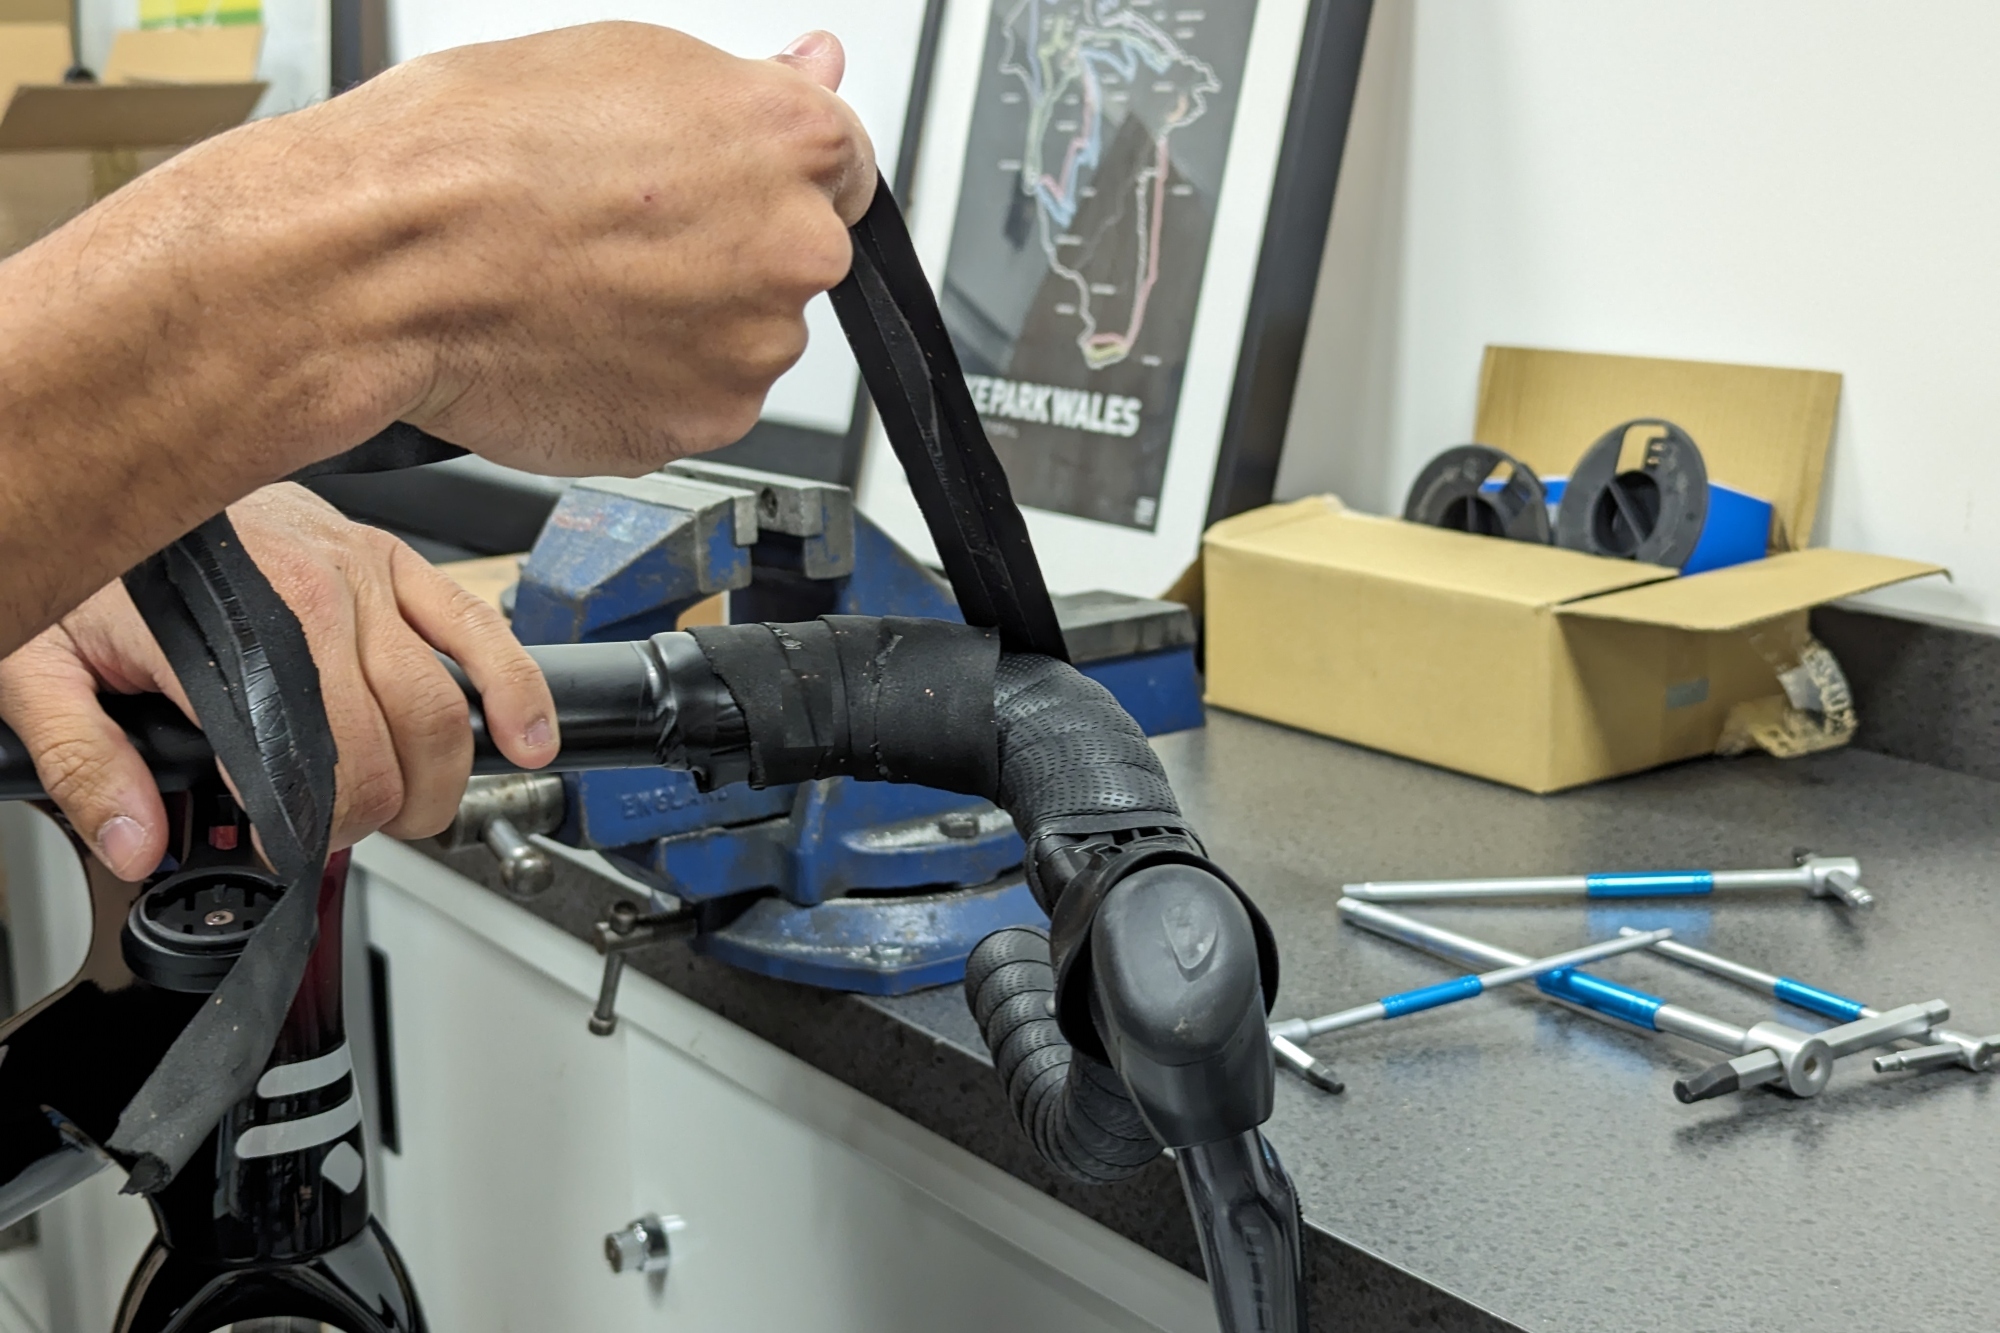
This is one of the oldest tricks in the book and one of the easiest to achieve at home. Many brands of handlebar tape also offer gel or silicone inserts, which you can fit beneath your tape to lessen the vibration in your forearms and shoulders. Double-wrapping your tape has a similar effect, ideal for those who like a thick and spongy feel to their bars. If you prefer thinner tape, go for inserts instead.
Glen’s an ex-racer who still finds time to ride bikes for SDWRacing. He started racing in 1998, initially specialising in XCO and Solo 24-Hour Mountain Bike. He became a mechanic in 2002, working in shops and also for professional race teams. During this time he spent more time racing cyclocross and road, and then also time trials. In 2013 he built his first bespoke frame and then spent several years at Roberts learning the art. Since then he’s designed, tested and now sells frames/bikes to the public as part of his ÆIGHT brand.