Five cost-effective upgrades to make a second-hand bike feel like new again
We run you through the most cost-effective ways to get a 'brand new' feeling from a second hand bike

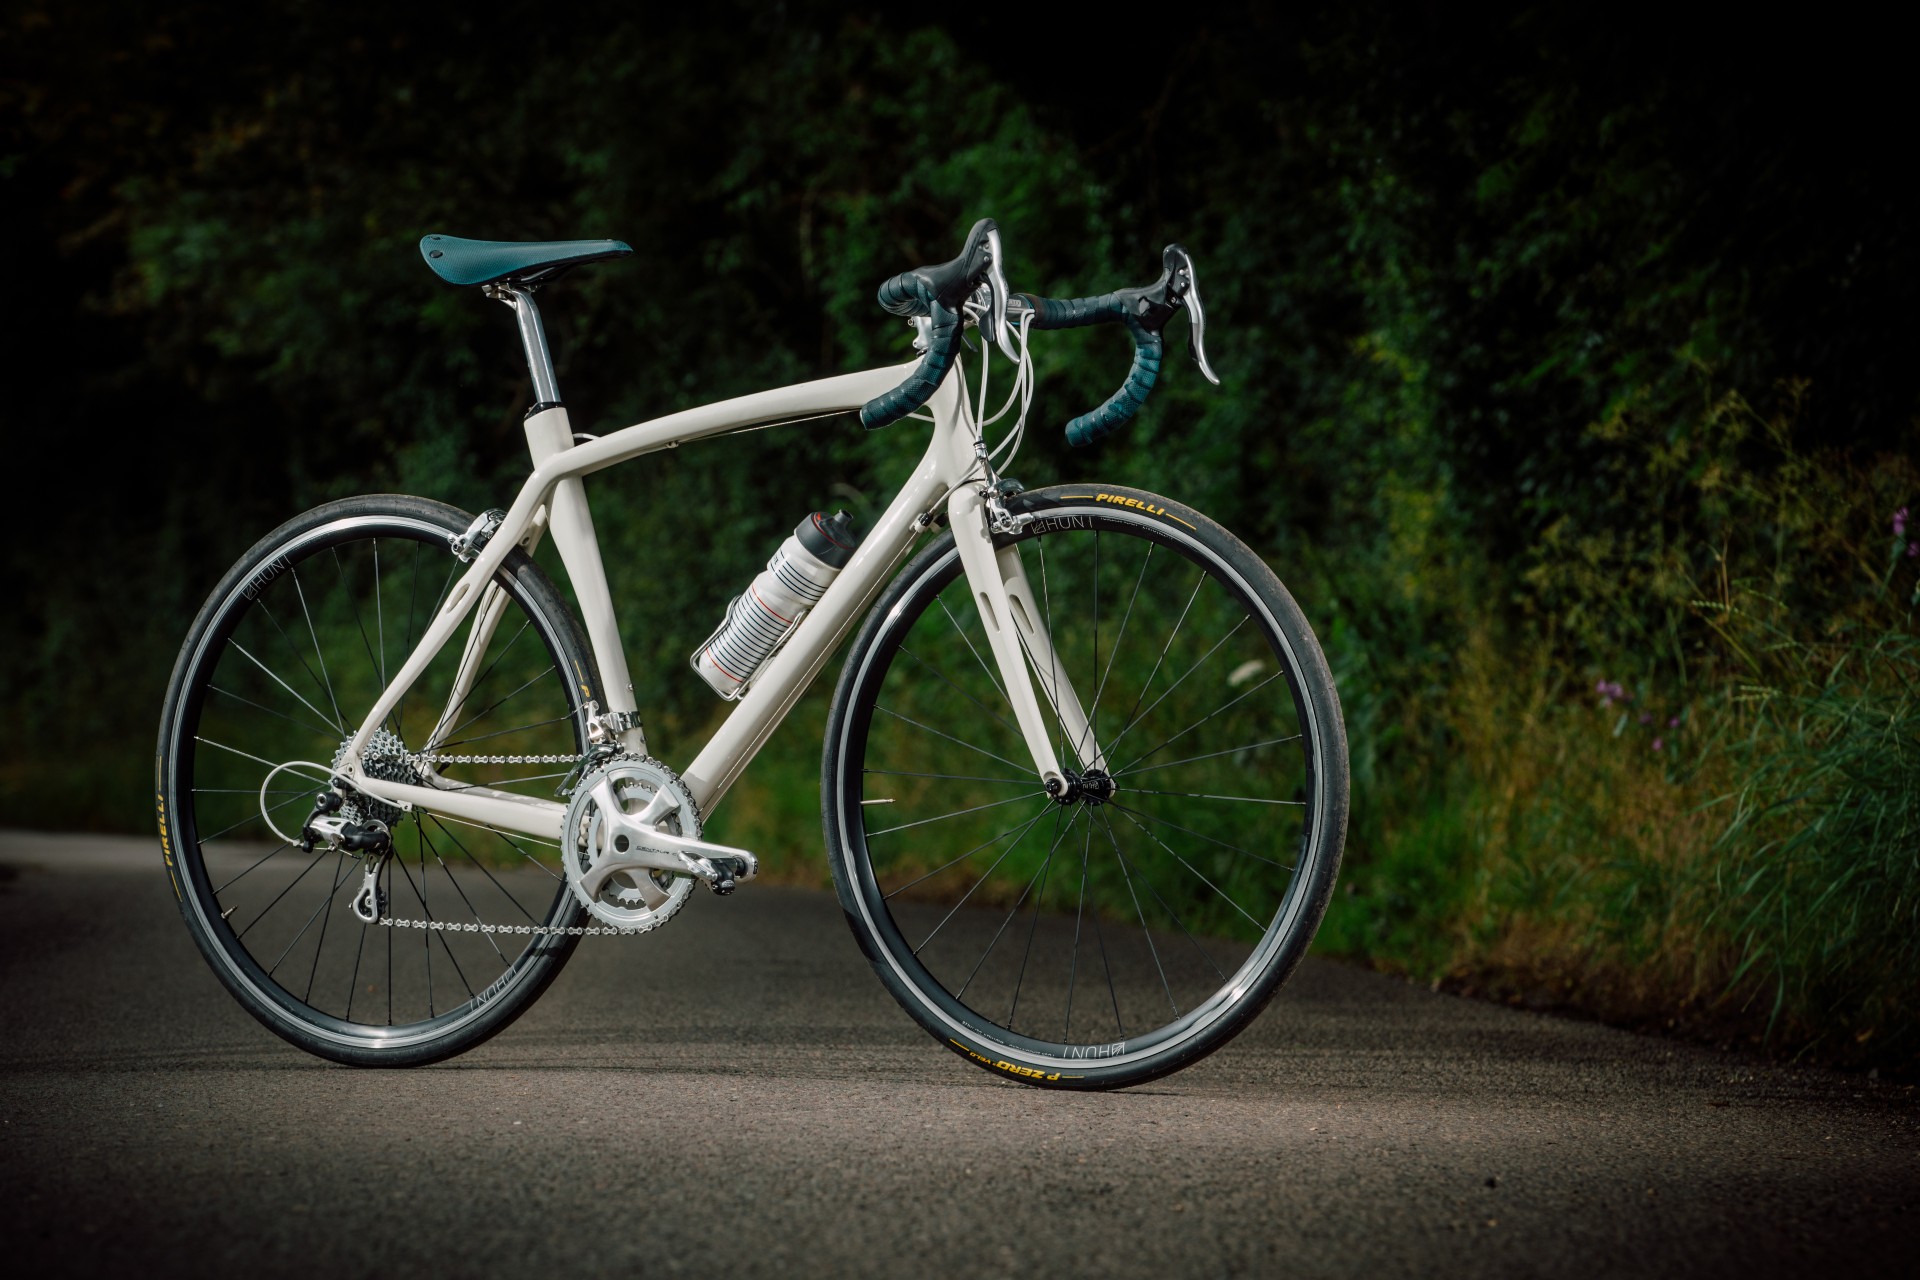
Buying a second hand bike has always been a viable option, but given rising living costs it's perhaps more relevant than ever. It's also a more environmentally friendly approach, repurposing an unwanted machine rather than purchasing new.
However, while you should be applauded for going down the second-hand route, there are a few things you'll need to take into account. Unless you're buying the bike as a refurbished model from a reputable dealer, it's unlikely that it will be ready to roll without a little additional work, even if you have taken into account our tips for getting a great deal on a used bike.
To help you ensure that your second-hand bike is safe and running smoothly, we've listed five key areas that you'll want to be sure to check or replace. We'll start with the most important...
At a quick glance
In descending order of importance:
- Check and replace the parts of your brakes
- Then do the same for your gears
- Get the contact points (saddle, bars and pedals) set up as you prefer
- Check the tyres and bearings for wear- they may need replacing immediately, or can be a nice upgrade a little later if not.
1. Brakes
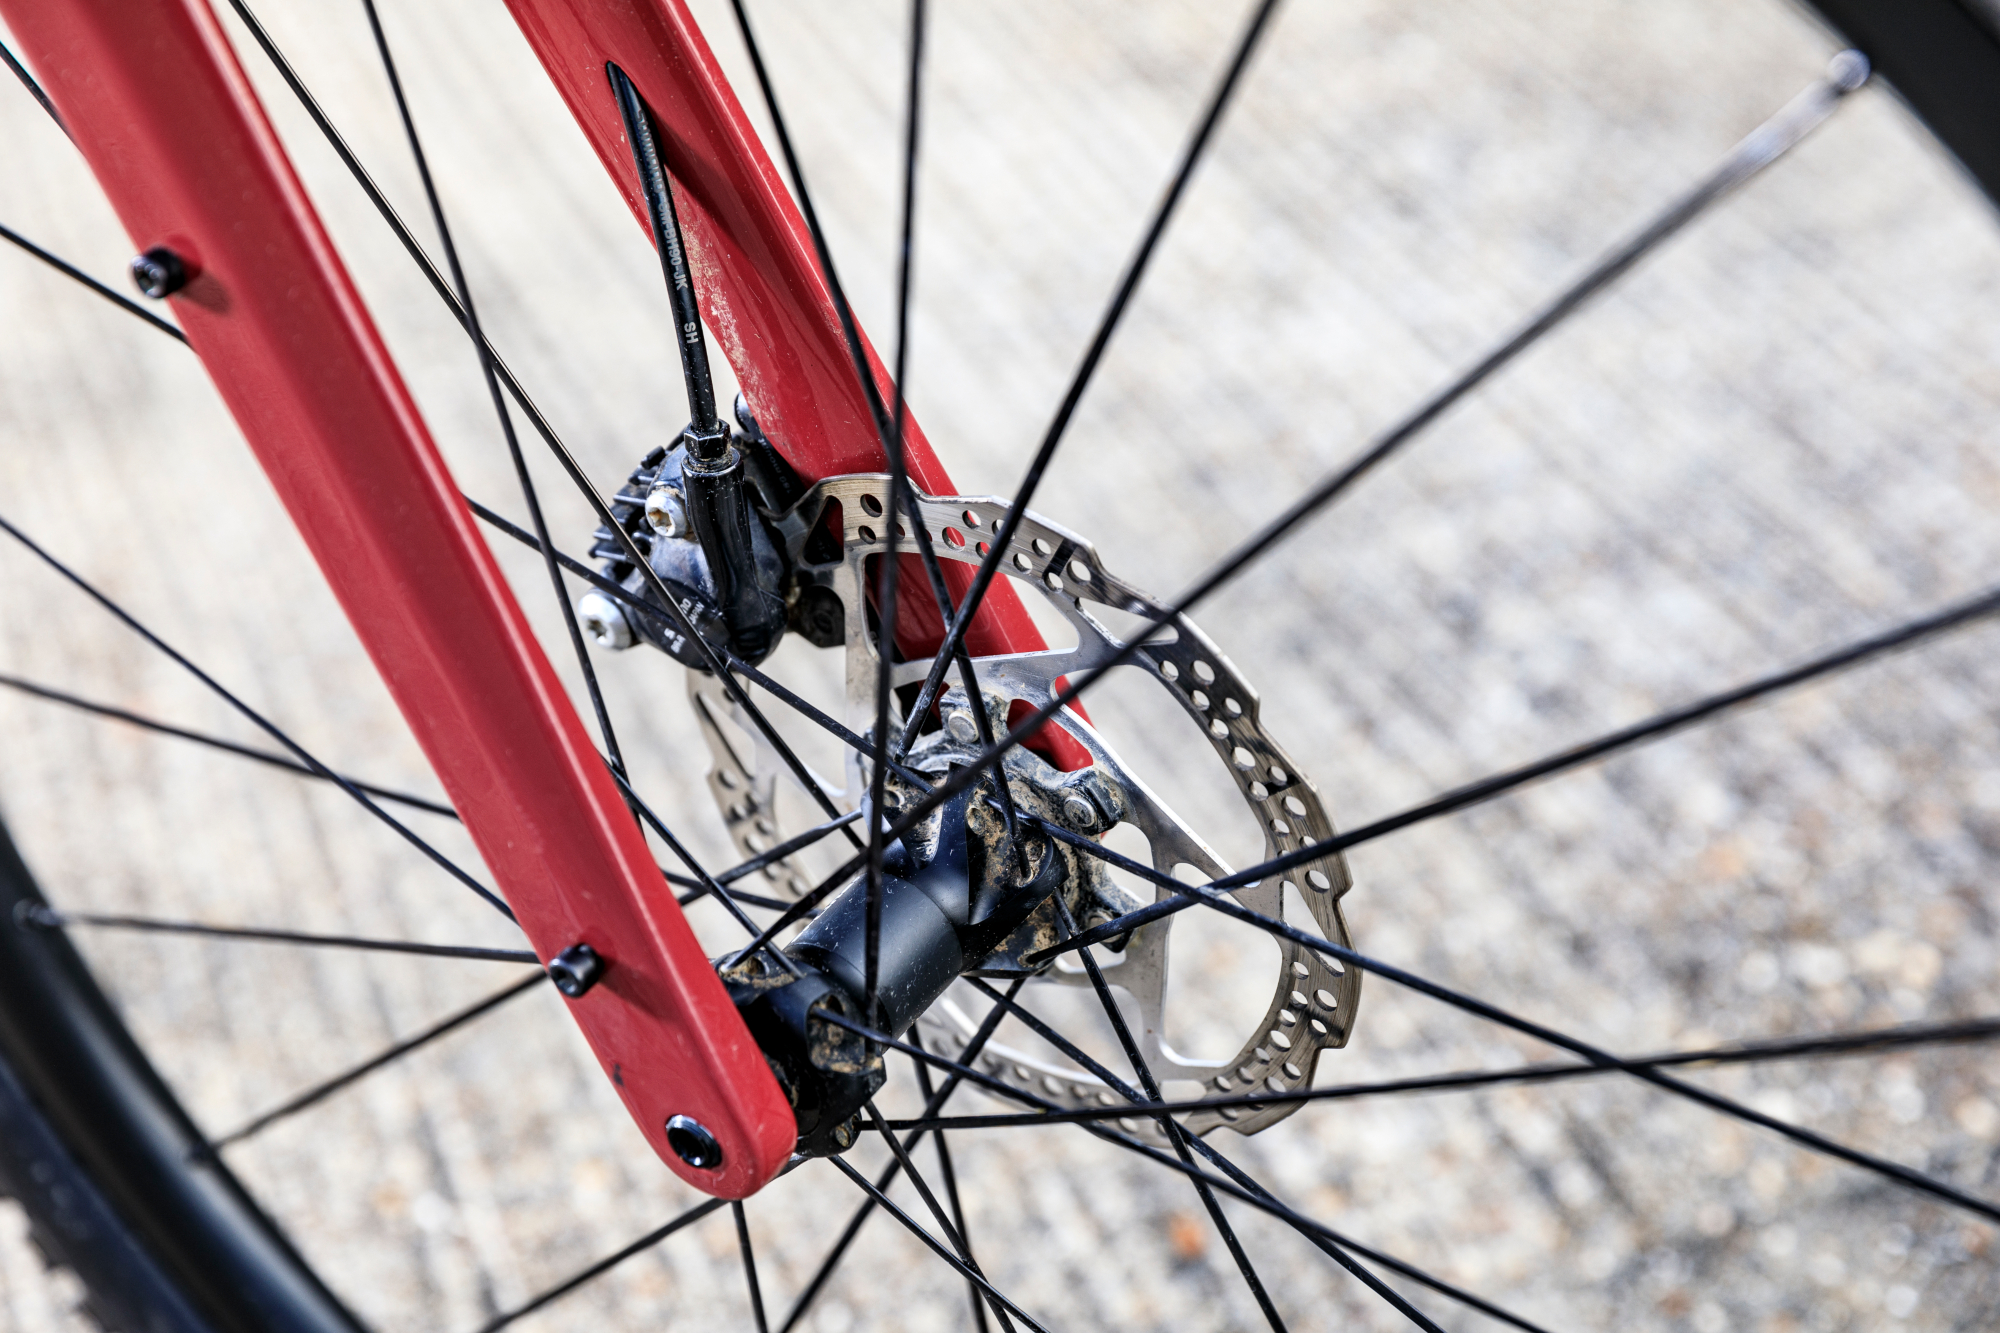
It’s probably no surprise that we’re beginning with the brakes. If they’re not functioning correctly the bike is simply dangerous and not fit to ride. So how do you ensure that the brakes on a second-hand bike are working properly?
Given that the bike has already been ridden, it’s a good chance that the brake pads are worn and may need replacing. If your bike has rim brakes then the pads may have a wear indicator. If the pad is worn beyond this point then it’s time to replace them. Equally, if the pad is worn unevenly it makes it difficult to tune your brakes correctly and you may wish to replace them at this point.
Likewise disc brake pads will also need replacing if they are worn to the point where there is little pad left. If the pads appear to have plenty of life but the braking is still poor, or indeed noisy, then there’s a good chance that the pads are contaminated with oil. The easiest route is to replace them with new ones, but you may wish to try and bring them back to life. There are a number of options here, including sanding the surface off. Whichever you choose, or if you’re fitting new pads, make sure that you also clean the disc rotor, either with a dedicated disc brake cleaner or some isopropyl alcohol.
The latest race content, interviews, features, reviews and expert buying guides, direct to your inbox!
You’ll find that the world of disc brake pads is vast and confusing. We’ve created a guide to the best replacement disc brake pads to help make it a little more straightforward.
It’s not just the pads that can be worn. The bike’s braking surfaces are also susceptible to wear. If you’re dealing with rim brakes, then this is the surface of the rim that the brake pad makes contact with. It should be a flat surface but due to wear may now be concave. Some rims do have wear indicators - often a dot - but another way to check for wear is to place the edge of a credit card against the surface and see if it sits flush with the braking surface. If you can see some light then the rim has excess wear; if this wear is considerable it’s likely you’ll be able to feel the concave with your fingertip.
The braking surface for discs is the rotor itself. Again check for wear, seeing if the thickness of the rotor is compromised; it should be a universal thickness. Both rims and rotors take a considerable time to wear down, so while it’s likely you’ll need to replace the brake pads there’s a good chance you won’t need to invest in new rims or rotors.
If you’ve replaced or refurbished the pads and the braking still feels mushy you’ll need to check the brakes cables. That spongy feel, or a level that’s slow to release, is a sure sign that the cable isn’t running smoothly inside the housing. Dirt and rust are the usual culprits, and the best solution for improved braking is to replace them with a new set entirely, both the inner cables and the outer housing. If you’re using cable-actuated disc brakes you may want to upgrade to compressionless housing, which can greatly improve the over braking.
Poorly performing hydraulic disc brakes is often down to old fluid and air in the system. The solution is to bleed the brakes, removing that old fluid in the system and replacing it with new. It’s a fix that needs a bleeding kit and some knowledge of the process. The safest option is to take it to your local bike shop, but that said, it’s a skill that is well worth learning and one that can save you plenty of money in the long run.
If you’ve checked that the cables are running smoothly and the braking is still off, go back to the brake pads and ensure that they are set up correctly. A misaligned pad that doesn’t meet the braking surface squarely is likely to deliver less than satisfactory results.
2. Gears
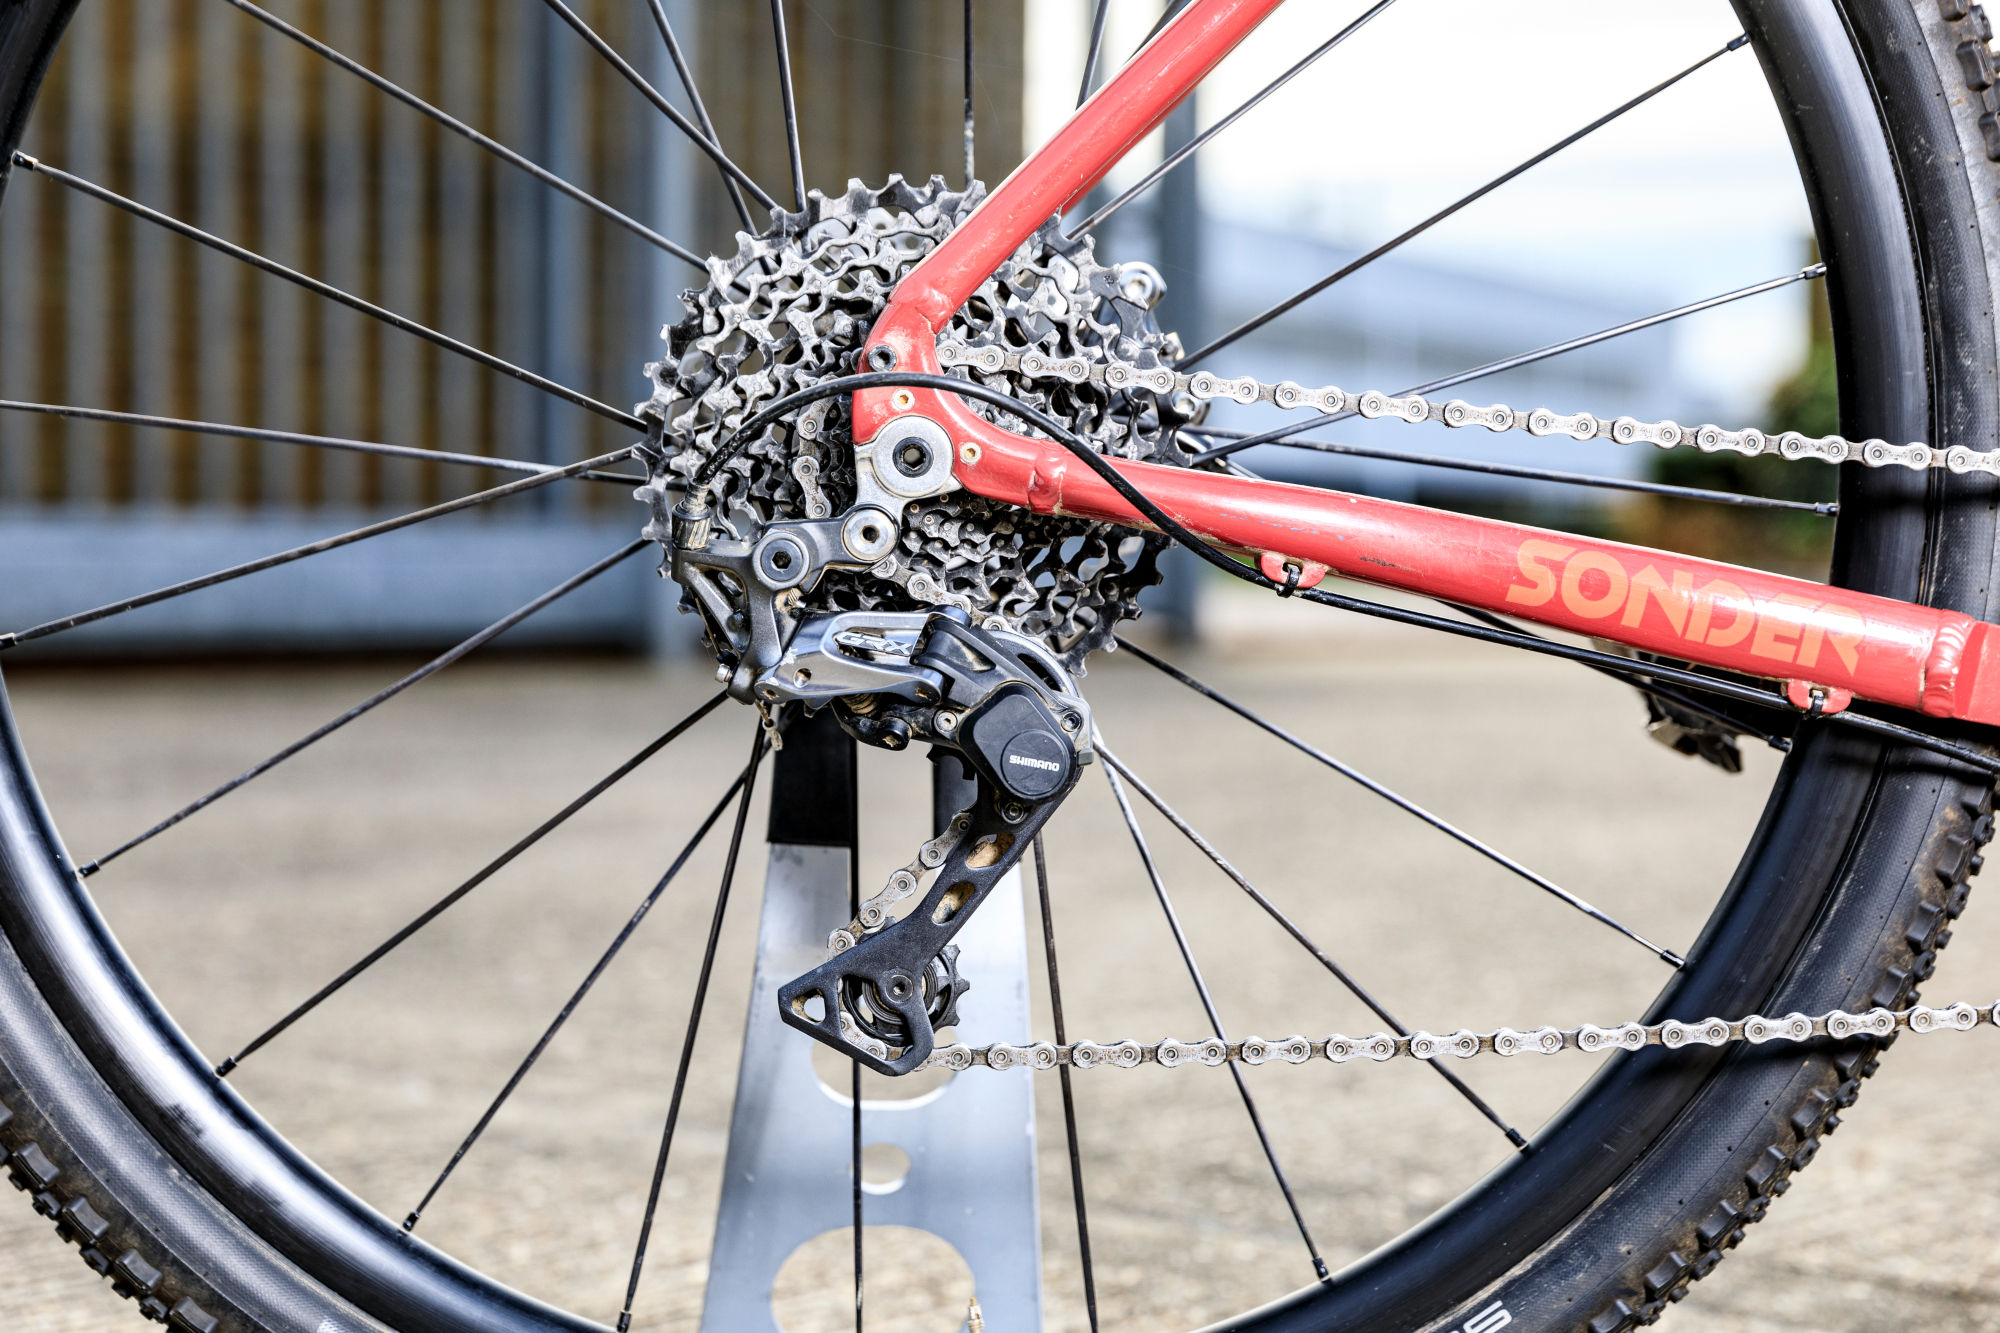
Suffering with clunky bike gears? To make your shifting smooth again, the first port of call should be making sure that the derailleur hanger is aligned and then checking that the cable tension is set correctly. If the hanger is out of alignment then the rear derailleur that’s attached to it will be, too. Indexing your gears from here is likely to only end in frustration.
Equally, if the cable tension is off then shifting will follow suit; if the chain is hesitant when shifting to a larger sprocket on the cassette then you’ll need to add more tension to the cable. If it’s slow to shift back down then you’ll need to reduce the tension.
To properly check a hanger you’ll need a hanger alignment tool. Investing in what’s essentially a big metal stick might feel like an extravagance, but really they are so useful so often. You can try manually bending the hanger though dropping it into your local bike shop is likely to achieve better results!
If the hanger is beyond repair then replacements are fairly cheap and easy to fit. They are specific to your bike’s frame however, so you’ll need to make sure that you have the right model. Like the disc brake pads we referenced earlier, they too come in numerous shapes and sizes.
Once you’re happy that your hanger is properly aligned and cable tension is correct, check your shifting again. If the gears still aren’t shifting right, then you’re going to need to replace the cables. If your bike is sufficiently second hand and has external cable routing, then this might be a job that takes five minutes per derailleur if you’re practised, maybe 15 or 20 minutes if it’s your first time.
If the bike has internal cable routing, depending on the model, it could take a professional mechanic hours to complete. If you have the money, it might well be worth saving your time here. If you’re looking to save, then there are kits you can buy that make the process much easier - definitely worth the investment for the time saved.
One of the tools it's worth getting to maintain your bike on a budget is a chain checker tool to check a chain for wear. Or you can use the time-honoured method of pulling the chain away from the chainring and seeing how far it will go. If you can see a lot of daylight, then it’s too worn and needs to be replaced.
Bear in mind, that if the previous owner has been riding around with an extremely worn chain, that will also have accelerated the wear on the cassette and chainrings - to the point that the shifting could be even worse.
Unfortunately, that means you may end up needing to buy a new cassette and rings as well. But it’s worth using this as an opportunity to consider your gearing - if you need something a little lower and easier, or if you want a tighter spacing for more even changes in cadence. As chainrings are typically included when buying a new crankset - this could even be an opportunity to change your crank length.
So, to sum up, adjust your gears, but also probably buy some new cables and outer housing (it’s worth investing in these as with brake cables). Check your chain and probably buy a new one - bear in mind you might need to buy a cassette and chainrings too.
3. Fresh contact points
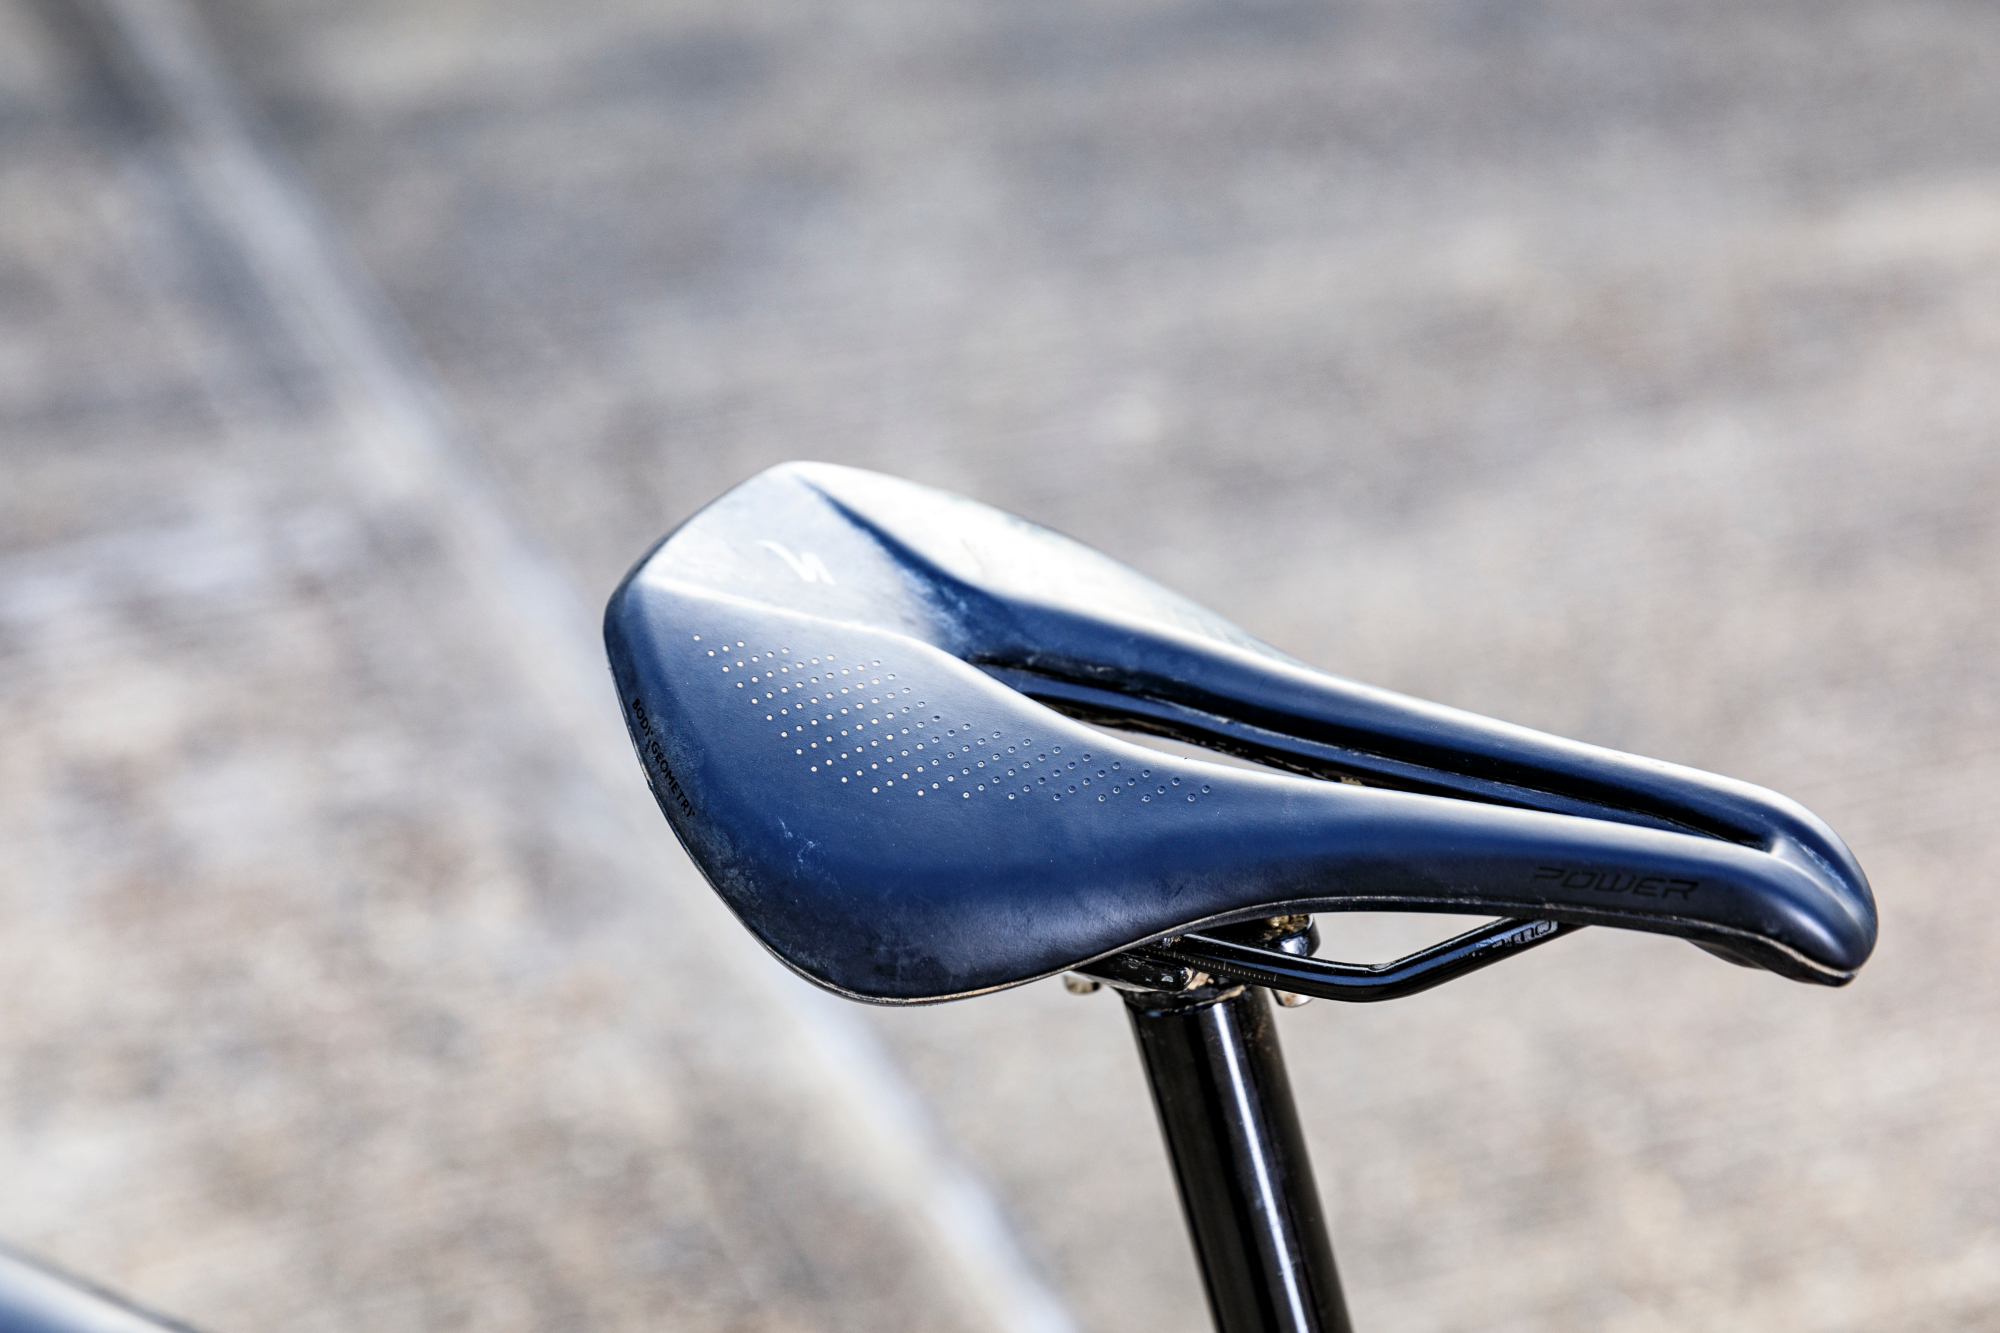
A great way to refresh a second-hand bike, as well as to personalise it, is to focus on its contact points: the saddle, the bar tape and the pedals.
There’s a good chance that the current saddle won’t be an ideal match. There’s also a likelihood that it will be worn. Unless you have a favoured saddle left over from a previous bike then , you’ll need to invest in another saddle that you know is right for you - the best bike saddle for one rider may result in saddle sores for another rider as we're all shaped a little differently.
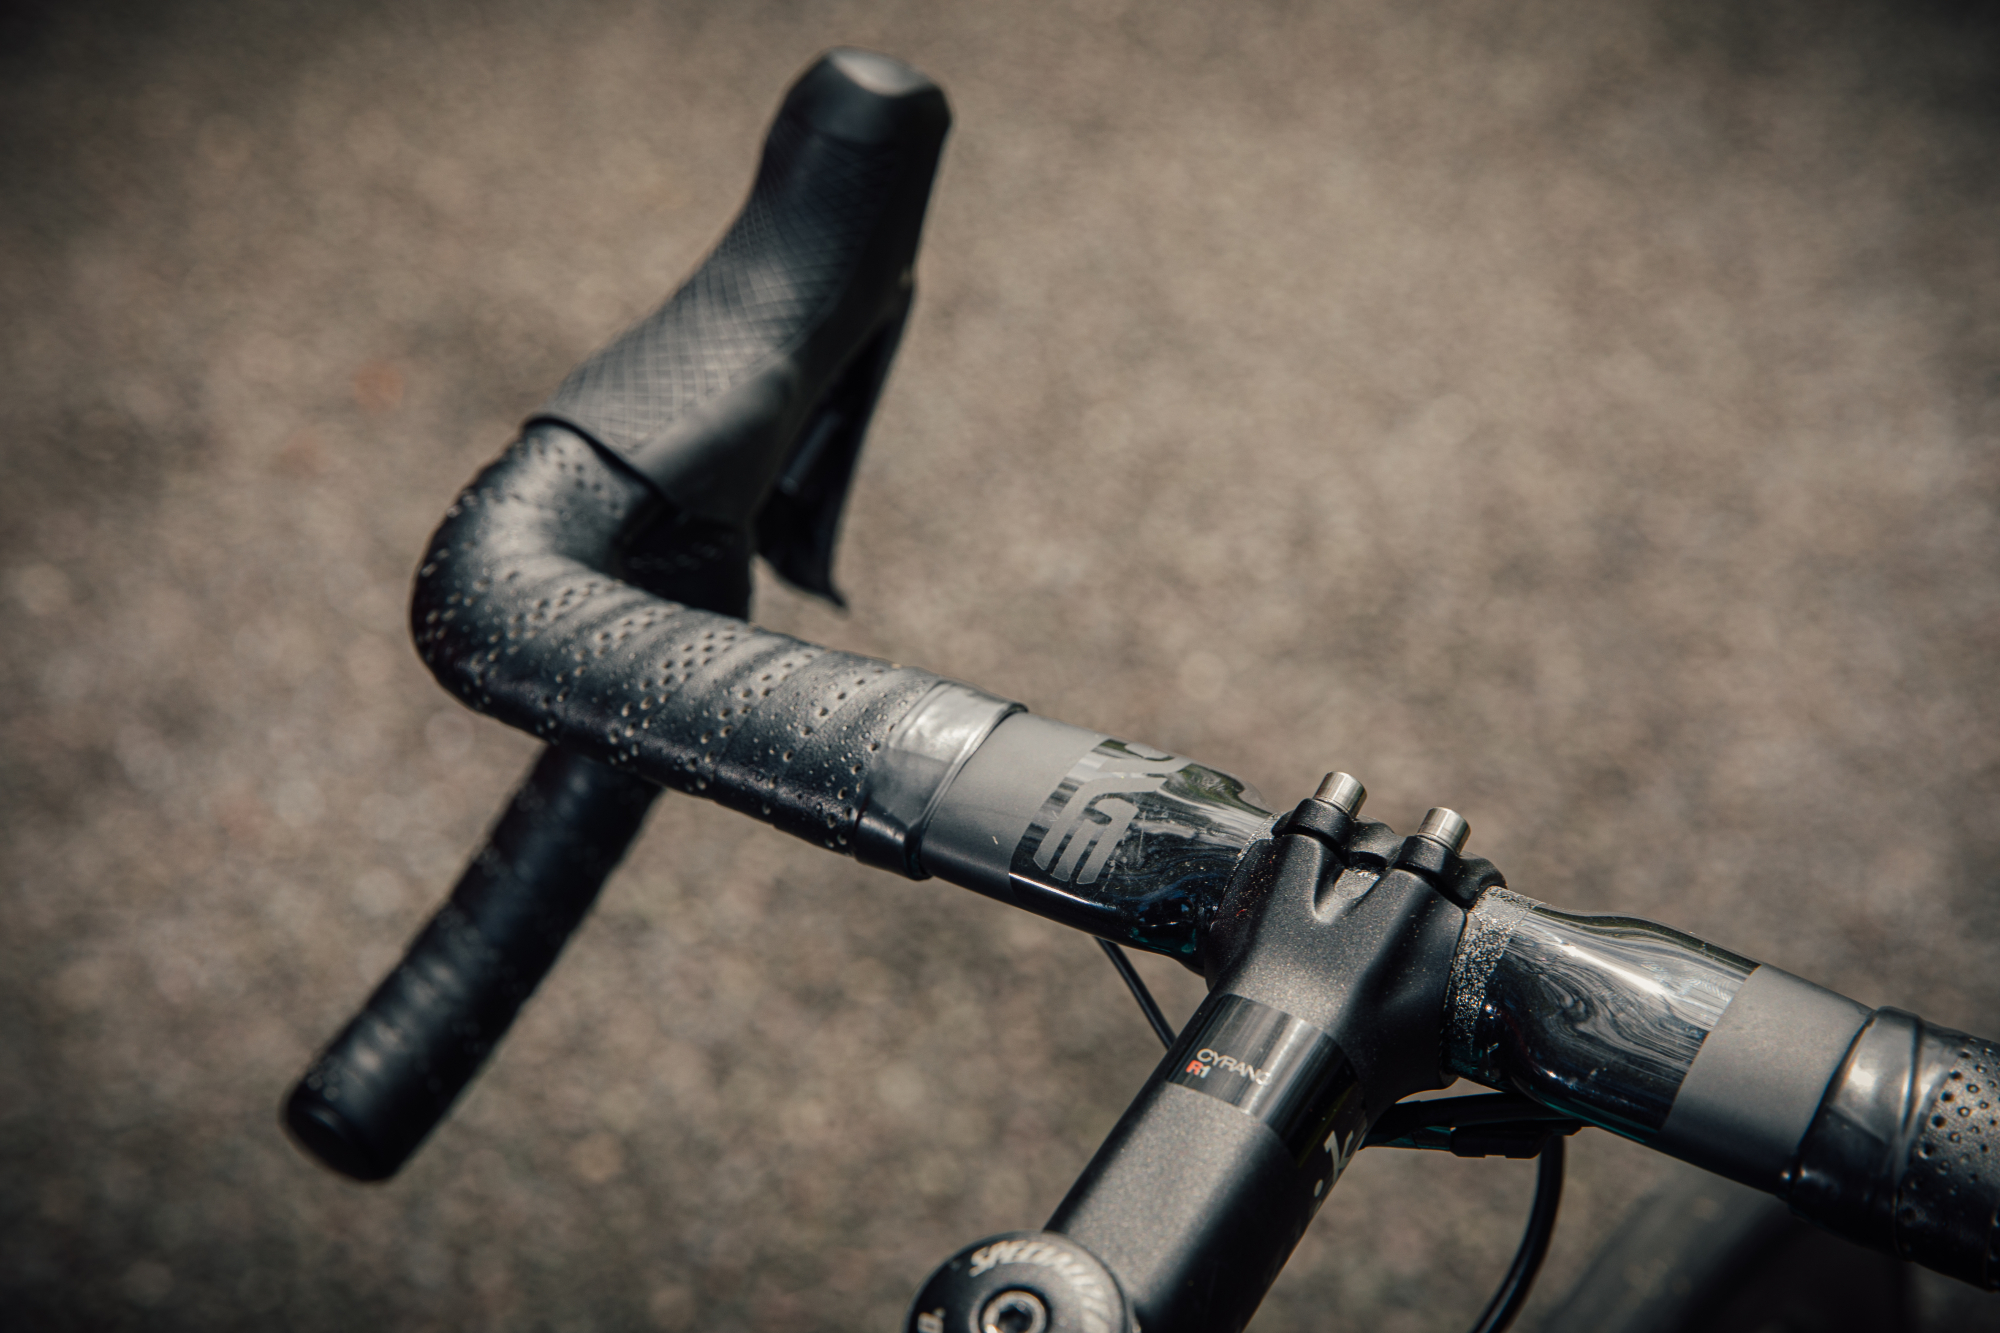
New bar tape is a quick and affordable way to breathe new life into any road or gravel bike. Even if the existing tape has some life left it’s likely that it will be dirty and quite possibly smell bad too. Replacing the old tape will also allow you to pick something better suited to your needs; the best handlebar tape comes in many styles and colours and can start from as little as $17 / £13, for SRAM’s Supercork Bar Tape for example.
It’s likely that the second-hand bike you purchase will come without pedals. You may already have your favourite set of the best clippless road bike or gravel bike pedals. If not you’ll need to decide whether you plan on using clipless pedals, which will also require a dedicated shoe and cleat, or use some of the best flat pedals that allow you to cycle in street shoes.
4. New tyres
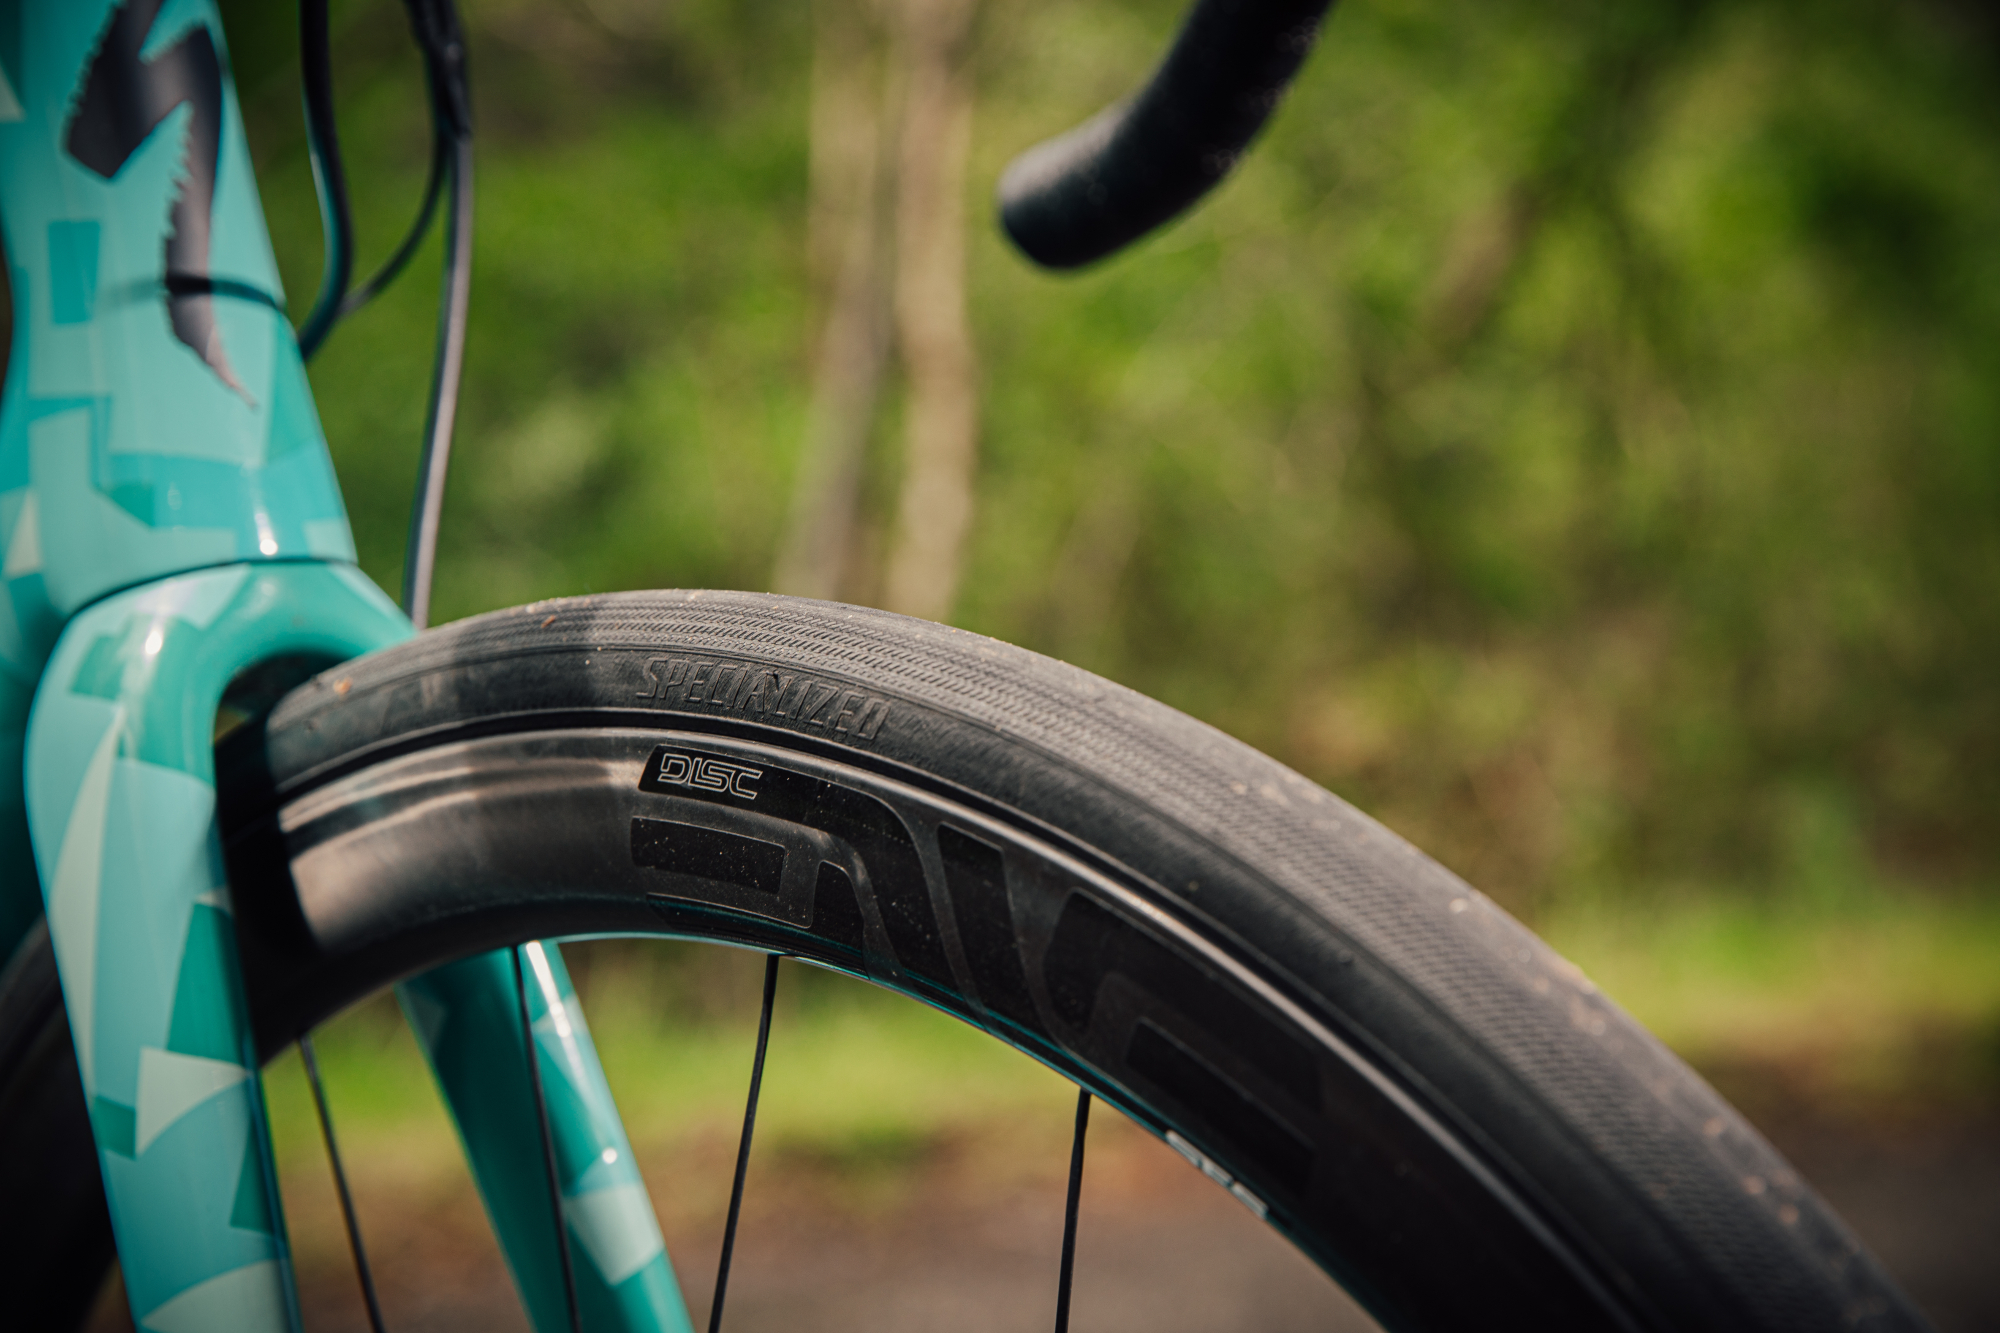
You’ll want to check the tyres for wear. Look for any flat spots or significant cuts in the tread or sidewall. If they are significant, you’ll want to replace them. You may also want to upgrade even if they aren’t worn or damaged, choosing a tyre that’s better suited to your needs.
If you’ve bought a second-hand road bike then installing a set of the best road bike tyres that are lightweight and fast rolling can really transform the feel of a bike. In terms of performance - as well as keeping your ‘consumable’ components refreshed - new tyres are a great investment.
The same is true for gravel and commuter bikes. Buying a new set of tyres for your gravel bike allows you to choose a width and tread pattern that’s a good match for your riding conditions, while replacing the tyres on your commuter ensures that you have something with a good amount of puncture protection and grip.
Should you wish, you could even take the opportunity to go tubeless - if the bike isn’t set up that way already. You’d get the benefits of greater puncture protection, ability to use lower pressures and a decrease in rolling resistance and weight, although the technology does work best with wider tyres. The first port of call however is to check whether the rims are tubeless-compatible. If they are, some tubeless rim tape, a tubeless valve and a bottle of sealant will be needed alongside the new set of tubeless tyres.
5. Bearing overhaul
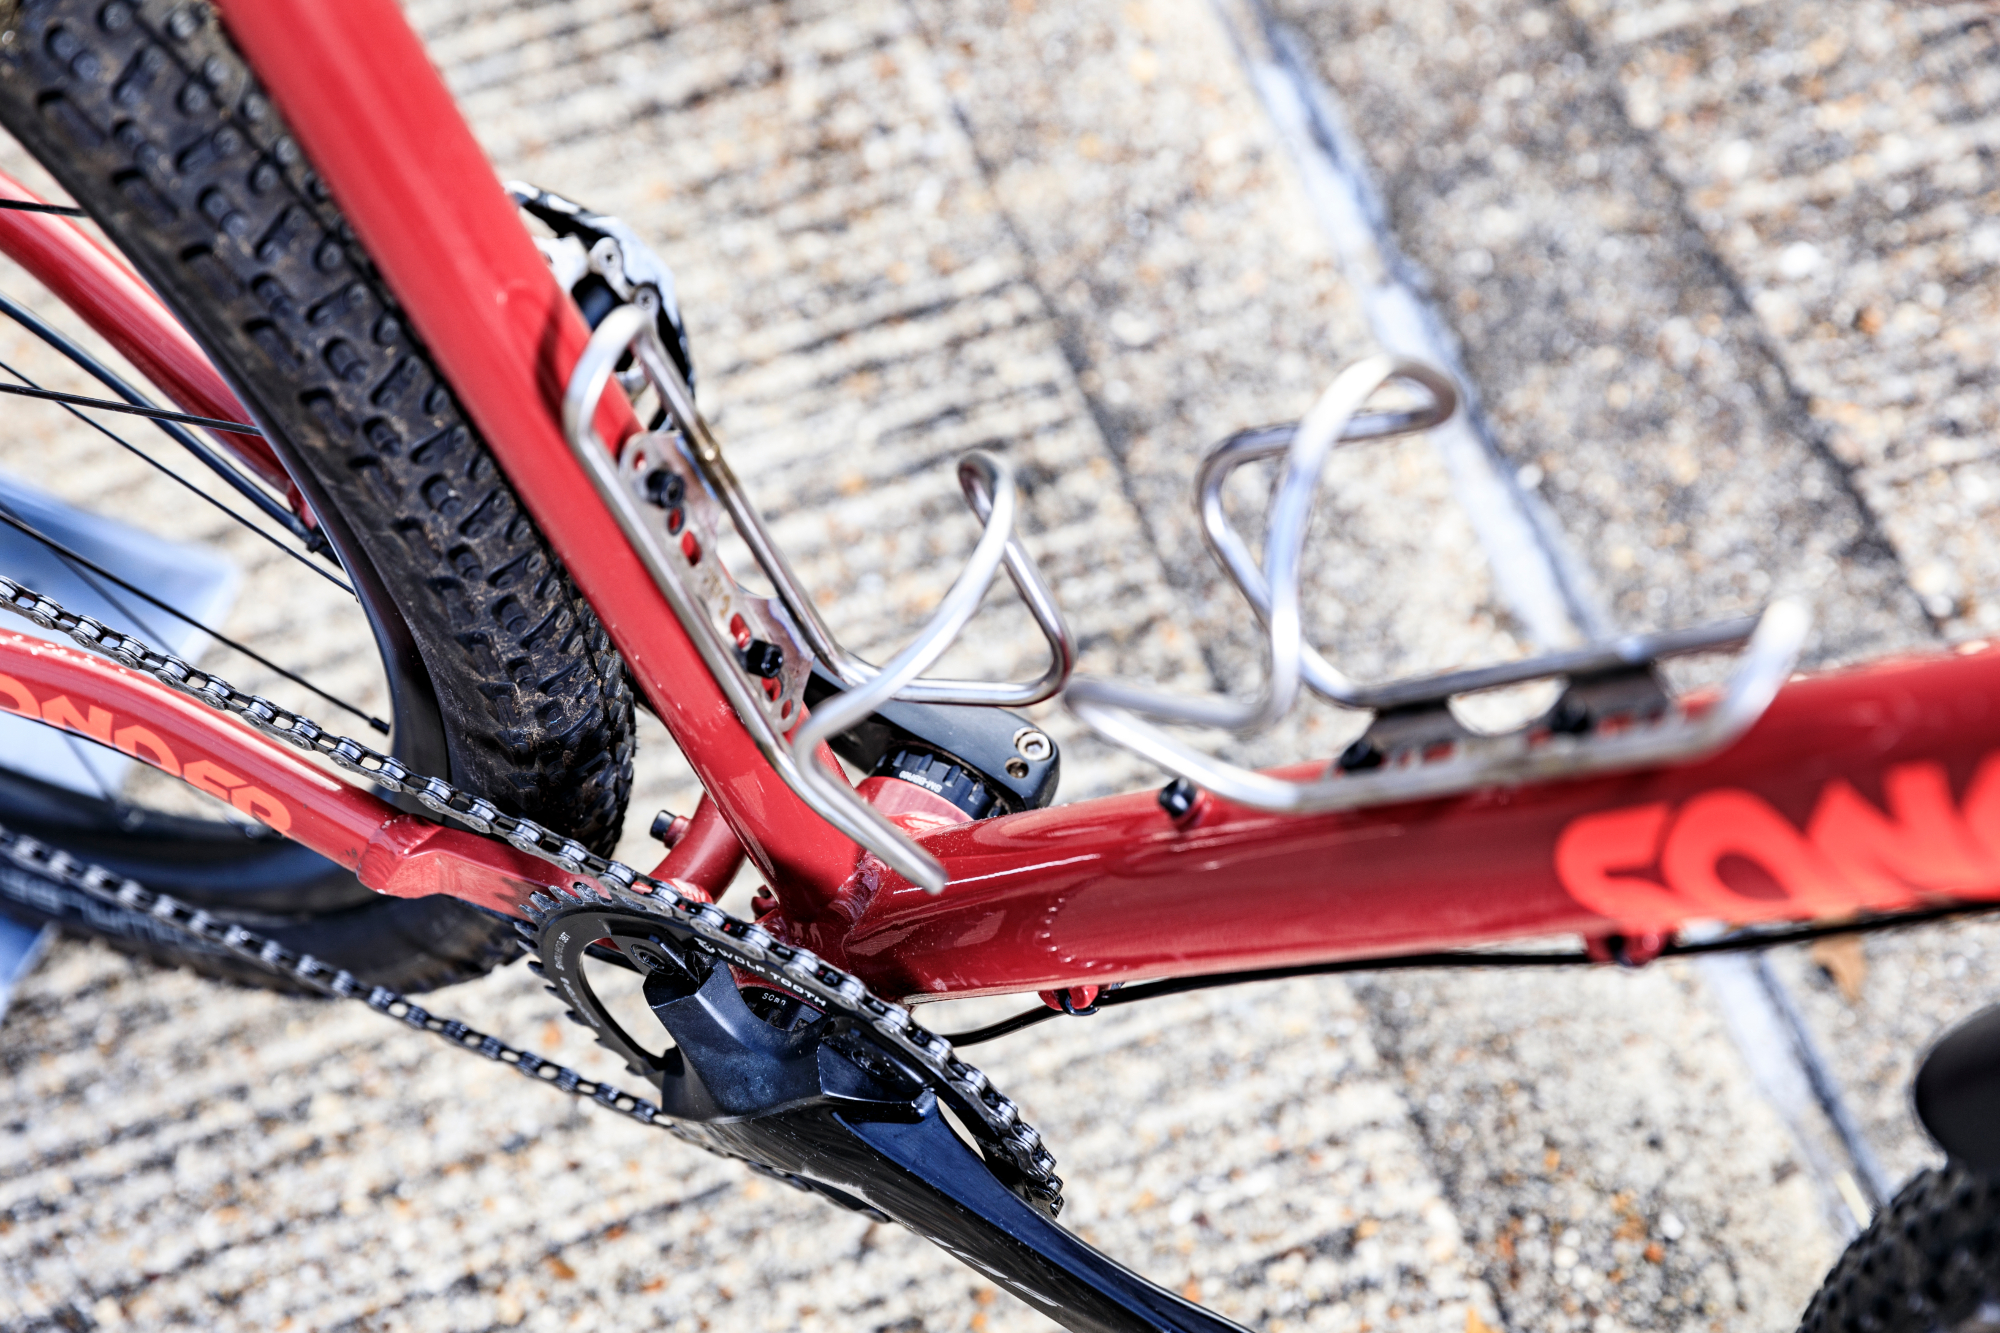
Last, but not least, is the bearings.
By turning the bars and spinning both the cranks and wheels of your second-hand bike you’ll get a good idea of the condition of the bearings that help each of these to move freely. If they sound and feel gritty, or exhibit any side-to-side movement known as ‘play ', it’s likely they’re worn and need replacing.
The bottom bracket, which is what allows your cranks to spin, will probably protest the loudest - especially if the frame is designed for press-fit BB cups, rather than threaded.
It’s worth noting that it is possible to get a ‘thread-fit’ bottom bracket these days for press-fit frames - which consists of two parts that screw into each other. These mean that you don’t need to hit them in and out of the frame, which makes maintenance much easier – although you will need a specific BB tool to screw them in with, as with any threaded system.
And, of course, you will need to get the current BB out in the first place. A bike shop is usually best placed to do this.
Your wheel bearings may need servicing - especially if you can wobble the wheel from side to side. On cheaper wheels (and on some select higher end ones) these tend to be cup and cone bearings. These are serviceable and it’s a rewarding job that you can do at home. You’ll need some degreaser, some fresh lithium grease ( a grease gun is also advisable), and potentially some new ball bearings if the current ones are worn. You’ll also need to invest in some specific cone spanners, which fortunately are relatively inexpensive. It can be a fiddly job, and getting the adjustment right once you’ve cleaned and applied new grease, can take a while to master but it’s one well worth the effort.
Wheels with sealed cartridge bearings will need a specific bearing puller and a drift for slamming the new ones on. These kits are expensive but we wouldn’t advise trying a ‘YouTube’ hack as an alternative. Get it wrong and you can not only damage the new bearings but also the hub shell. If in doubt, a bike shop is the best call.
Finally, there’s the headset bearings which allow your handlebars to move. These protest the least and don’t have as much of a negative impact on your speed - so they are the most often neglected and can be really quite corroded by the time you get to replacing them - but it’s very much worth doing - not least so that rusty grease doesn’t keep seeping down your fork.
To sum this one up: you’ll know if your BB needs replacing – and if it’s press fit, it’s worth getting a ‘thread-fit’ replacement. Wheel bearings need swapping if they feel wobble or gritty when spinning – cup and cone ones are cheap but fiddly, sealed cartridge ones require expensive tools. Headset bearings often get forgotten, so it's really worth checking these. If unsure, the bike shop is always your friend.
After winning the 2019 National Single-Speed Cross-Country Mountain Biking Championships and claiming the plushie unicorn (true story), Stefan swapped the flat-bars for drop-bars and has never looked back.
Since then, he’s earnt his 2ⁿᵈ cat racing licence in his first season racing as a third, completed the South Downs Double in under 20 hours and Everested in under 12.
But his favourite rides are multiday bikepacking trips, with all the huge amount of cycling tech and long days spent exploring new roads and trails - as well as histories and cultures. Most recently, he’s spent two weeks riding from Budapest into the mountains of Slovakia.
Height: 177cm
Weight: 67–69kg