


Forget aero, shorten your crank arms and point a fan at your bum: A bike-fit expert’s tips for your best indoor cycling season yet
How to ride longer and harder, feel better and avoid injuries while riding indoors

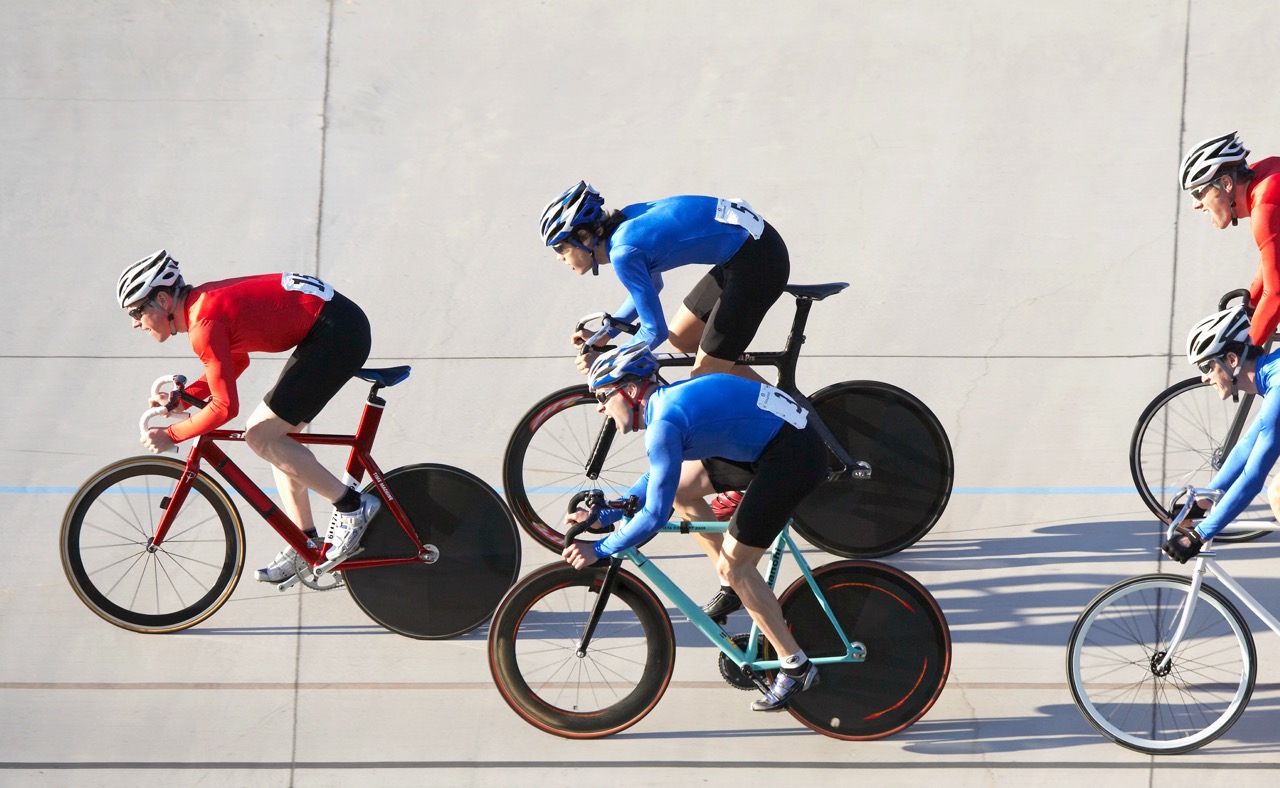
Outdoor riding gives you freedom, but indoor riding gives you efficiency. It’s great for uninterrupted workouts and removes concerns about weather, traffic, logistics and daylight. Yet it also brings its own set of aches: neck and hand fatigue that sets in early, knees that twinge sooner, saddle sores even if you usually don’t suffer from them and, of course, boredom.
Phil Burt sees this every winter. The former Head of Physiotherapy for British Cycling and longtime Team Sky consultant has spent decades solving the problems of some of the world’s best riders. From Bradley Wiggins, Chris Hoy, and Mark Cavendish to Richie Porte, Wout Poels, Ian Boswell and Mikel Landa — Burt has worked with them all, and then some.
But lately, he’s turned his attention to the unique demands of riding and racing indoors. The stationary, trainer-tethered kind, that is.

“Indoor cycling is different to outdoor cycling,” he says. “We have to start to recognise that.”
Cycling Weekly spoke with Burt to gather his best tips and hacks for optimising your indoor setup: how to minimise common aches and pains, how to adjust your position for maximum comfort (and power!) and what you can do today to set yourself up for your best winter of indoor riding yet.
1. Your indoor setup doesn’t need to match your outdoor setup

Phil Burt performing a bike fit
More cyclists are riding indoors than ever before. Whether it’s weather, safety concerns, time constraints or the rise of virtual racing, trainer sessions have shifted from being a winter fallback to the winter training norm (at least in colder regions of the world).
This shift has brought tremendous improvements in indoor riding technology, equipment and gear, but it has also sparked new debates. Chief among them: should your indoor bike fit match your outdoor fit?
Not that long ago, we simply schlepped our dirty bikes inside and plopped them onto a turbo trainer, or sacrificed our least-used bike to permanent trainer duty. Now, the landscape has changed with a growing product segment of indoor-specific bikes like the Wahoo KICKR Bike, Zwift Ride, Tacx NEO Bike and others.
And with them, the debate grows. Ask ten bike fitters whether your indoor bike should be set up the same as your outdoor bike and you’re likely to get two very different answers. When we’ve asked this question before, the responses split cleanly into two camps.
One camp insists your indoor and outdoor positions should be identical. Same saddle height, same setback, same bar drop. The logic: your body should learn one movement pattern, not two.
The other camp argues that one should treat indoor riding as its own discipline, with its own demands and its own optimal setup.
Burt sees arguments on both sides, yet for the average person he leans toward the second.
“You are not Mark Cavendish; your indoor setup doesn’t have to match your outdoor setup,” he says. “Indoor cycling is harder on the body because nothing moves. Set your bike up for the environment you’re actually riding in.”
Some cyclists tolerate almost any setup with minimal fuss, while others fall apart if their saddle height is off by two millimetres. Burt calls these two groups macro absorbers and micro adjusters. Macro absorbers can hop on just about any bike and pedal for hours without complaint. Their biomechanics are forgiving and their bodies absorb variation. Micro adjusters, on the other hand, feel everything. Like Princess and the Pea, their bodies magnify the smallest deviation, be it a slightly rotated cleat, a hint of saddle tilt or bars a shade too low.
Outdoors, both groups benefit from constant micro-adjustments: the bike shifts underneath you, pressure varies at the saddle, you stand, you coast, you stretch. Even without realising it, you’re continually resetting your position. Indoors, none of that happens.
Indoors, none of that happens. Everything is fixed in place, and whatever asymmetry or inefficiency you bring to the bike gets amplified. Therefore, Burt insists that indoor fit deserves its own logic and its own adjustments because the environment magnifies whatever is happening in your body; the setup has to compensate.
2. A fit that prioritises comfort — or power

Outdoor bike fits are always a bit of a balancing act between handling, comfort, terrain, efficiency and aerodynamics. Indoors, almost all of that falls away.
For most people, that means the priority should be simple: a comfortable, sustainable position you can hold for long periods. Indoors, Burt says, there’s no reason to cling to an aggressive road position if all it does is create tension and shorten your ride.
Tested:
I’ve never been someone who enjoys riding indoors. For me, the trainer has always felt like a necessary evil: efficient, yes, but joyless. I was never truly comfortable on my indoor setup, either, and I’ve come to realise that this was likely because I was using a race bike on the trainer (keeping it clean while riding my winter bike outside) or trying to replicate my outdoor fit on various stationary bikes.
That changed after a car–bike collision two years ago. My recovery took place predominantly indoors, and because of torso injuries, I had to adopt a much more upright position than I usually ride in. As I tinkered with my setup, slowly bringing it back down over time, I realised that comfort matters more than anything else. If I’m not comfortable, I won't ride as long or as much. And not riding does far more harm to my fitness than adapting my position ever will.
So now, I’m quite the proponent of getting an indoor-specific bike fit, one that prioritises comfort and sustainability rather than trying to perfectly match an outdoor setup.
Consider a bike fit, even virtually, or make some small adjustments yourself.
“I would start by bringing the rider up a bit higher and closer at the front, open the diaphragm up… and take the crank length down. Maximise what you can do indoors,” he says.
Raising the front end slightly reduces strain on the neck and back; opening the diaphragm makes breathing easier; and small positional changes can dramatically improve comfort when the bike no longer moves beneath you.
For riders chasing every watt on Zwift or MyWhoosh, however, Burt takes an almost time-trial-esque approach. Not because of aerodynamics but because of biomechanics. Power production becomes the dominant goal. And power, he explains, is driven by the “engine room”: the interaction of saddle height, setback, tilt, hip angle and muscle engagement.
Fit-wise, this means sitting tall and forward, positioning your centre of mass directly over the bottom bracket. By opening the hip angle, assisted by shorter crank arms, you enable fuller hip extension, which in turn supports more sustainable, repeatable power production.
3. Short cranks aren’t just for Tadej

Zwift makes adjustable crank arms for its stationary Zwift Ride bike
If you follow pro racing even casually, you’ve probably heard the buzz around Tadej Pogačar’s use of short crank arms. Once considered niche or eccentric, short cranks (i.e. 160mm vs 172.5mm) have become a kind of shorthand for “marginal gains," but Burt has been preaching their benefits for years; long before Pogačar turned them into a talking point.
And for indoor riding, Burt believes shorter cranks aren’t just a good idea, they’re worth a lot of free watts.
“Crank length is the volume button on asymmetry," he says. Indoors, in that fixed state where the body isn't dynamically adjusting, any imbalance gets amplified fast. Shorter cranks, Burt argues, reduce hip closure, reduce stress on the knees, and help stabilise the pelvis. And the payoff can be dramatic.
“I regularly add 20 to 30 watts to ordinary people just by changing their crank length," Burt says.
Currently testing:
Inspired by Burt's claims, we've called in Zwift's adjustable crank arms and are currently testing the altered fit. We'll do a before-and-after ramp-up power test to see what the numbers say.
It sounds extraordinary, but the principle behind it is simple. Shorter cranks open the hip angle and bring the glutes directly over the bottom bracket, putting your strongest muscles in their strongest position to produce power.
“That’s when you get your glutes and hip extensors right over the bottom bracket, and it makes a massive difference to how easy it is to generate power," Burt explains.
Turns out, shorter cranks are not just for WorldTour prodigies. In fact, they might be the most impactful upgrade an everyday rider can make this winter, for comfort and power.
There is one important adjustment to make if you do go shorter: saddle height.
“Say we drop 10 millimetres, then you need to go up 10 millimetres [on saddle height] and keep the setback where it is," Burt advises.
A one-to-one change preserves leg extension and ensures the new crank length positions you in that stronger, more sustainable place over the bottom bracket.
Wahoo's KICKR BIKE SHIFT and KICKR BIKE PRO come stock with adjustable crank arms, while Zwift makes them available after market for its indoor bike. For regular bikes, Appleman makes a rentable 'variable length crank' with the widest range we've seen — from 175mm all the way down to 100mm.
4. Sweat, not saddles, are causing those pesky saddle sores

A common complaint about indoor riding, monotony aside, is saddle sores, even when using the same saddle as you usually do.
The culprit here isn't the saddle but sweat.
"One of the biggest issues is you just sweat into your chamois and it's got nowhere to go," Burt says.
Outdoors, airflow and micro-movements constantly wick moisture and vary contact points. Indoors, nothing changes unless you change it. And that stillness accelerates irritation dramatically.
And the fix, according to Burt, is almost laughably simple:
"Everybody should cycle with a fan indoors… and it should be pointed primarily at their bum."
Not your face. Not your chest. Your bum.
“I’ve solved lots of people’s saddle sores indoors just by saying: get a cheap fan and point it at your bottom," he says.
Movement, too, will make a big difference, Burt says.
"Your degrees of freedom get less indoors… any system that lets you move up and down or side to side changes the saddle pressure hugely," he says.
Gadgets like Wahoo's KICKR Climb or a rocker plate certainly help here but even simply getting out of the saddle can do the trick.
"Set a timer, stand up for two seconds every ten minutes… that is demonstrably helpful in stopping everything hurting," Burt says.
Your winter pain-cave survival guide, according to Phil Burt

Here’s the distilled version of Burt’s insights:
1. Get comfortable
There’s no reason to cling to an aggressive road position if all it does is create tension and shorten your ride. Bring up the front and shorten the reach.
2. Shorten your cranks.
Shorter cranks improve comfort, hip mechanics, symmetry and power.
3. Aim a fan at your backside.
Sweat management prevents skin breakdown.
5. Add movement.
Standing breaks, rocker plates, tilt functions—anything helps.
6. Consider that your indoor bike may need its own fit.
Indoor riding is its own discipline.
