Bikepacking essentials: our guide to everything you’ll need and why
Whether you’re a seasoned traveller or just getting started, here’s our guide to the key kit to take - plus a few tips on optional extras
The latest race content, interviews, features, reviews and expert buying guides, direct to your inbox!
You are now subscribed
Your newsletter sign-up was successful
Bikepacking is a wonderful way to spend a holiday or weekend. You get to know the area far more intimately that just staying in some accommodation or camping. Even travelling somewhere fairly local, you’ll experience a very different side of it on a bike than you ever would otherwise.
Like with any holiday or bike ride, there are the many usual things that you really don’t want to forget. So, drawing on our long experience, we’ve put together a guide detailing all the items we take on every bikepacking trip – plus a few optional extras (marked with an asterisk).
If you’ve been riding bikes for a while – and are generally quite an outdoorsy person – you’ll likely have most of the items on this list already. But for those just getting started, for each of the items we’ve included links to both a high-value and a high-end version – each of which we rate and will serve their purpose well.
We learnt the hard way that if an item is a little out of your price range you’re much better off making do with what you currently own and saving up. Go too cheap and it either won’t work sufficiently well or will soon need replacing – ending up costing more than if you had just saved up in the first place!
And if you're after any tech related advice, such as whether to go with clipless or flat pedals for bikepacking, you can find those supporting articles elsewhere on the site.
If it's a longer trip that you're going on and you're interested in some specifics. Over here we talk about the kit we used on our two weeks bikepacking around central Europe, for wild camping and wandering around the cities. And if you'd like to find out about the adventure itself, here's the full write up of our bikepacking trip from Budapest to the mountains of Slovakia.
If you're into documenting your trip, you might want to find space for one of the best bike and helmet cameras.
Clothing
Given that you’ll be riding your bike for a fair portion of the day, some quality cycle-specific clothing is a must. Also, even when bikepacking in the height of summer, you will need to bring a surprising number of layers.
Dawnbreak is the coldest point of the day and with the harsh morning daylight blaring through your tent or bivvy bag, you’re not going to be able to put off getting up for long and will need some sufficiently warm clothes.
But even if you won’t be camping, when stopped in exposed locations, you can get cold surprisingly quickly – trust us. But obviously, you don’t want to take more than you need. After much experimentation, we’ve settled on this range of clothing as being the most packable and adaptable for the range of conditions you’re likely to meet.
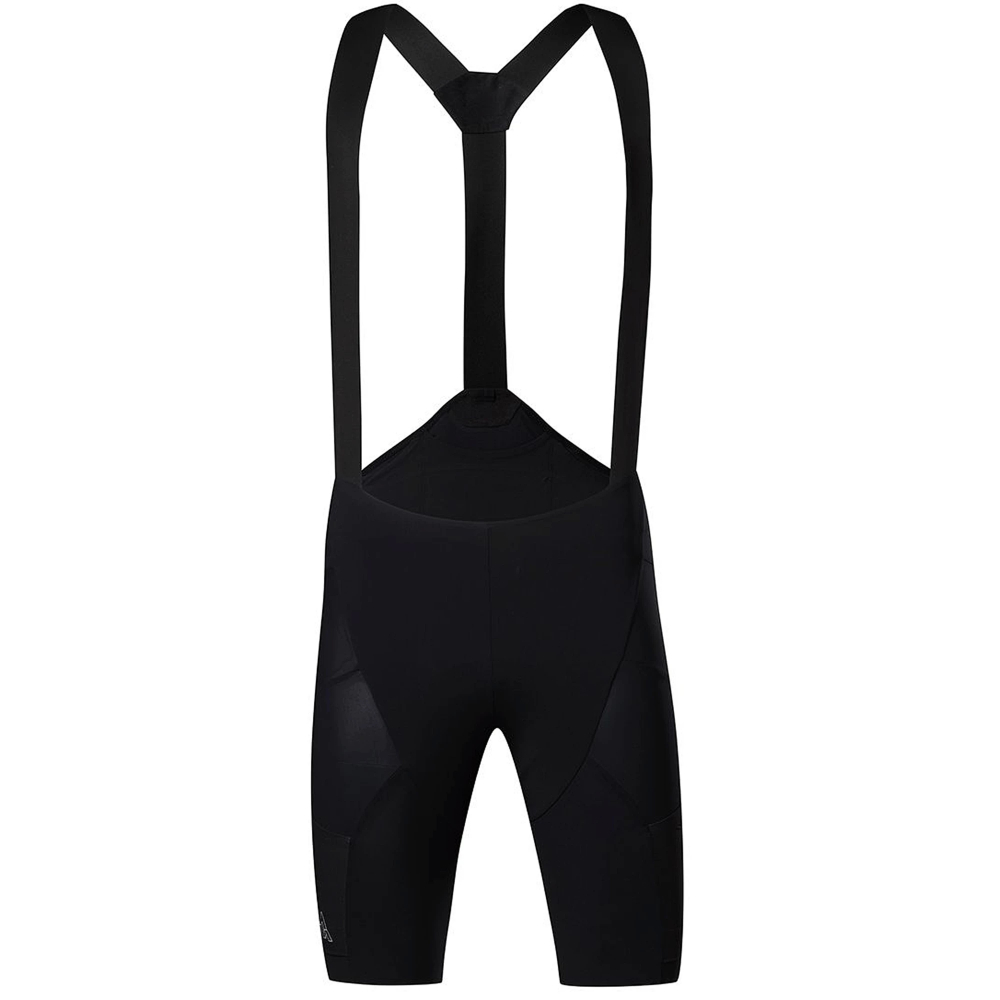
The best cargo bib shorts can help stash extra kit or just a few energy gels where they'll be handy as you ride. It’s also worth bearing in mind that it can be good to have shorts from two different brands. This way the seams are in different locations and can help reduce irritations that don’t present themselves on shorter rides.
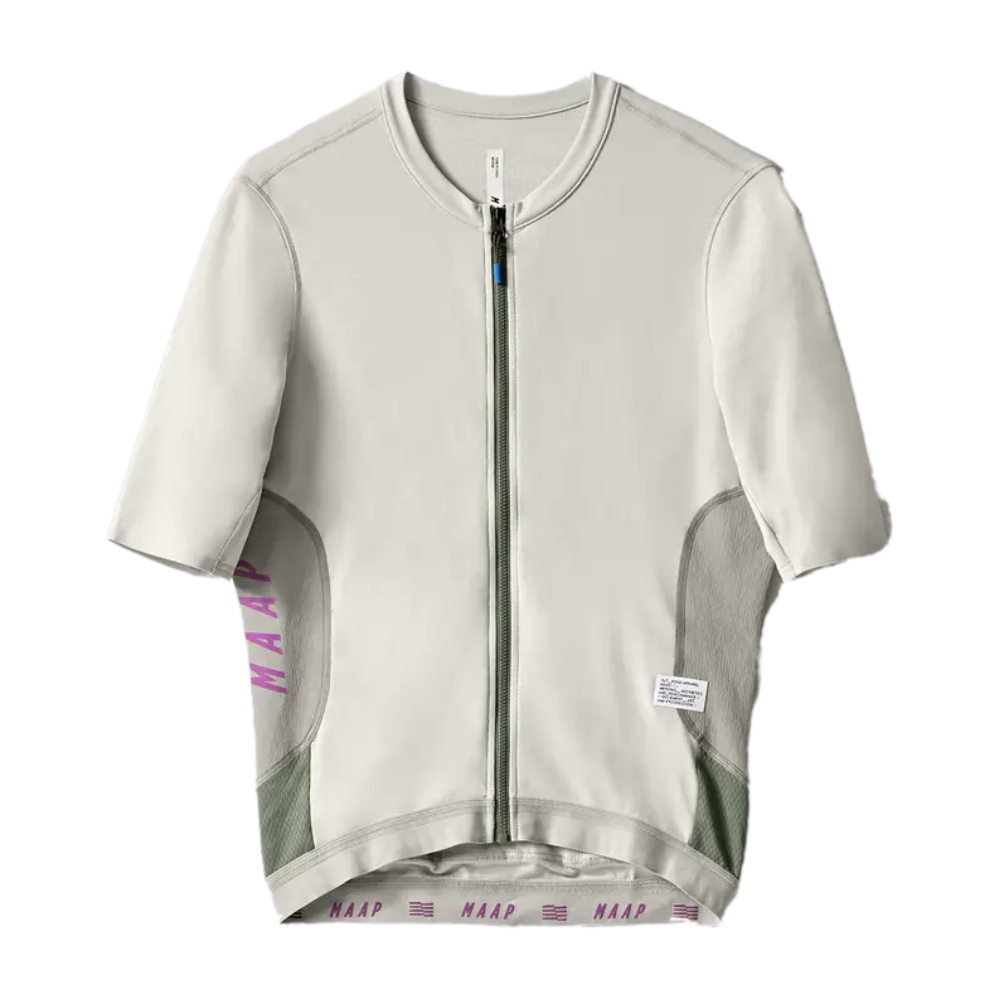
Any of the best cycling jerseys will have you set for bikepacking. But if you want to get geeky about it, going for a model (such as this) which has a blend of Merino wool is great for thermoregulation (cool in the heat, warm in the cold). Merino wool is also naturally antibacterial - helpful if you have a gap between when you can next wash your kit!
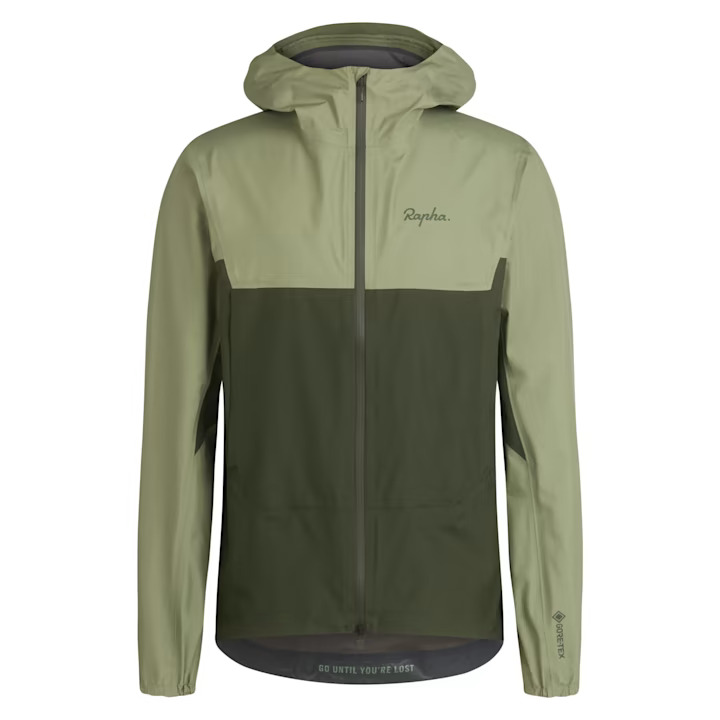
Although you may already have a specific waterproof jacket for cycling, that's not actually going to be ideal for bikepacking. They tend to be a bit too closely fitted to the riding position, making them awkward for putting up a tent or anything else off the bike. More cycling brands are adding looser jackets to their ranges (such as Rapha), but trail running or hiking jackets are great alternatives.
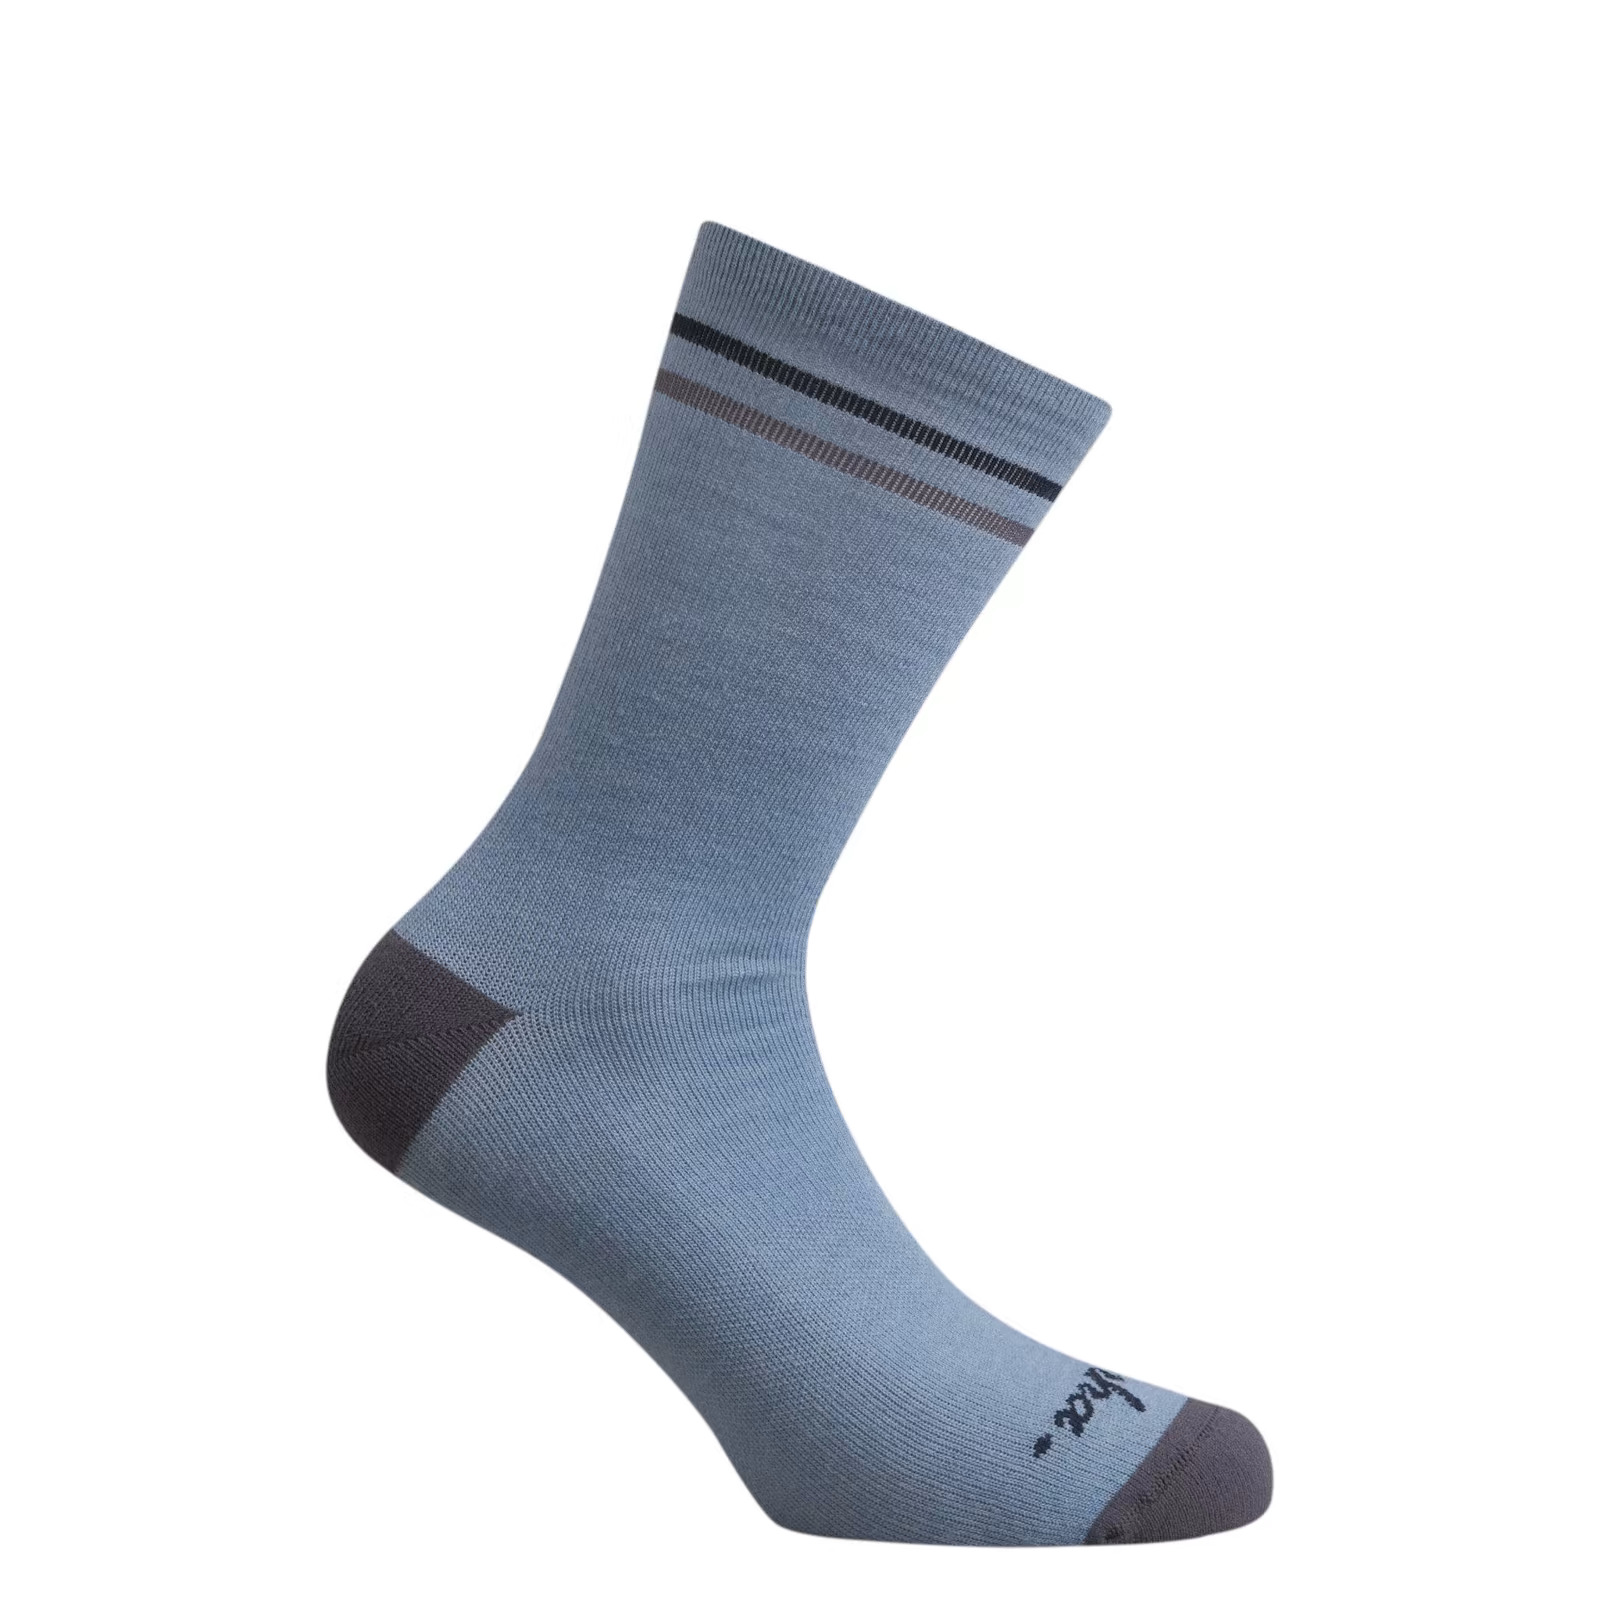
Although any socks will do the job, if you have the choice, a lightweight merino pair are the ones to go for. Merino wool has natural anti-bacterial properties and will go a long way to keeping your feet fresher when out and about all day.
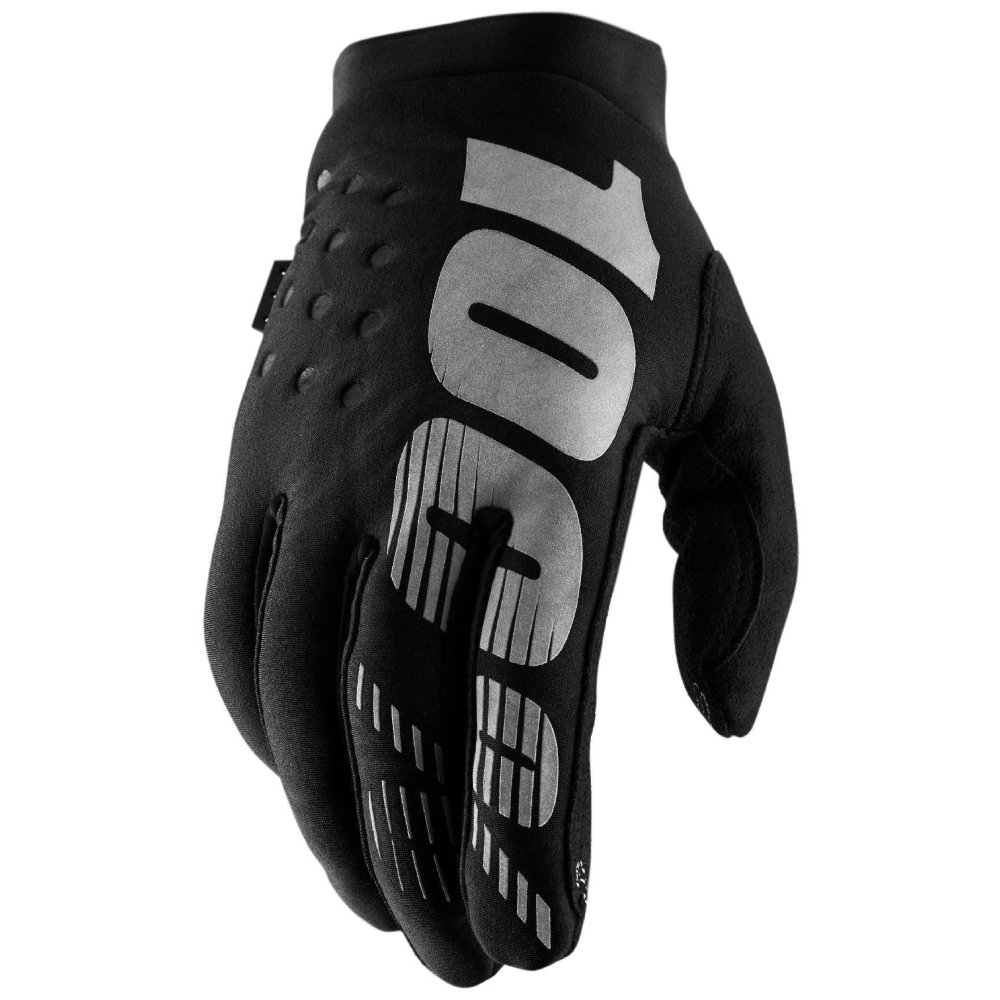
Something easy to overlook, but I always bring a pair of 100%'s Brisker gloves. They are surprisingly warm for their low bulk, and really help on cold and rainy mountain descents - you should always be prepared in the mountains. The balance of these gloves means that they're also not too hot to wear in the sun, providing some protection on rougher roads and trails.
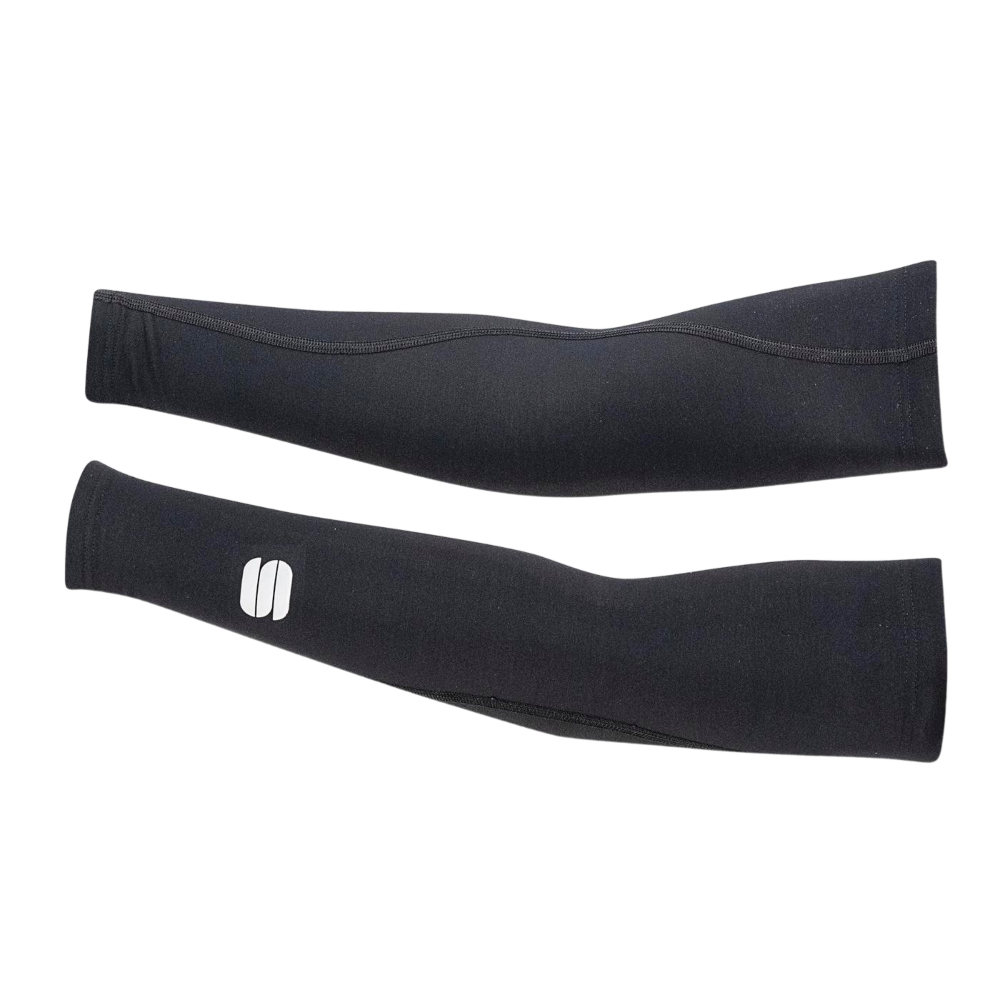
We've been impressed by Sportful's arm warmers. They stay rock-solidly in place without being too tight, they're very warm, have proven durable and are reasonably priced as arm warmers go. Just in general, arm warmers represent a very space efficient way of keeping warm. Fully recommended.
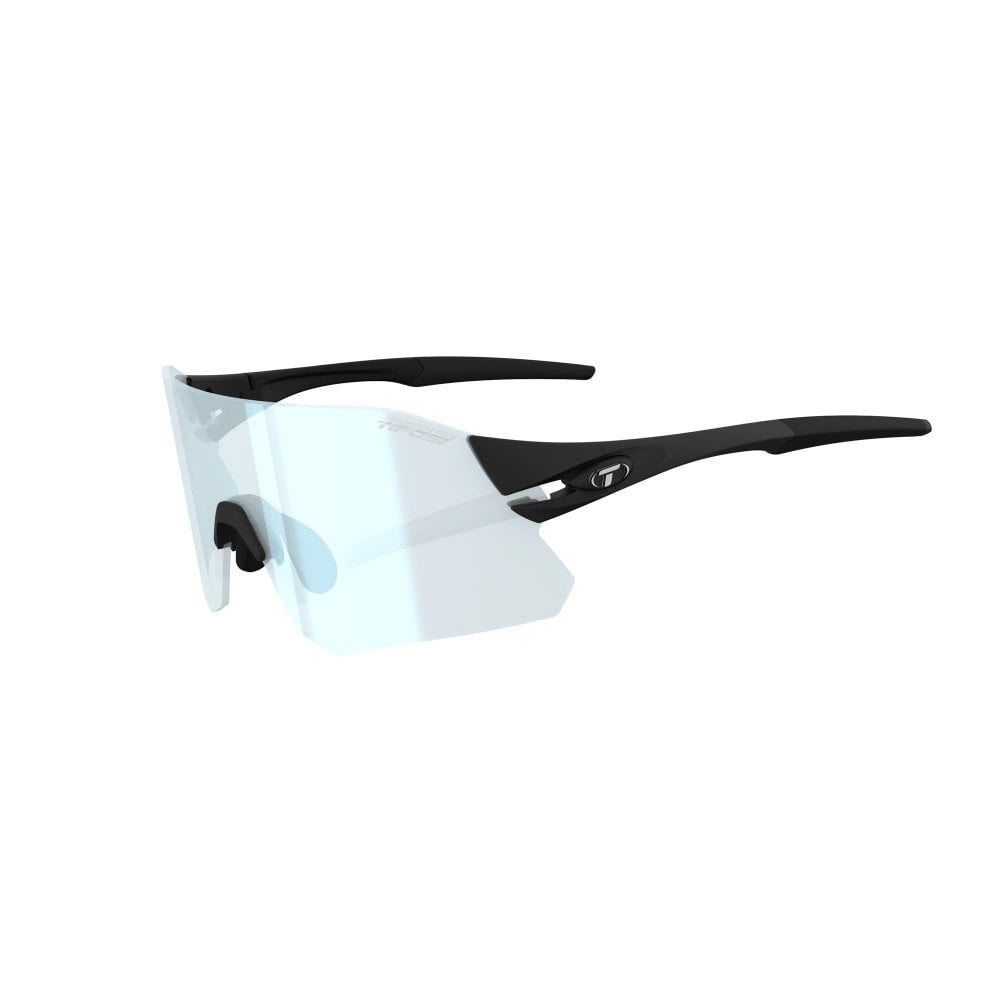
Photochromic sunglasses are a massive help for bikepacking, automatically adjusting the tint to the ambient light levels. You can pop these on in the morning and not have to give them a second thought, even as you ride late into the evening with the sun setting. They're not a necessity, though. If you already have a set of sunglasses then they'll do the job just fine.
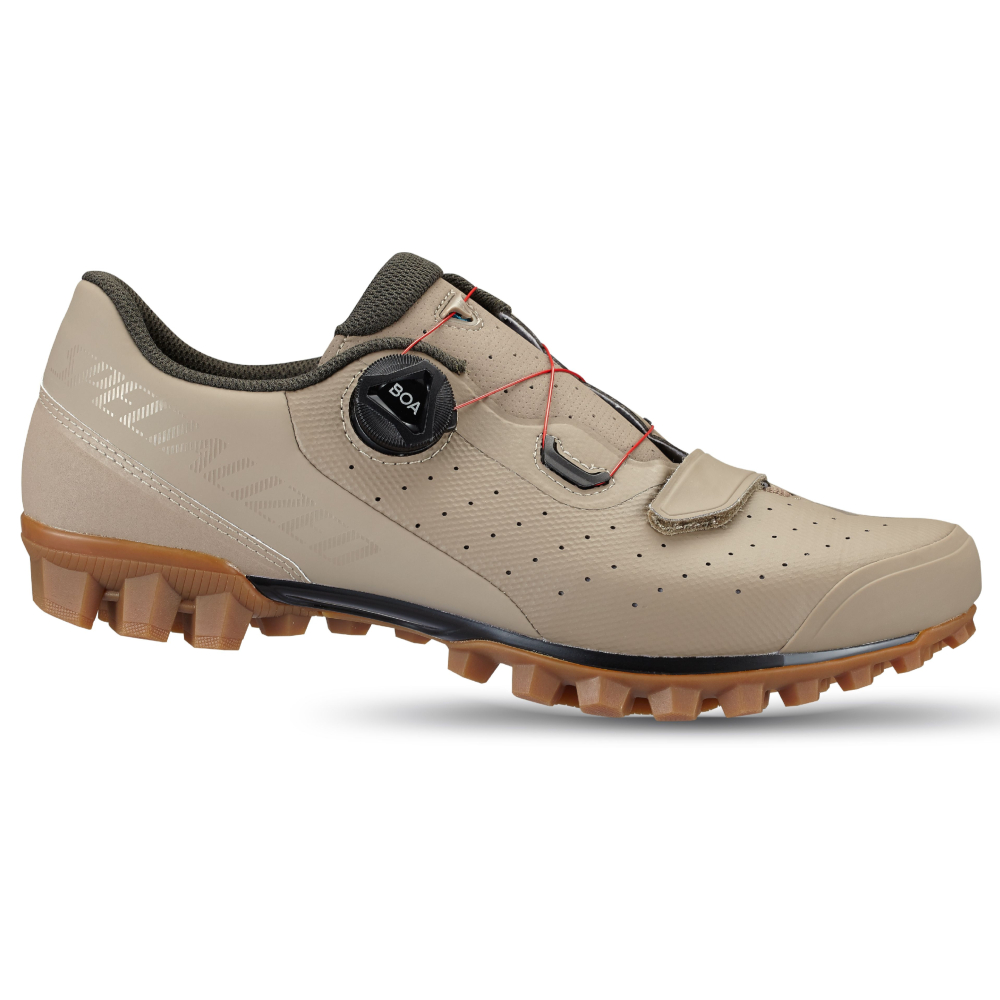
These shoes are ideal for bikepacking. The flexible forefoot makes these even easier to move about off the bike than an ordinary set of mountain bike shoes, but with a firm sole for the rest of the length, there’s not a significant loss in power transfer. You can read the full review here. But again, any good cycling shoe will do the job!
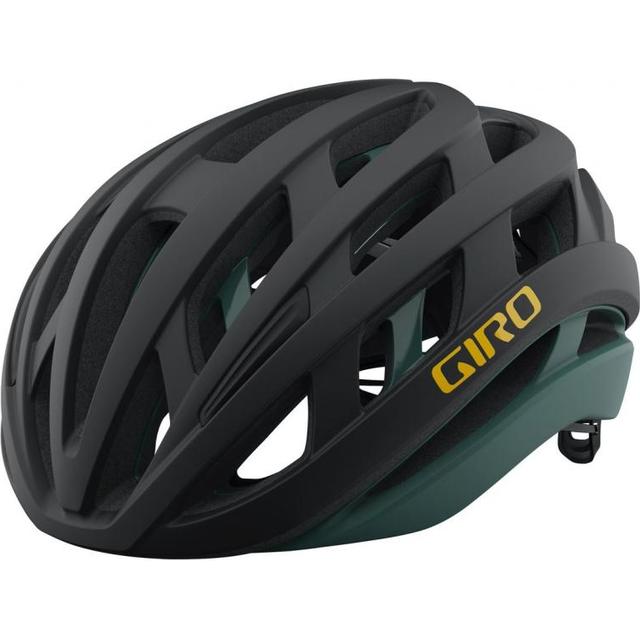
Helmets are important for all kinds of riding, bikepacking included. The Giro Helios doesn't have any particular bikepacking specific features (there really are no extra features you would need), but it's a solid option we're quite fond of here at Cycling Weekly. You can find our full guide to the best helmets for cycling over here.
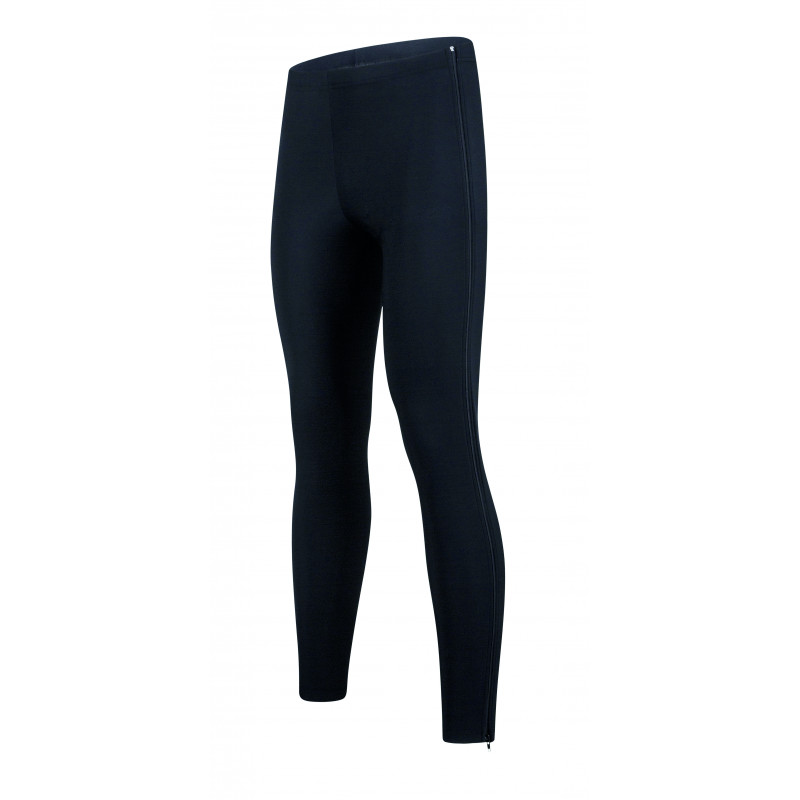
These tights are so useful you won’t understand how you lived without them. With a full-length zip down the side, they are super quick to take off and very easy to pull on. They're also very warm. Although leg warmers are less bulky, these zippy trousers can also be worn on their own, making them a little bit more versatile.
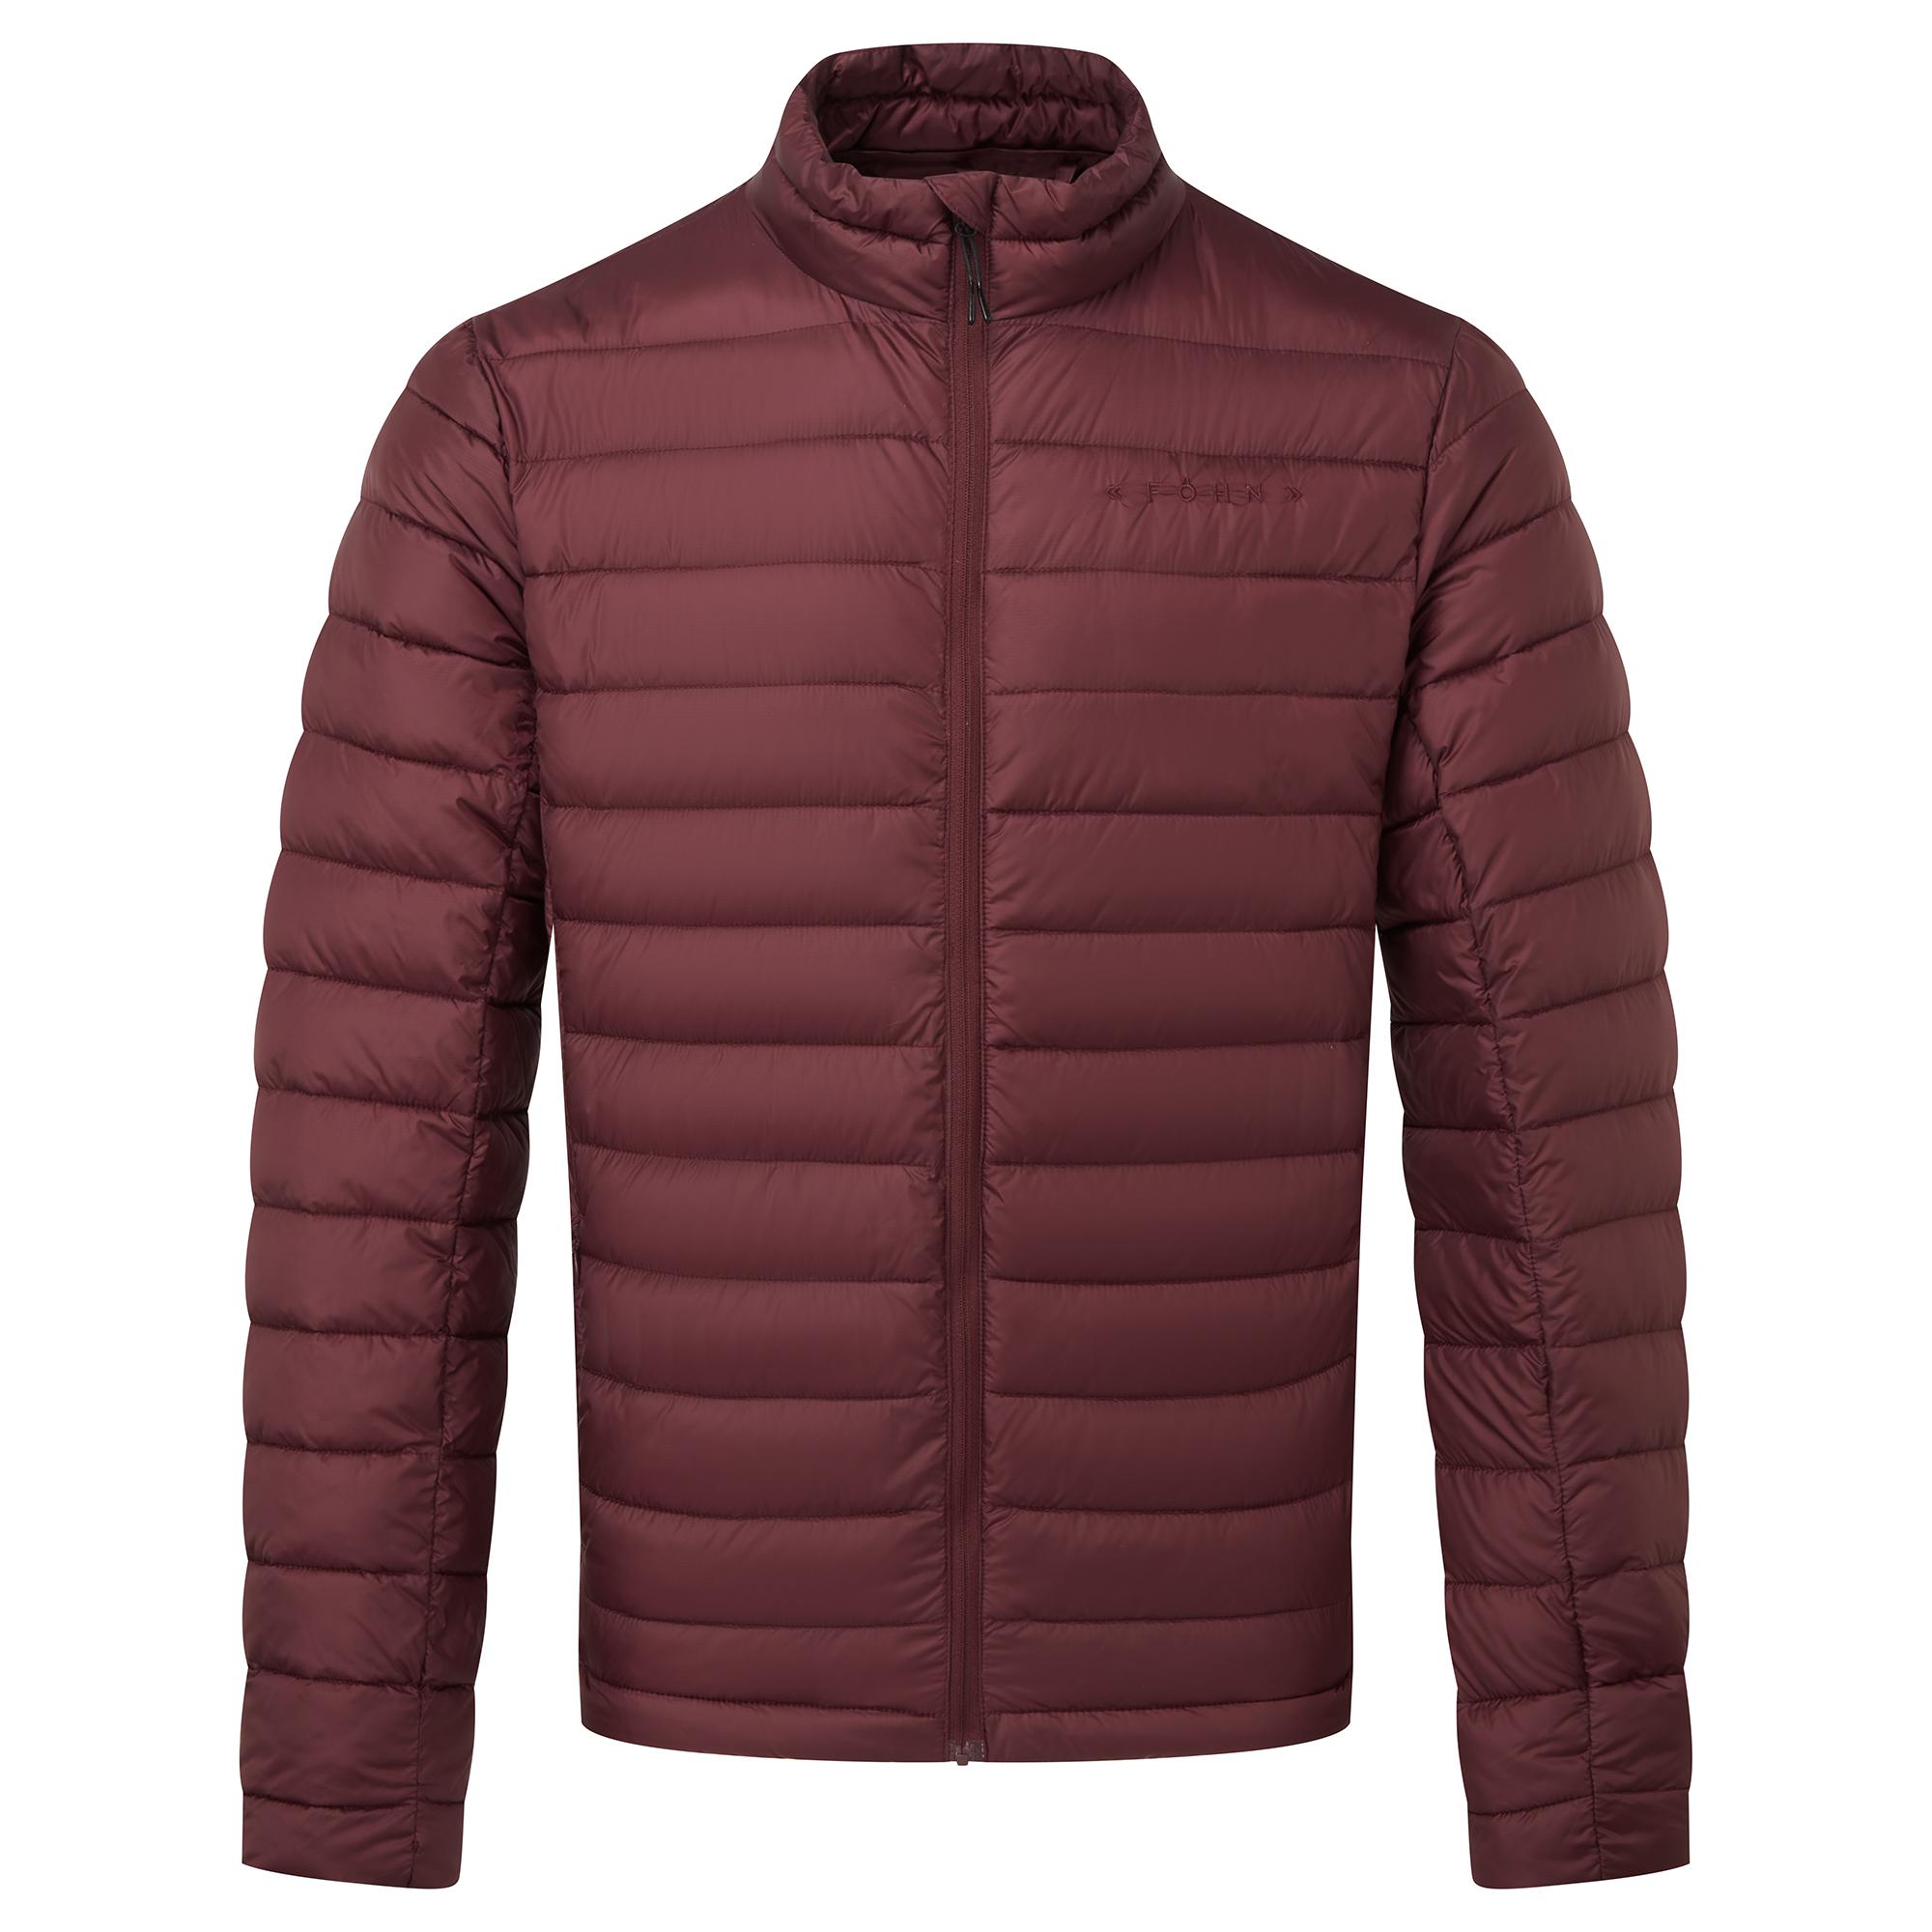
Insulated jackets are lightweight and can pack down small, yet still offer a great deal of warmth. You’ll essentially live in it in the early mornings and late evenings. Just make sure to go for synthetic down insulation as this can cope with getting wet much better than natural down which, despite some jackets having special treatments, is never quite the same once wet.
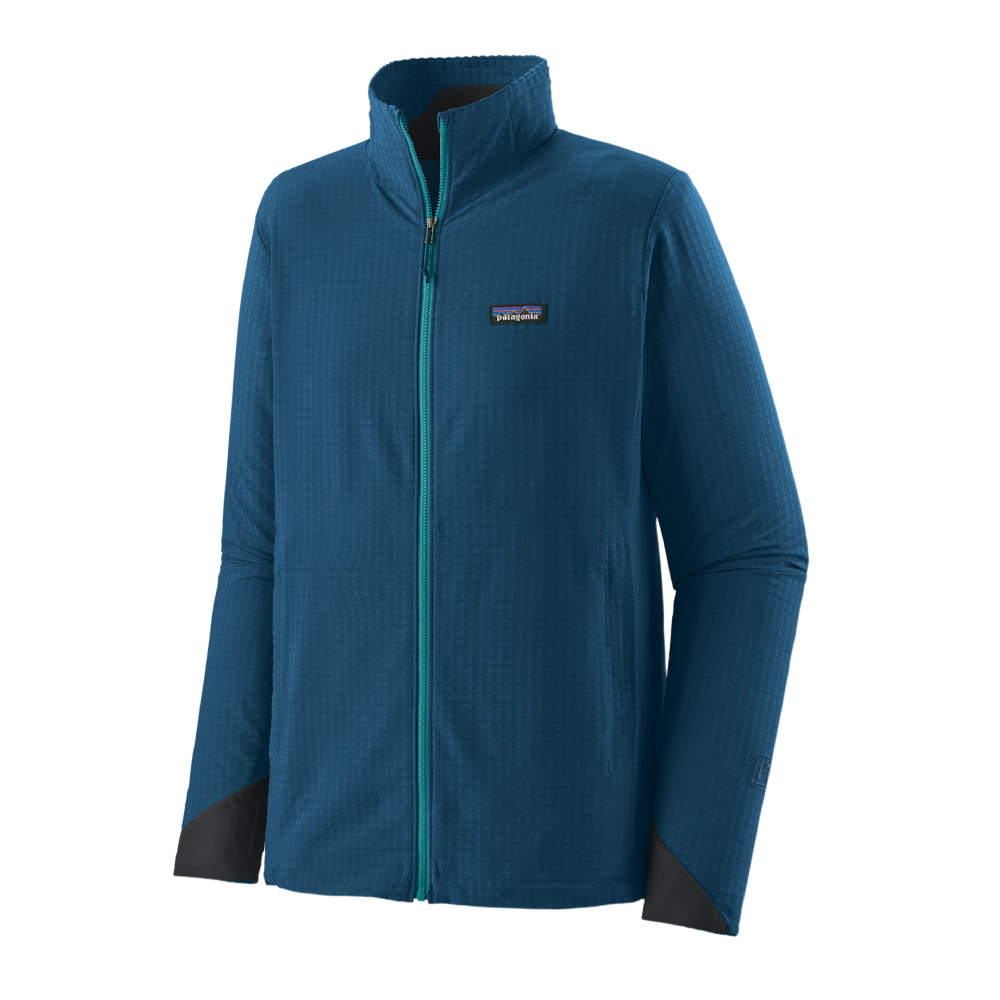
This is an optional extra. If you have arm warmers and a gilet, you essentially have a mid-layer there, it’s just in three parts. Still, I get cold quite easily and so will always pack a fleecy mid-layer as well as an insulated jacket (and as well as arm warmers and a gilet!) Patagonia is a great brand in general and all the kit I've had from them has lasted really well.
Camping gear
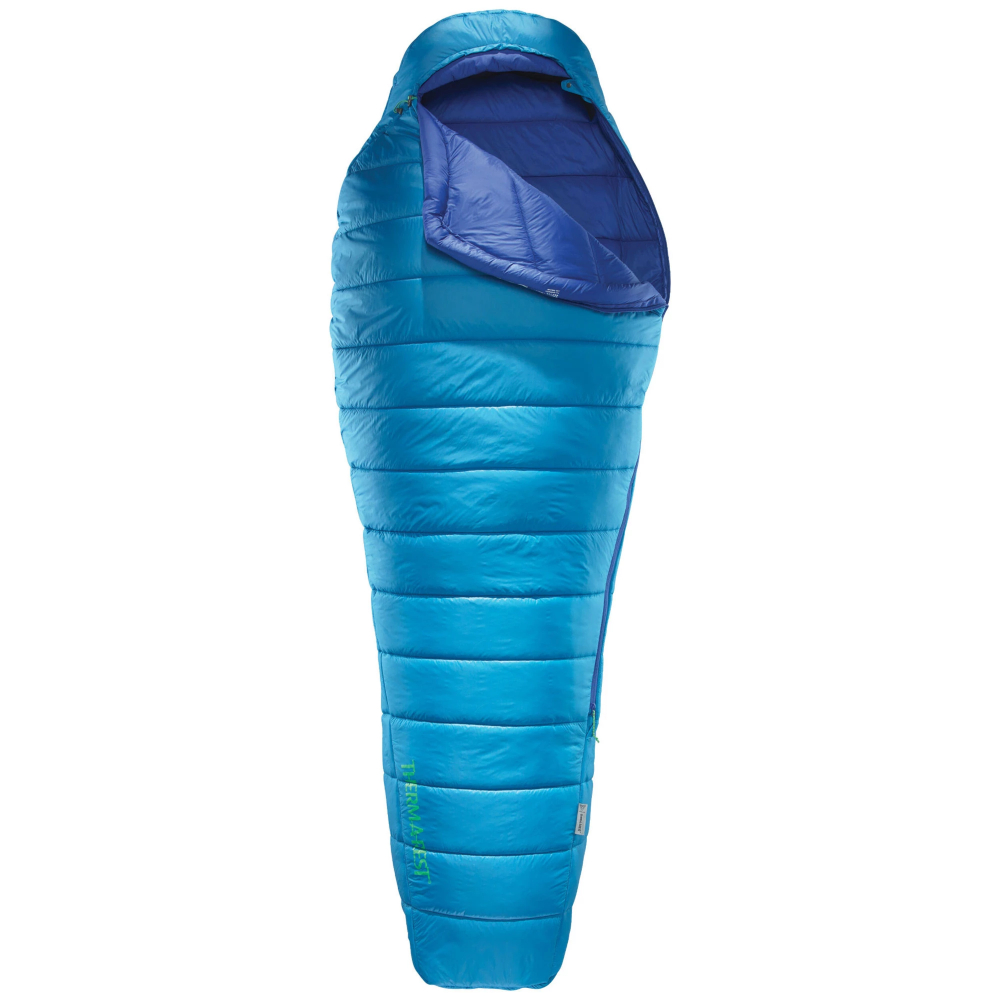
It's so easy to be too ambitious about saving weight/space and end up choosing a sleeping bag which is too lightweight for the time of year. It's also easy to panic and go for something super warm which takes up far too much space. I've found this sleeping bag to be the perfect balance of size and warmth - great on any trip where I'm not riding in winter bib tights.
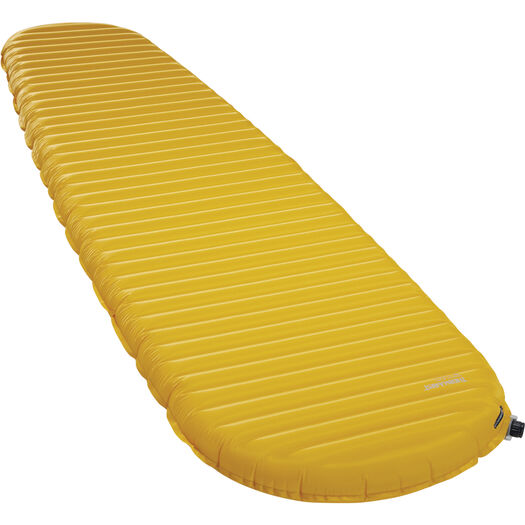
I don't have the perfect solution just yet. I'm not completely satisfied with air mattresses. You can patch this model (as you can with other brands), but locating punctures without the help of a bath is a pain. Still, 'solid' foam mats aren't as comfy and don't pack down as small, so for now I'm still using air mattresses - and they are great, but there are downsides.
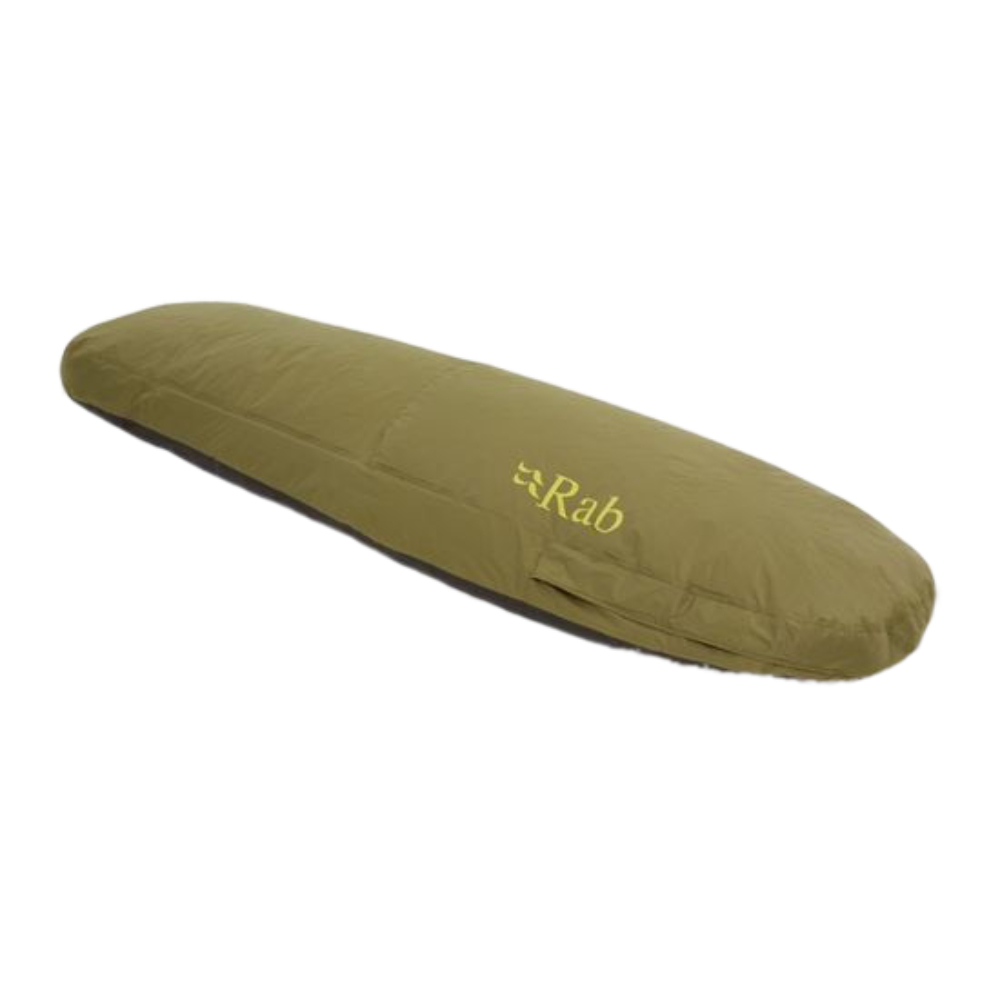
A bivvy bag (or Bivi, as Rab and others call it), is essentially a waterproof jacket for your sleeping bag and is a much lighter and smaller alternative to using a tent. I much prefer models which have a zip than just a flap - much better for keeping the bugs out!
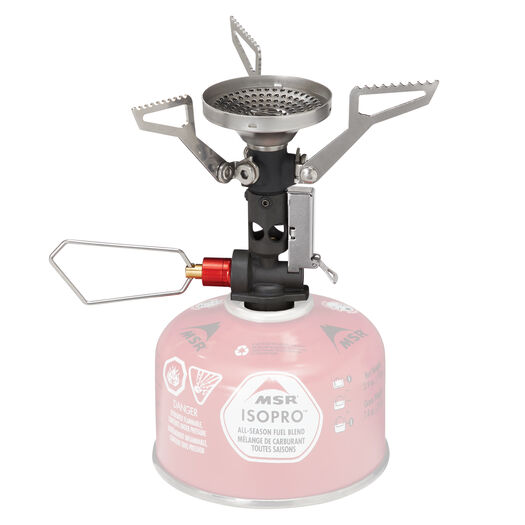
There are so many different stoves out there it's easy to get overwhelmed and end up buying a middling model. This MSR one is lightweight and compact, but also super stable and can burn really hot (great in more exposed locations). It also has a (really good) piezo ignition, so no need to faff about with matches. It is more expensive and you can get by with cheaper models, but it's just nice having something that works really well.
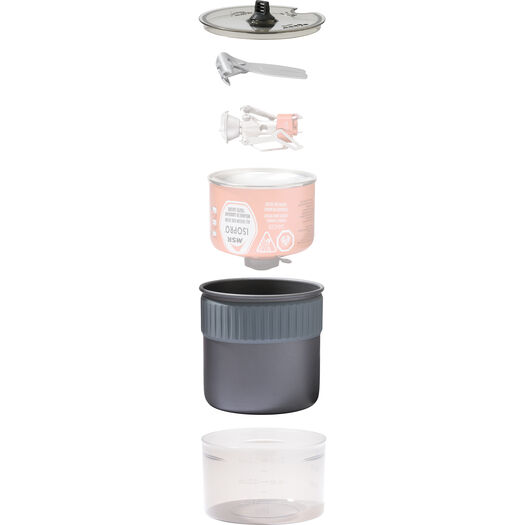
Again, there are plenty of options when it comes to cooksets. I get on well with MSR's Trail Mini Duo - the pot has a good thickness and distributes the heat better than ultra lightweight ones I've used. The plastic bowl is great when cooking for two and it barely takes up any extra space - super neat and all you need.
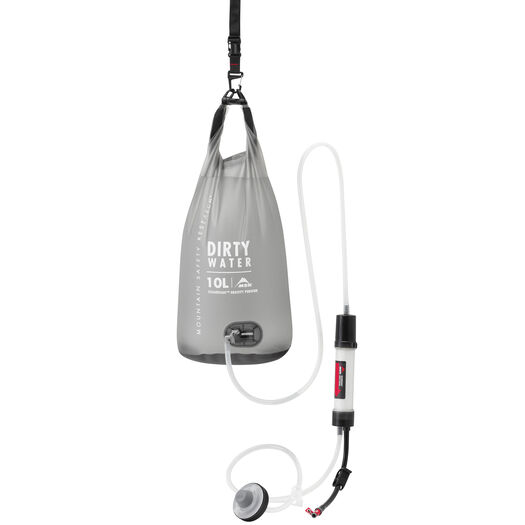
If you're going to be spending a longer amount of time in the wilderness and further from any towns or villages, it's a good idea to be able to sort out your drinking water yourself. It's much better than trying to carry all you might need for a couple of days! If you're staying in more populated areas, this is probably overkill - but it does remain handy having an alternative.
Tools
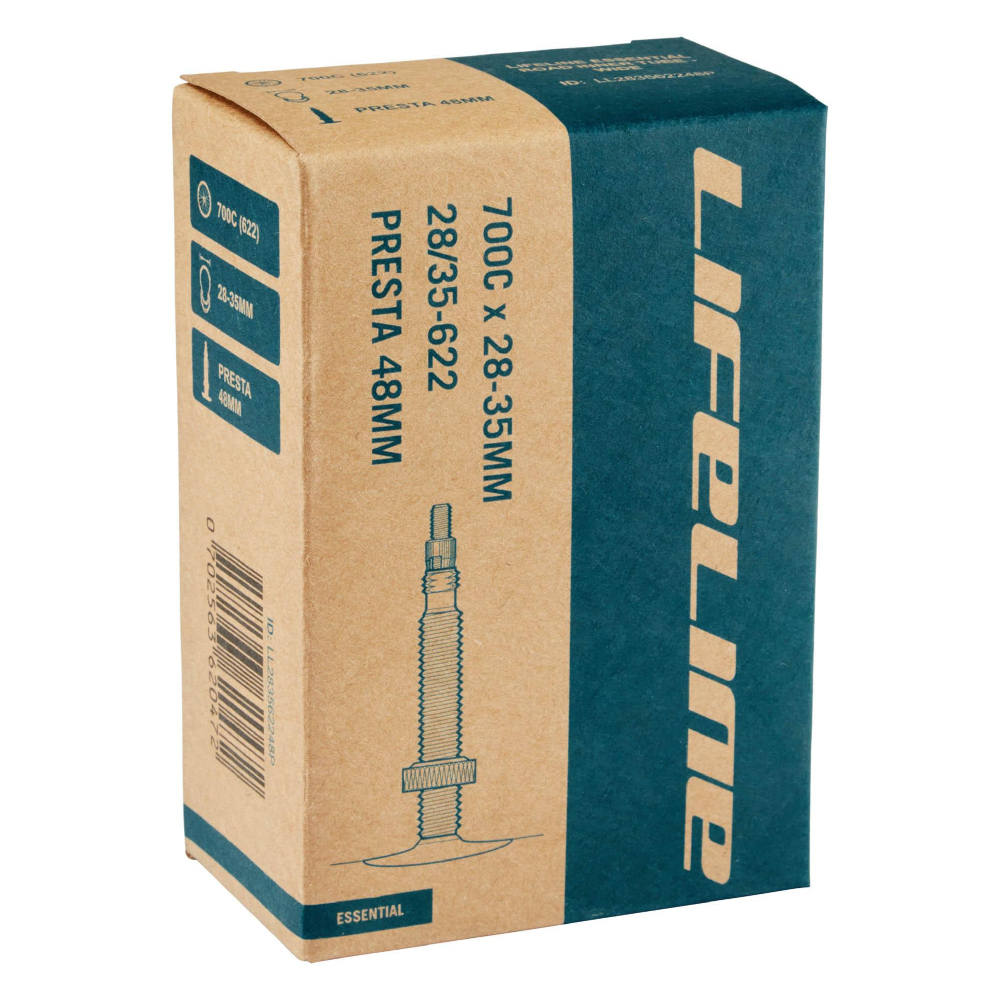
Even with tubeless tires, it's a good idea to carry an inner tube. Sometimes you can get a slice that sealant just won't be able to plug. I like to carry three - one for each wheel and then a backup. That way, even if I end up with a tube in both tires, I'll still have something in reserve to swap straight in if I get another puncture on the way to a ferry or train.
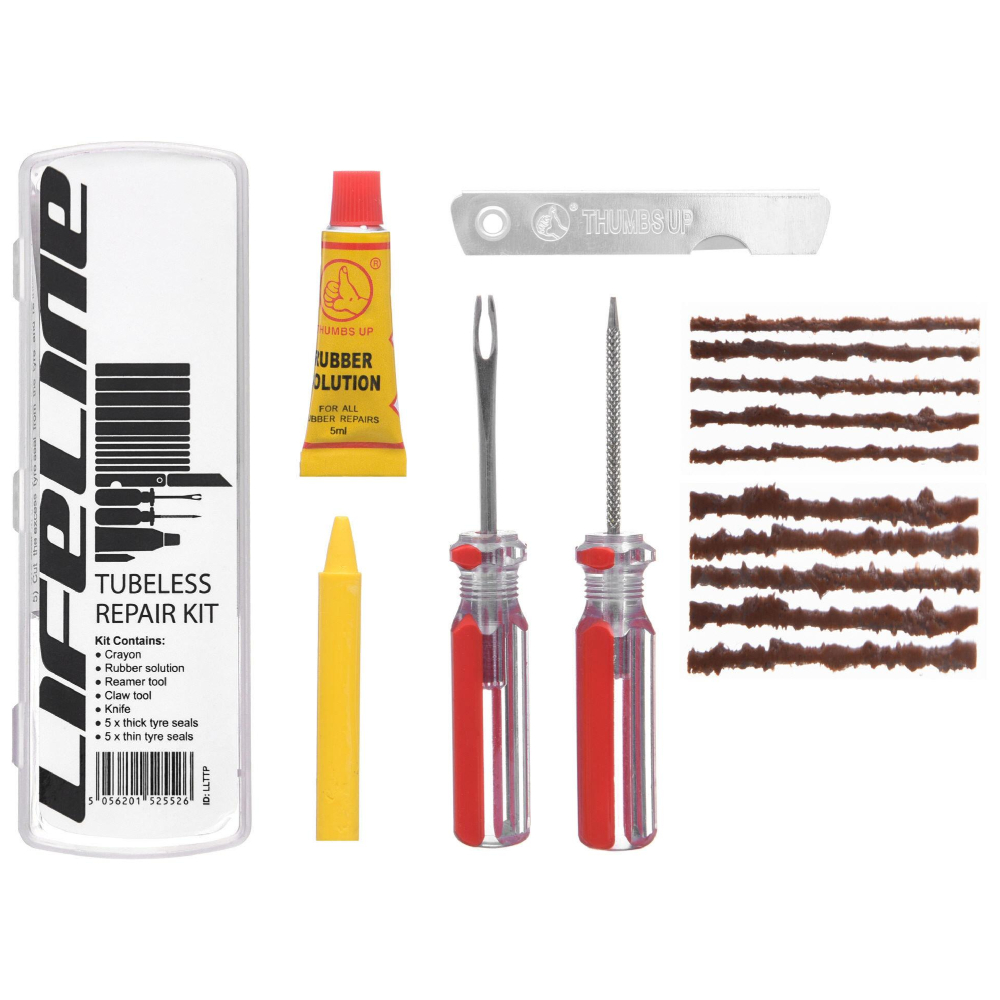
Still, popping a tube in really is a last resort, and you can plug up some pretty big holes with those rubbery worms of a tubeless repair kit. This is a pretty cheap and cheerful set, but it's all you need to get yourself can on the road.
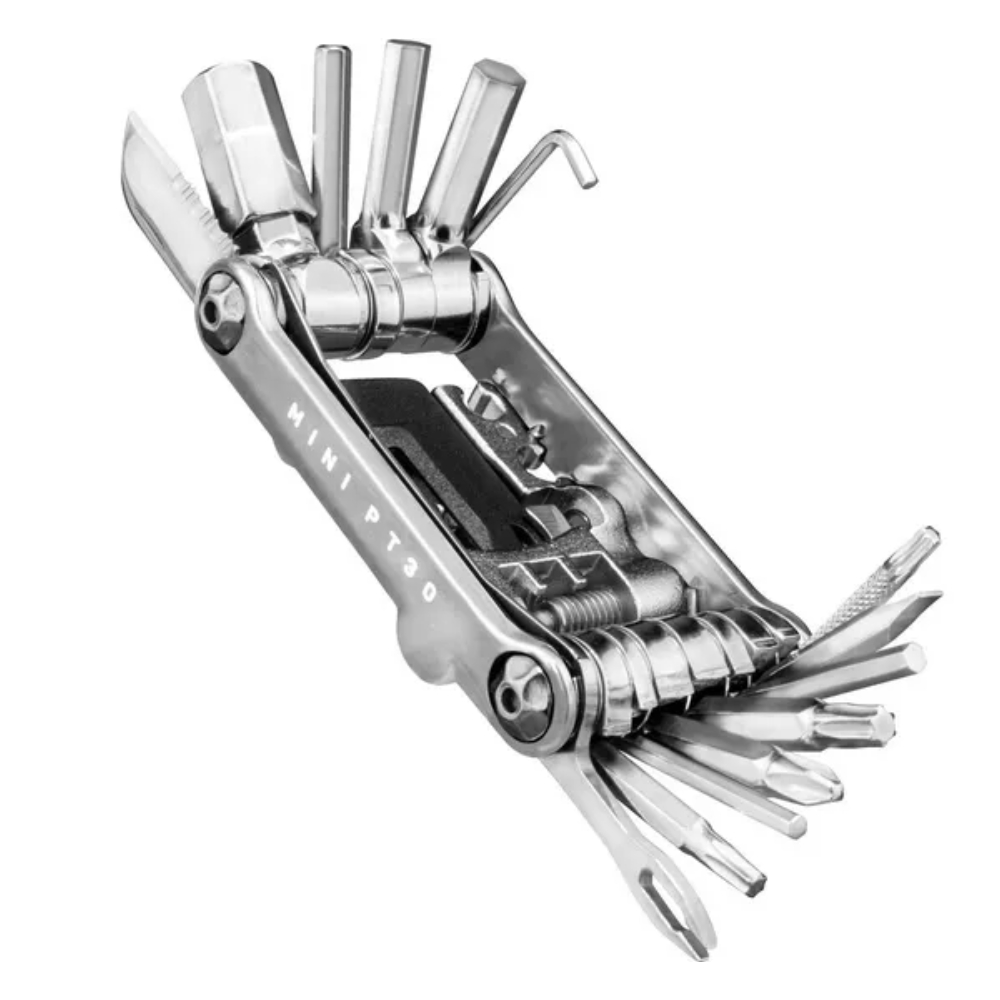
Again, this isn't really a bikepacking-specific piece of kit, but it is something you'll definitely need to bring on any trip. I really like how many tools Topeak has been able to squeeze in this model, with a full set of Allen keys, Torx keys, chain and spoke tools, and a knife and plug holder for patching up tubeless tires. You can check out our guide to the best multitools here.
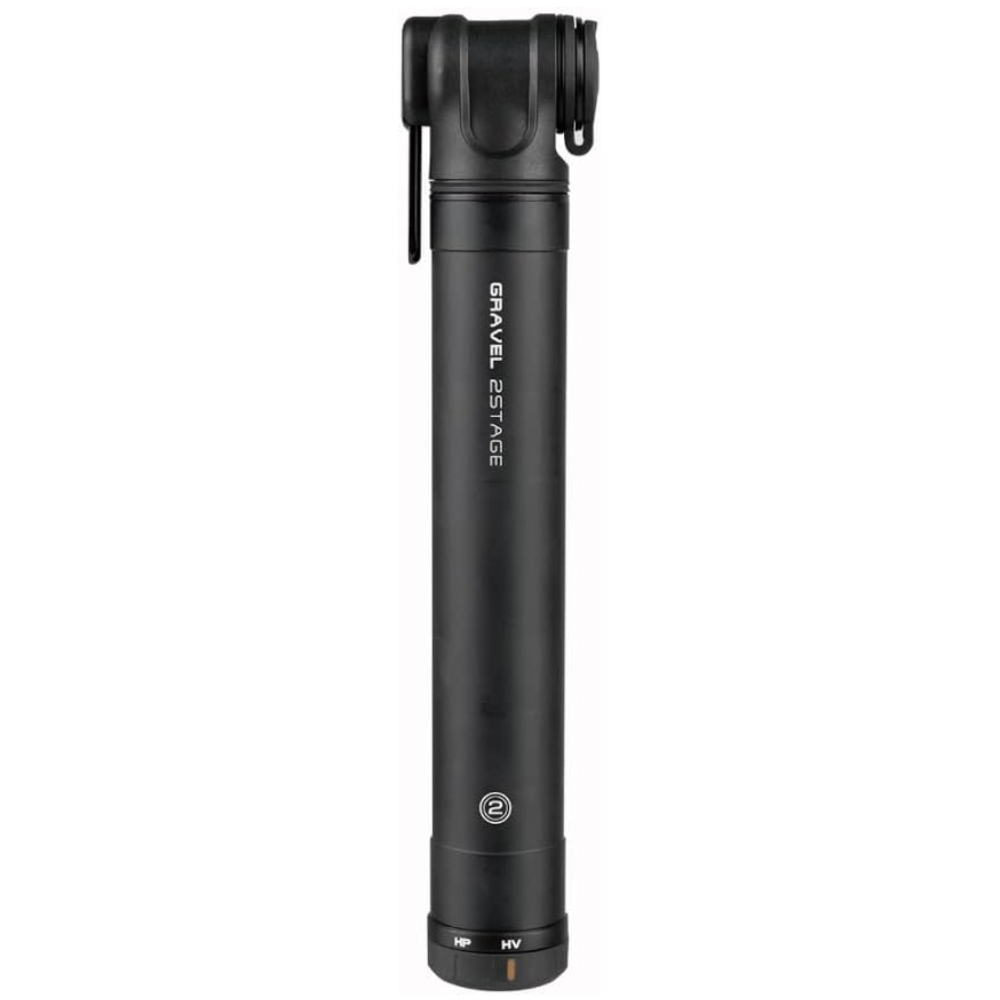
Recurring theme here being not to forget what you should already have, a pump is another vital tool you should bring when bikepacking. I like this one (again from Topeak) which allows you to swap between high volume - for pumping up lower pressure tires quickly - and high pressure, for getting narrower road tires up to the necessary carcass tension. Our guide to the best mini pumps is over here.
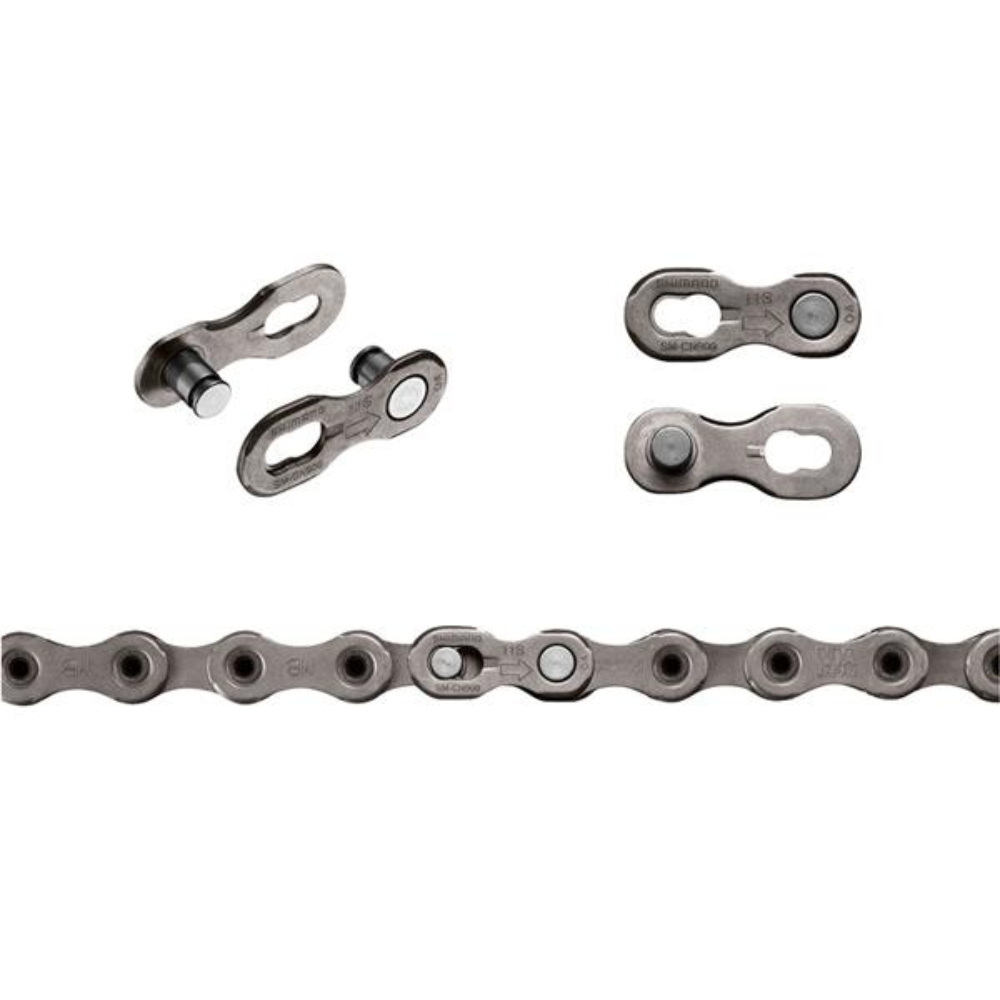
Quick links are super useful for getting you back rolling should you ever break your chain. Otherwise it's a potentially ride ending disaster - and it can be quite difficult sourcing a new one depending on where you are. This example is just an 11-speed one, but make sure you get what your bike requires.
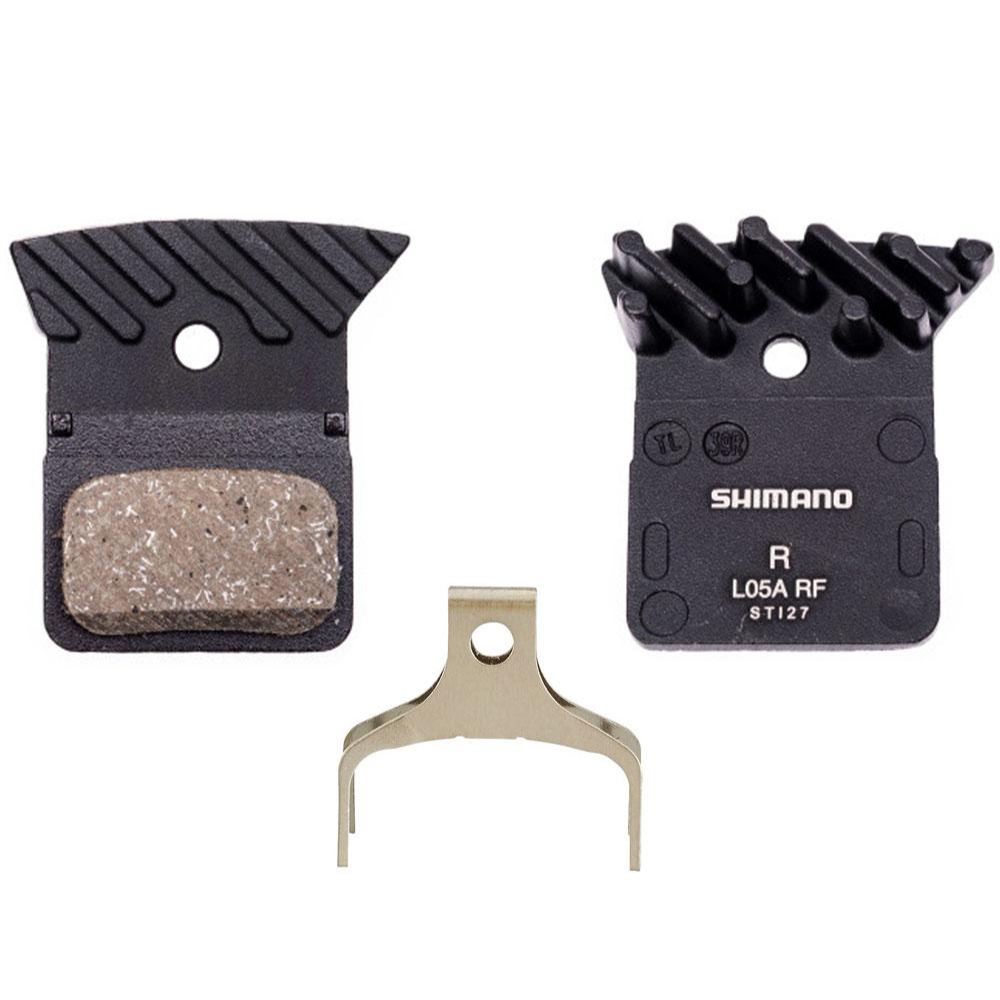
Brake pads are probably something you don't take around on every ride, but I'd really recommend bringing at least one set bikepacking. Long mountain descents in wet weather can really chomp through pads - or you could be unlucky and accidently contaminate a set. Either way, sourcing a new set can be a big headache and very expensive. For their size and weight, it's much better bringing a set with you.
Accessories
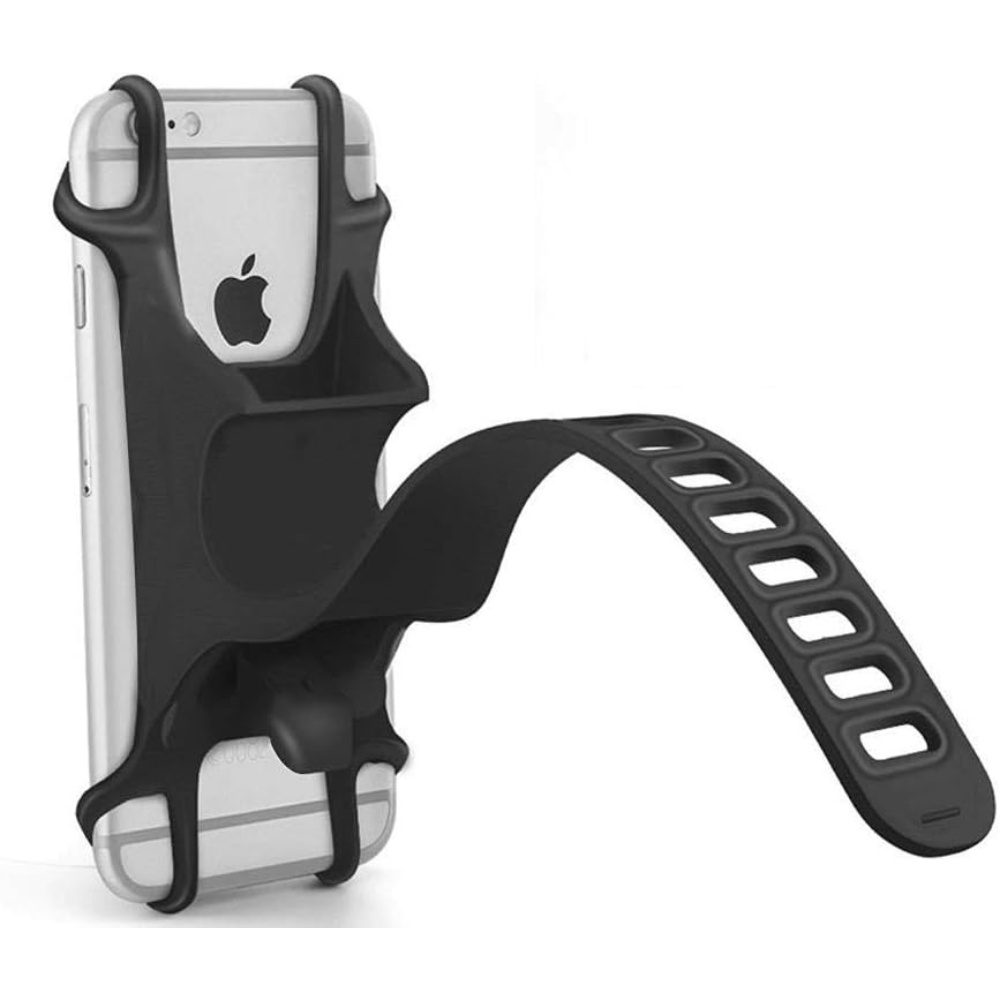
Even if you're going to be following your planned route using a bike computer, being able to quickly follow Google Maps on a detour to some shops or a cafe is super handy. I like this mount because it fits any bike or phone, it's easy to take off and - being silicone - it can just be stuffed in a bag. If you have a bar mount for your phone, it's not necessary, but I would recommend it if not.
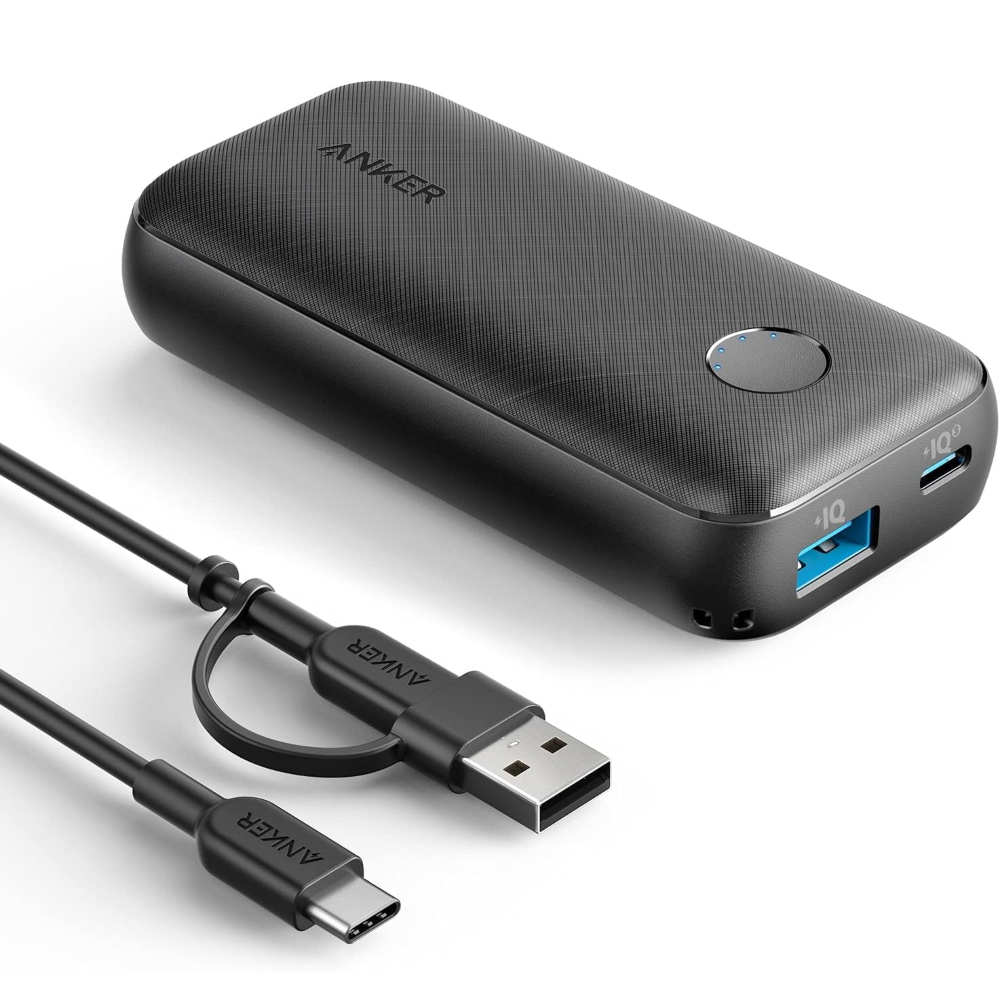
A power bank is a near necessity for bikepacking. Between your phone, bike computer, lights, etc., there are a lot of different electronics which might need topping up when you're far from any outlet. For me, it's incredible how much smaller they've gotten for the same charge capacity in the last seven or so years.
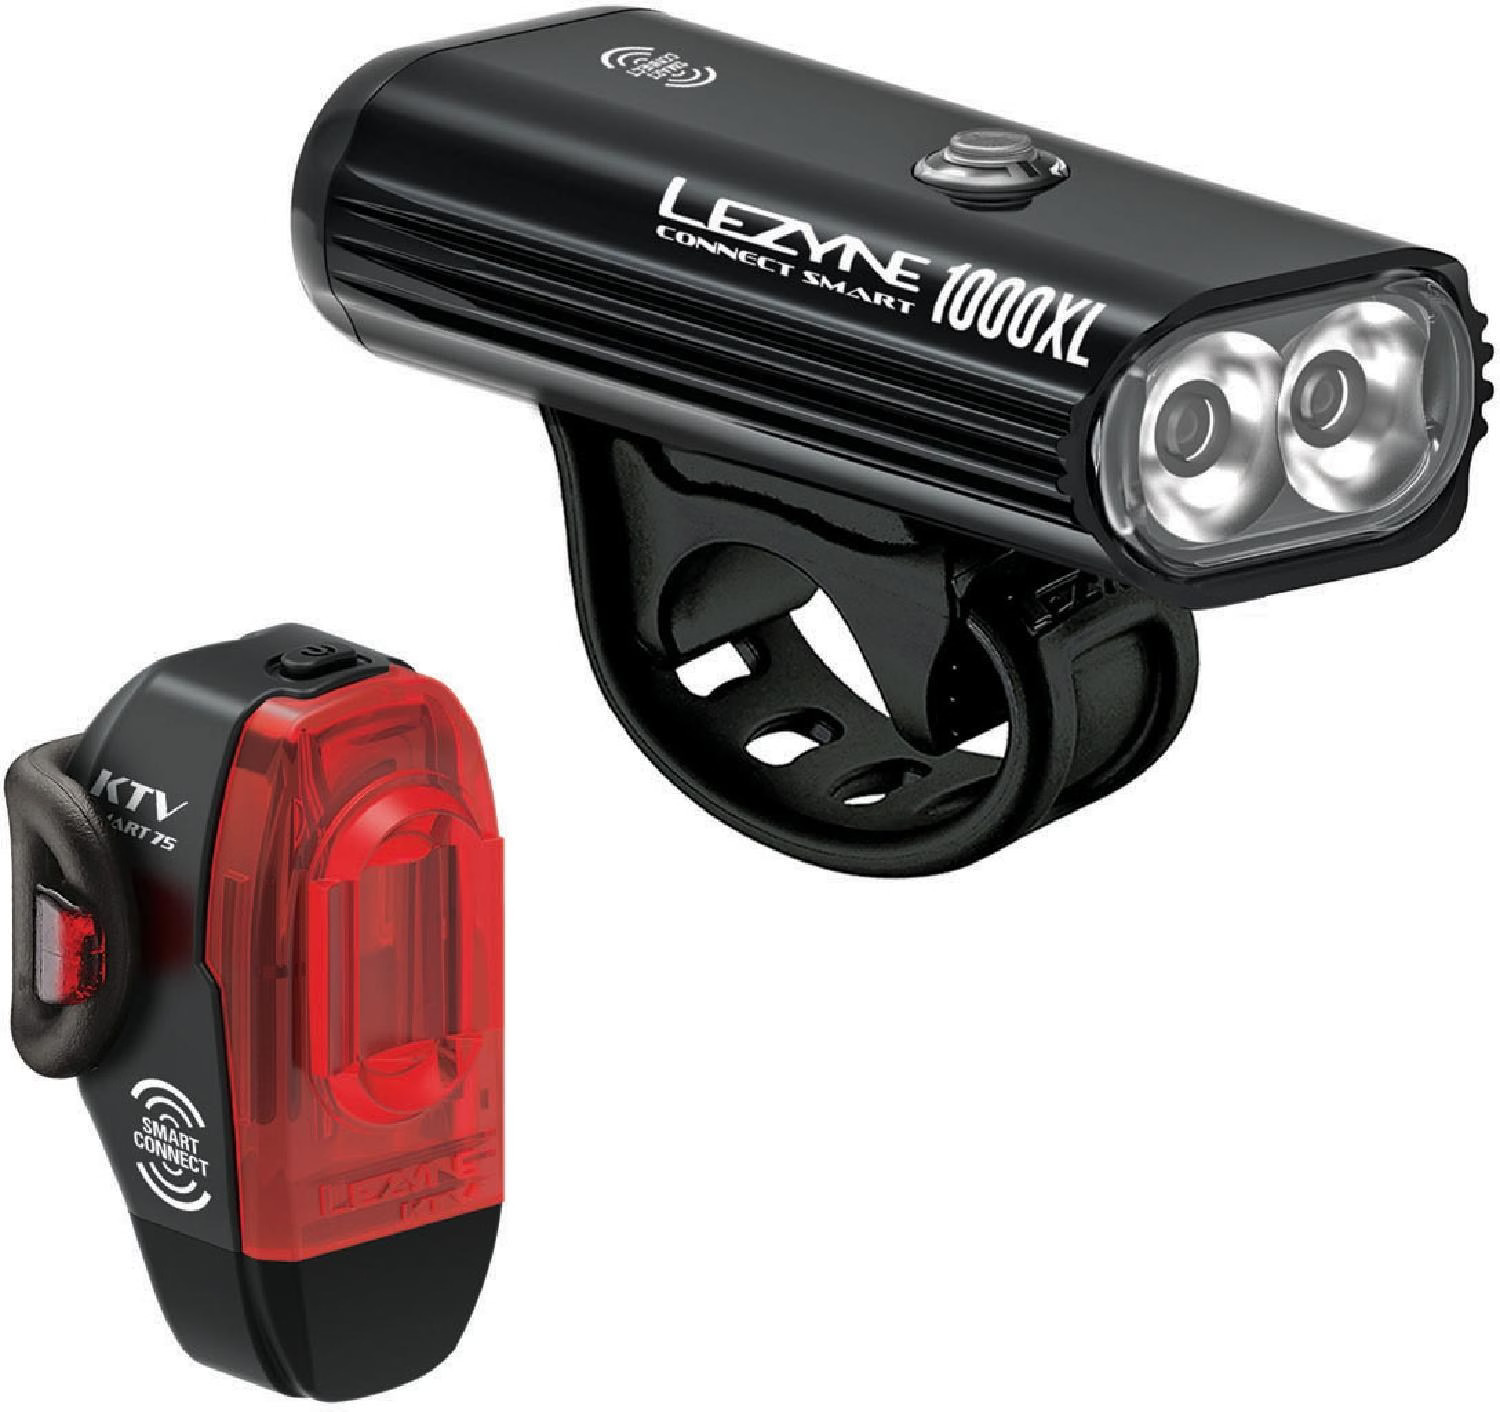
Even if you're not planning on riding at night, the best laid plans can easily go awry - and it makes a bad situation even worse if you don't have any form of bike lights on you! There's nothing particularly bikepacking specific about these ones, just that we've been highly impressed by the build quality of Lezyne lights for their reasonable price.
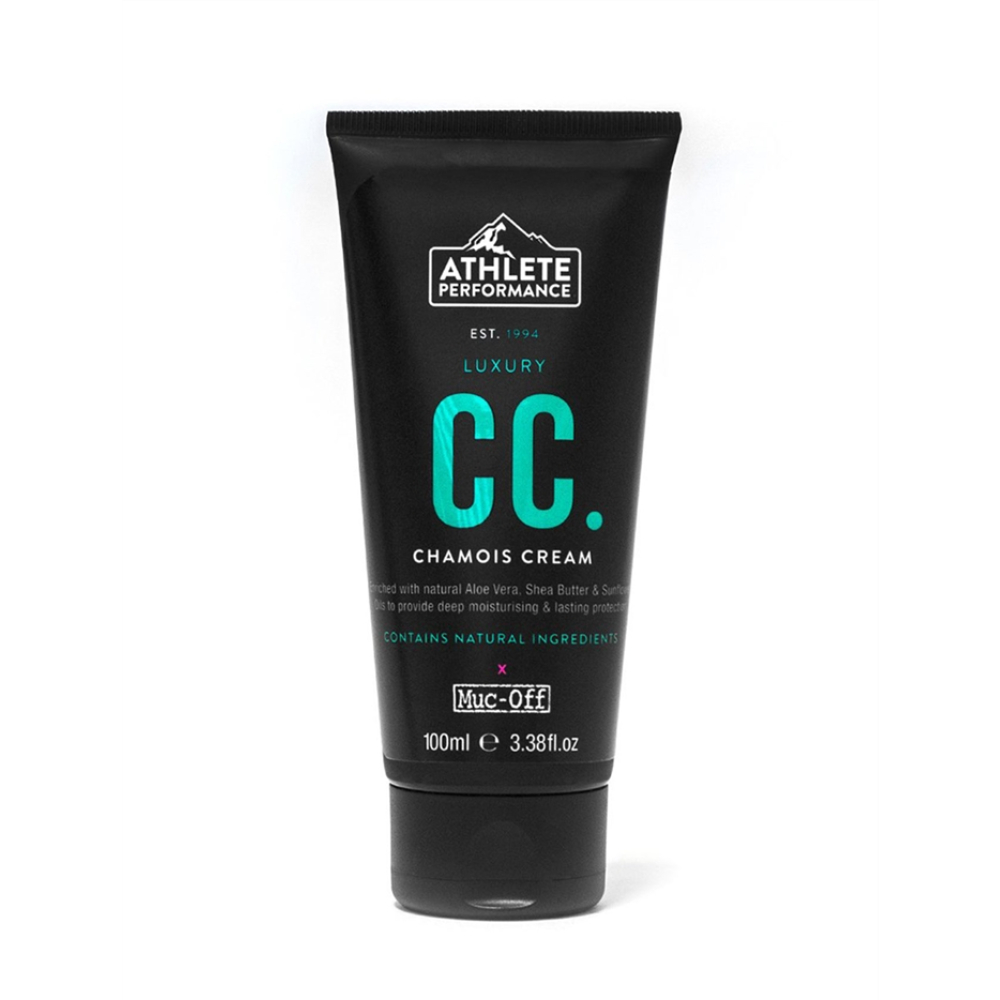
Chances are you'll be spending a lot more time in the saddle over the course of a bikepacking trip than you usually would in a typical week's training. Even if you don't normally use chamois cream, it's a good idea to bring it just in case. Many (like Muc-Off's) are anti-bacterial, which is good when you're spending just so many hours in your shorts anyway.
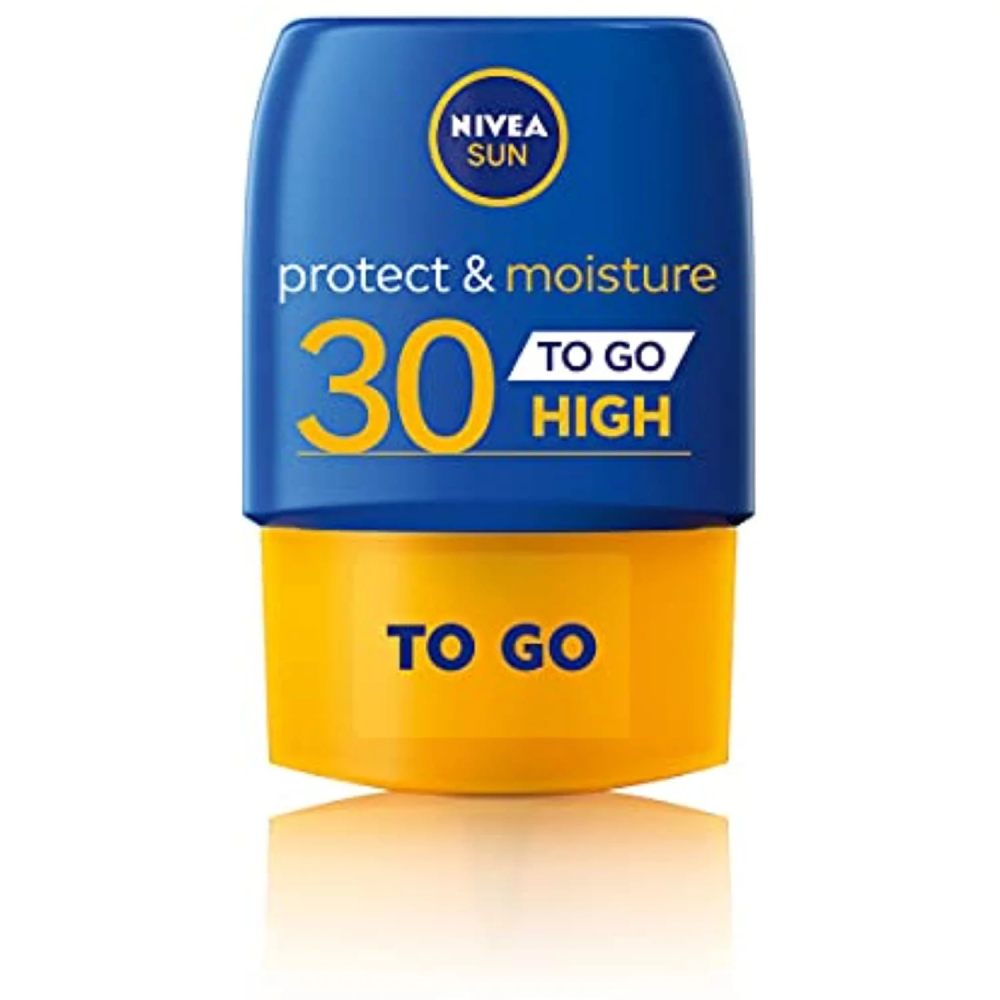
You don't need us to tell you how important sun screen is when spending long days out riding in the summer. Any travel-size option from any reputable brand will do - Nivea's 50ml bottle fits nicely in a top tube bag or handlebar for easy access. I tend to keep it buried a little deeper in a frame bag or saddlebag, as topping up is more of an 'event' for me when stopping anyway for food.
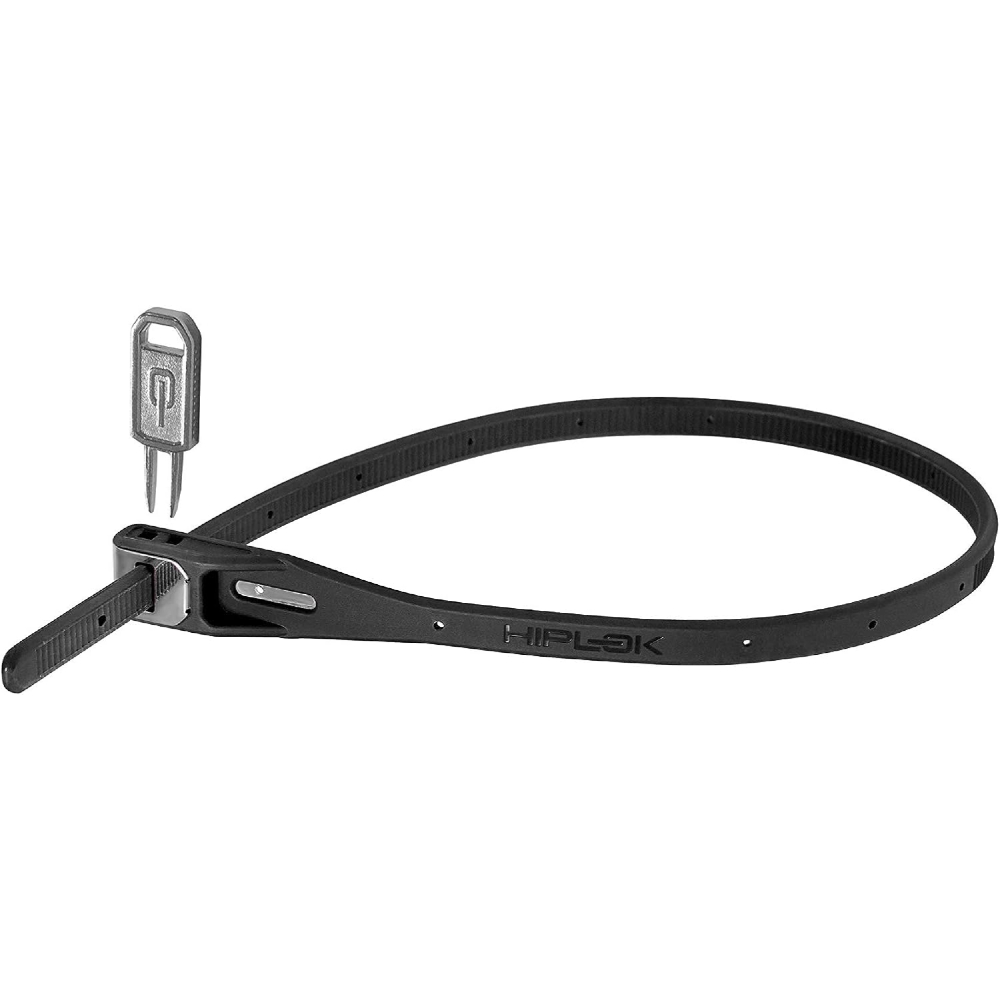
Depending on the nature of your trip, you might want something rather more robust. If you're planning on having a look around any sights - castles, cathedrals etc. - you'll want a proper bike lock which complies with your insurance. I still like to have a lightweight lock even if I'm generally always near my bike, such as popping to the loo at a cafe or restaurant.
Bags
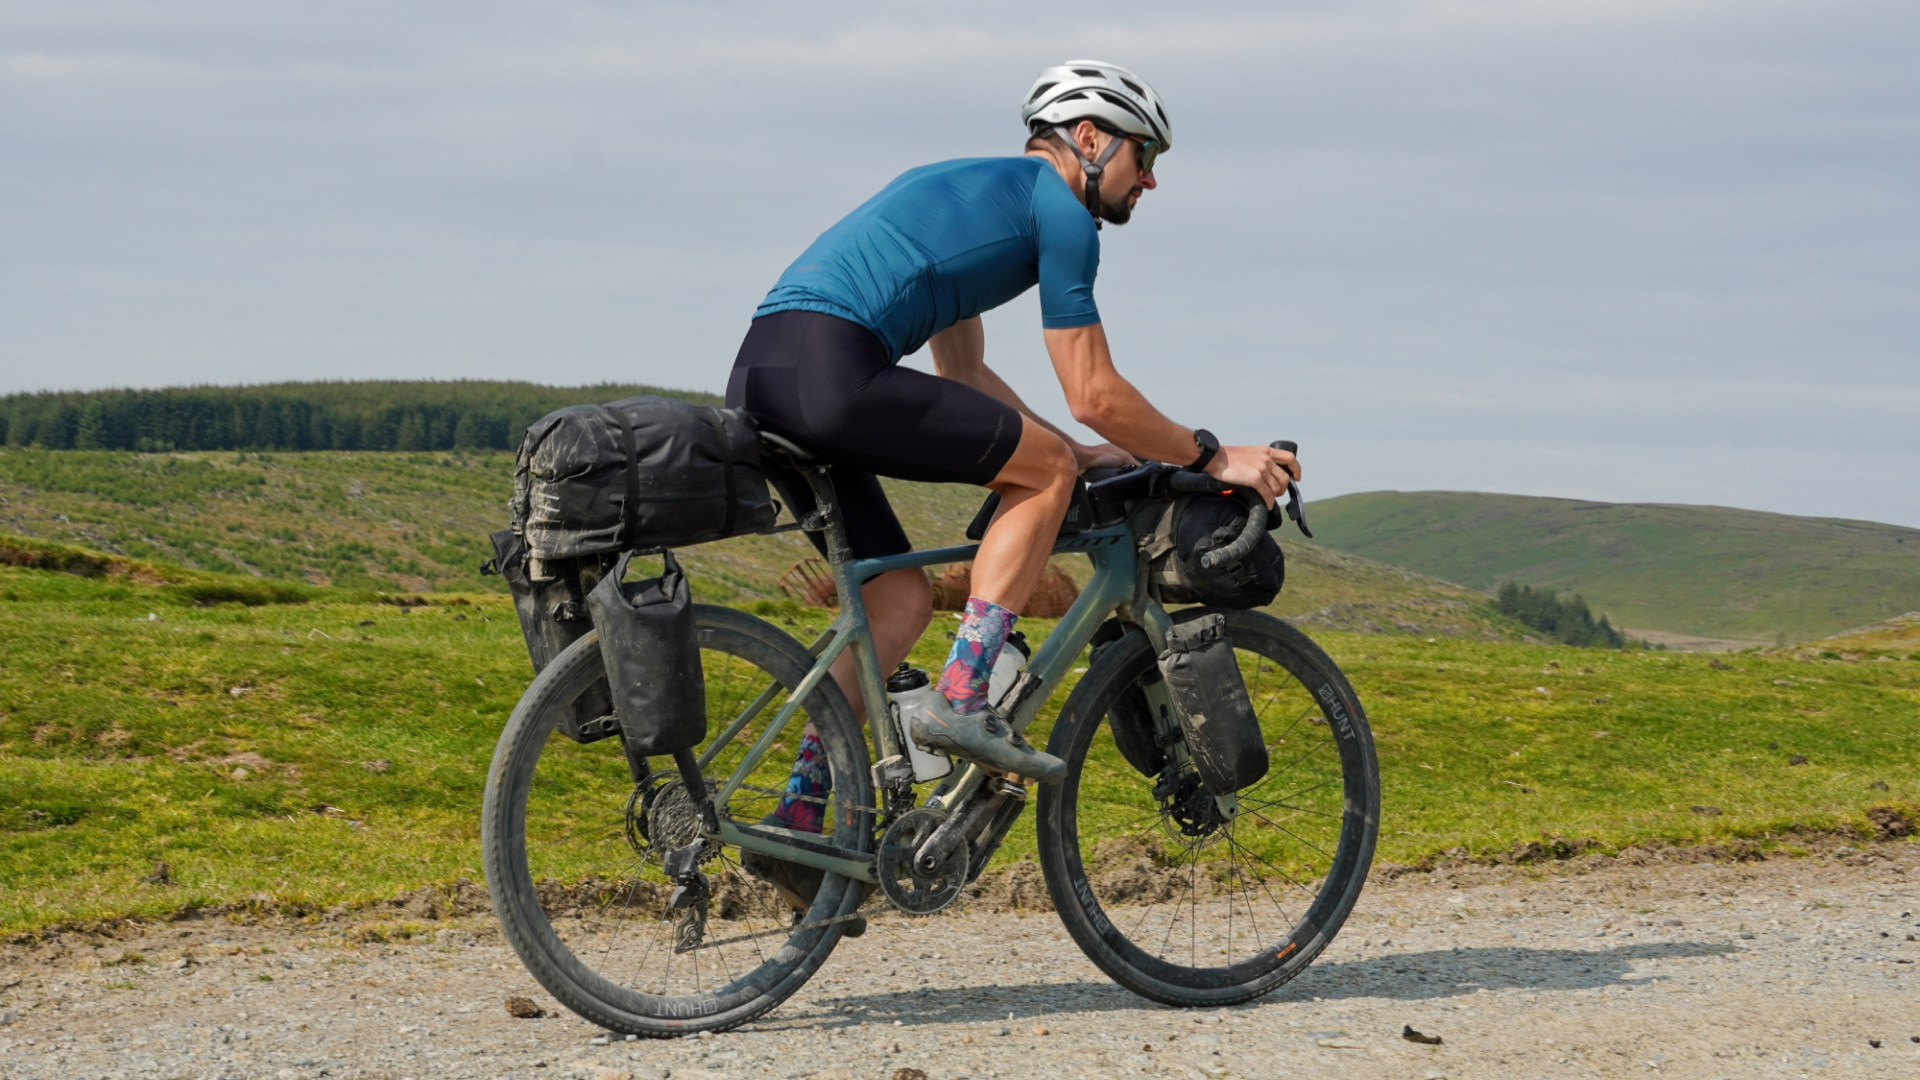
What bags are right for you depends on the length of your trip, whether you’re planning on camping, and how many extra items you intend to take. For shorter trips which don’t involve camping, a large saddle bag and a big handlebar bag might be all you need. Otherwise a frame bag and fork bags quickly become necessary additions.
Remember, it shouldn’t be a struggle to fit everything in your bags. For one thing, you need to leave space for bringing on some food and for another, you’re going to find it incredibly frustrating when out riding if there’s only one very precise way the bag can be packed for everything to fit. You’ll either need to leave some things out or get another bag.
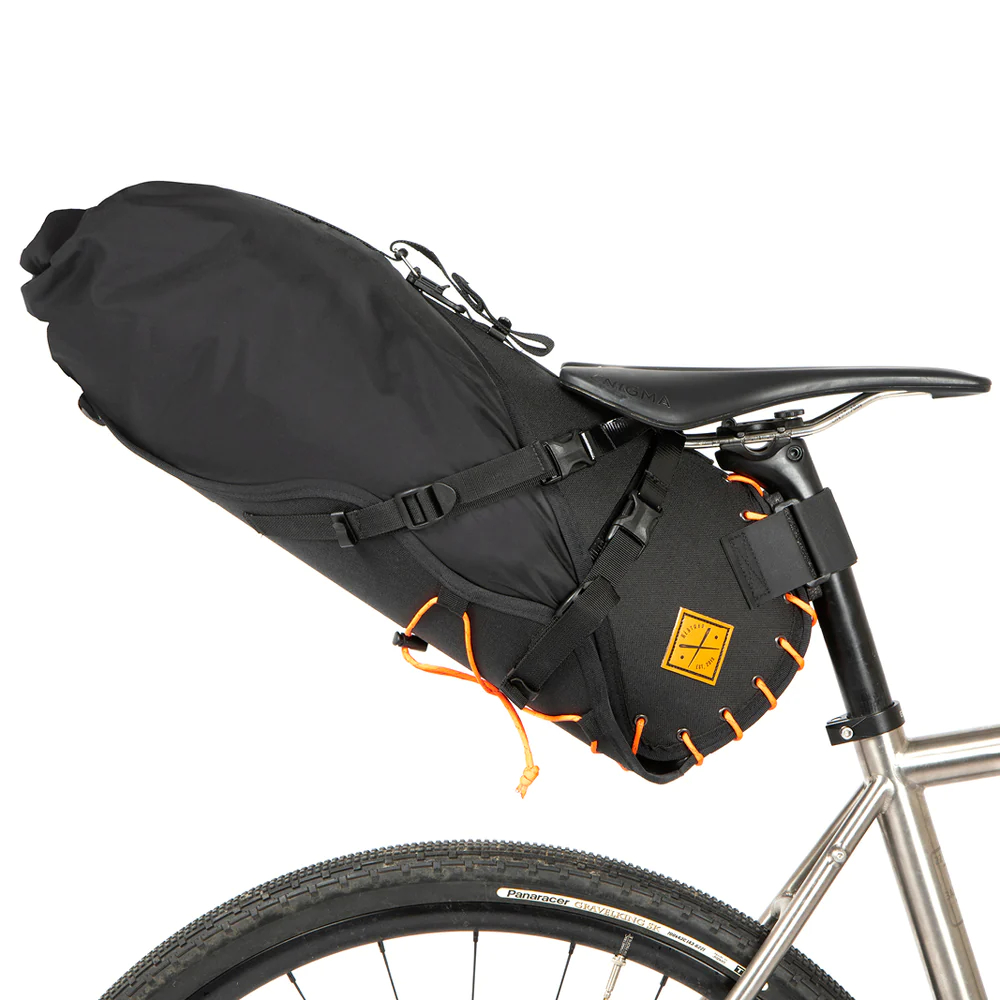
An increasing number of bikepacking brands are now using a 'holster' style attachment. I really like this setup as it's super convenient for taking your kit with you into the tent or up to your room in an B&B. Just losen the straps and grab it out. I find you can also pack it a bit tighter as it's easier to compress the bag on the floor than in situ on the bike.
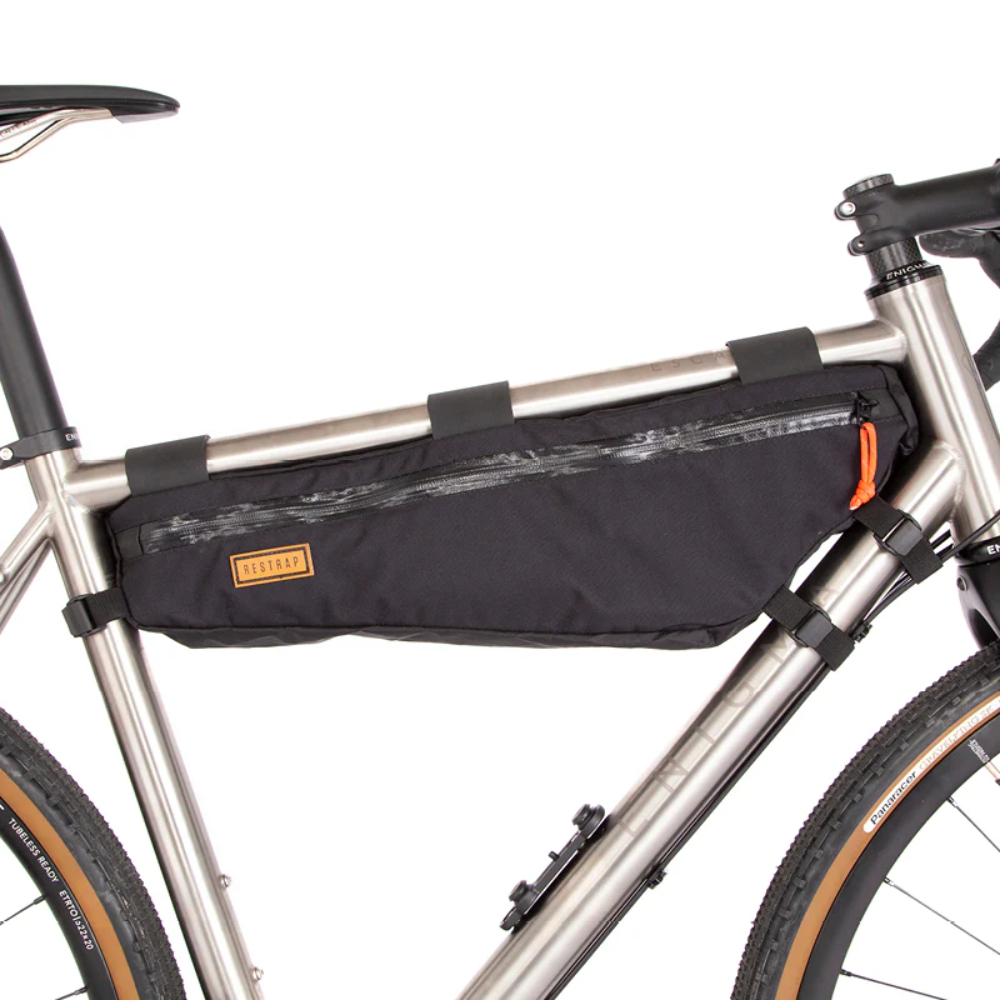
There's a huge variety of frame bags out there. A full frame bag is most efficient in terms of space, although to get the best out of that you really need a custom fitted bag. I really like the ease of swapping between bikes with the half frame bags - and also being able to see how much water I have left in my bottles, rather than using a water bladder. But each to their own!
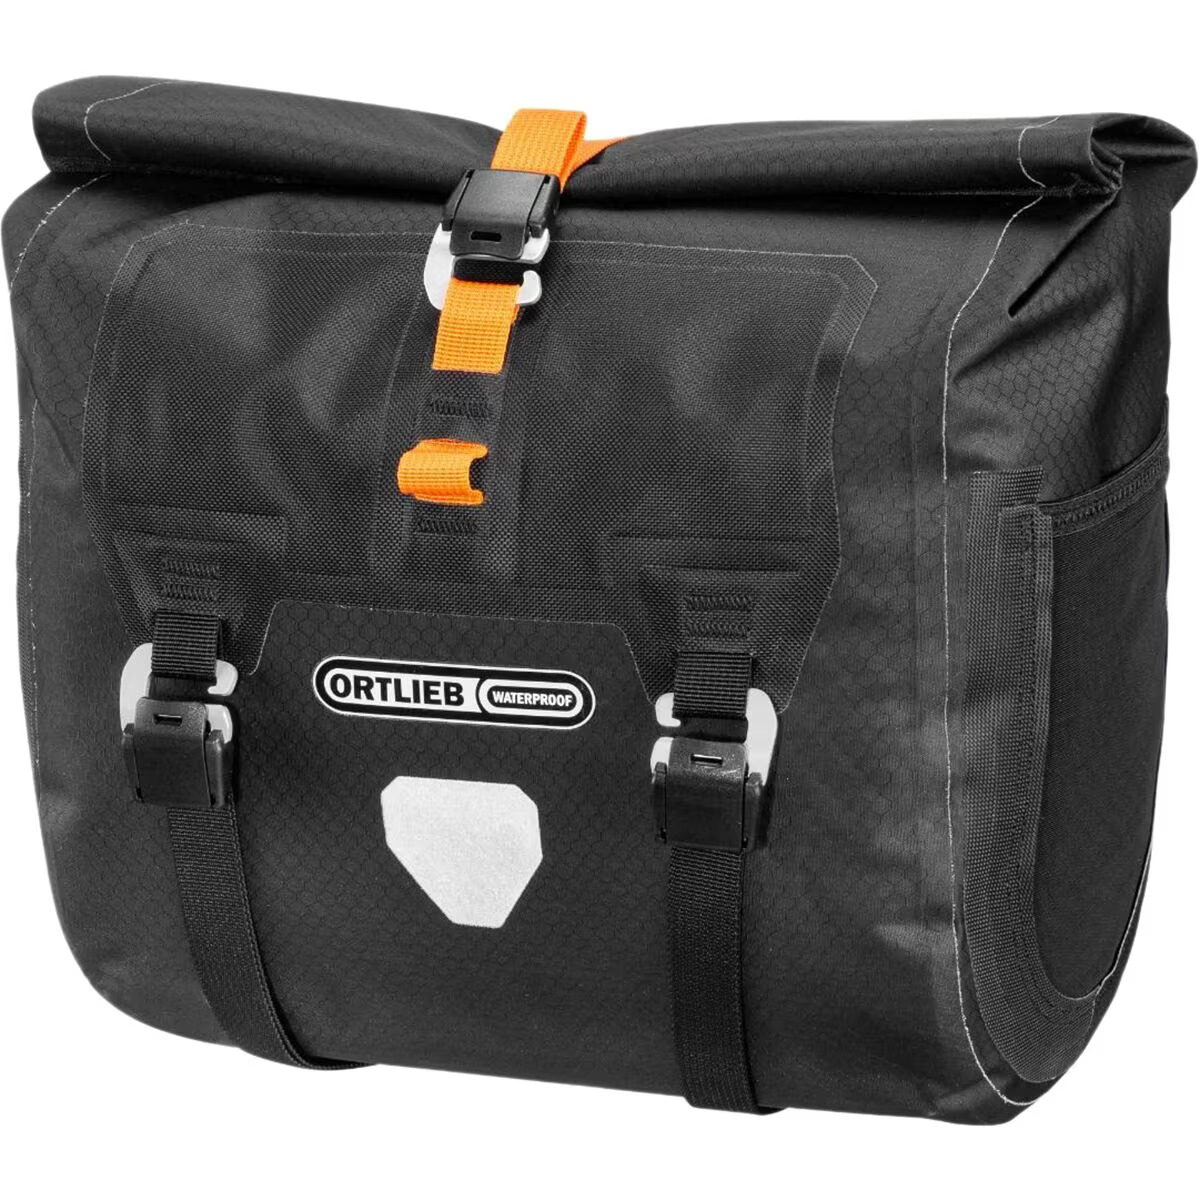
As handlebar packs go, this is my current favorite. It has huge capacity at 11 liters, but can be rolled up tight when you don't have much in it to stop things rattling. I tend to use it to store my food as its so versatile and quick to get things in and out of. The quick mounting bracket is neat, but there is a learning curve the first time you use it. You can find our full handlebar bag guide here.
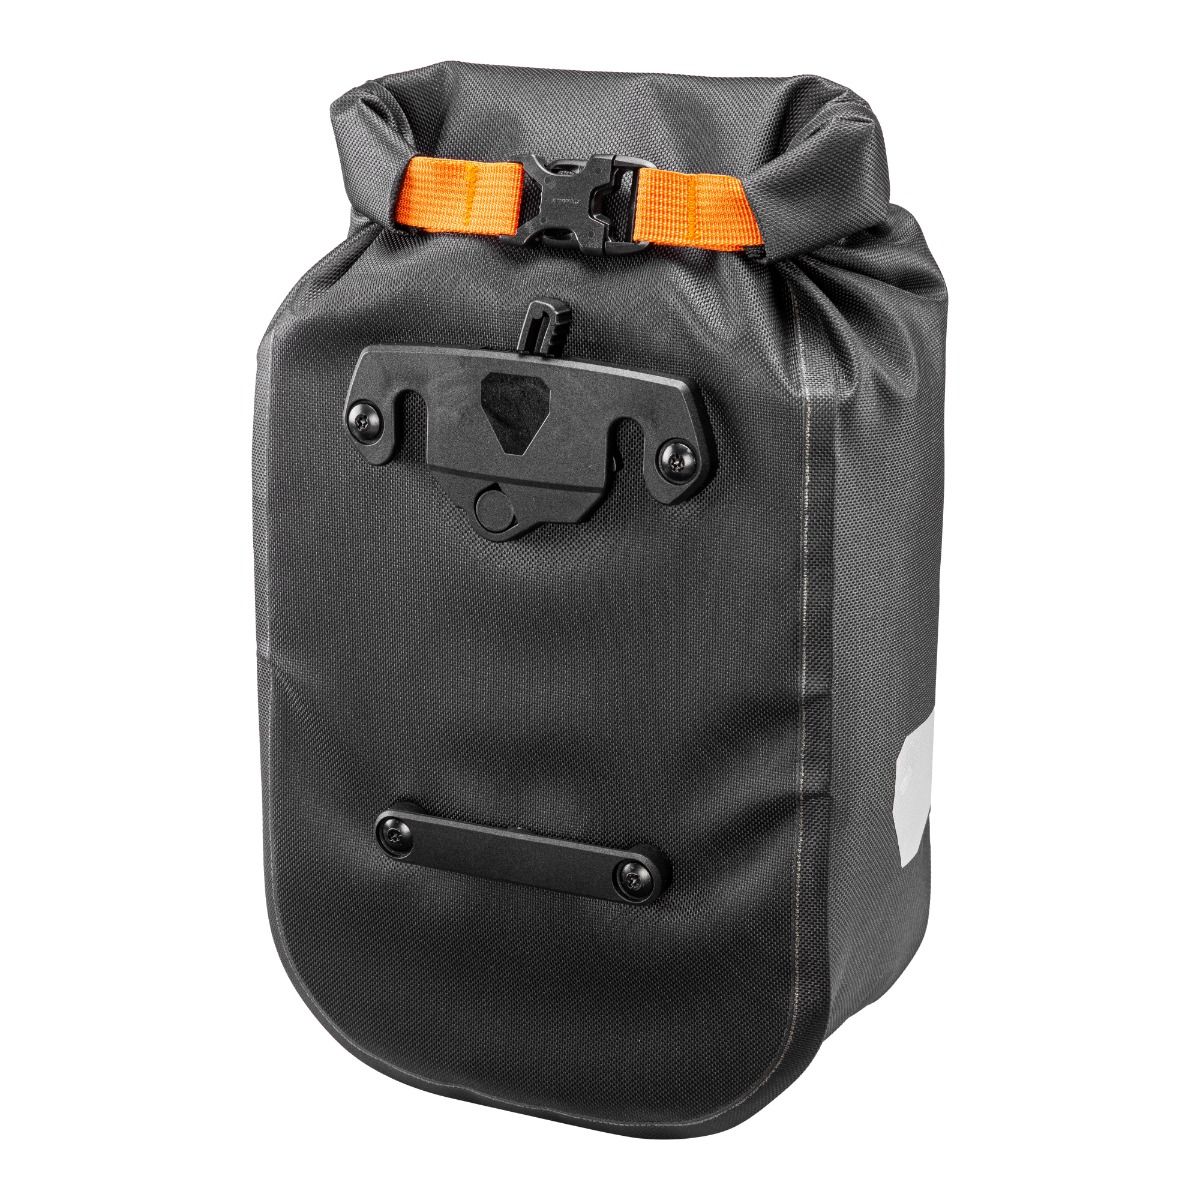
I really like these fork bags. There are many brands out there selling cargo cages which attach to the triple bottle bosses of gravel bike front fork legs - but those then require a dry bag and a set of straps to secure the bag in place. These bags have a bracket which bolts directly on and then the bags have a quick release - it's a super simple and efficient system.
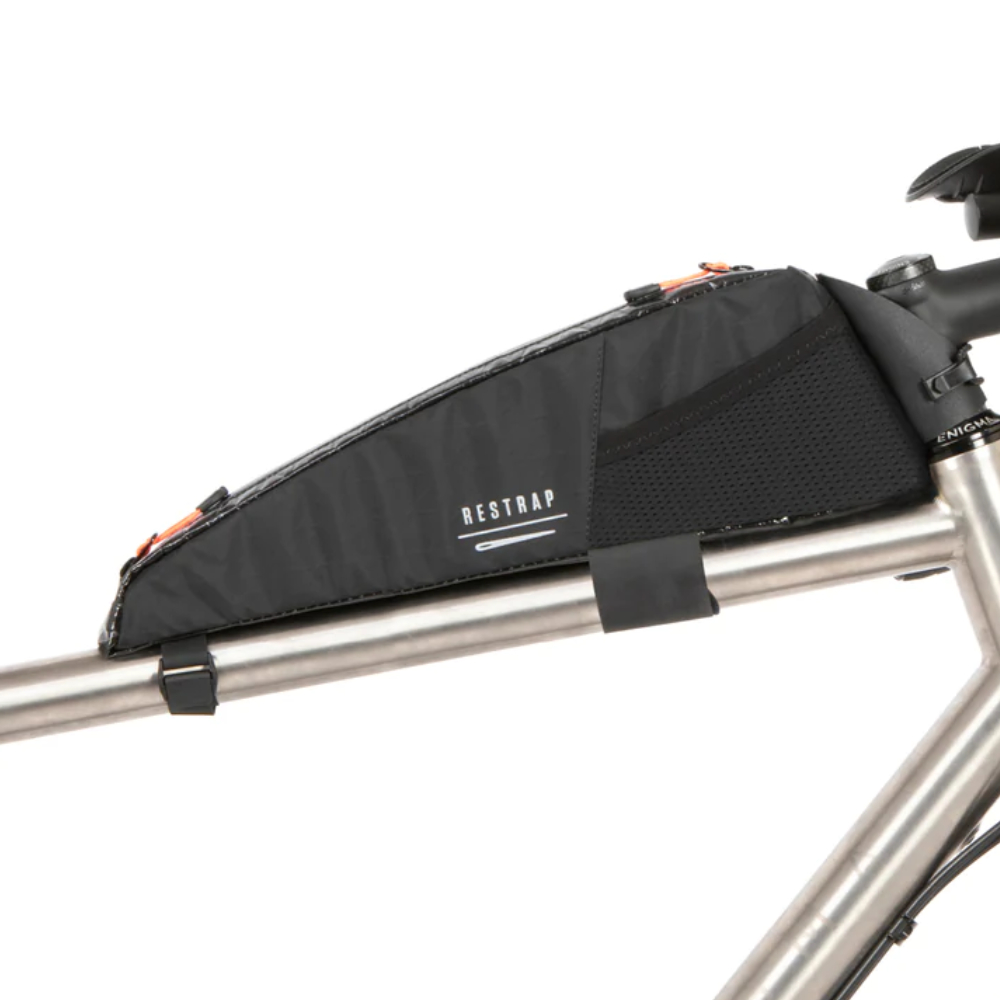
If I possibly can, I try to avoid both top tube bags and frame bags because they tend to rub on my knees - instead I rely heavily on saddle packs, handlebar packs and fork bags. But there are times when I just need more space - and in those cases I go all in, opting for longer style top tube bags to cram the maximum amount of kit I can in.
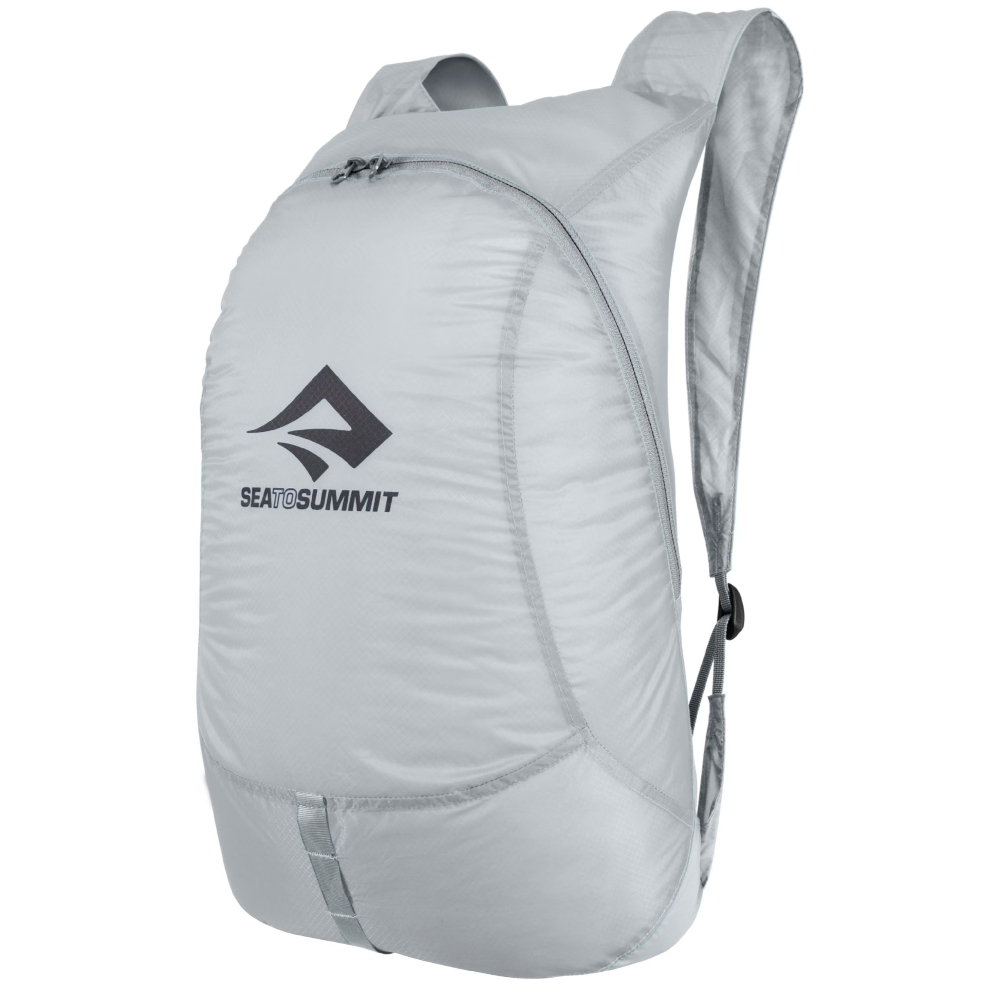
Another potentially unexpected item, but it's something I never go without. It comes in handy so many times when dashing into a shop and stocking up on supplies just being able to stuff them into a rucksack. It's the kind of thing which you can do without if you don't know any other way of doing things. But once you've had one it's difficult to do without!
That brings us to the end of this kit list. There are other items (such as a toothbrush, your wallet keys, etc.) that are important to bring - as well as some specific pieces of kit, such as some form of coffee making device. But these are the main items which are important not to miss and can provide something of a foundation for your own kit list.
The latest race content, interviews, features, reviews and expert buying guides, direct to your inbox!
After winning the 2019 National Single-Speed Cross-Country Mountain Biking Championships and claiming the plushie unicorn (true story), Stefan swapped the flat-bars for drop-bars and has never looked back.
Since then, he’s earnt his 2ⁿᵈ cat racing licence in his first season racing as a third, completed the South Downs Double in under 20 hours and Everested in under 12.
But his favourite rides are multiday bikepacking trips, with all the huge amount of cycling tech and long days spent exploring new roads and trails - as well as histories and cultures. Most recently, he’s spent two weeks riding from Budapest into the mountains of Slovakia.
Height: 177cm
Weight: 67–69kg