Our gear picks for two weeks bikepacking around Central Europe: how to cater for wild camping to city wandering
From camping gear to clothing suitable for seven hours straight riding and blending into the crowds of Budapest - plus everything for carrying it all on a bike!
- BAG SYSTEMS
- Ortlieb Handlebar pack QR
- Tailfin V-Mount packs
- Tailfin AeroPack and Cage Packs
- Ortlieb Vario PS pannier backpacks
- Tailfin Mini Panniers
- Restrap Bar Pack
- Old Man Mountain Divide Rack
- CAMPING
- MSR Hubba Hubba tent
- Rab and Therm-a-Rest sleeping bags
- ANNA'S CLOTHING
- Tops
- Shorts
- Liner shorts
- Shoes
- Insulating tights
- Jackets
- Trousers
- STEFAN'S CLOTHING
- Shirts
- Overshorts
- Bib shorts and liners
- Trail shoes
- Pants / trousers
- Jackets and shells
- Sunglasses
With this bikepacking trip across Hungary and Slovakia we wanted to do something a little different.
As Cycling Weekly's Tech and Fitness Features Editors, we (Stefan and Anna) have both done long-distance, multi-day, ultra-riding type epics before: bringing only the absolute necessities and minimising time off the bike for maximum mile-munching efficiency.
Now, this might be a slightly controversial way of putting things, but you can think of it this way: if your only goal is completing a feat of physical endurance – with the roads, cultures and communities just being a backdrop to your effort – then you might as well just put in those hours and those watts back home on Zwift, rather than travelling anywhere specific.

Obviously that's being a little hyperbolic! There's plenty of nuance that we love to explore and discuss in an evening round a fire... But the point still remains that if you're travelling to experience the history, cuisine and topography of a country, then the kit you’ll be wanting to bring a long is going to be a quite different to the extreme minimalism of ultra-distance riding.
If you want to read about all the adventures, mishaps and biblical downpours; the castles, ice caves and gravel, then just hop over to our full write up of our bikepacking trip from Budapest to the mountains of Slovakia. If you've never considered flat pedals for bikepacking, our opinion piece on the pros and cons of flat shoes and pedals for bikepacking and gravel riding is just over here. And finally, for the full review of the Fara F/All-Road Series 2 Anna was lucky enough to be riding, as it's certainly one of the best bikes for bikepacking.
Otherwise, let's get stuck into the kit we brought, what was great, and what wasn't quite so good...
BAG SYSTEMS
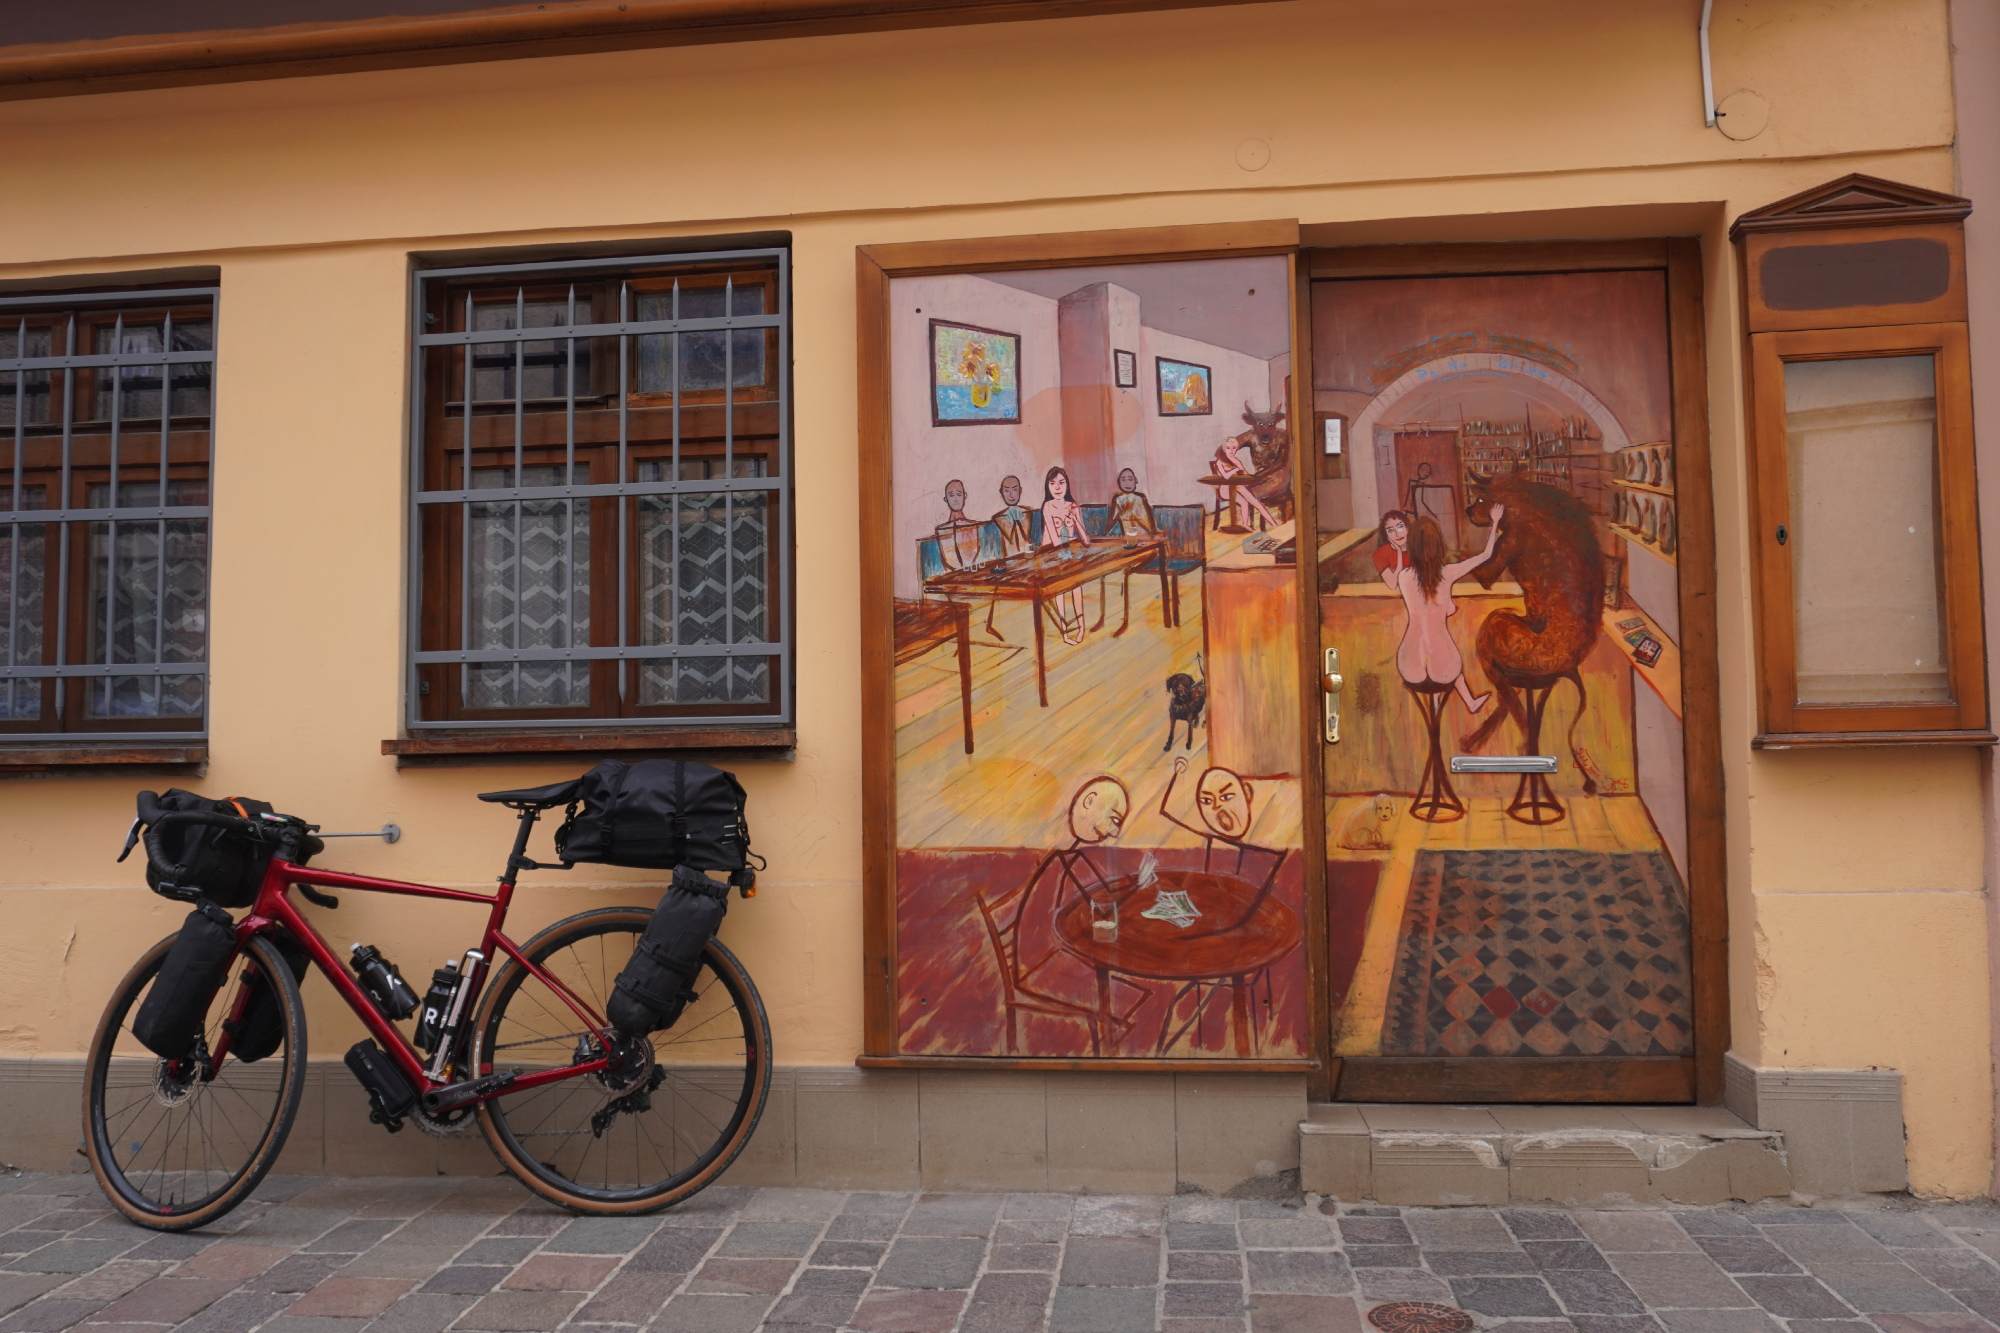
The Fara F/All-Road Series 2 against the Happy Bull Hostel we stayed in for a night in Košice
We went two very different routes with our chosen modes for carrying our kit: from a pure bikepacking AeroPack and cargo cage combo to the more traditional touring silhouette of a rack and pannier backpacks.
The latest race content, interviews, features, reviews and expert buying guides, direct to your inbox!
Starting with Anna’s set up, she had the Ortlieb Handlebar Pack QR upfront, Tailfin’s strap-on roll-top dry bags (known as the V-Mount Pack and Cargo Straps) up front on the fork legs, and the Tailfin AeroPack Alloy out back on the rear – with accompanying 'Cage Packs' strapped on for good measure.
Just as an overview before getting into the details, using cargo cages and dry bags in this way – along with the AeroPack and the handlebar bag – actually makes a seriously noticeable difference to the aerodynamics of the bike, compared to that of a pannier set up.
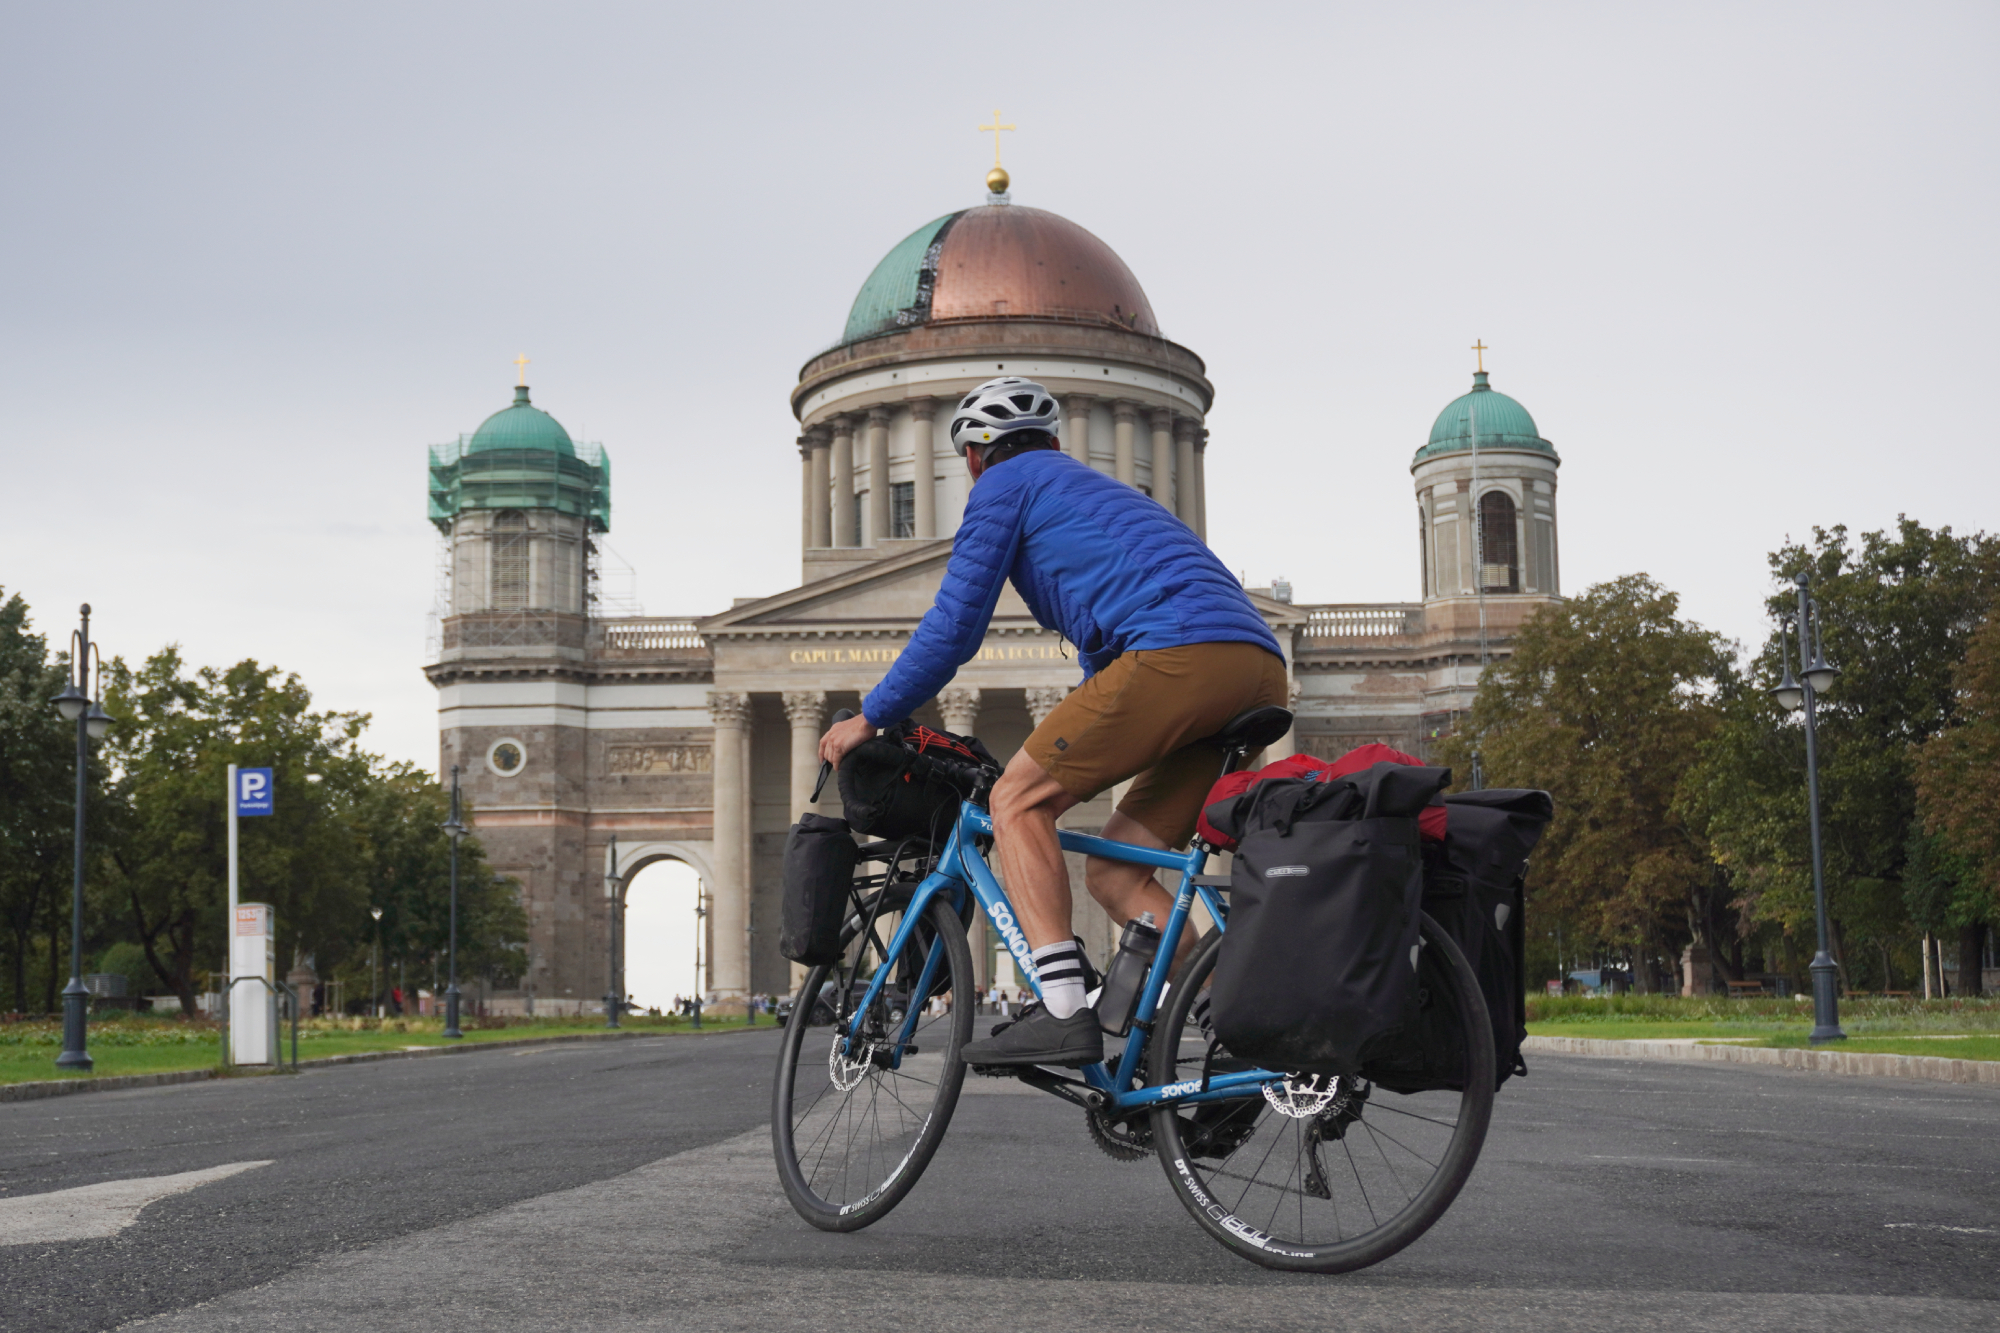
Cargo cages and all the rest also makes for a lighter system weight, but it’s really the air resistance where the difference is most significant.
With a set of wind-catching bike panniers, Stefan would barely reach above 50kph – even on the long mountain descents – due to the exponential way that aerodynamic drag works with increasing speed.
On the one hand, this did save save his brake pads a lot of work. But on the other, it does mean that headwinds are much, much tougher to ride through. An AeroPack and cargo cage system, by contrast, is much faster and more efficient in both cases!
Anna's kit
Ortlieb Handlebar pack QR
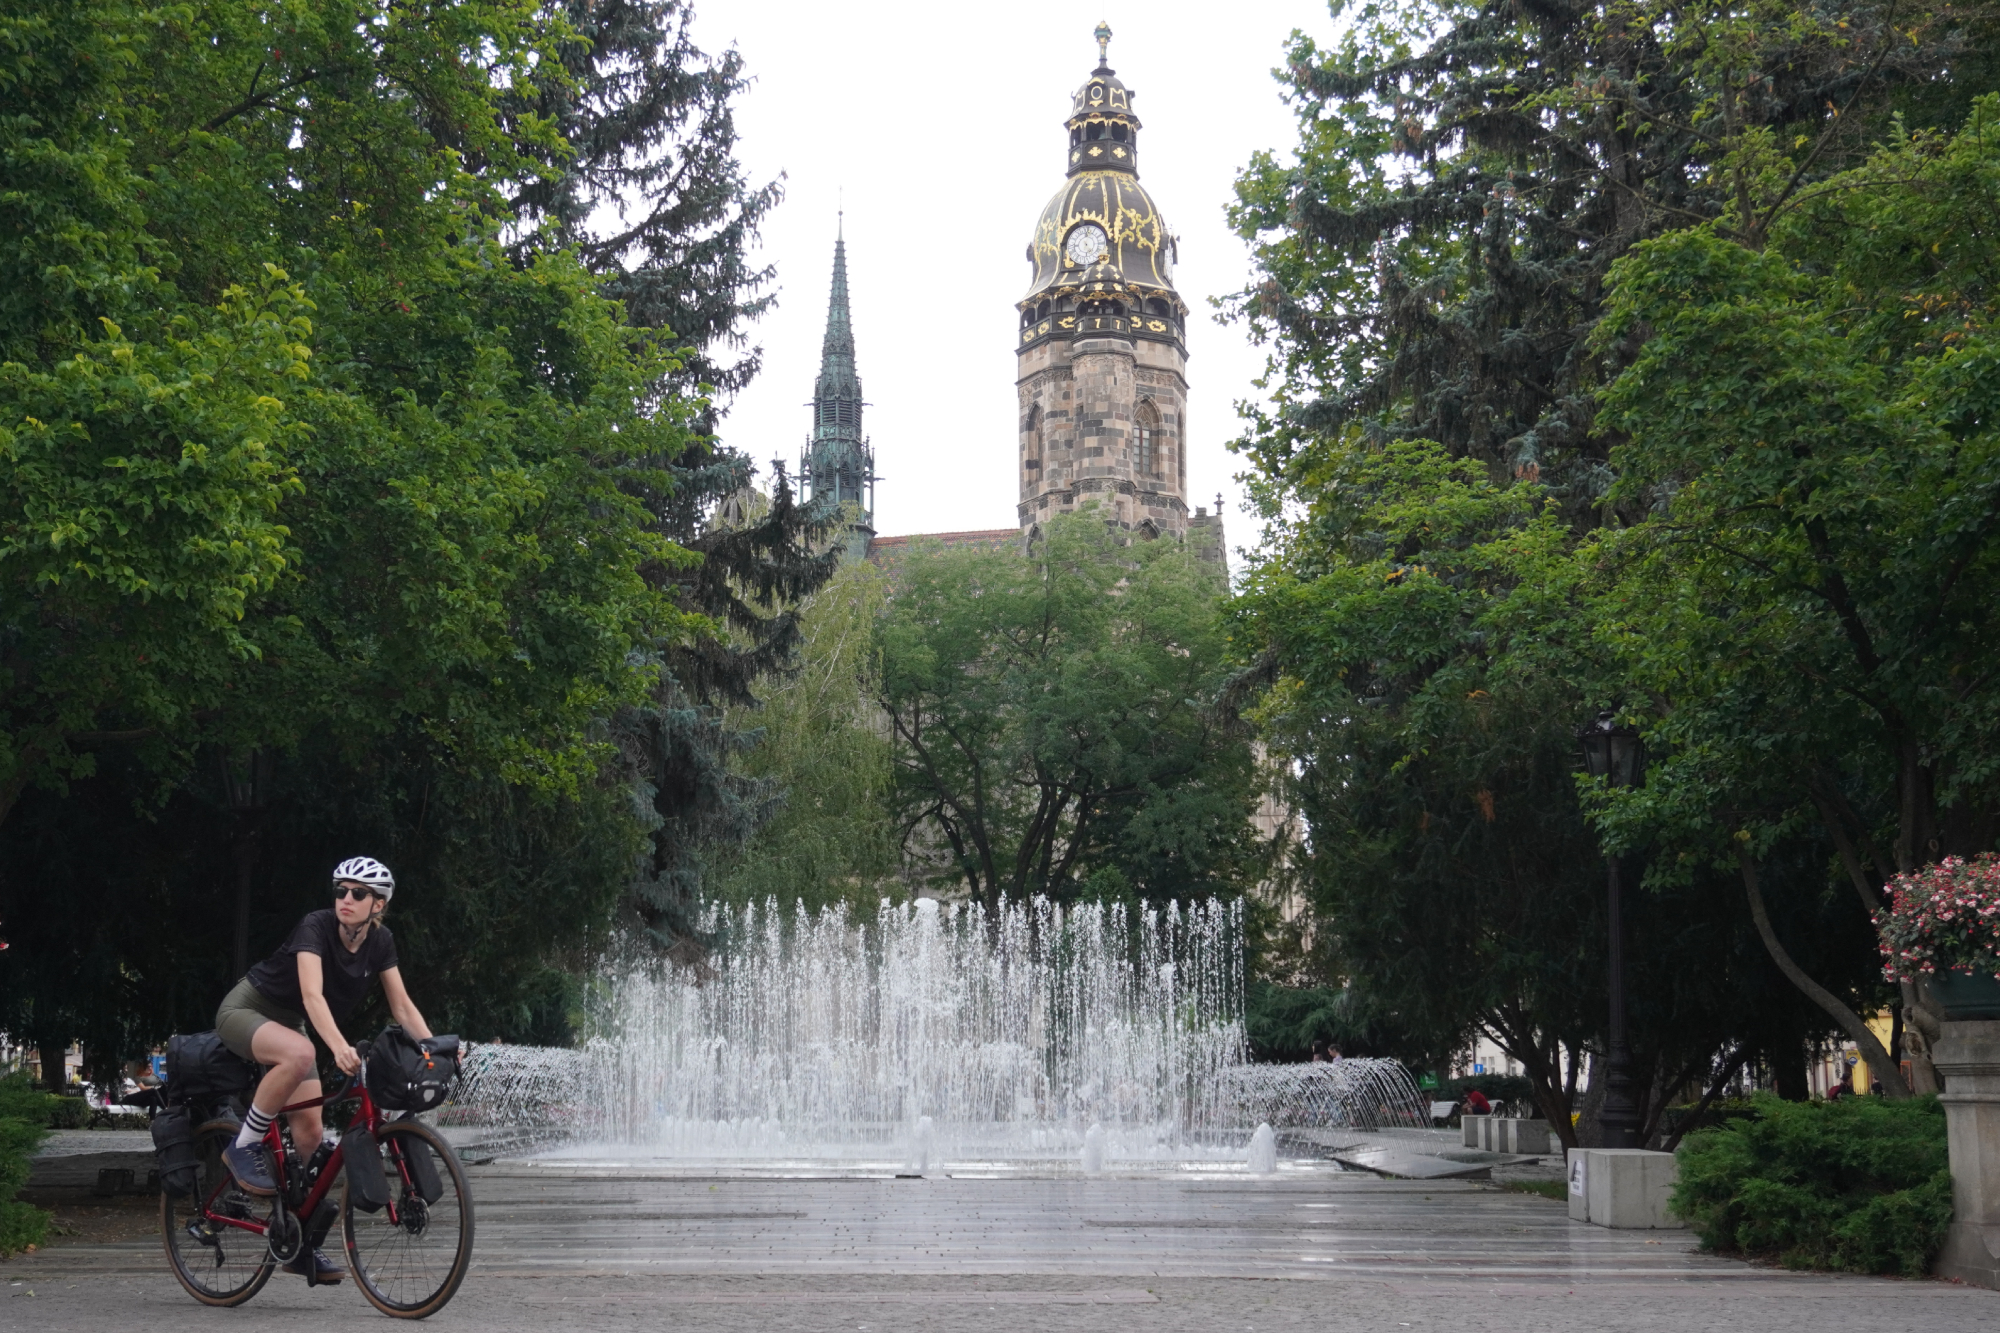
We’ll be quite brief because we have a full review already up on the site, but the Ortlieb Handlebar Pack QR was just as great for this trip as it is in general use.
The purpose we gave it was mainly for storing our food (always make sure to factor space in for that!) and the 13L capacity was excellent for being able to just load it right up at times when we expected a long gap between when we’d next be able to resupply.
The mesh side pockets also proved useful for stashing used wrappers on one side, and keeping a smartphone on the other (when it wasn’t pouring down with rain).
Tailfin V-Mount packs
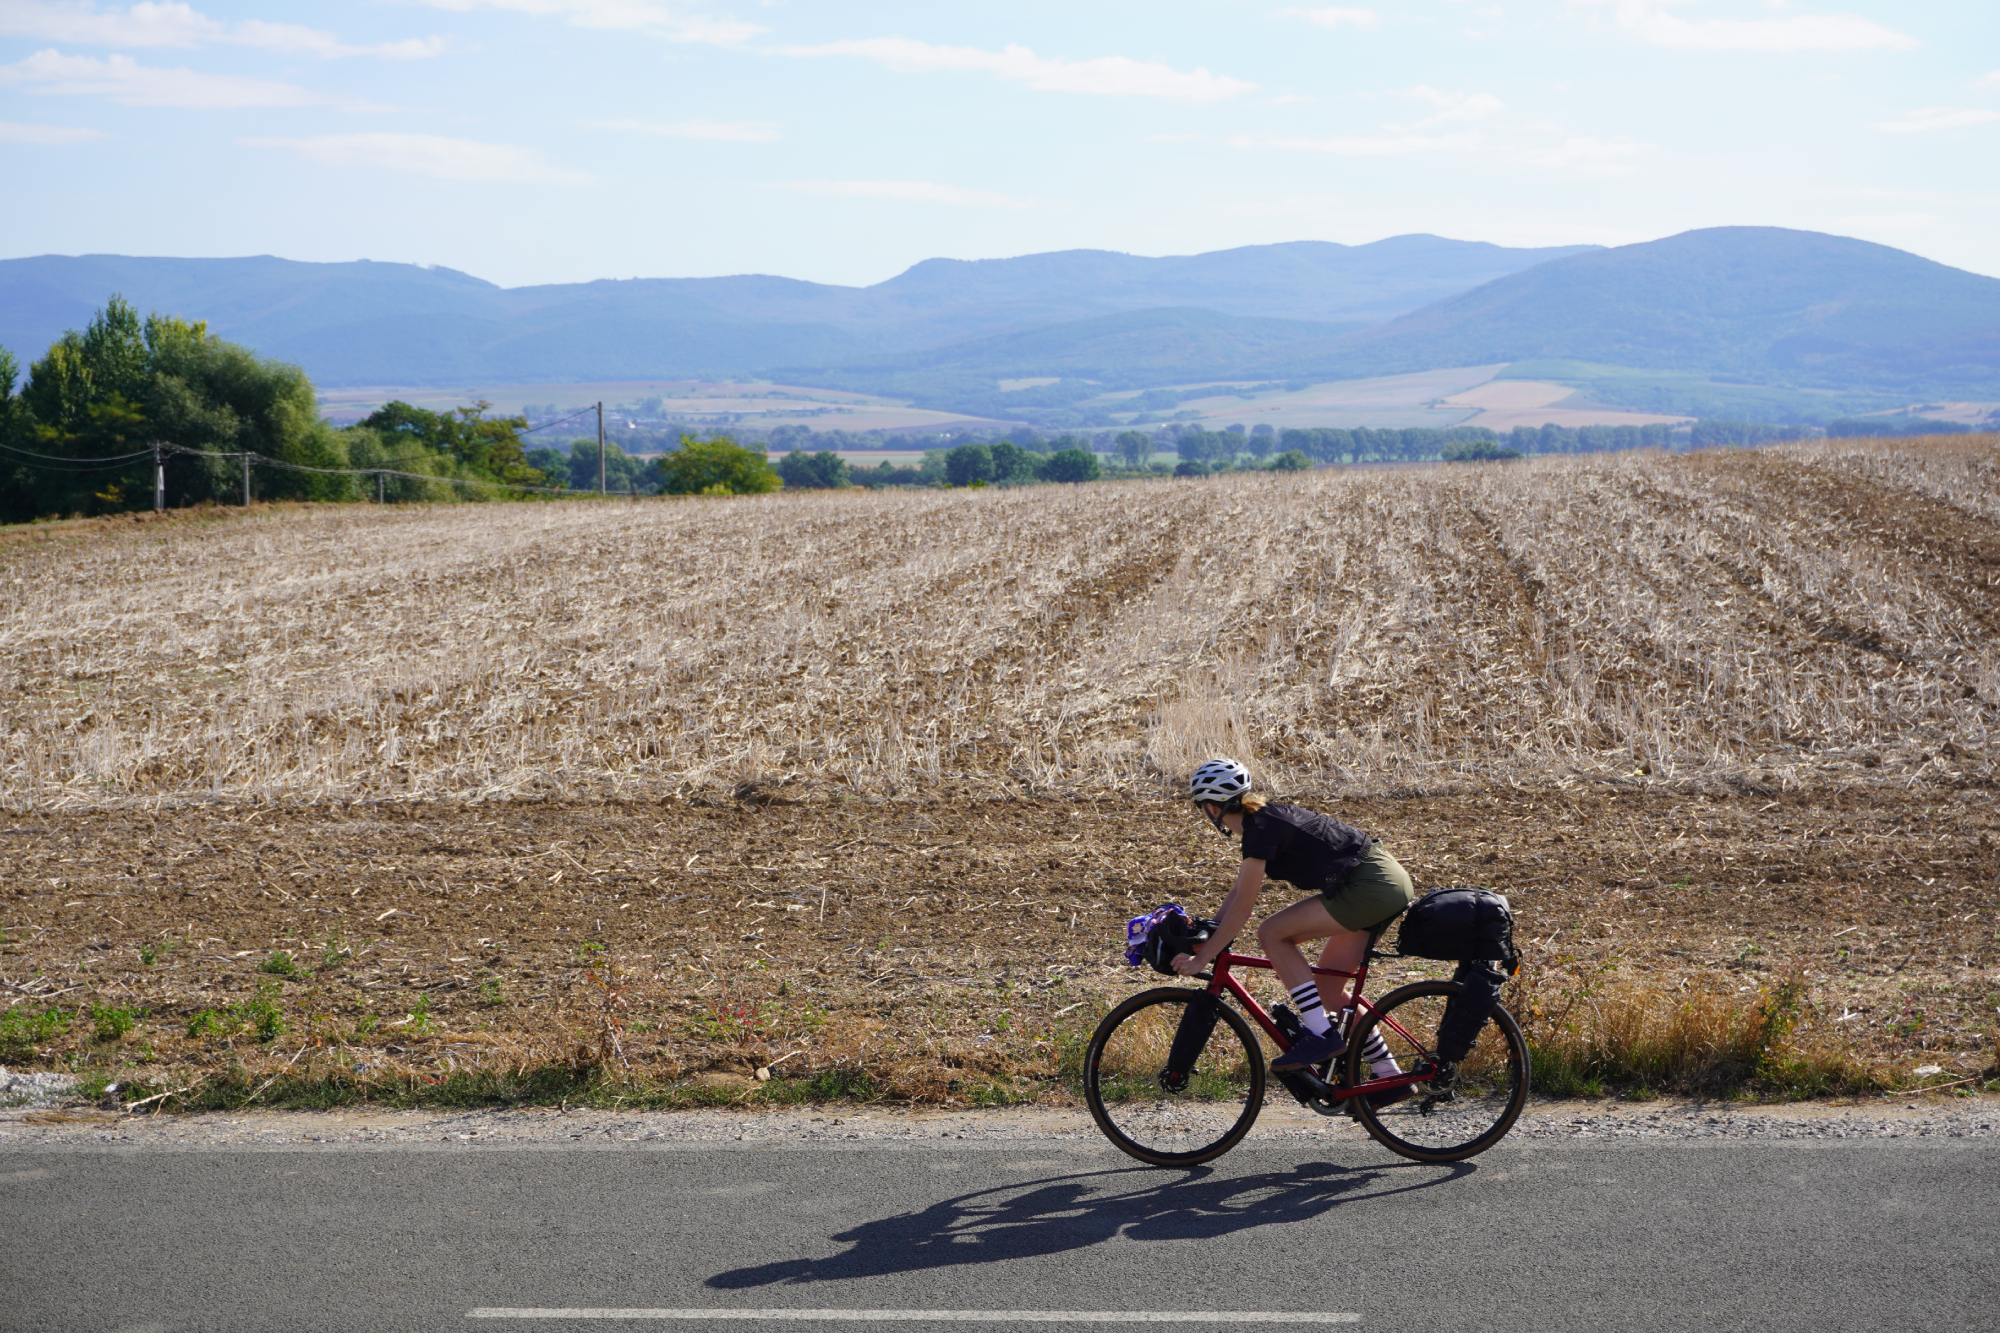
Anna riding from the Hungarian/Slovakian border to Košice
This was our first time using these bags for a long distance ride. Ironically, the Fara F/All-Road Series 2 didn’t actually need them, as it does have triple bosses on the fork legs for a more standard standard cargo cage and dry pack combination.
But given the usefulness of the Tailfin V-Mount Packs on so many other bikes (it’s incredible how many of the best gravel bikes don’t have triple mounts), we strapped them on and put them to the test anyway.
And the V-Mount Packs did prove to be utterly brilliant. First off, it’s very useful being able to weight the front of the bike a little more and balance out the weight distribution. It can be easy to go quite rear heavy when bikepacking and end up with unpleasantly light steering. These packs really help with that, which makes them even more useful beyond just their extra storage capacity.
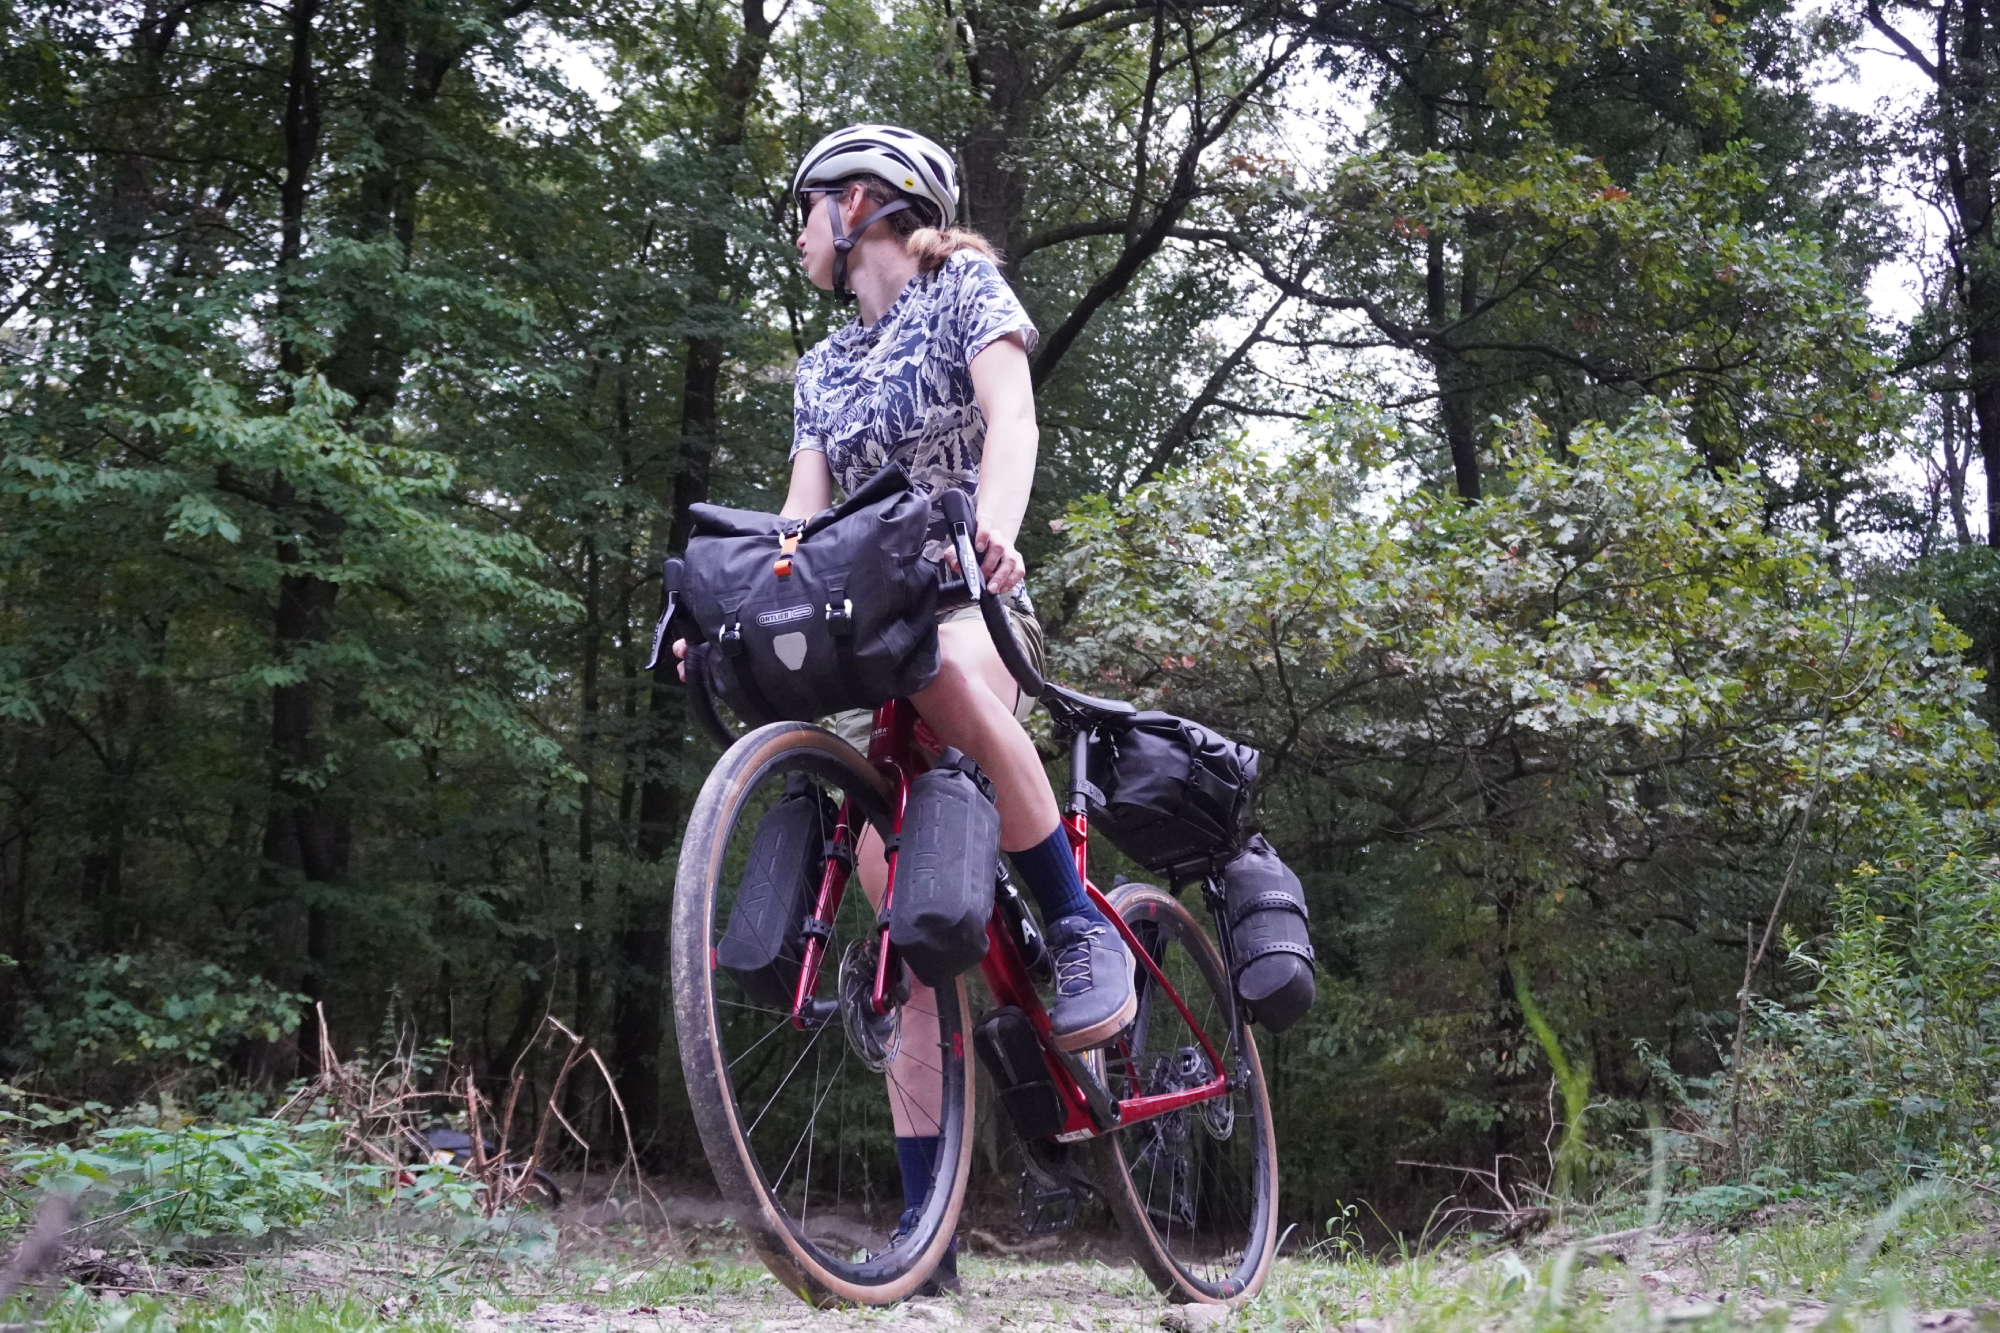
And despite being loaded to be brim, the V-Mount Packs stayed rock solidly in place, thanks to Tailfin’s cargo straps – which deserve a similar portion of the credit. These might look a lot like a Voile strap, but whereas those are actually designed primarily for skis rather than riding, and the Tailfin ones have many bike-specific elements to their design. A key one being the plastic buckle that doesn’t (and didn’t) damage your bike, yet is also incredibly robust – you can even step on them!
The waterproofness was flawless – and we rode through downpours that soaked us faster and more thoroughly than a hosepipe would manage, so we can fully attest to this.
You can take the V-Mount Packs on and off, but it is a bit fiddly – like mounting a transponder to your fork for a race, but multiplied by four. So we just left them on the bike at all times and that worked pretty much fine.
View Tailfin V-Mount Packs on tailfin.cc
Tailfin AeroPack and Cage Packs
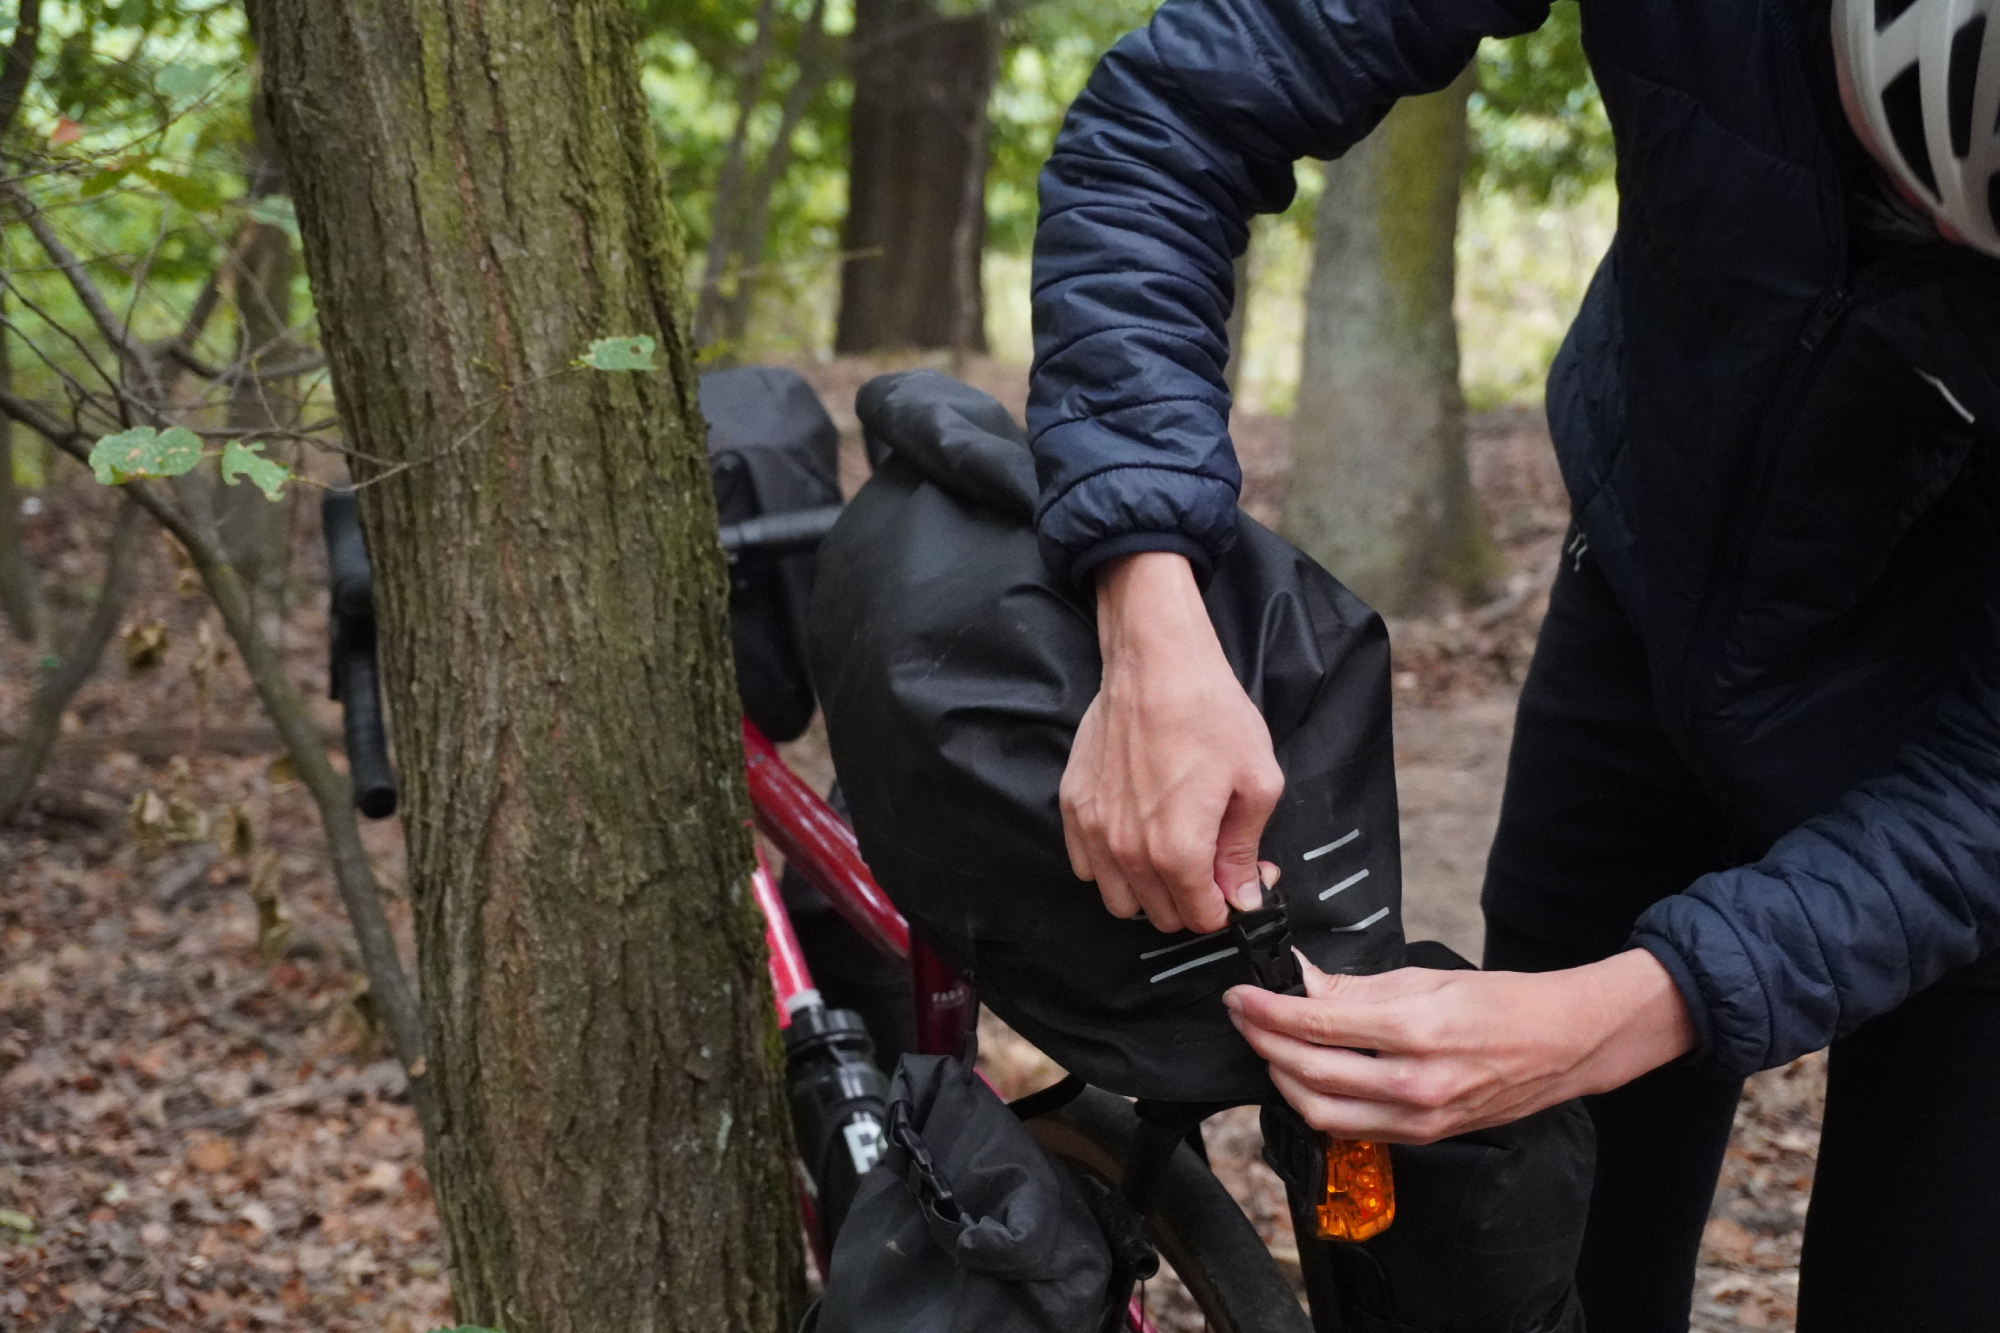
The Tailfin AeroPack has been around for a while now and we already have a review of the AeroPack S Rigid Seat Pack model. But just to cover the same ground briefly – it’s an excellent design for carrying much more kit than you could manage with even the best saddle bags – the AeroPack is also much more stable as well. It’s a plus in both aspects.
The universal thru axle for mounting the pack has to be up there with the neatest design solutions. You can swap in different thread pitches to suit the overwhelming majority of bikes out there, and removing the pack is as simple as unpopping three quick release fasteners.
So, the AeroPack holds more than a saddle bag, it's more stable and (once you have the thru axle in) it's faster to mount and dismount. You couldn’t really ask for more. Plus the thru axle itself is no more difficult to remove when cleaning the bike than a standard thru axle anyway.
The alloy frame version we had is cheaper than the carbon and reassuringly robust. We attached a pair of cargo cages and ran it with a set of Tailfin’s Cage Pack dry bags. These were easier to remove than the front bags, but the long straps needed to hold them in place did prove a bit of a faff at time.
That said, the Cage Pack bags performed their job perfectly and we wouldn’t swap them out for anything else were we to go round again – so that tells you something.
Stefan's kit
Ortlieb Vario PS pannier backpacks
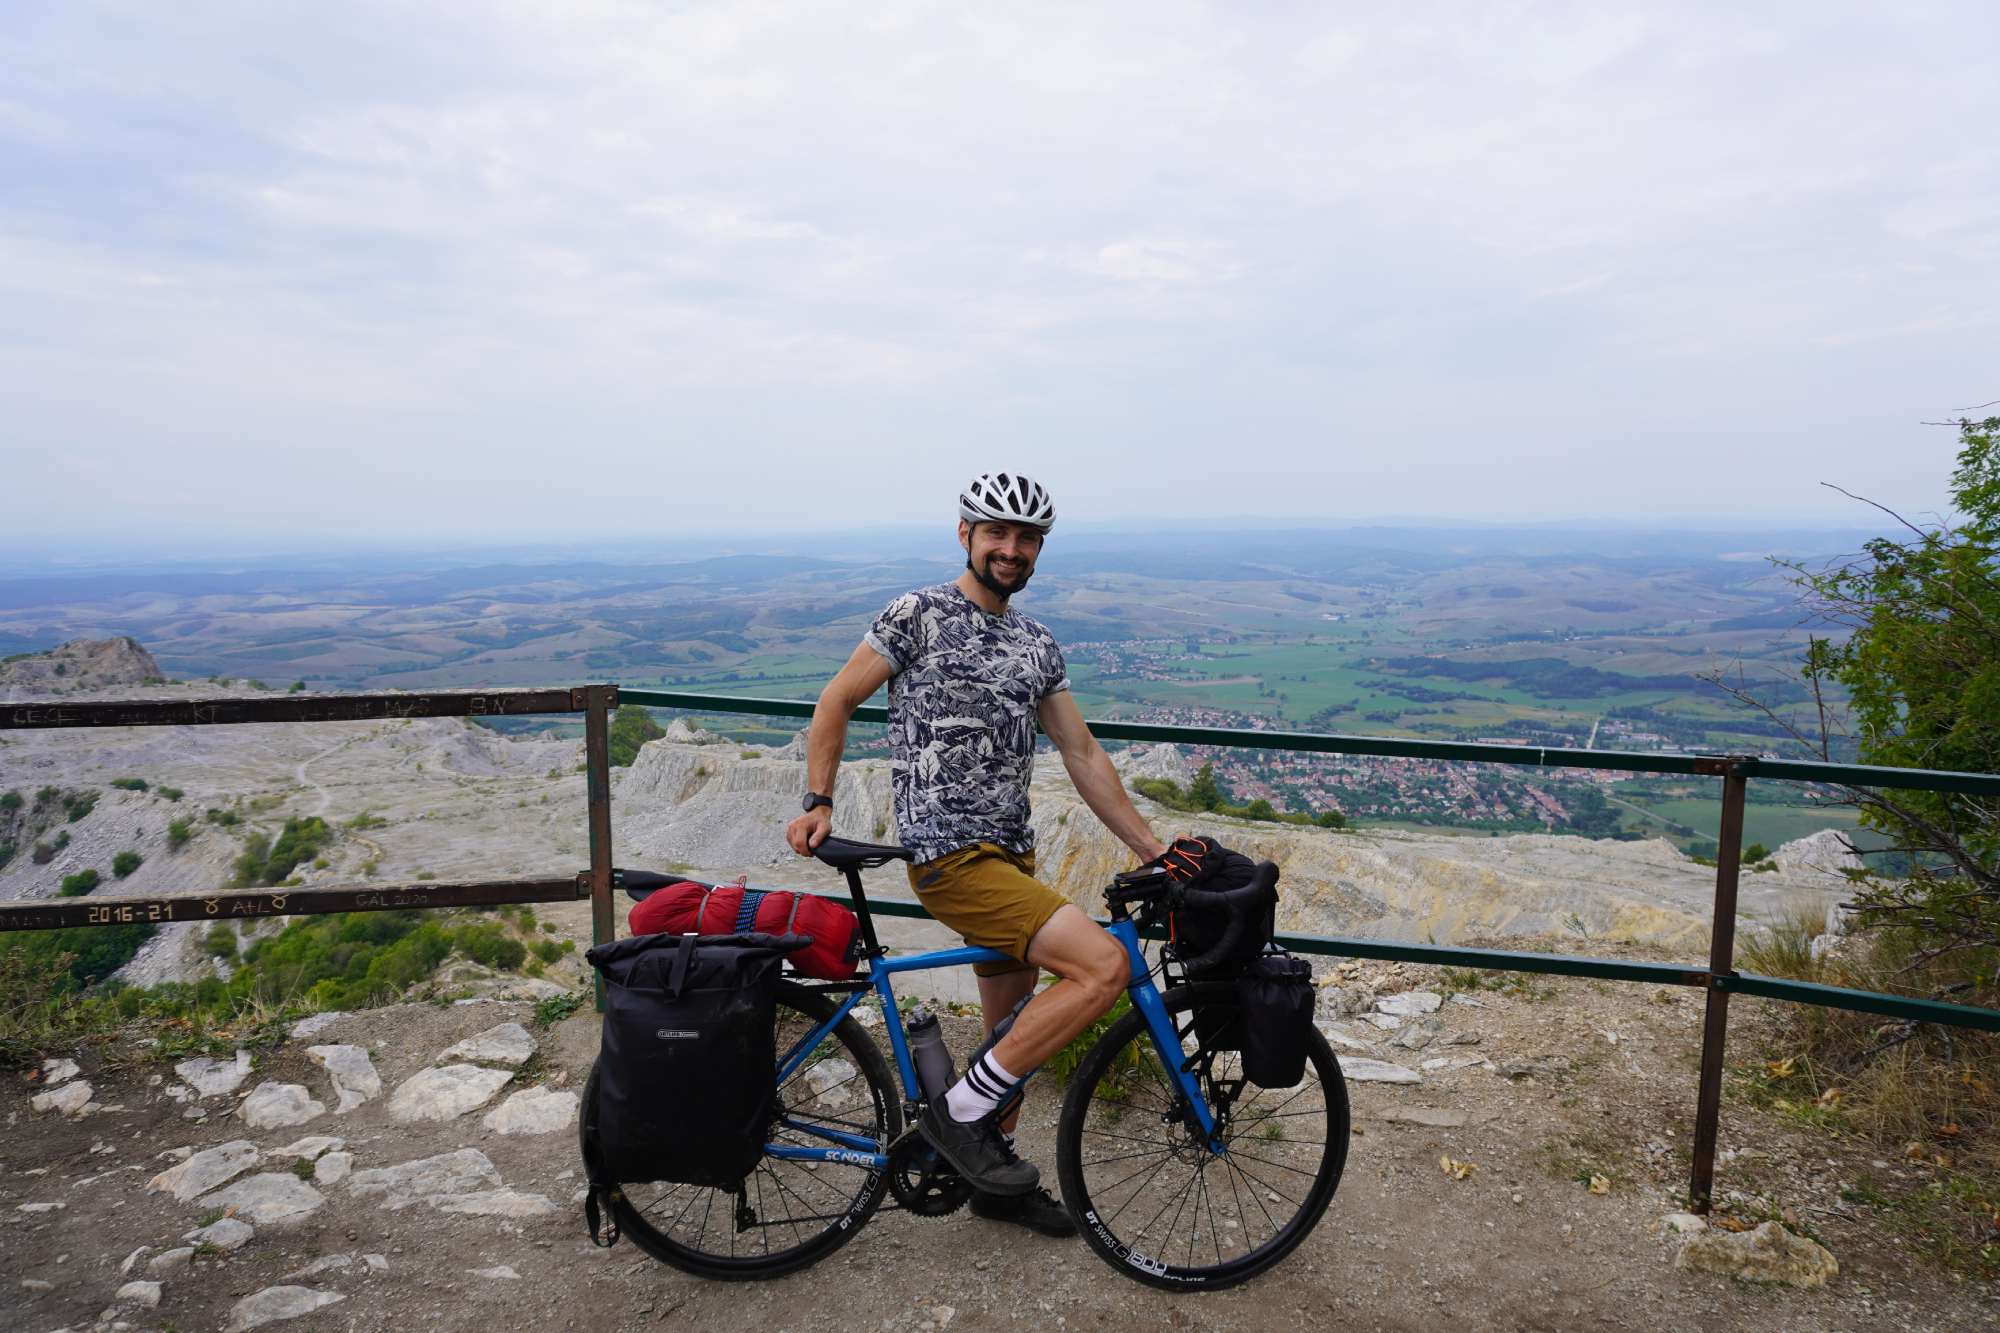
Panniers? Why!?
Yes, in a few ways panniers aren’t ideal for this length of trip – they are very bulky, and this particular model is one of the heavier options. But there is a very good reason why we wouldn’t have gone with any other system.
Ortlieb’s Vario PS pannier backpacks are reversible and can be converted into a backpack in a matter of seconds. For all our walks around cathedrals, castles and museums on the way, being able to keep our valuables (a laptop, camera and money), some layers and some food, with us at all times was a really massive help.
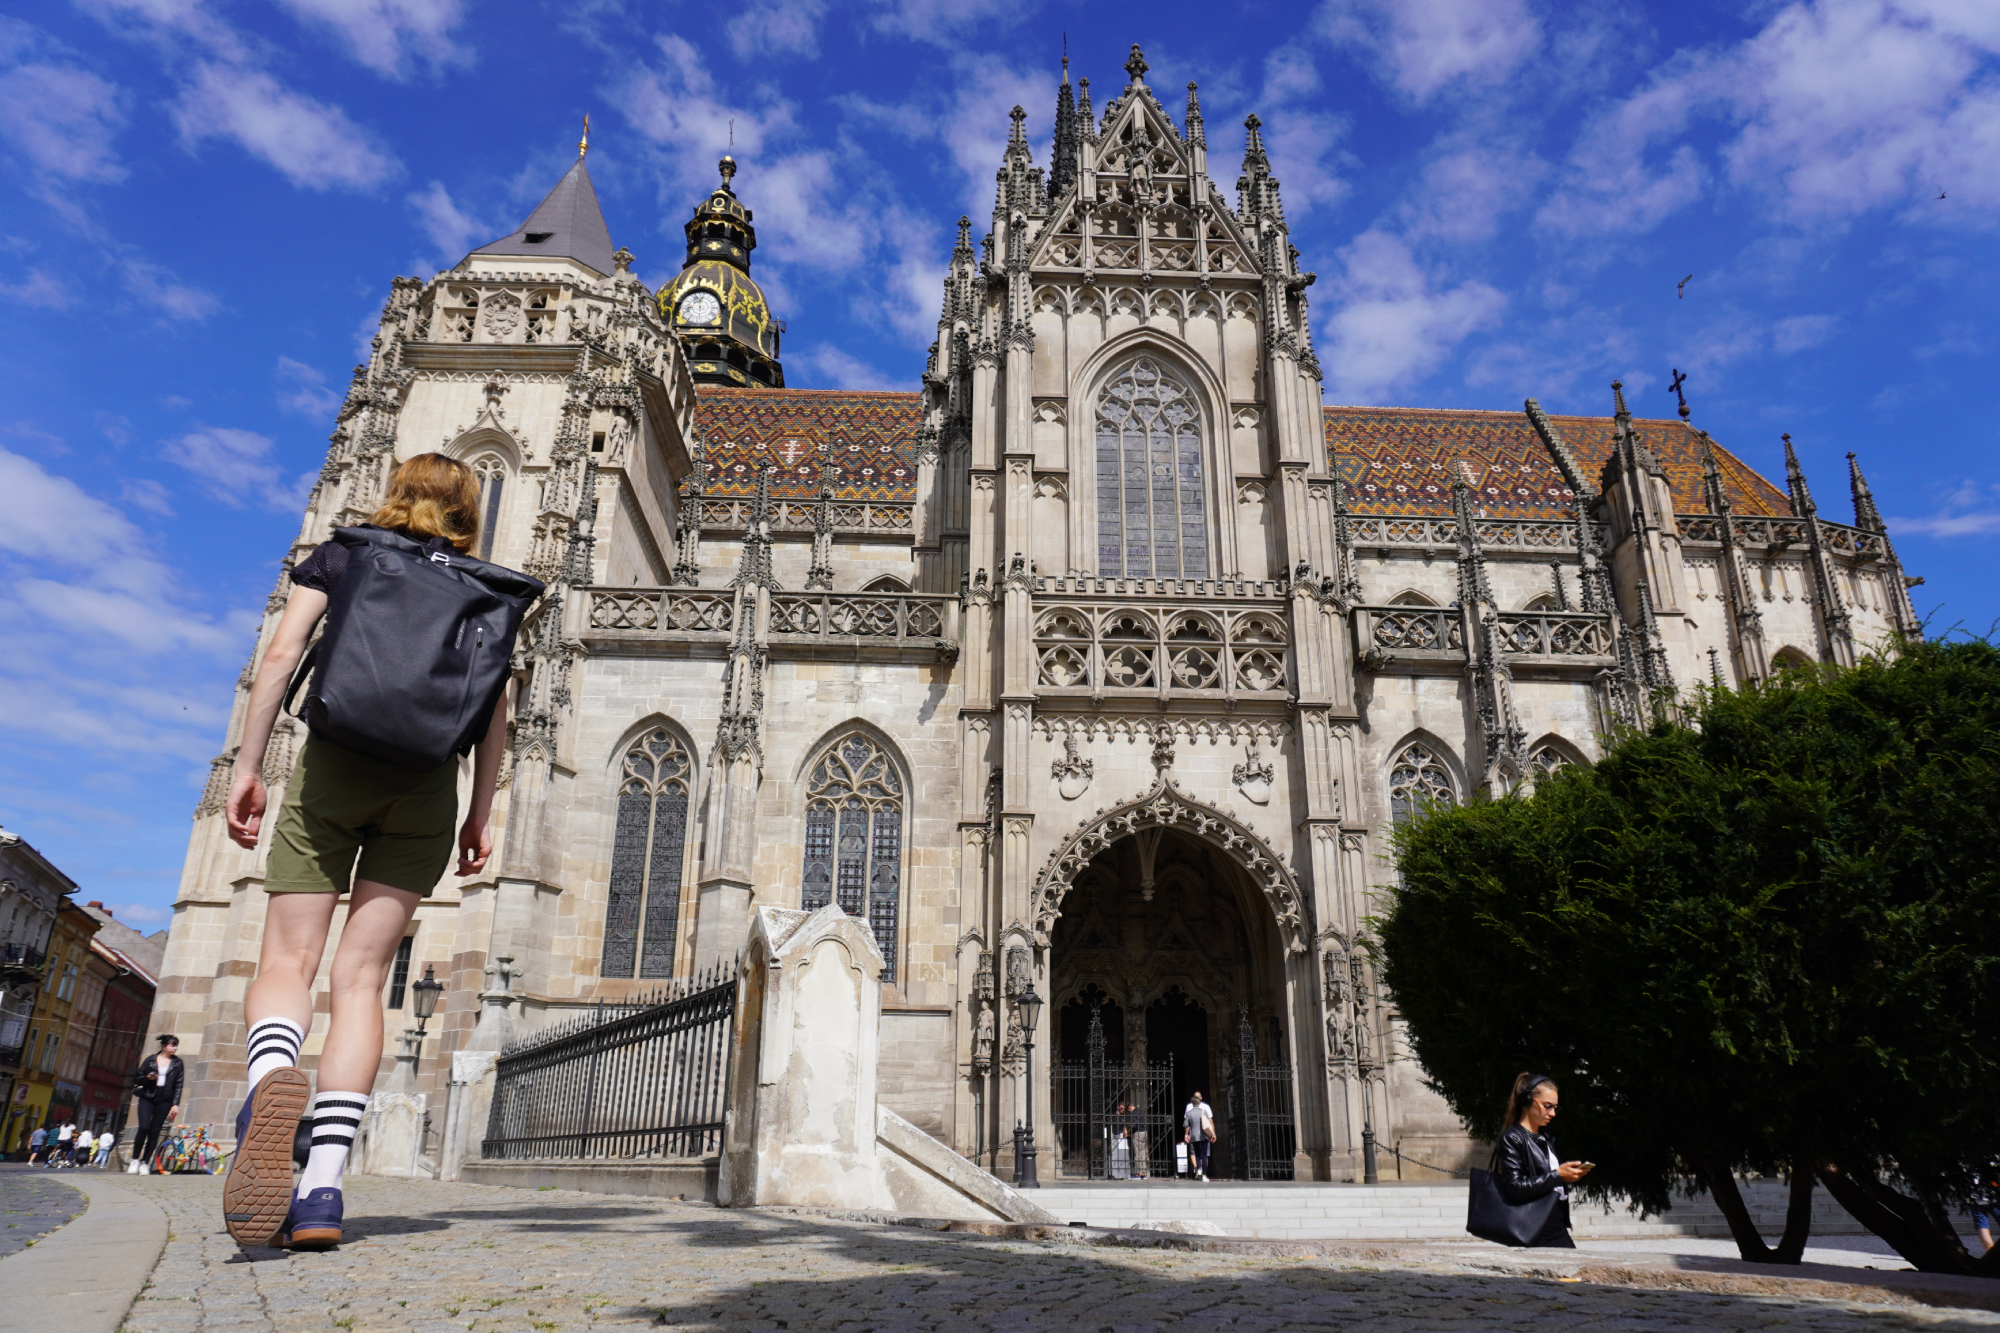
Anna walking towards the St Elisabeth Cathedral in Košice, Slovakia wearing the Ortlieb Vario PS pannier backpack
Simply put, we wouldn’t have been able to see the things that we did without the versatility of these bags.
Finally, as with all the other kit, the Ortlieb Vario PS panniers had their waterproofing very thoroughly tested and passed without a problem.
Tailfin Mini Panniers
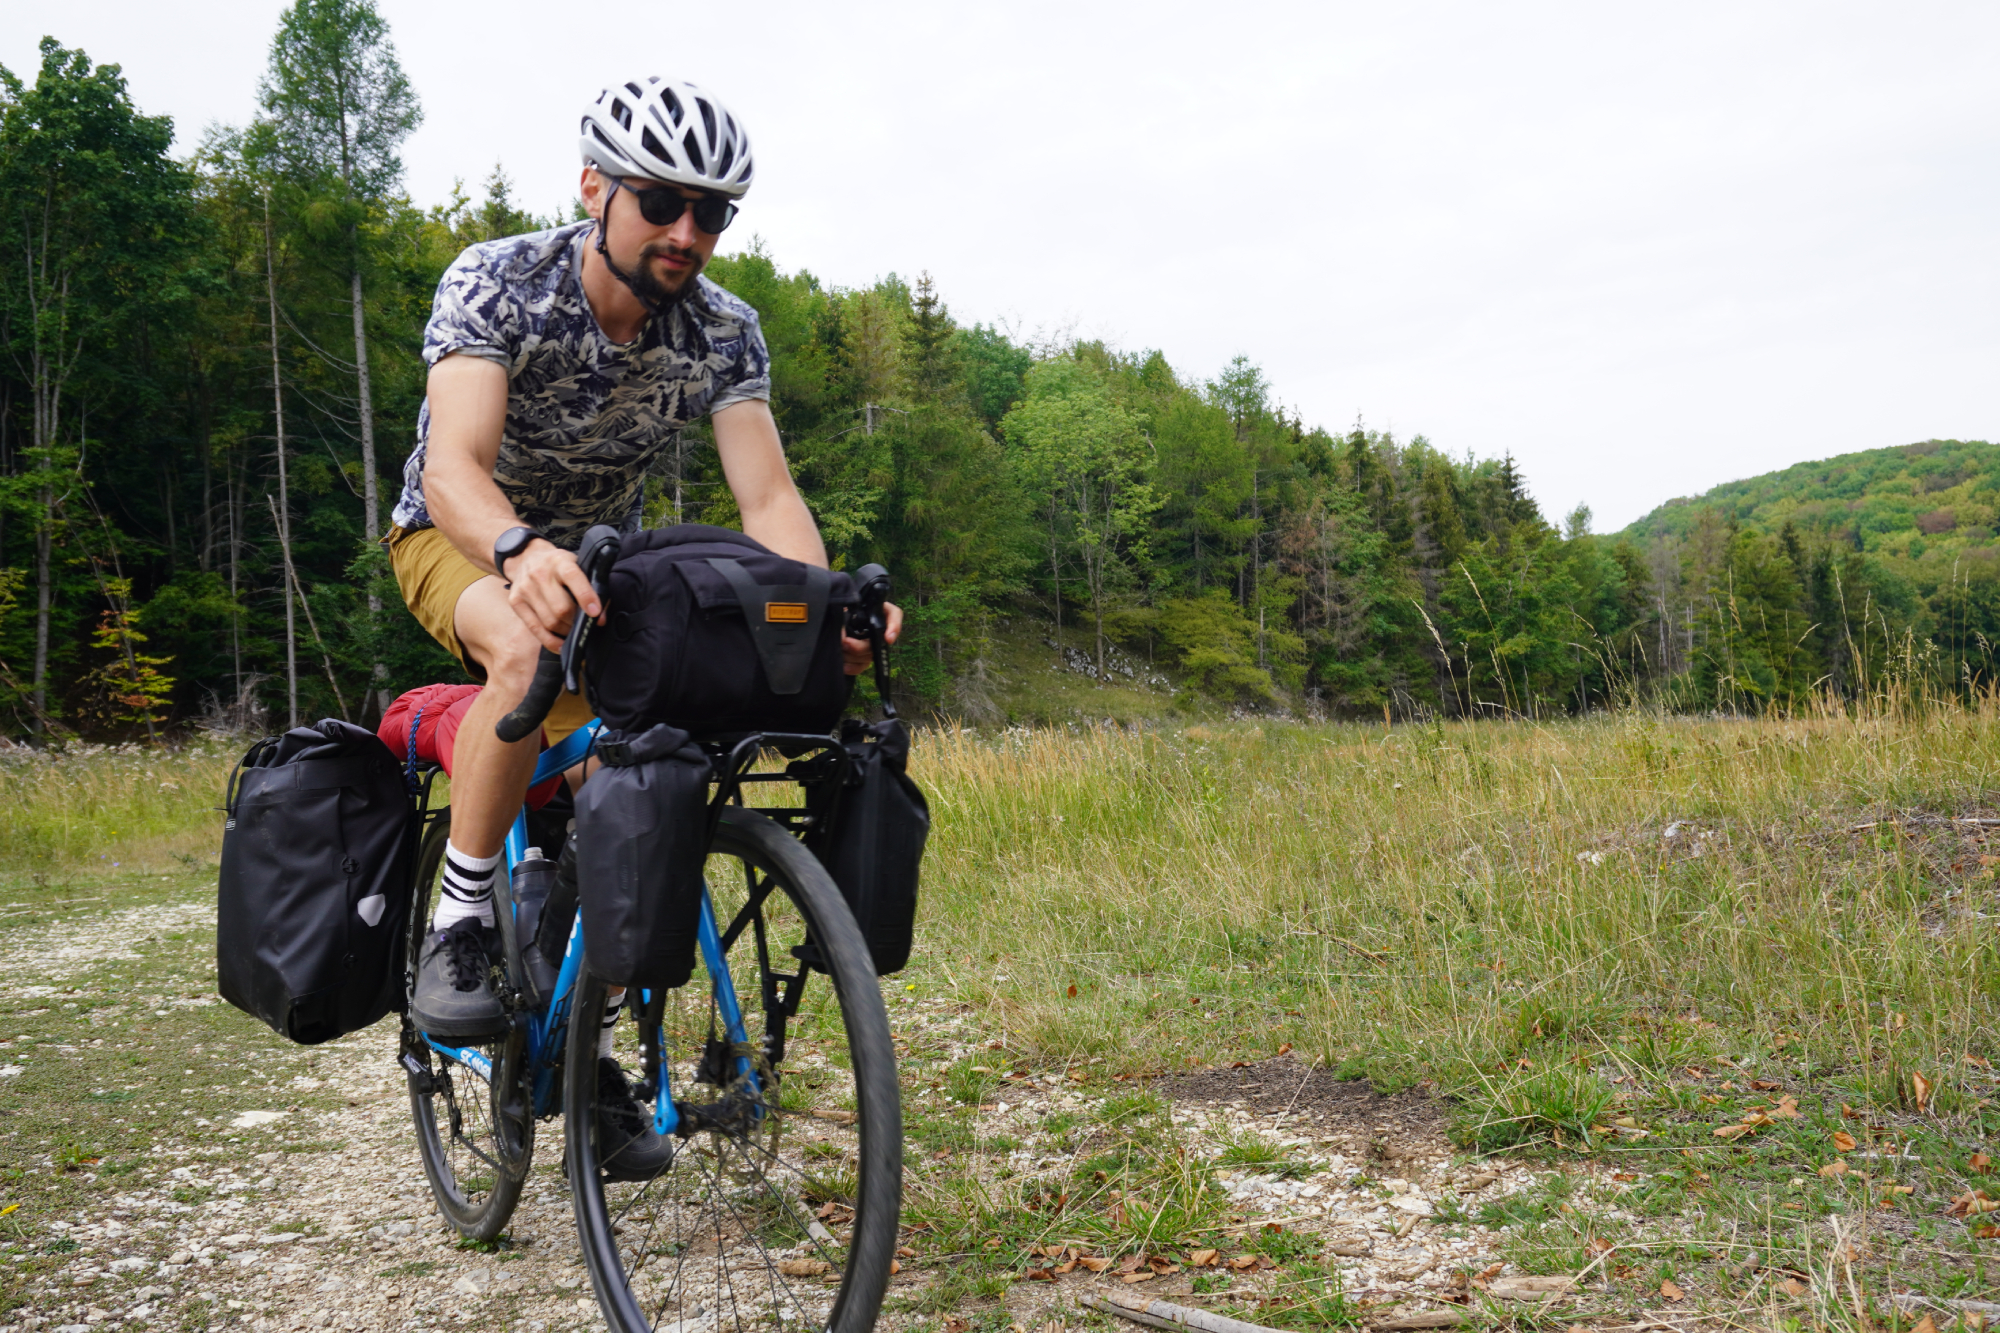
Up front, to boost the carrying capacity and balance out the weight distribution a bit, I was using a set of Tailfin’s mini panniers.
Now these are really neat. They have a quick release mechanism for easy removal – a matter of seconds, just like the Ortlieb Vario PS panniers – but where they outperform Ortlieb panniers is that Tailfin's Mini Panniers actually clamp onto the rack and stay steadfastly in place. Although Ortlieb bags don't auto-eject, they are prone to rattle about, which is a little annoying.
The profile of these mini panniers is nice and low. Although on Stefan’s bike the aerodynamic damage was already done by the larger panniers at the rear. In other set ups, the Mini Panniers would be – relatively – streamlined. Bigger options are available if you want to cram in more kit, though.
View Mini Panniers on tailfin.cc
Restrap Bar Pack
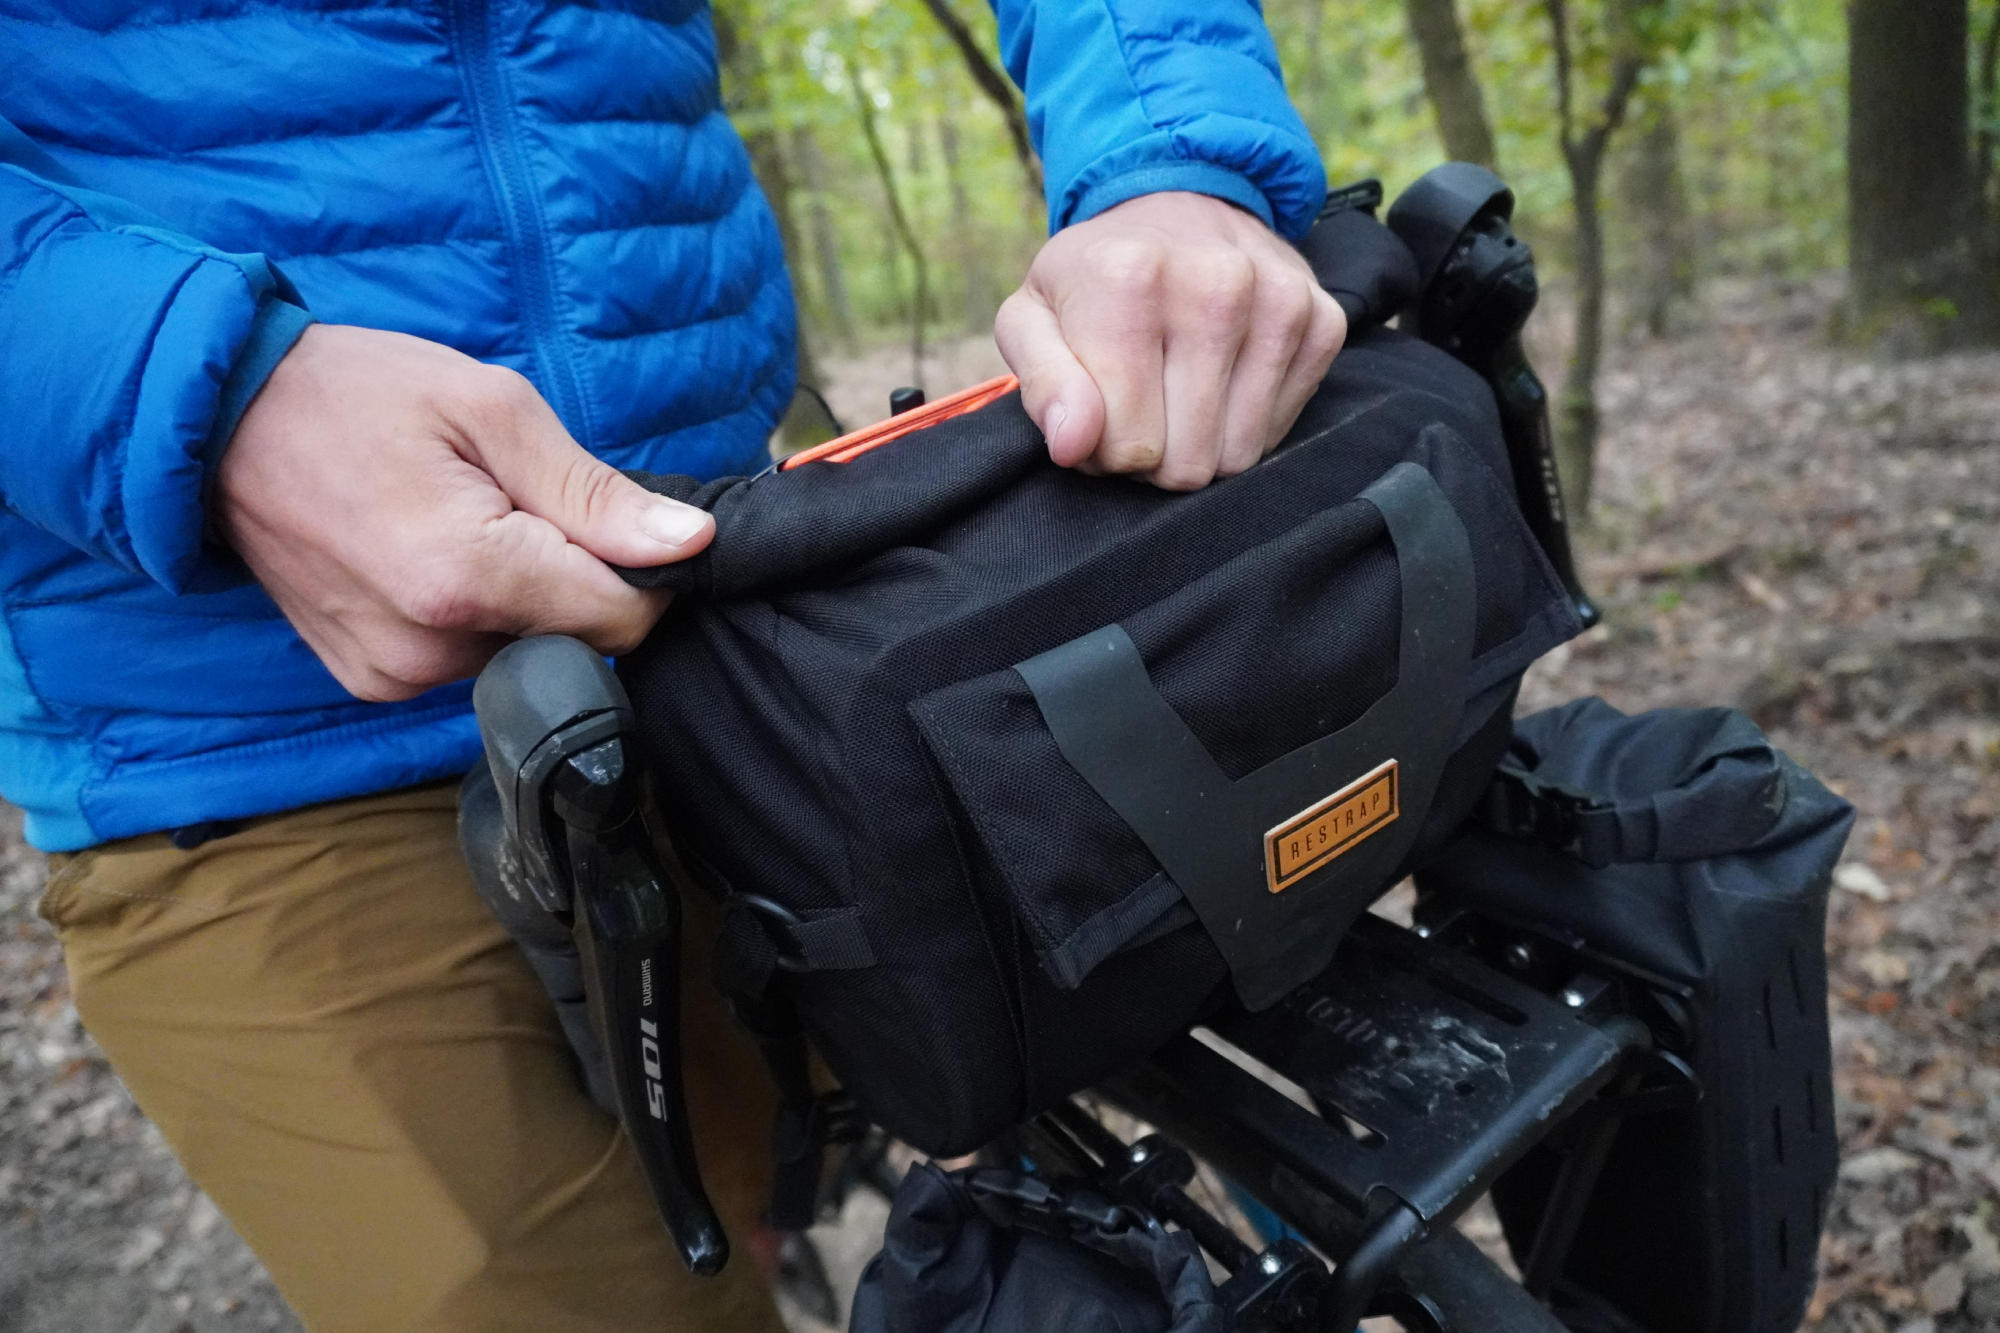
Again, another previously reviewed item. Restrap’s Bar Pack is nice and easy to use with its roll-top entry system. That said, we did under-use this bag for this trip – it’s where we kept one of the sleeping bags and, as such, only ever opened it once per day. It did that job excellently though!
Old Man Mountain Divide Rack
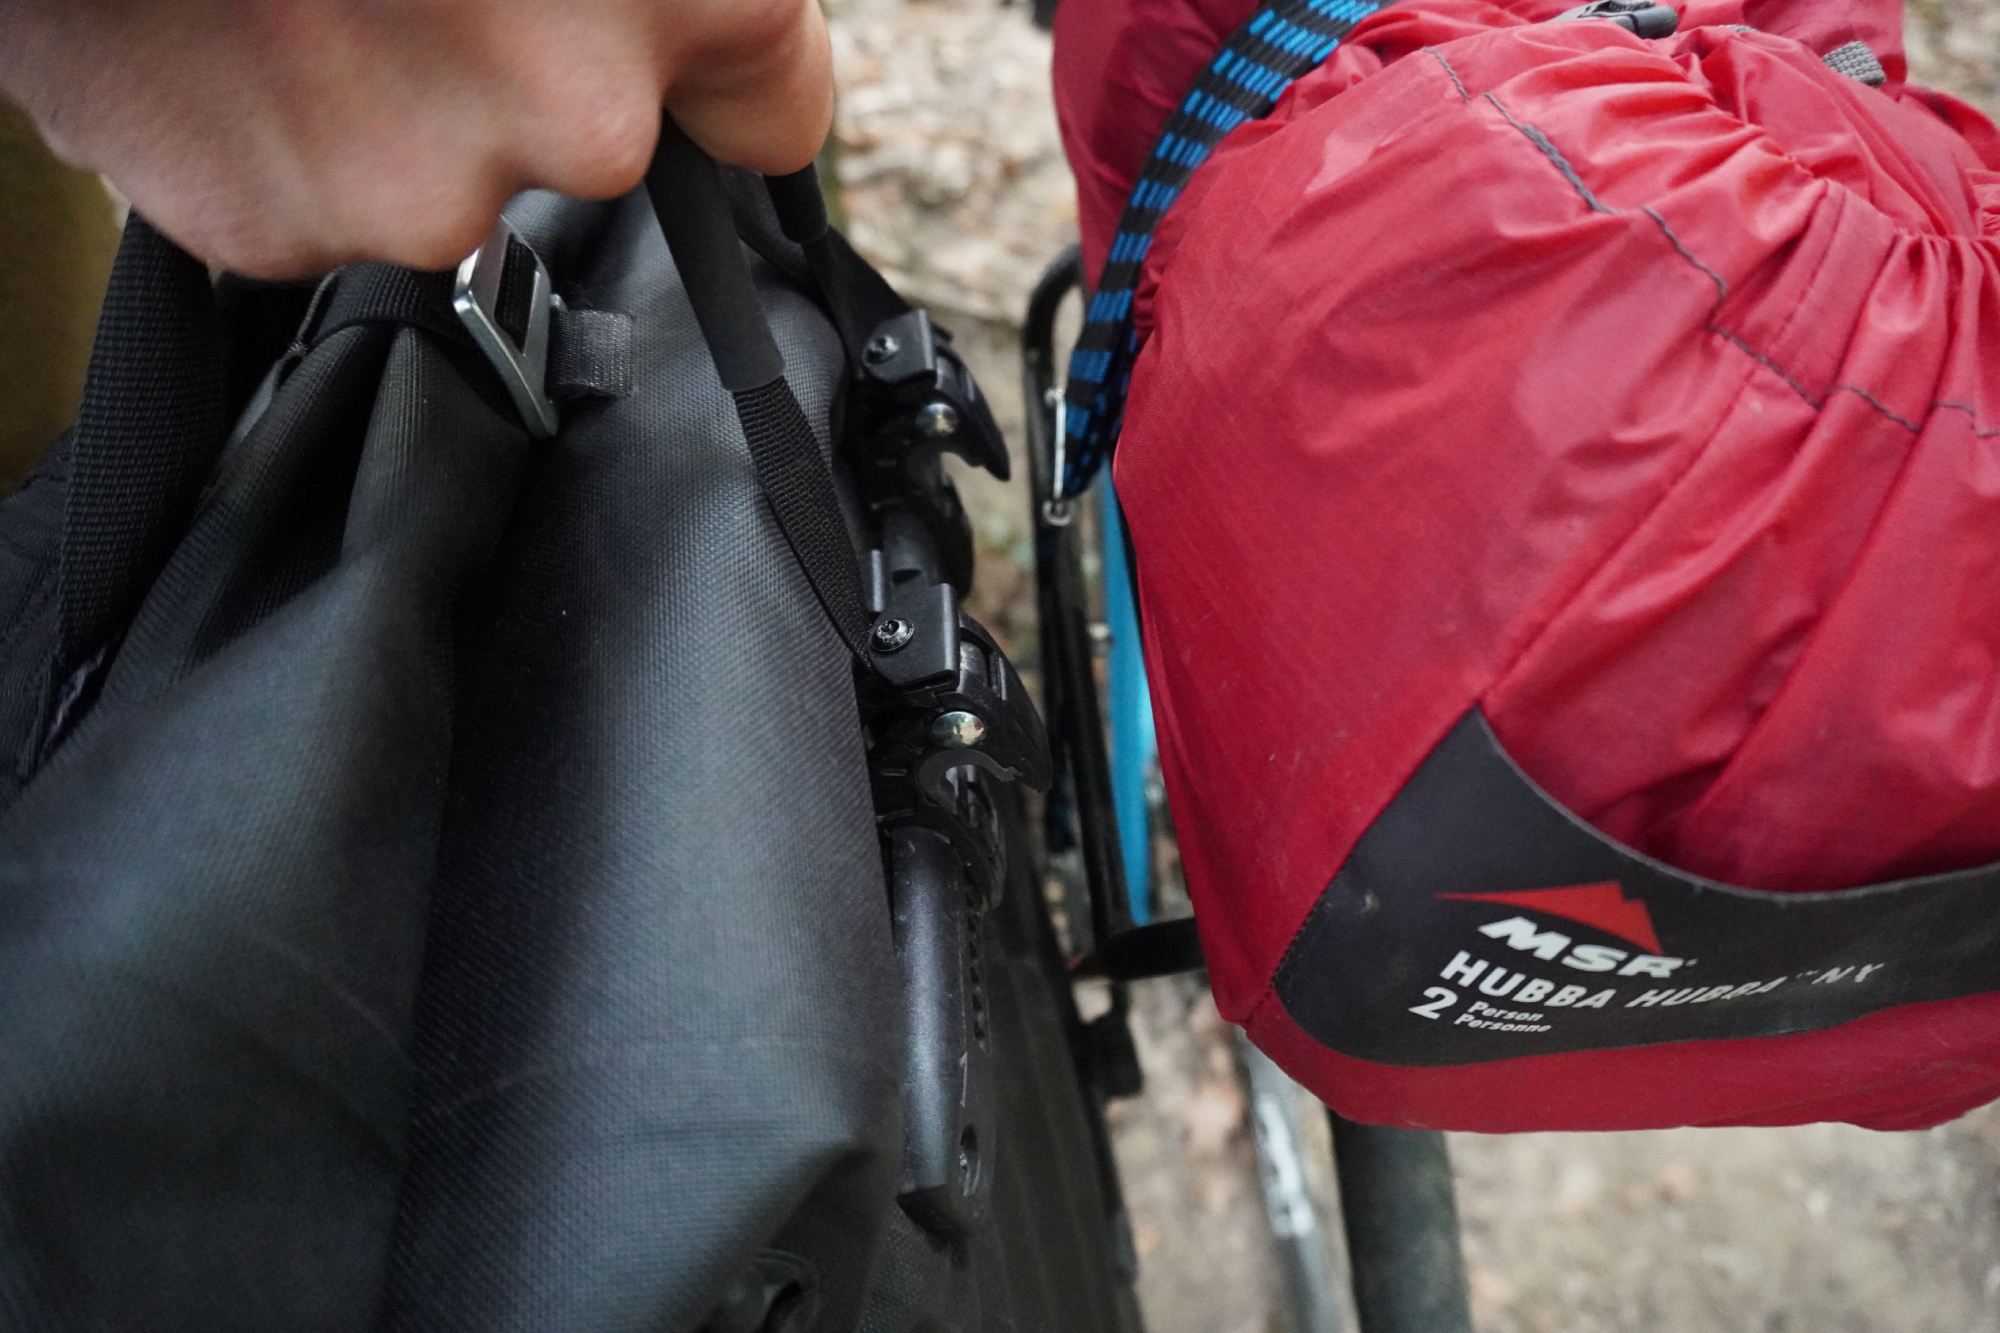
The foundation for carrying all this was the Divide Rack from Old Man Mountain.
This rack can be mounted on either the front or the rear of your bike (Stefan used one for each) – and even has the option to be mounted using the thru axles, for bikes without the necessary mounts.
With a significant number of modern gravel bikes eschewing traditional mounts, this is a feature that is really very useful.
As the Sonder Colibri Stefan was riding did have the necessary mounts, we didn’t bother with the thru axles. On the rear, this was fine. But on the front, the rack ended up being rather higher than it needed to be and meant there wasn’t much space for putting anything else on it. The Restrap handlebar bag was even getting propped up by it!
Not an issue with the rack, though, just a warning that you’ll almost definitely want to go with the thru axle mounting on the front, if you decide to go down that route.
View Divide Rack on oldmanmountain.com
CAMPING
MSR Hubba Hubba tent
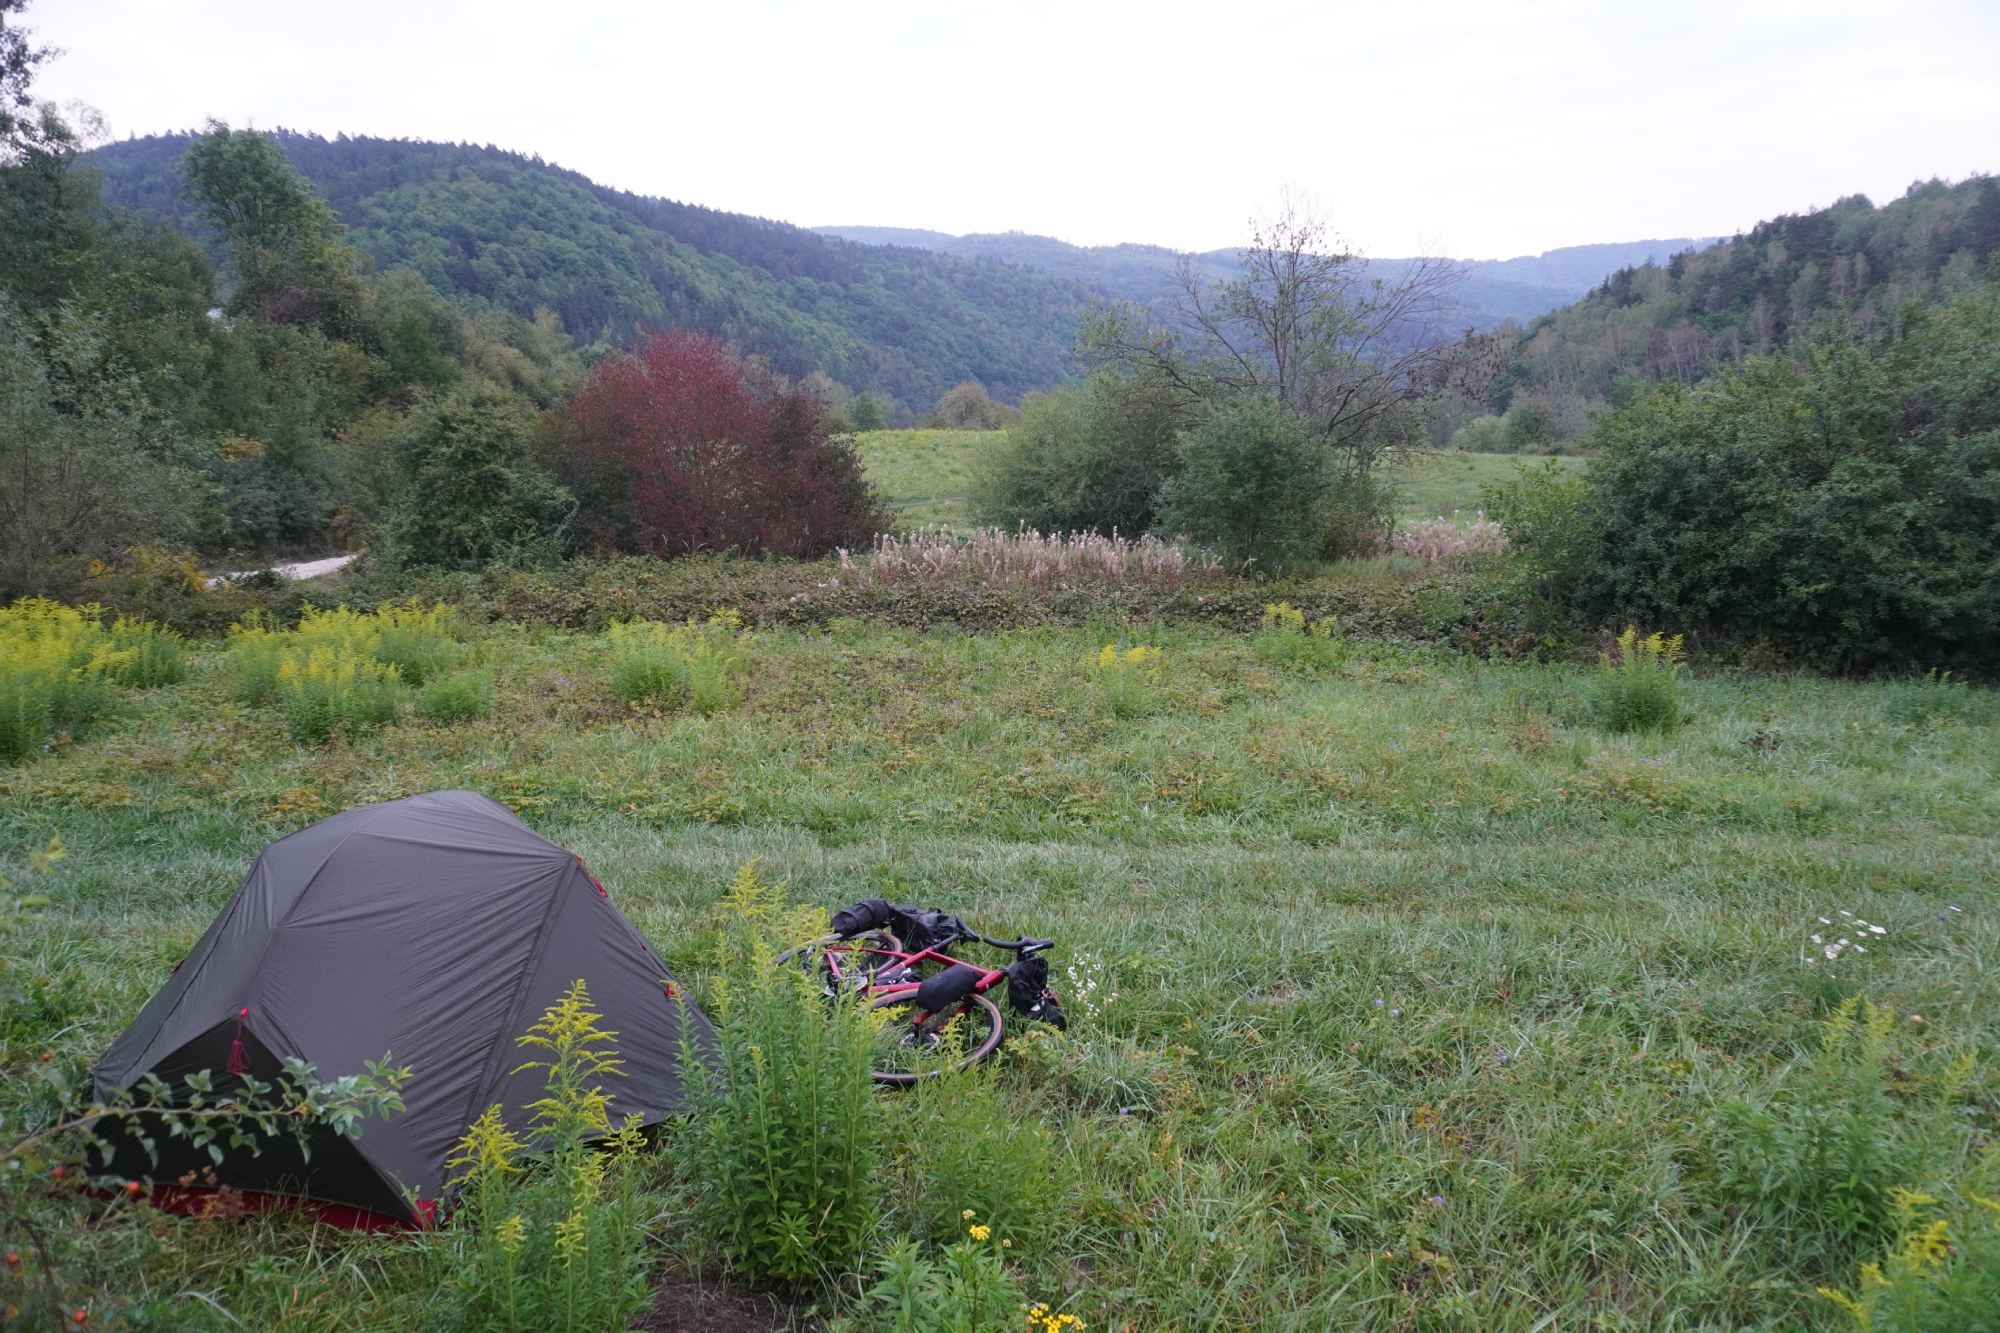
For this trip we were using the MSR Hubba Hubba tent. It’s not the lightest option, using metal poles rather than the carbon fibre that some models come with. But it’s a very good balance of robustness, packability and general ease of use.
On the packability, it’s really great that the bag it comes in (as with all MSR tents we’ve previously used) is generously sized and has compression straps. Getting the tent in it is a breeze and it doesn’t take up much space. In fact, it fitted pretty much perfectly on the Old Man Mountain rear pannier rack.
The rainfly, which got some extremely heavy use over the course of the trip, did a highly commendable job. The water beaded well on the outside of the fabric and, although not quite like a Gore Shakedry jacket, it was possible to get much of the dew (and rain) off in the morning with just a firm shake.
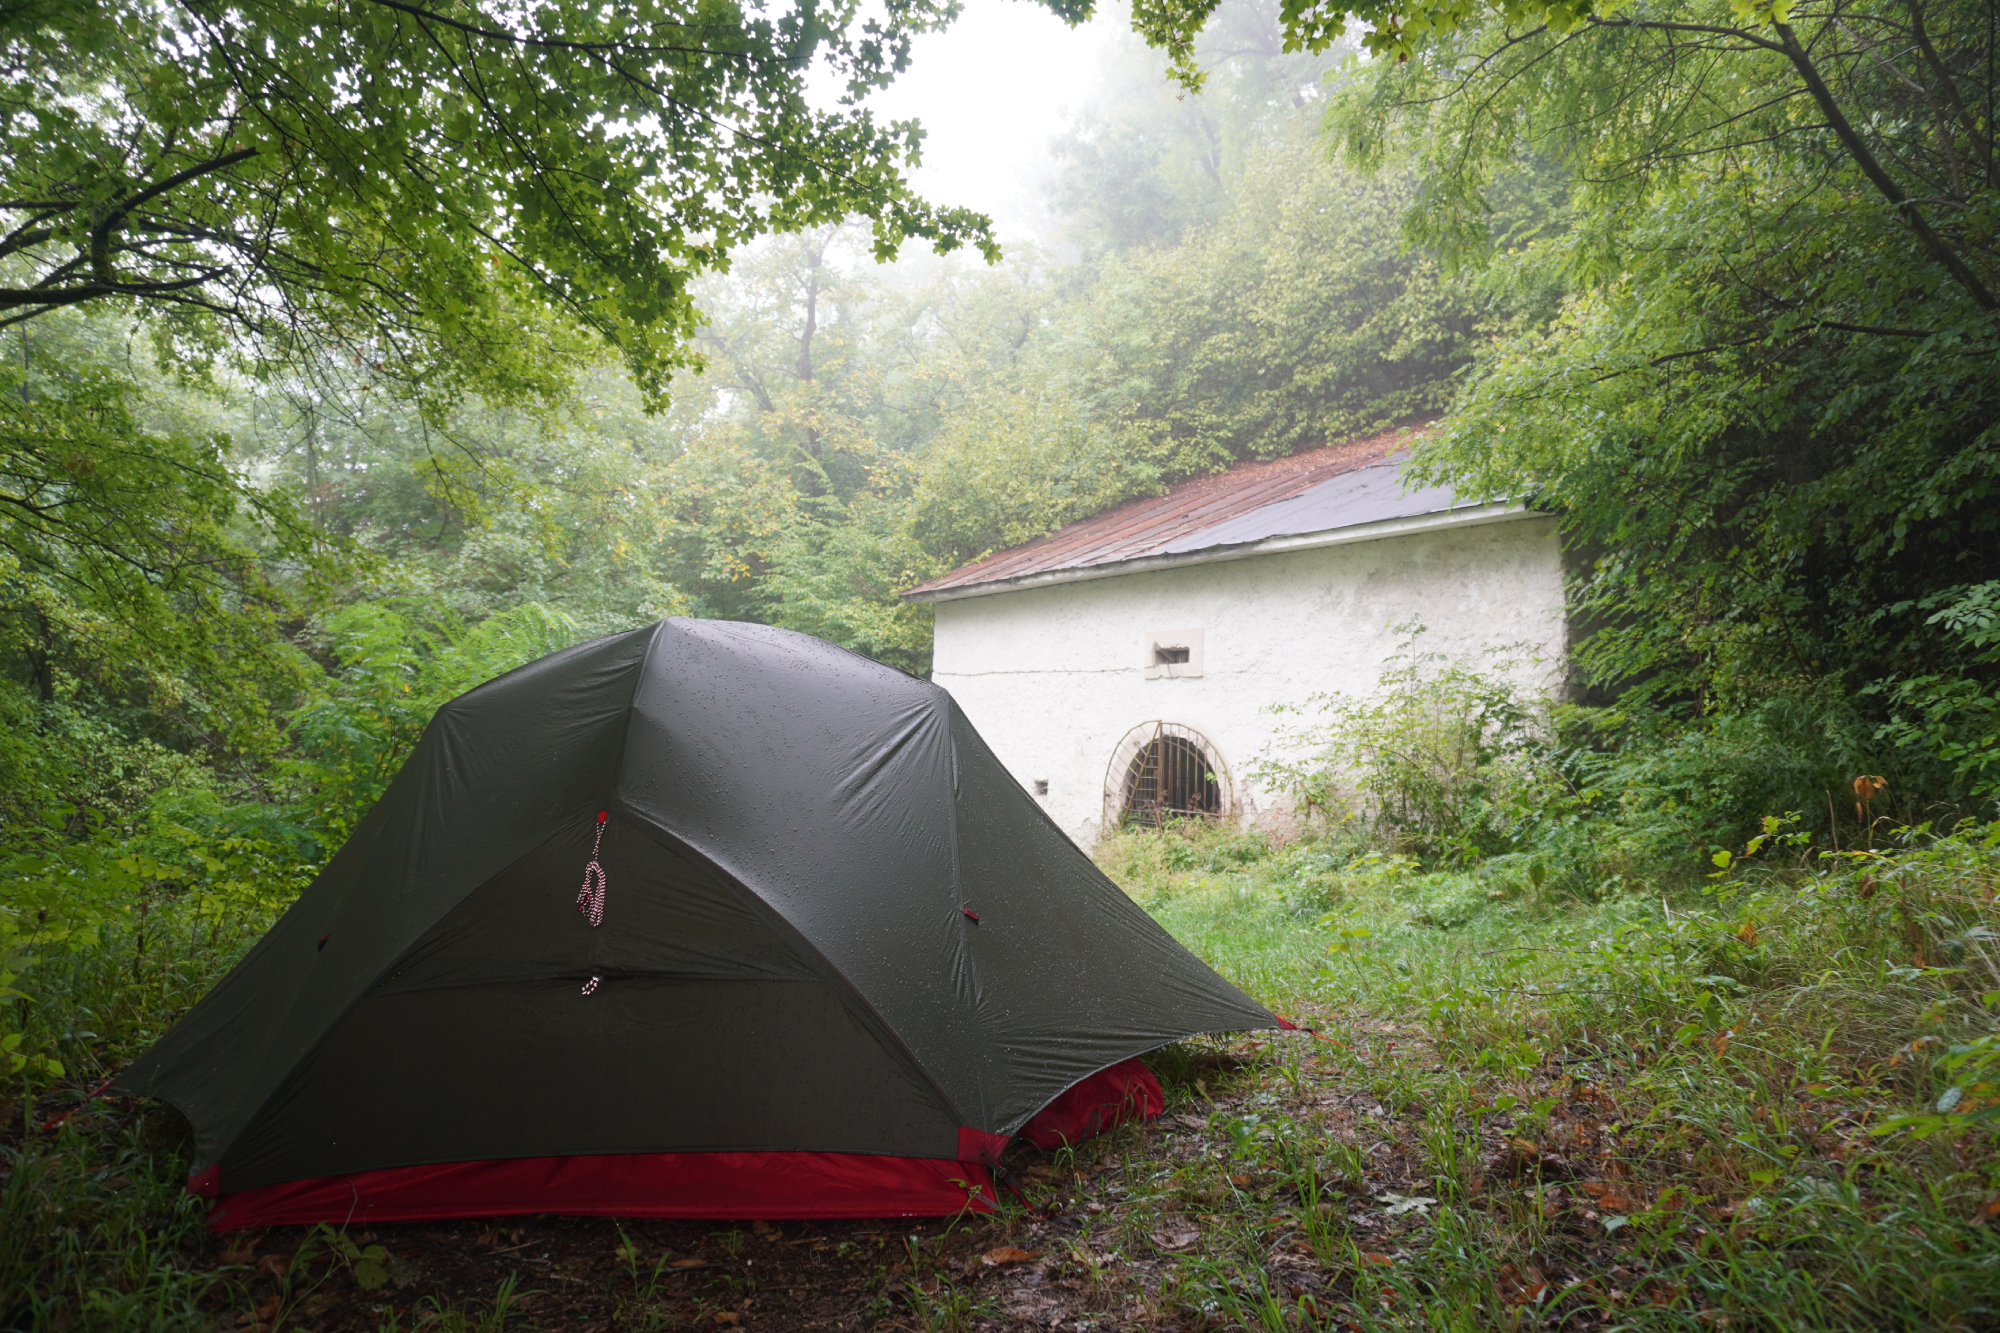
Given how wet we often were at the end of the evening – and the reasonably warm temperatures – we really pushed the limits of what the rainfly could handle in terms of the humidity and the speed at which it could move water vapour from the inside to the outside of the fabric.
Despite the testing conditions, Hubba Hubba rose to the challenge. We never felt too clammy and – although the inside of the rain fly would sometimes bead with the condensing water vapour – this was held separate from the inside part of the tent.
That is to say, we stayed dry and comfortable, even though the rainfly was having to deal with water droplets both outside and in!
Rab and Therm-a-Rest sleeping bags
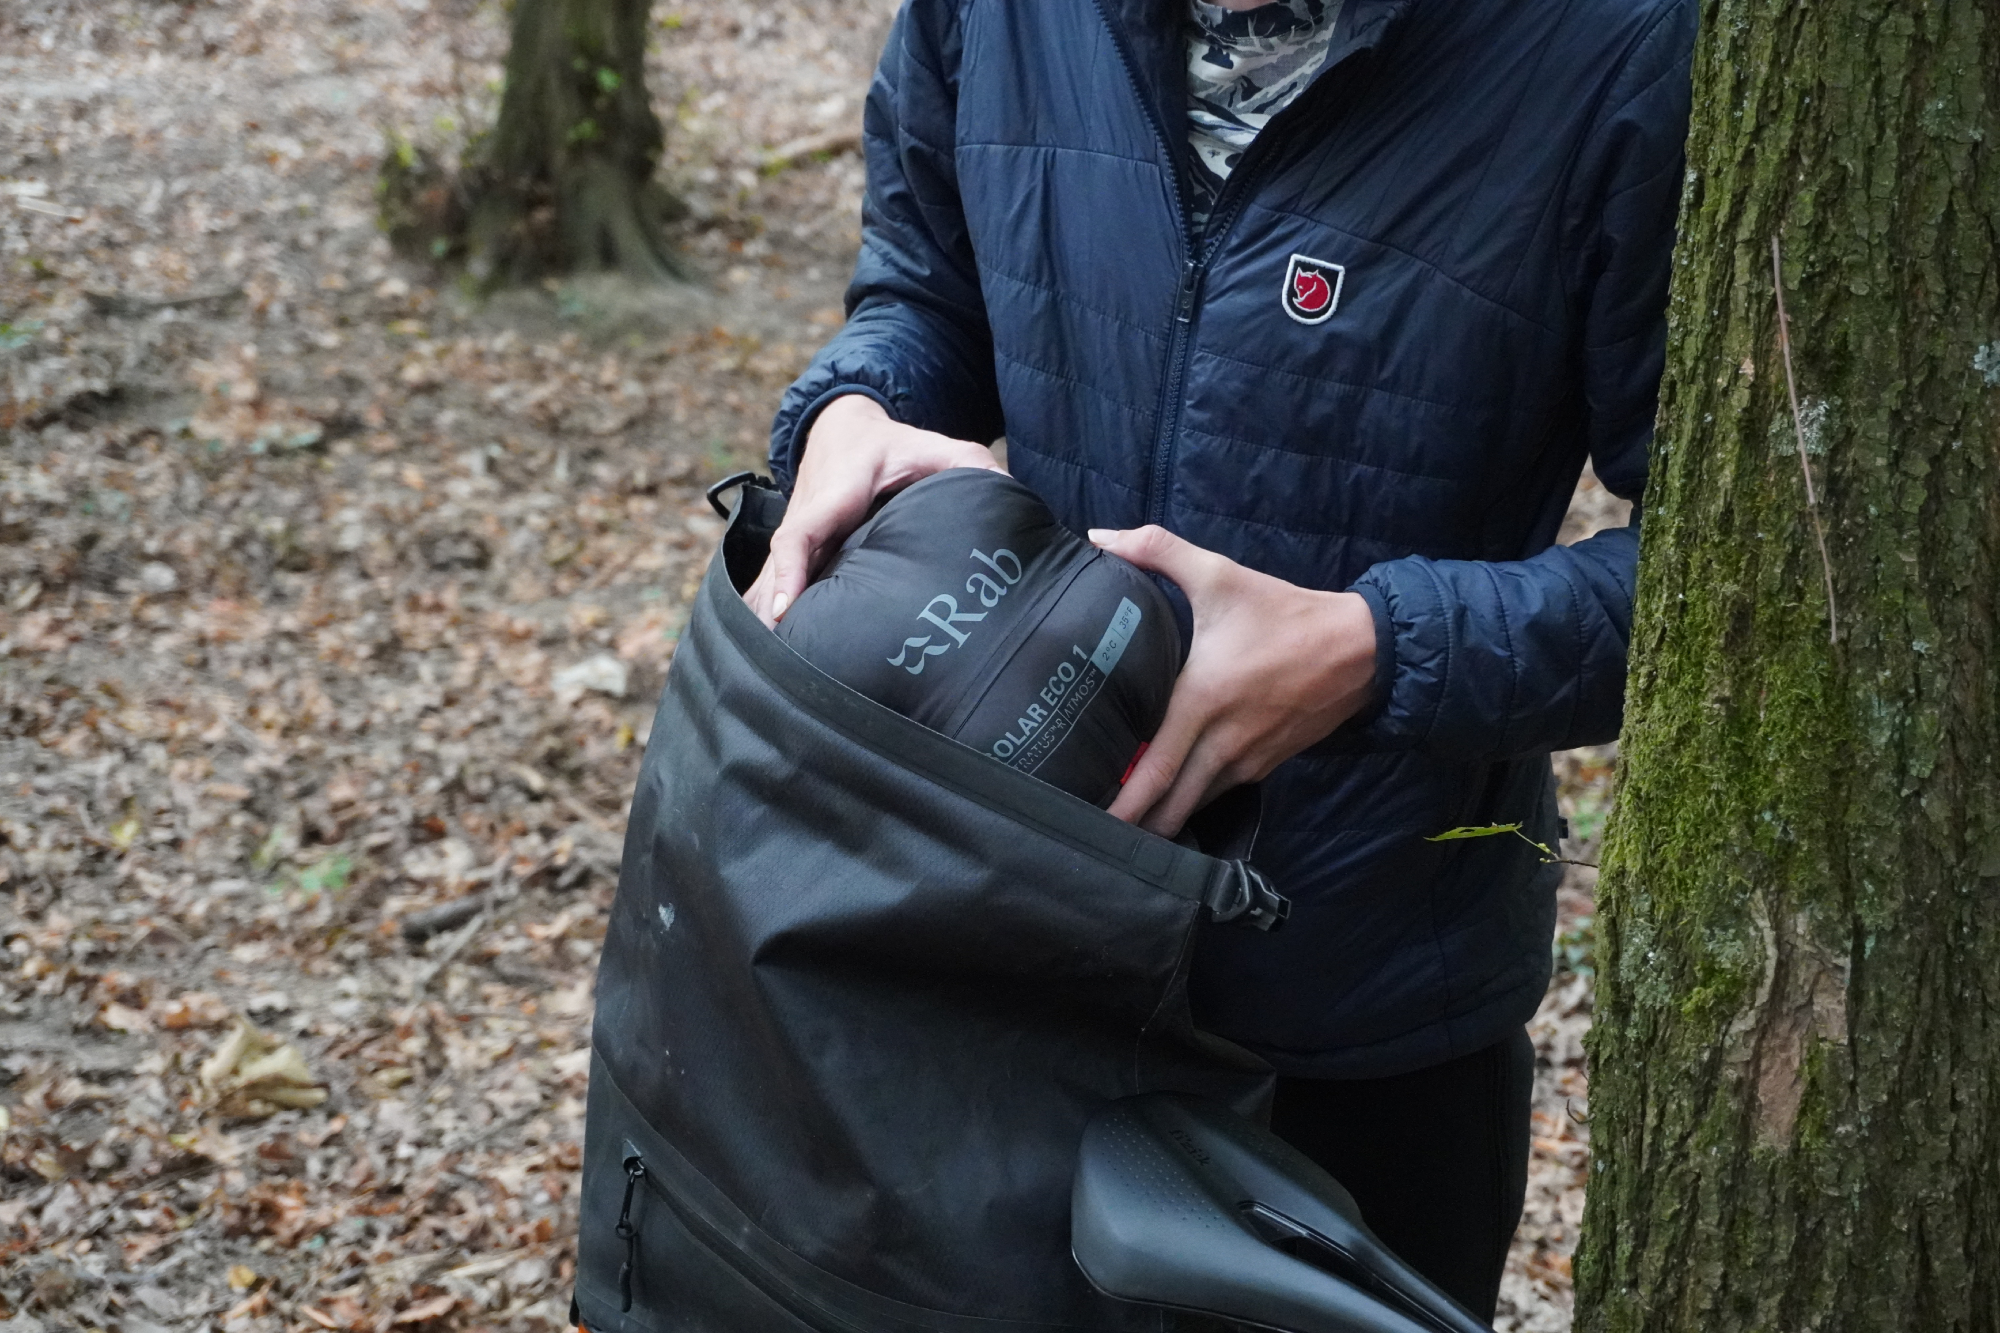
We took two quite different options here, Stefan going for the Therm-a-Rest Space Cowboy sleeping bag and Anna going for the Rab Solar Eco 1 sleeping bag.
In terms of what was the same, we both opted for models that used synthetic insulation. We weren’t planning on getting our sleeping bags wet (thankfully we did succeed in avoiding that). But on the off chance we did, we wanted bags that we would be able to dry out without the worry of clumping down and loss of insulation – which a perennial issue with natural down.
For us, we’d only use natural down in cases where we knew the temperature was going to stay below freezing point. Any time when there's a chance of rain (rather than snow), we prefer synthetic insulation, just for its resilience and ability to retain warmth once wet. Other people prefer the pack size of natural down sleeping bags and will use them year round – it depends on your priorities, really.
For us, a ‘comfort’ temperature range of down to around 8°C / 46°F was the right balance between warmth and bulk. Even in the mountains with some mornings dipping down to 6°C / 43°F, we didn’t get too cold in our sleeping bags – although we were supplementing things by wearing extra layers.
Where the two bags differed most was that the Therm-a-Rest was much more tapered around the legs – saving weight and bulk – and the straps which allow you to attach it to your sleeping mat, so as not to lose it in the night.
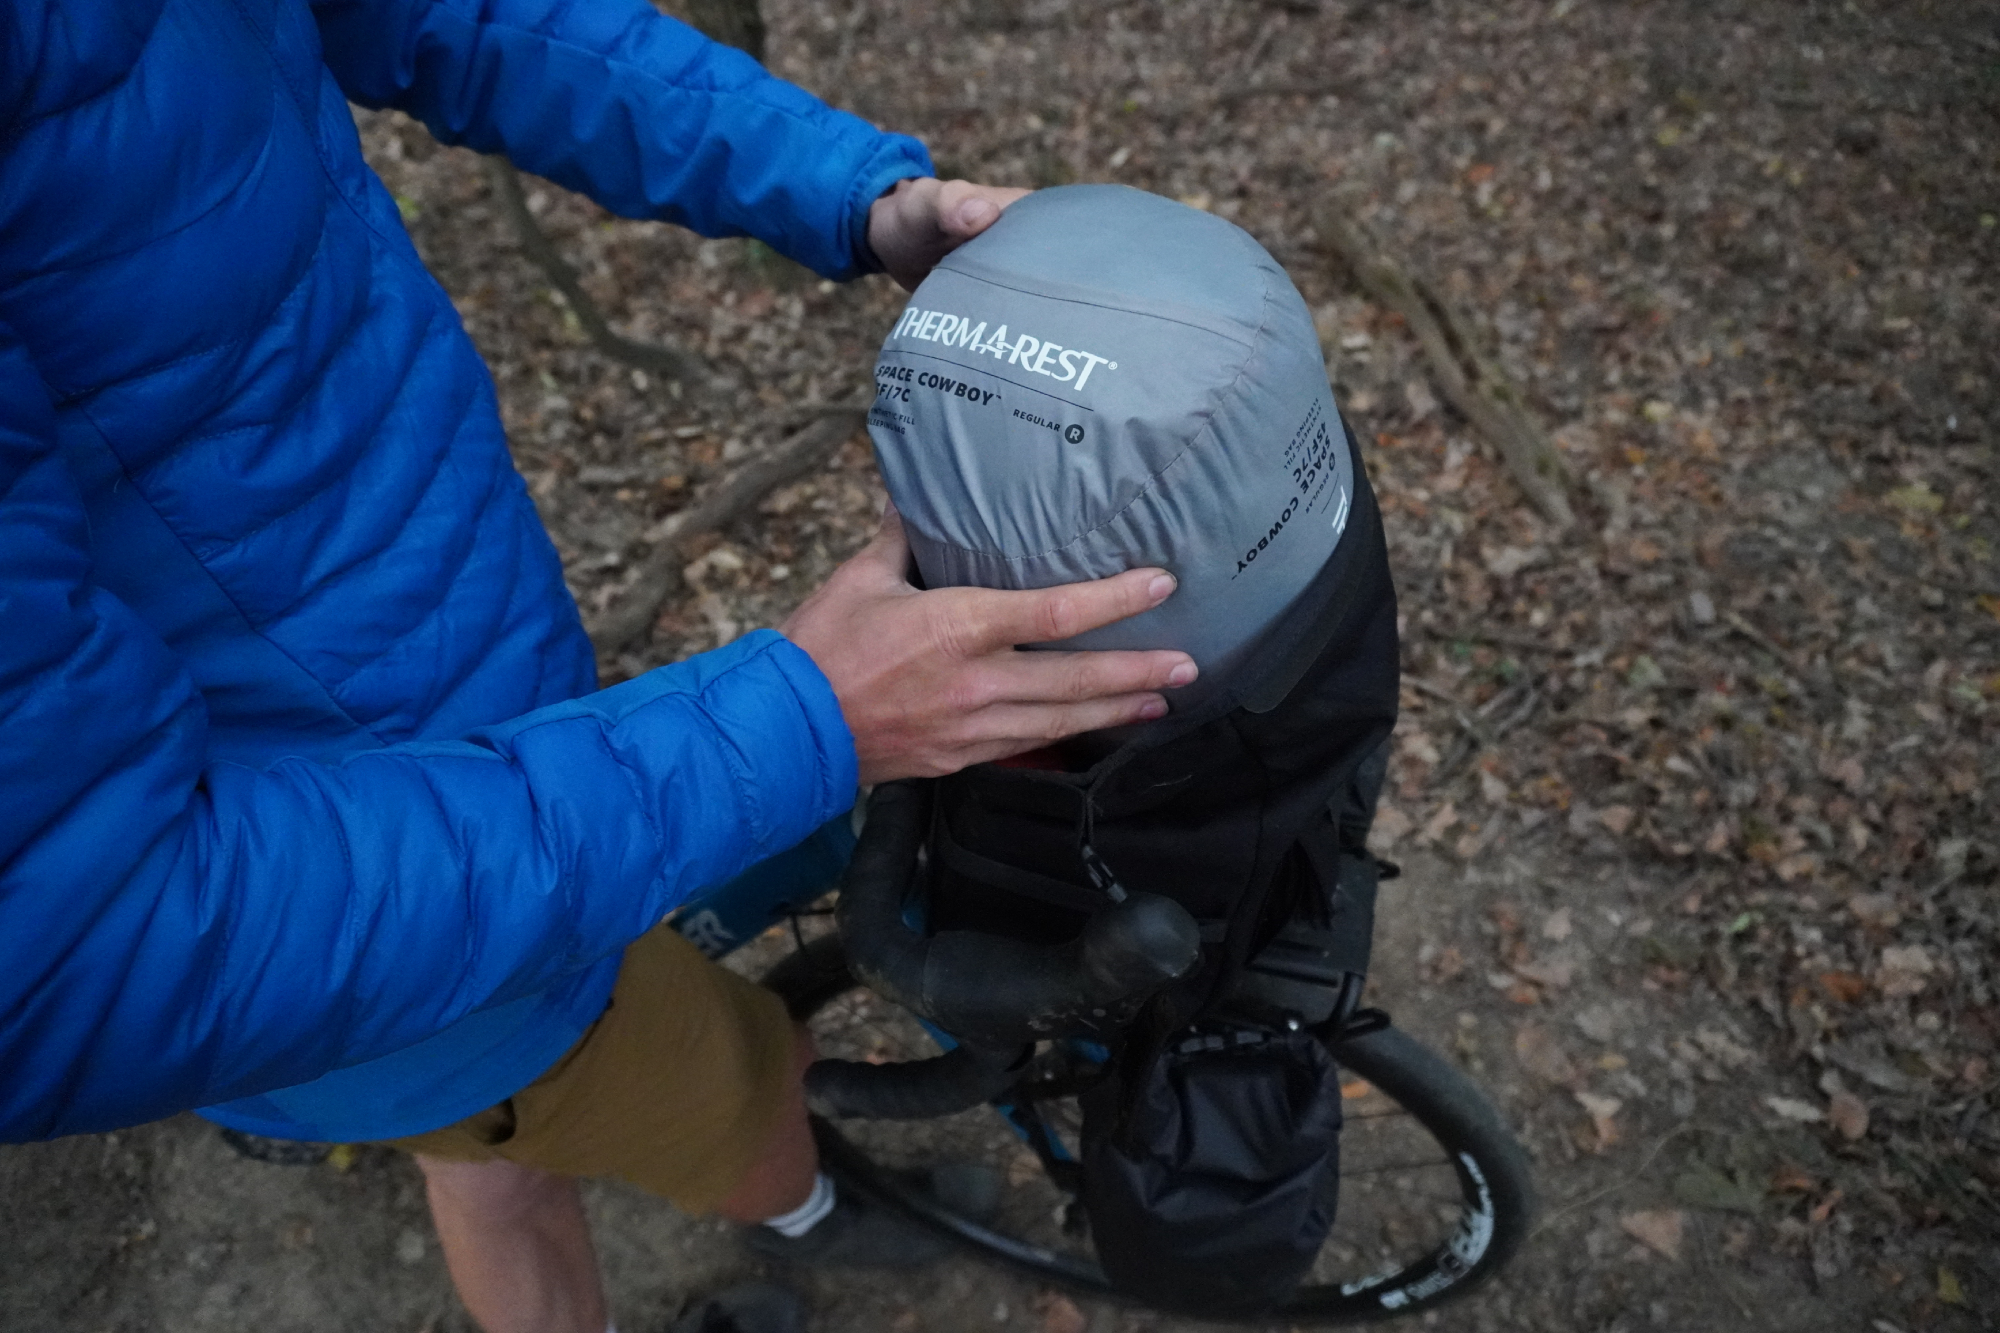
Also the bag for the sleeping bag itself is very neat, being half built from a mesh fabric, giving ventilation and not compressing the insulation too much in storage. A double drawstring means you can also cram it down into a much smaller size for when travelling.
By contrast, the Rab bag had a ‘straight cut’, didn’t have the sleeping mat straps and came in a bag with traditional compression straps – which meant that it could be compressed a little smaller than the Therm-a-Rest .
We each thought we had the better option: Stefan very much liked the straps and Anna preferred having more leg room, so again, this really depends on your priorities.
ANNA'S CLOTHING
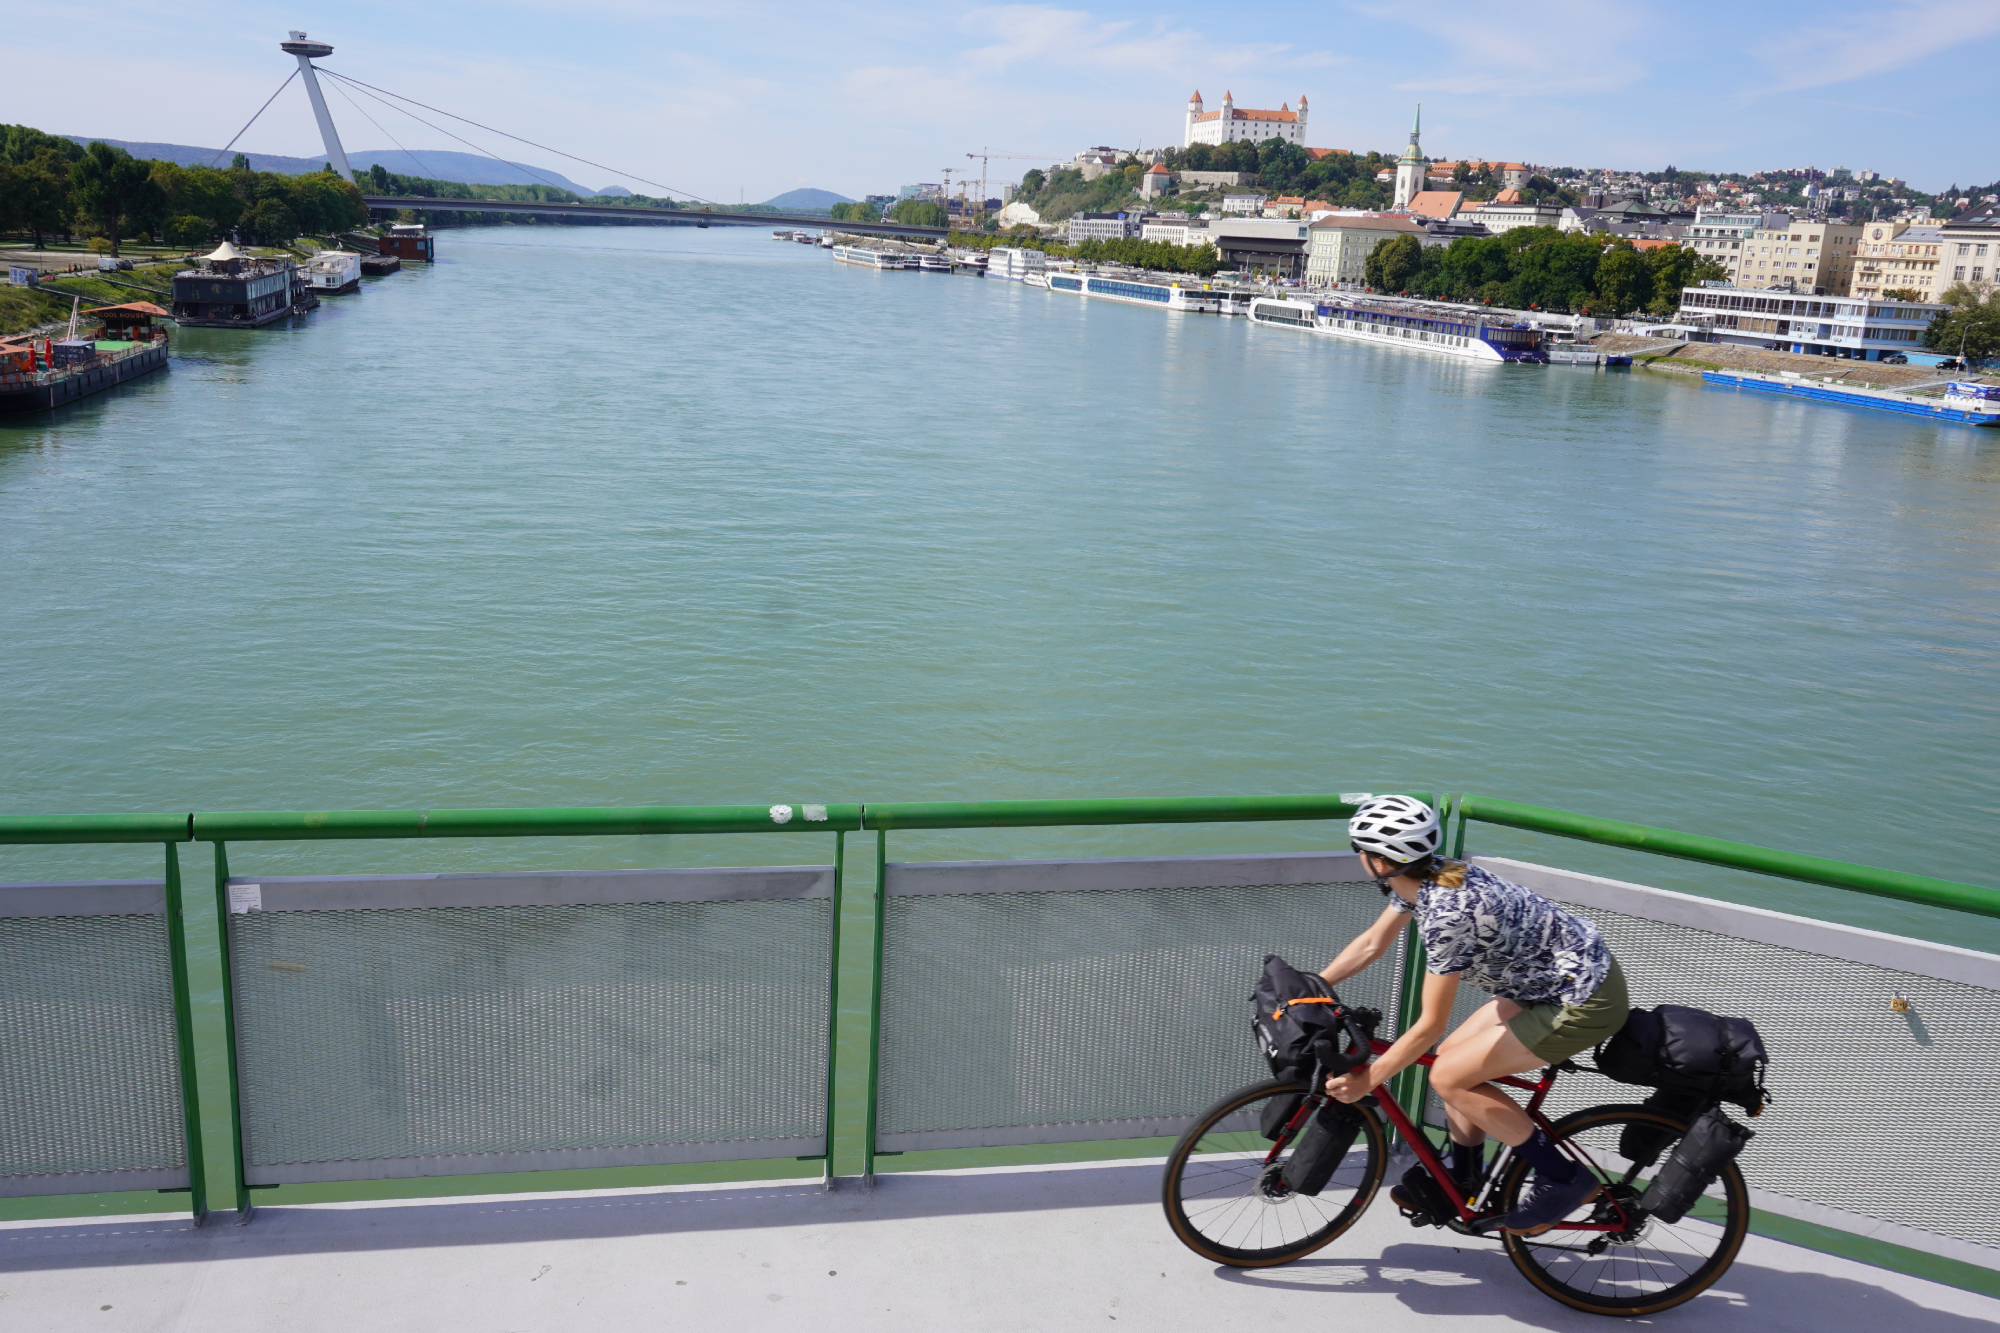
Anna looking out at Bratislava castle and the UFO tower while crossing the city's Old Bridge
As we mentioned in our full write up of our trip, clothing was a bit of a sticking point for us. We had a lot of very different demands to make from the kit!
First off, the basic, more fundamental aspects. Riding comfort was (naturally) a big consideration when riding up to seven hours every day over a nine day period. Then there was temperature regulation: there were highs of over 30 degrees, but also mornings where it would dip below double digits – plus lots and lots of rain. We wanted kit that was both cool and warm, and could dry very quickly.
But we also didn’t want to go down the route of 'pure cycling kit', with skin tight shorts, jerseys, arm warmers, gilets and all the rest. We were going to be spending at least an equal portion of our time exploring cathedrals, castles, museums and – in the case of our stay in Košice, in the far east of Slovakia – fancy restaurants in ex-luxury hotels (that’s a city we’d definitely come back to!)
So the bar was set very high and there were plenty (plenty!) of clothing lines that were never going to make the cut. But what we did eventually decide upon did hit the spot dead on, so well worth the hours spent searching!
Tops
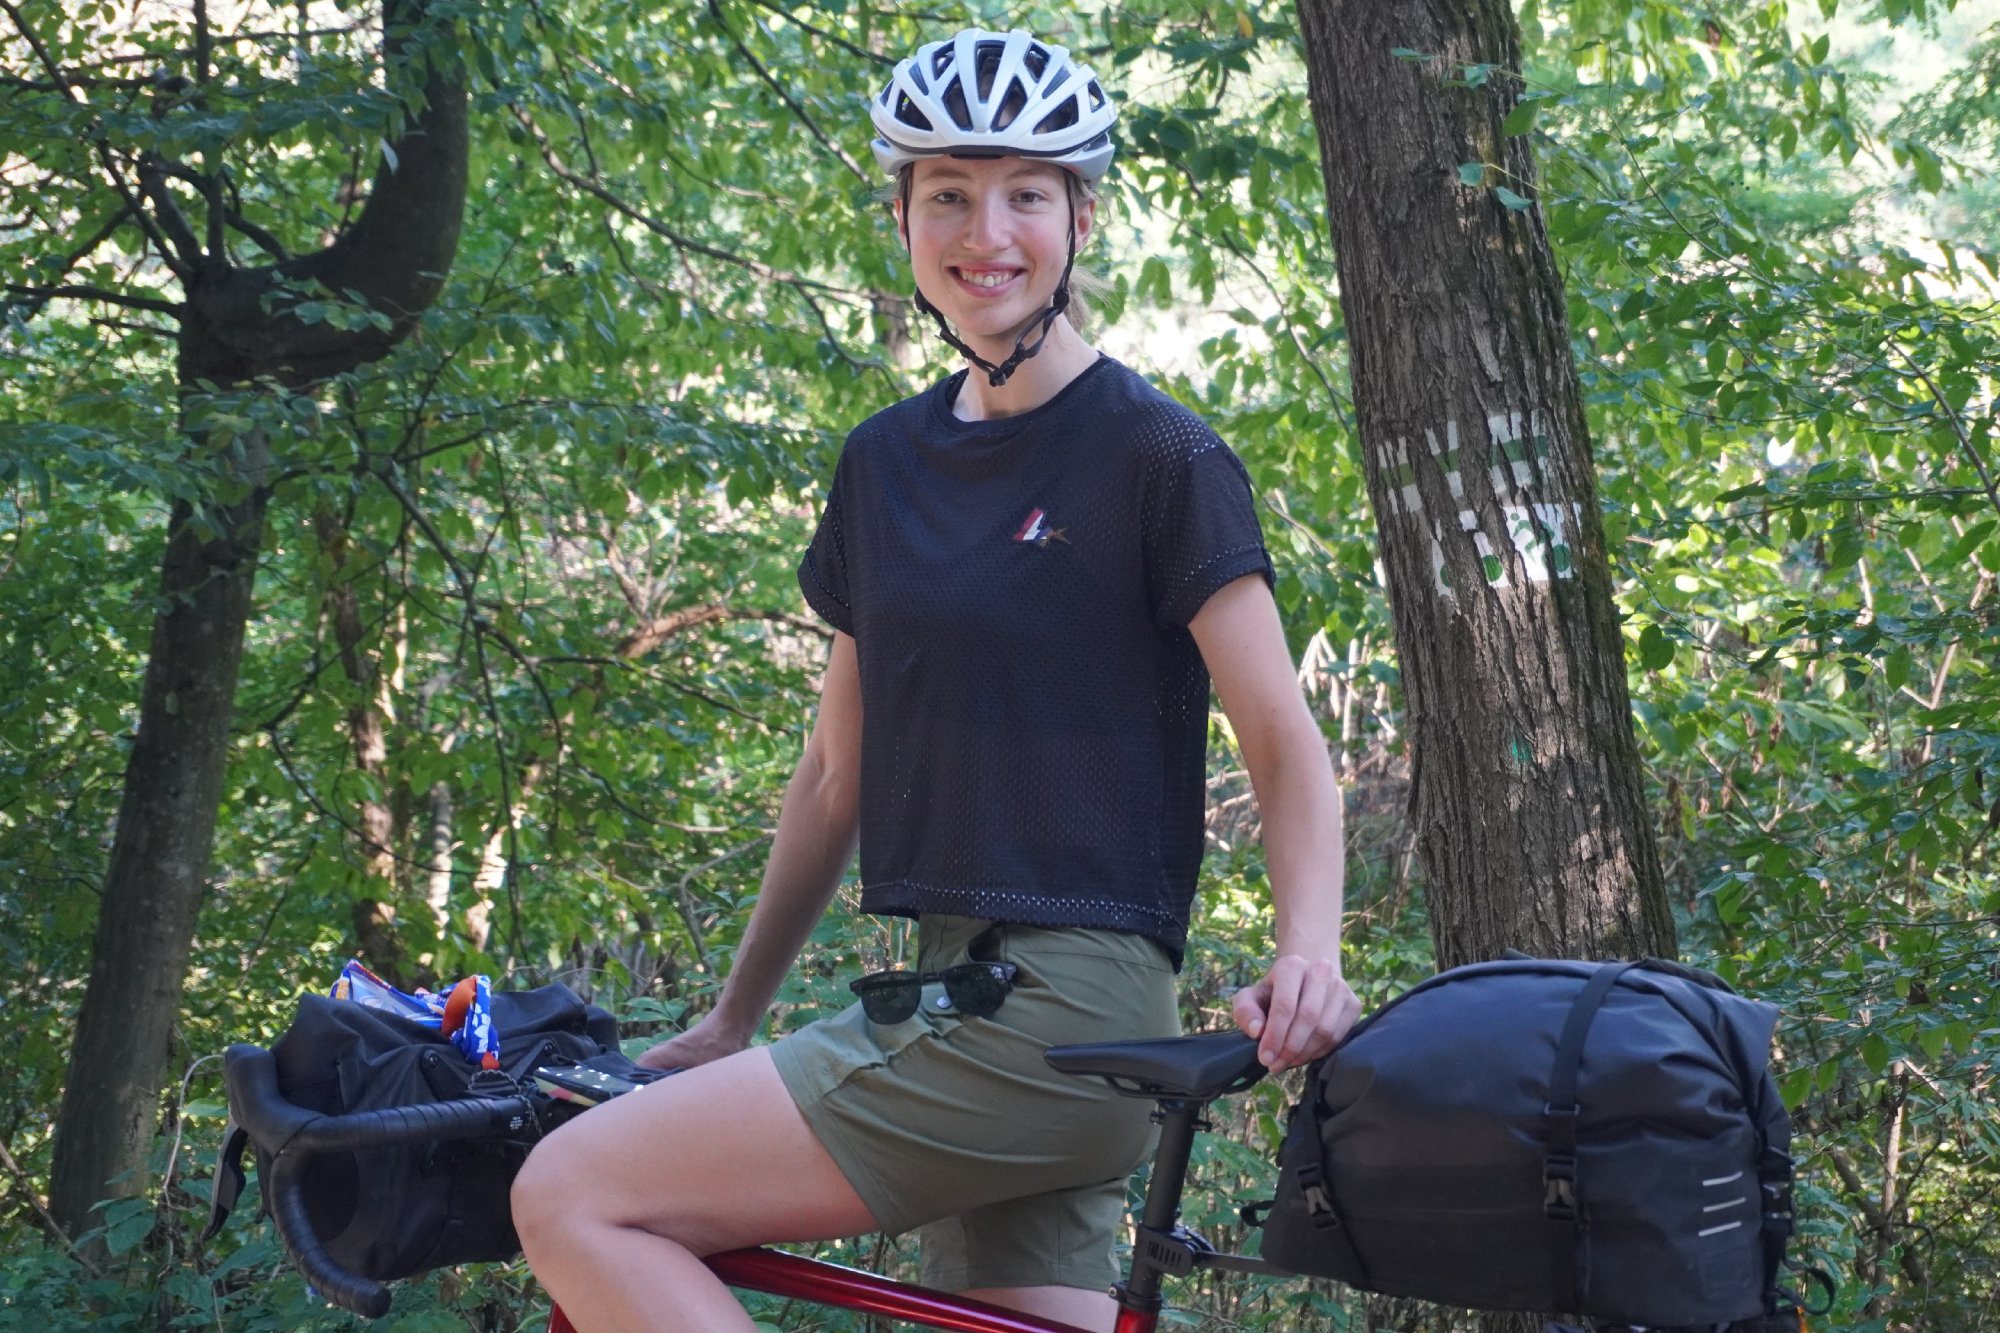
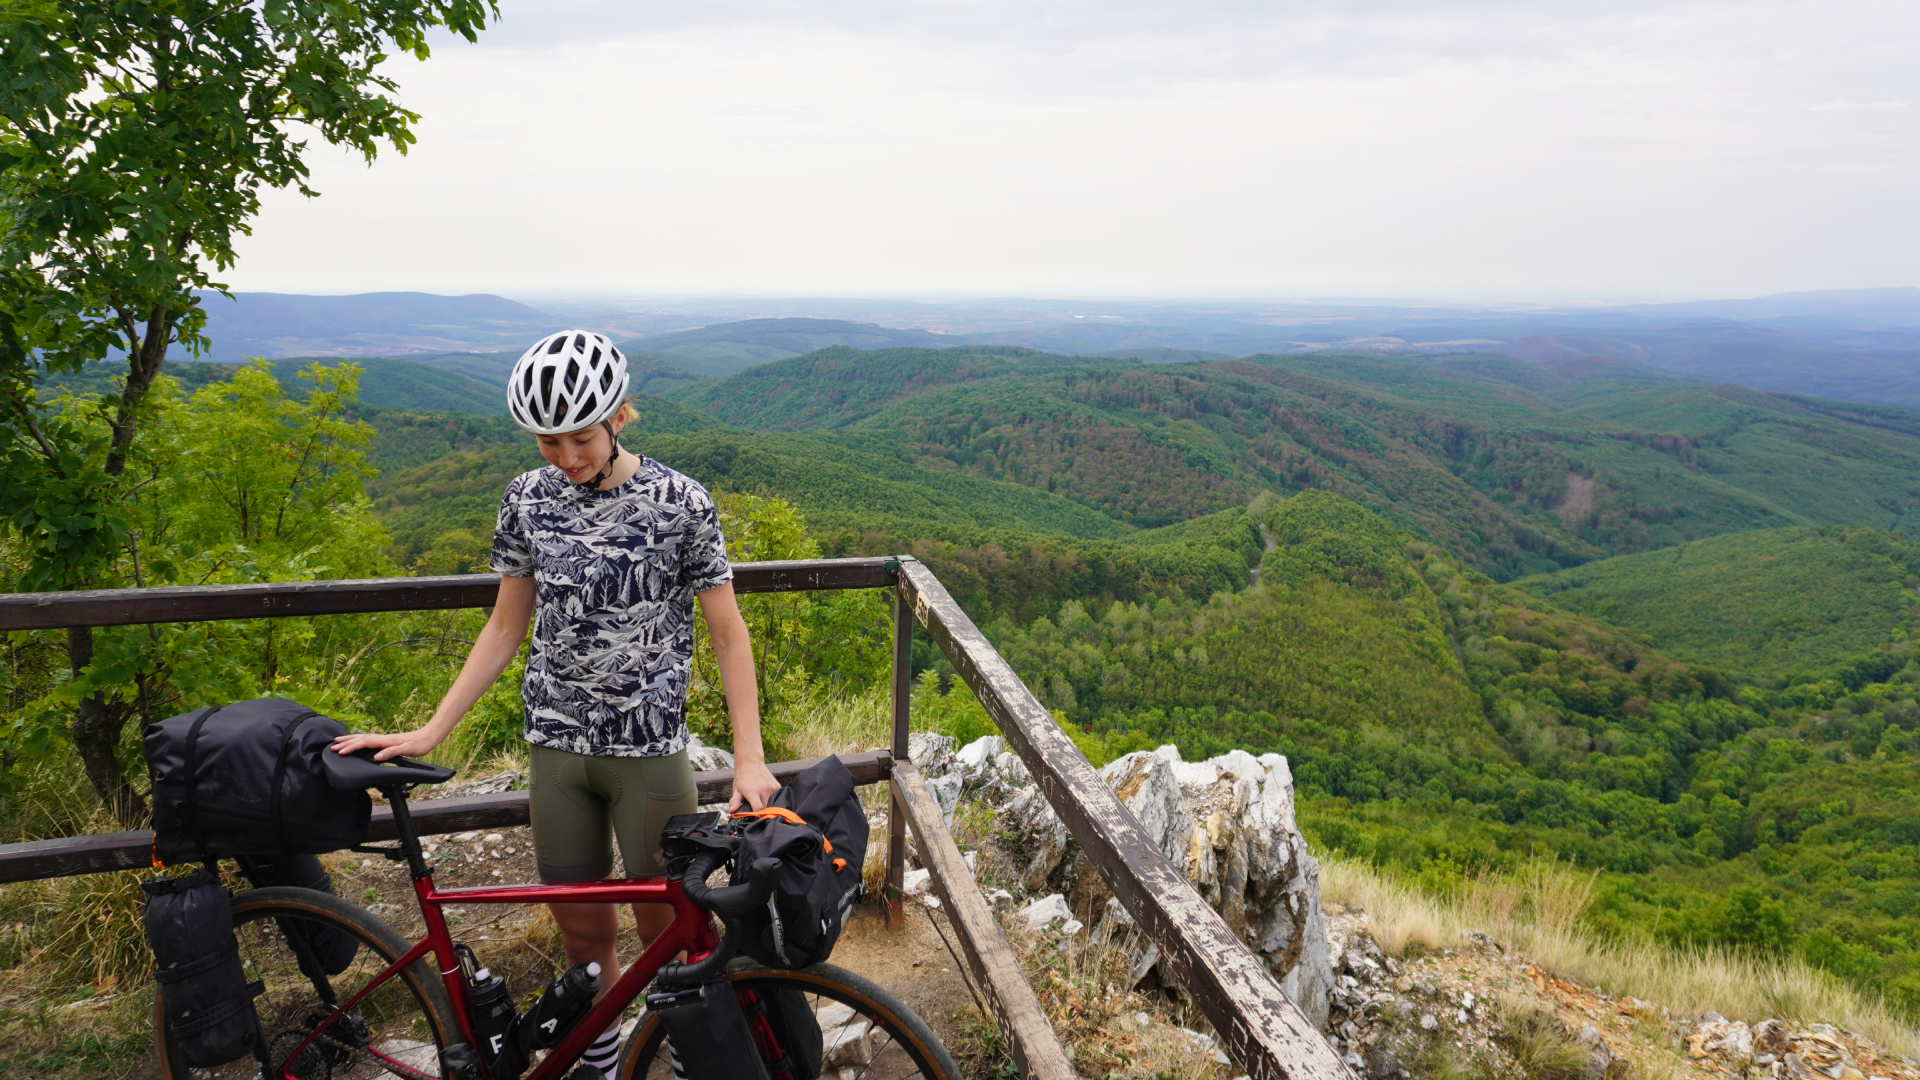
Whereas Stefan opted to split things between heavyweight and lightweight in his top choice, I preferred to go as airy as possible, with a view to guaranteeing comfort in the heat. As a consequence, it meant that I relied on my outer layers a bit more than Stefan did, but that was a trade off I was totally happy in making.
There was still some delineation between my two choices: the Café du Cycliste Magalie Women’s Gravel Cycling Jersey was essentially a lightweight mesh jersey and was just fantastic in the heat. By casting its shadow, the jersey helped to keep the sun off and even kept me cooler than I would have been without it (although despite the shade, it’s sensible to still wear suncream with it!)
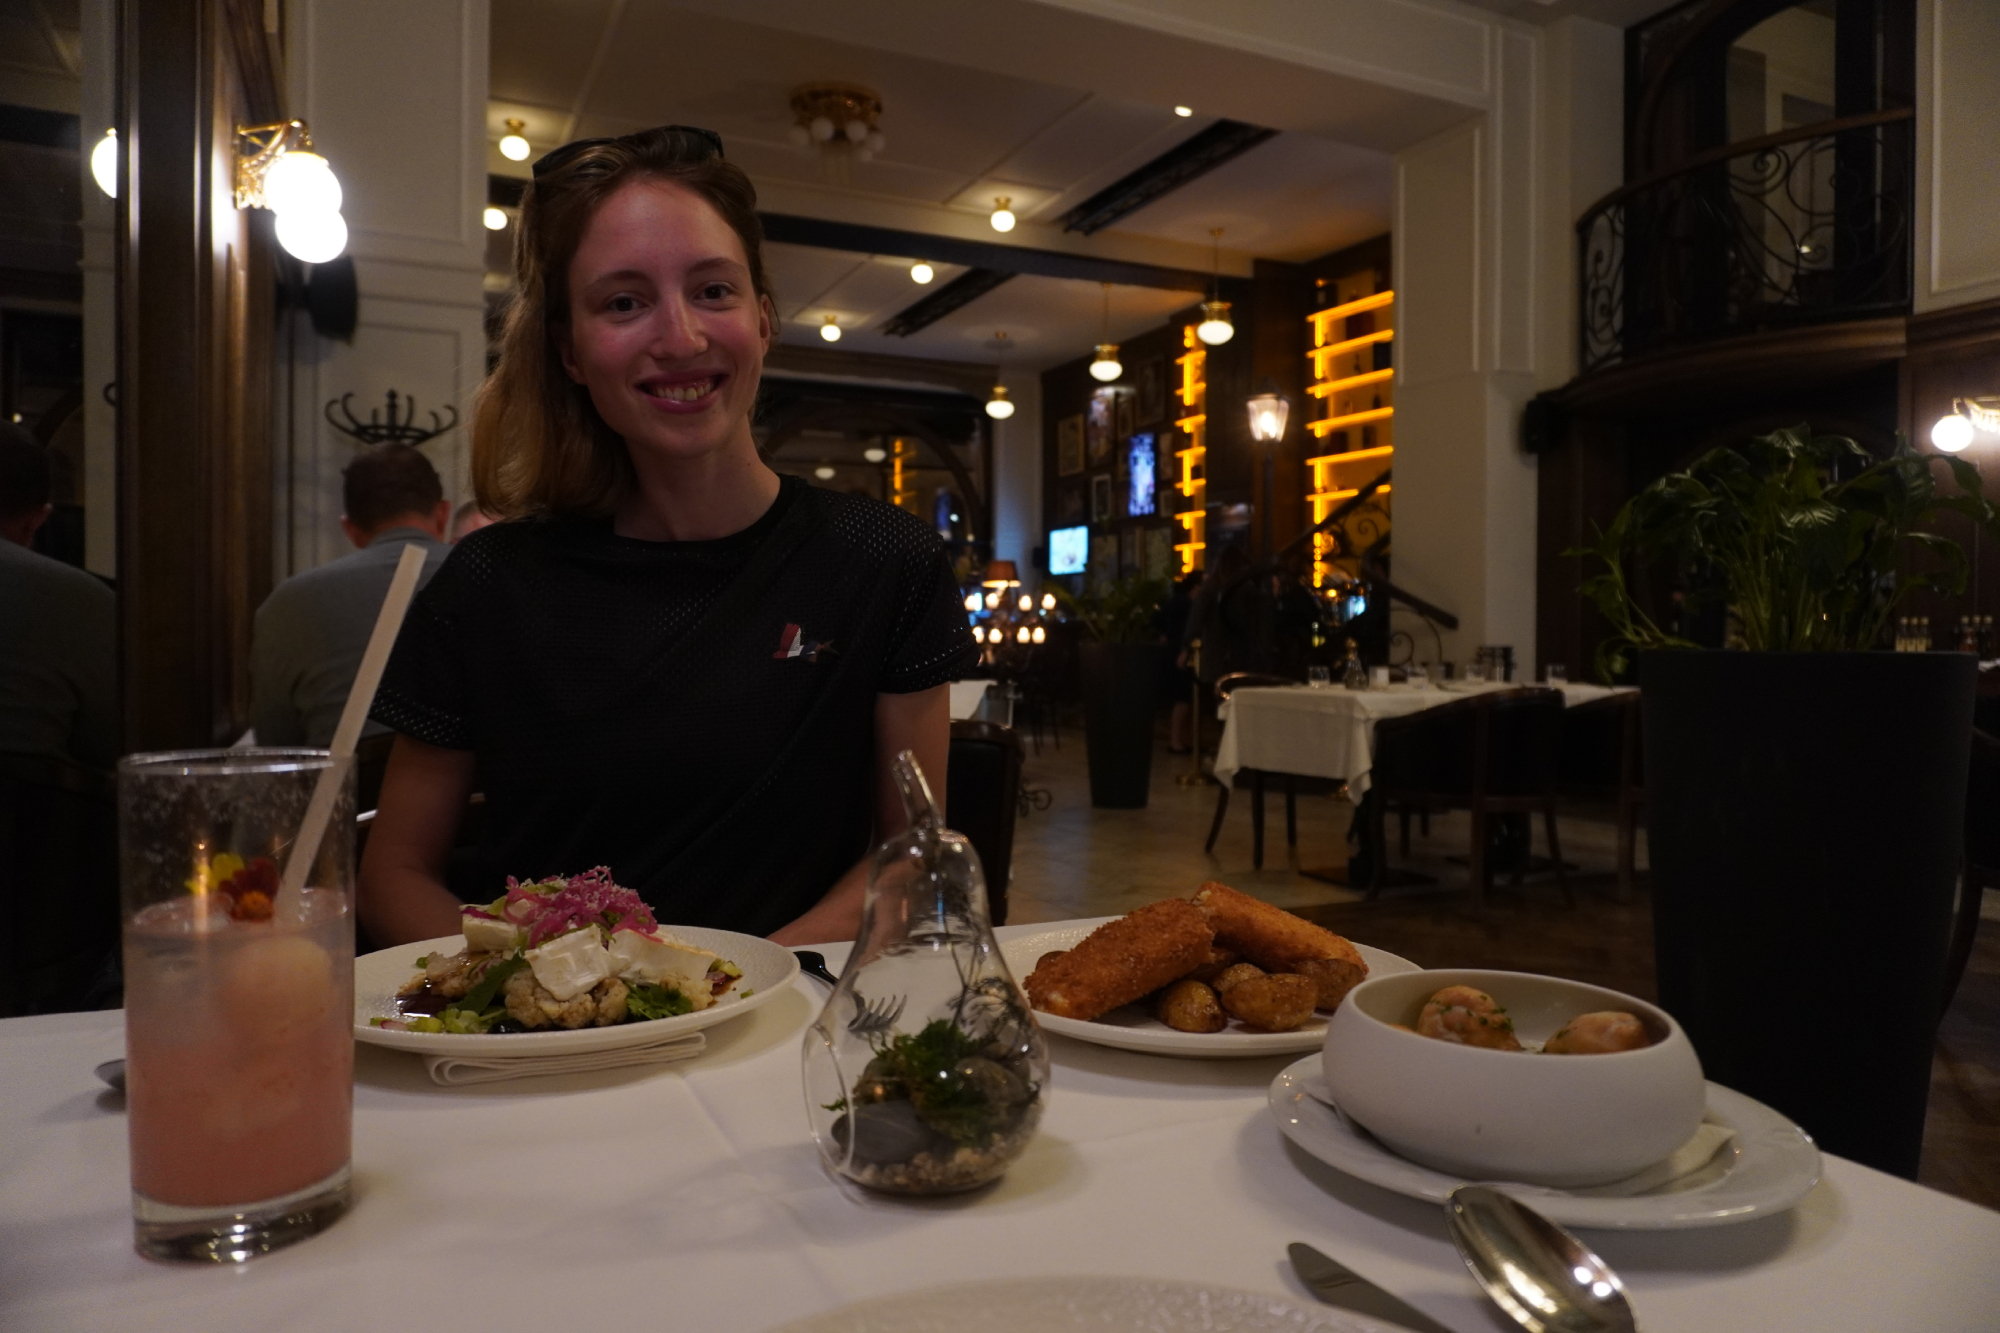
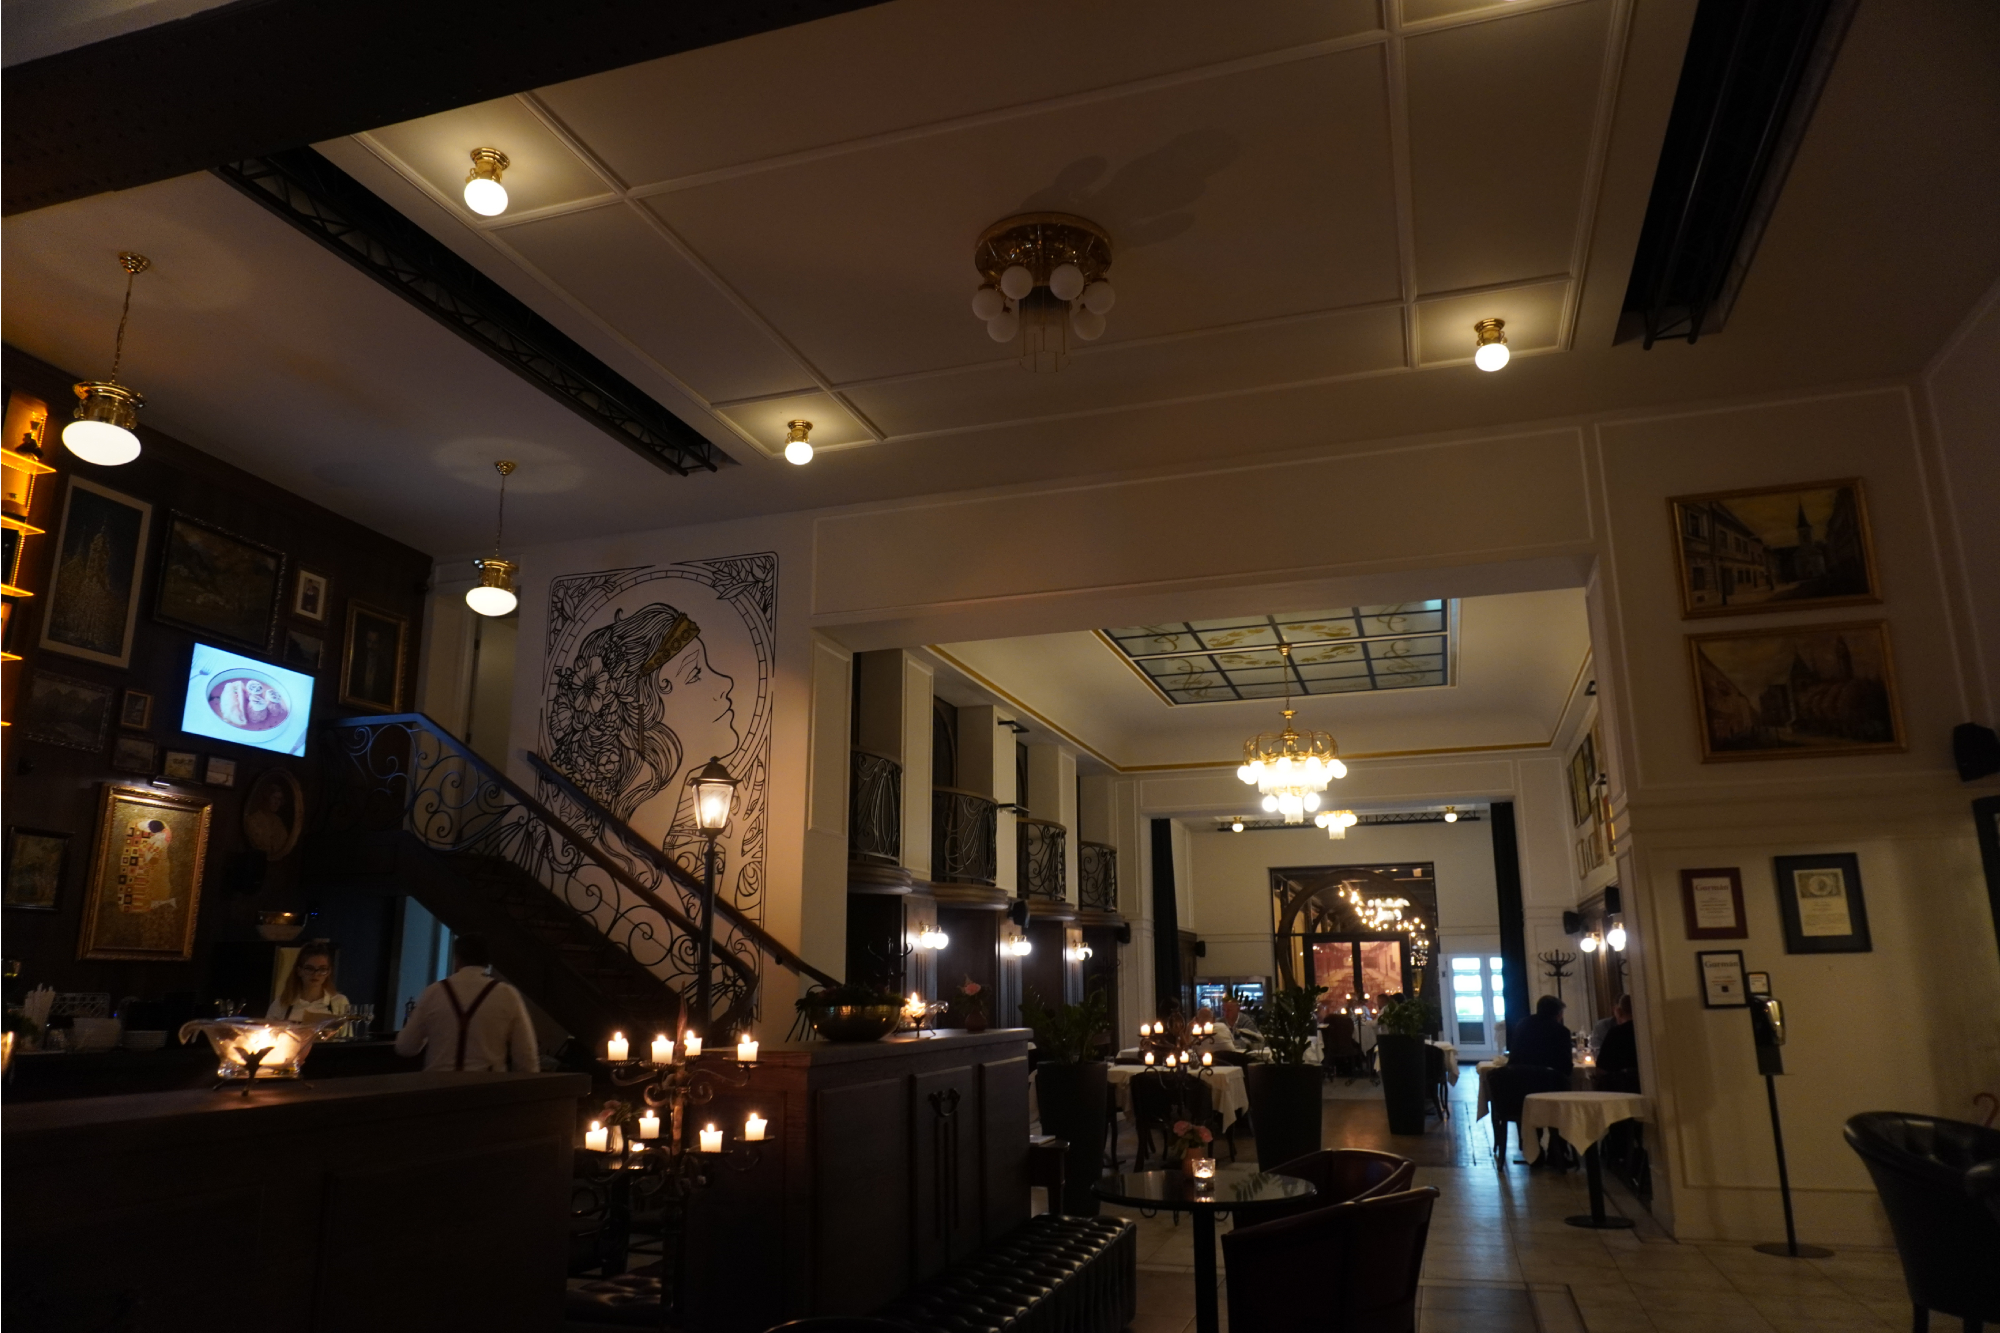

The jersey looked really stylish off the bike, too – I’m a big fan of the flying fish logo on the chest. I was perfectly happy turning up to the art nouveau styled Slavia restaurant (by the Kosice opera house ) wearing this top and I didn’t feel at all out of place.
The mellow blue Fjällräven/Specialized S/F Wool Caliswe T-Shirt was very lightweight and airy itself. But in being a more standard fabric (merino wool and recycled polyester blend) rather than a mesh, it did offer a little more wind protection and insulation than the Magalie mesh jersey.
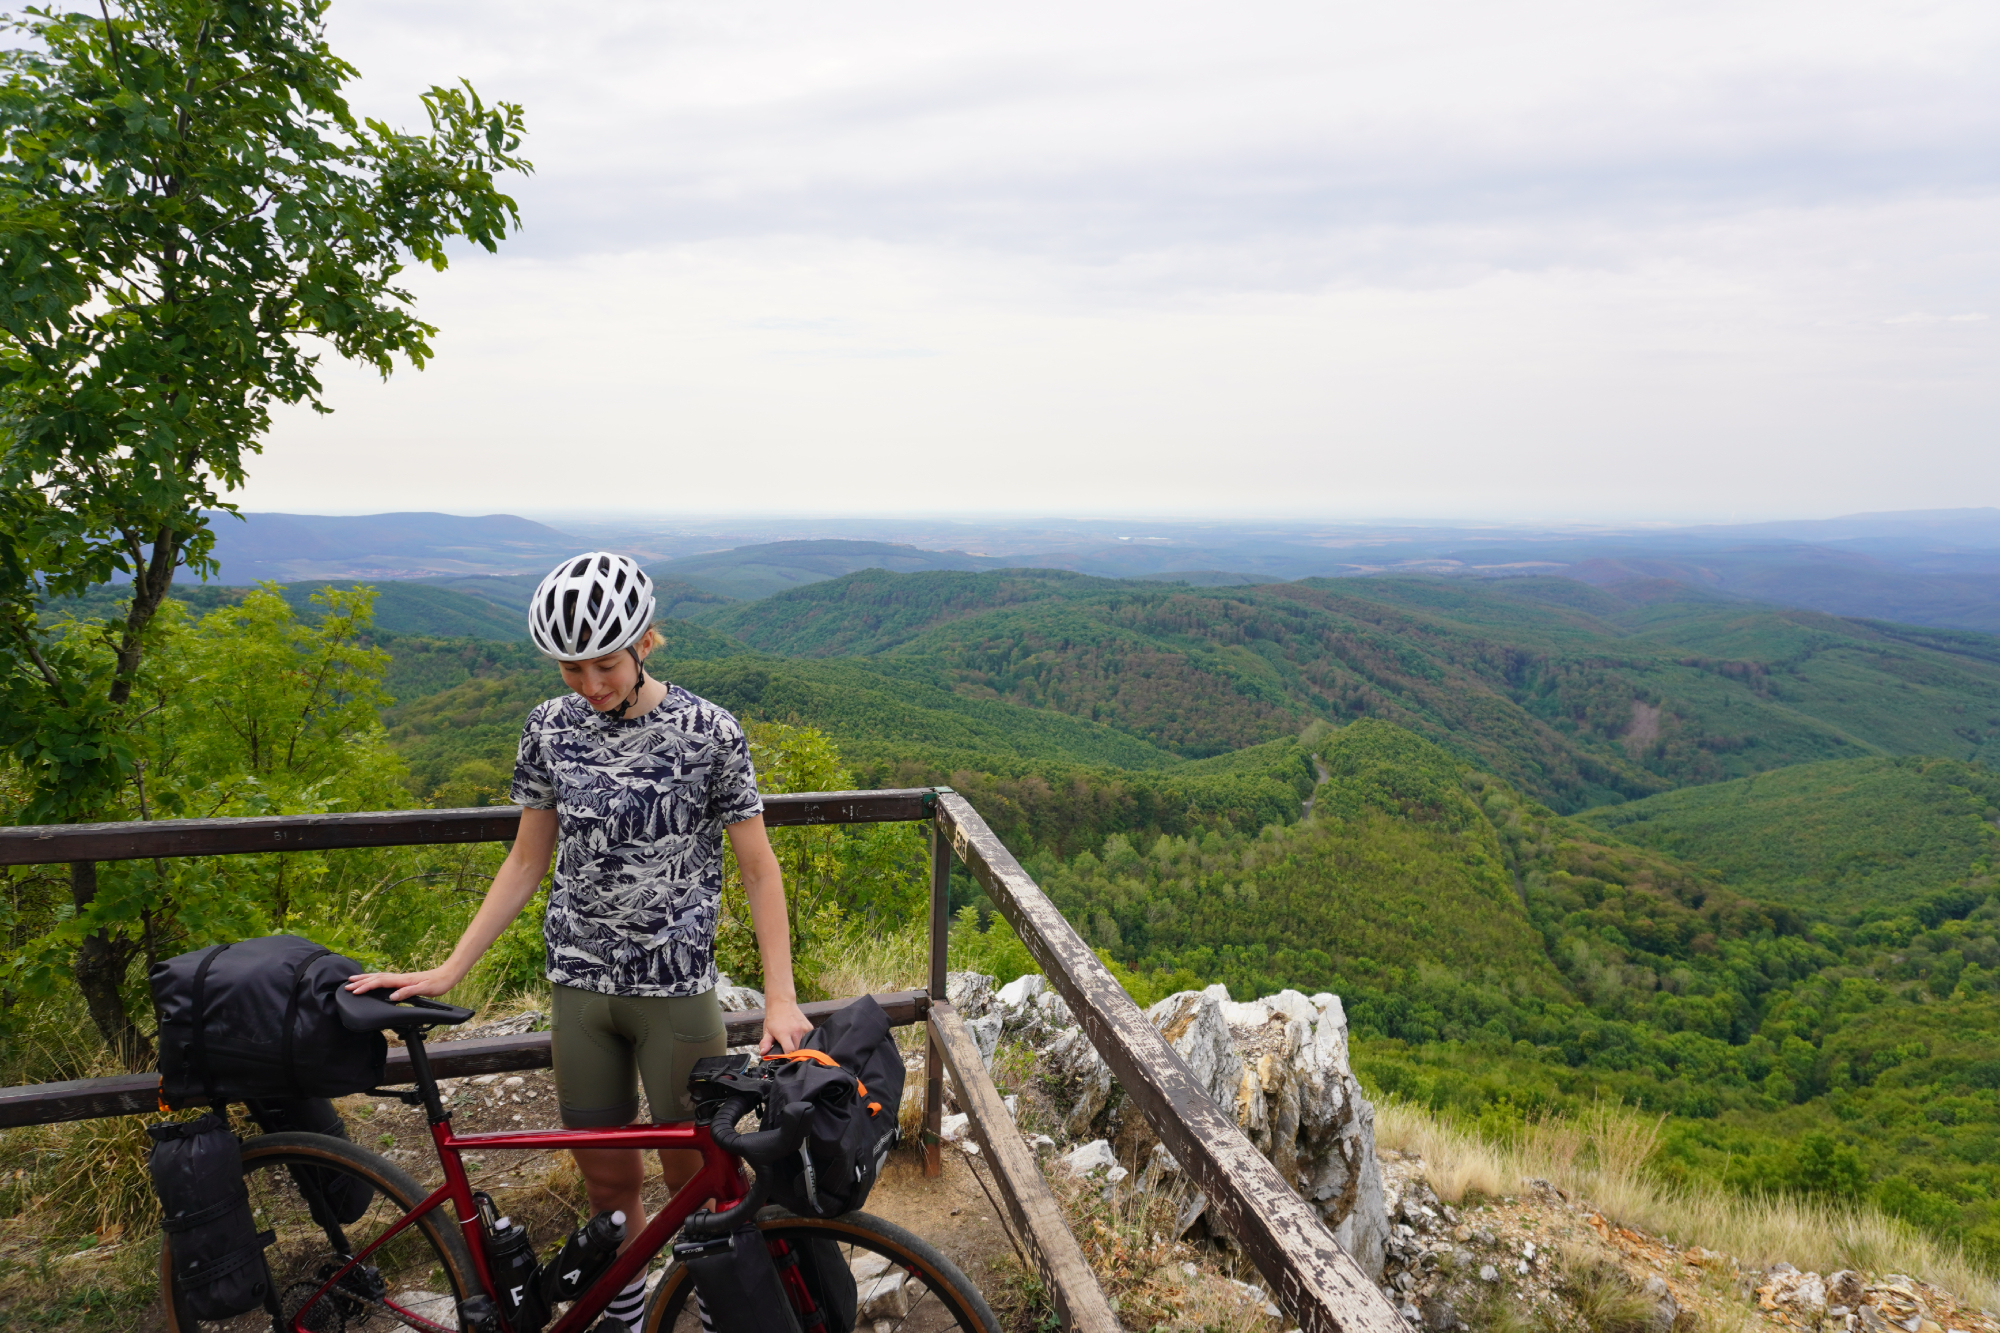
They each complemented each other well, though, with Fjällräven/Specialized’s offering carrying me through the Carpathian mountains in Slovakia and the Café du Cycliste model being best in the plains and cities.
View Magalie Women’s Gravel Cycling Jersey at Café du Cycliste
Shorts
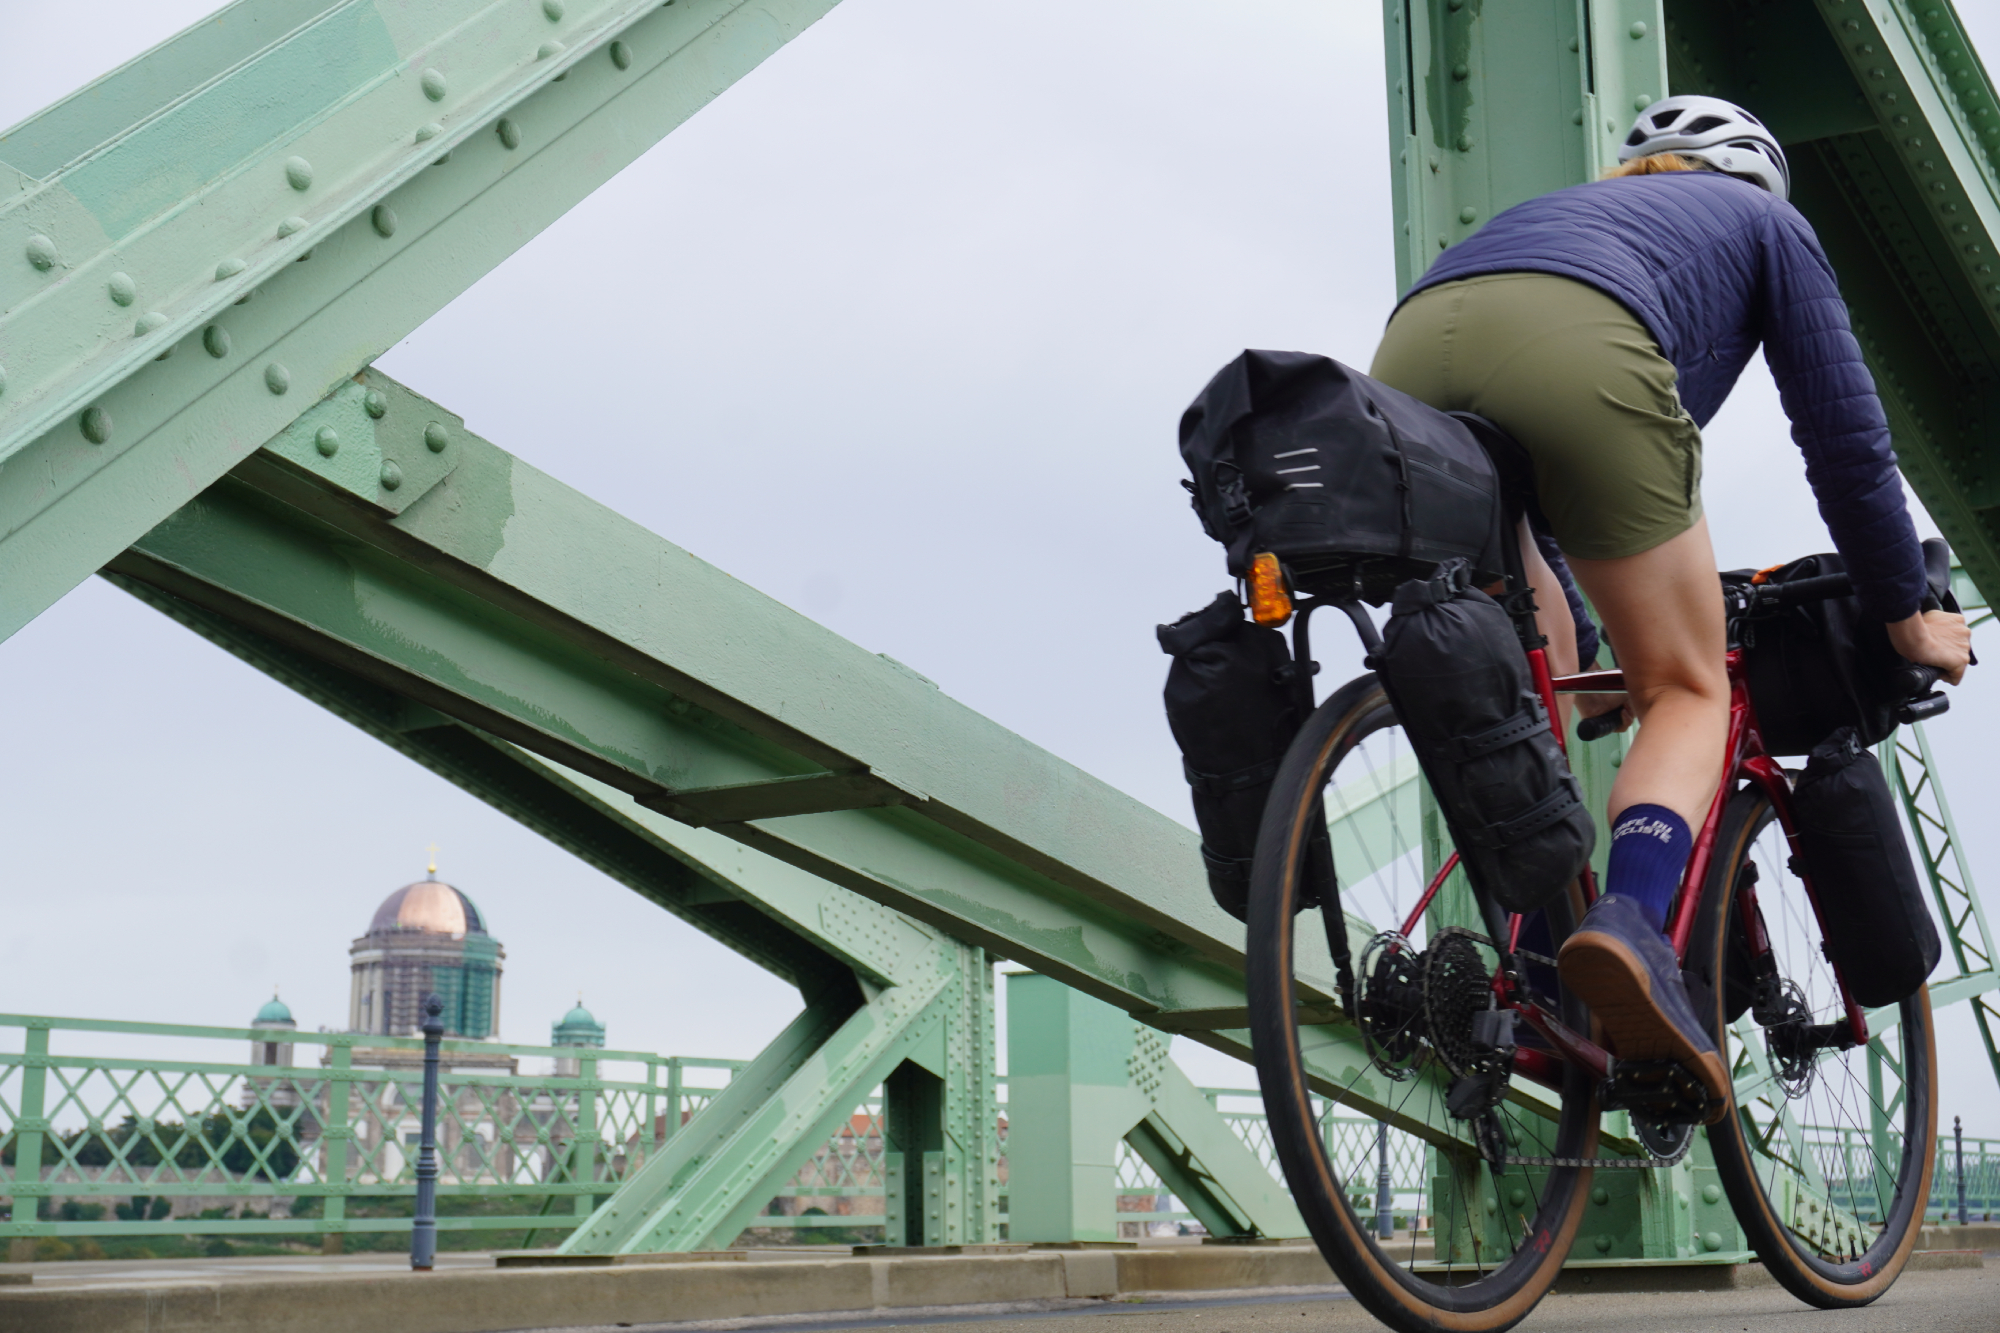
Wanting to blend in better off the bike, for this trip I (mostly) opted for a short and liner combo. It kept me comfy on the bike and meant there was no awkward faffing and stopping to change when exploring inside any of the sights on the route.
In terms of the styling, I thought both of these were spot on. For some reason, overshorts get cut so long for the most part, but the last thing I want is more material on my thighs, stifling and rubbing on my legs.
The Fjällräven/Specialized Rider’s Hybrid shorts were very robust, and I’m sure would last for multiple seasons of heavy, heavy use. But as such, they were a little hotter and the material was a little stiffer than the Columbia Firwood Camp II shorts I had on hand as well. It’s not exactly a criticism as such, more an observation of what the shorts are best for. The pockets in the best cargo bib shorts do help you carry a little more though.
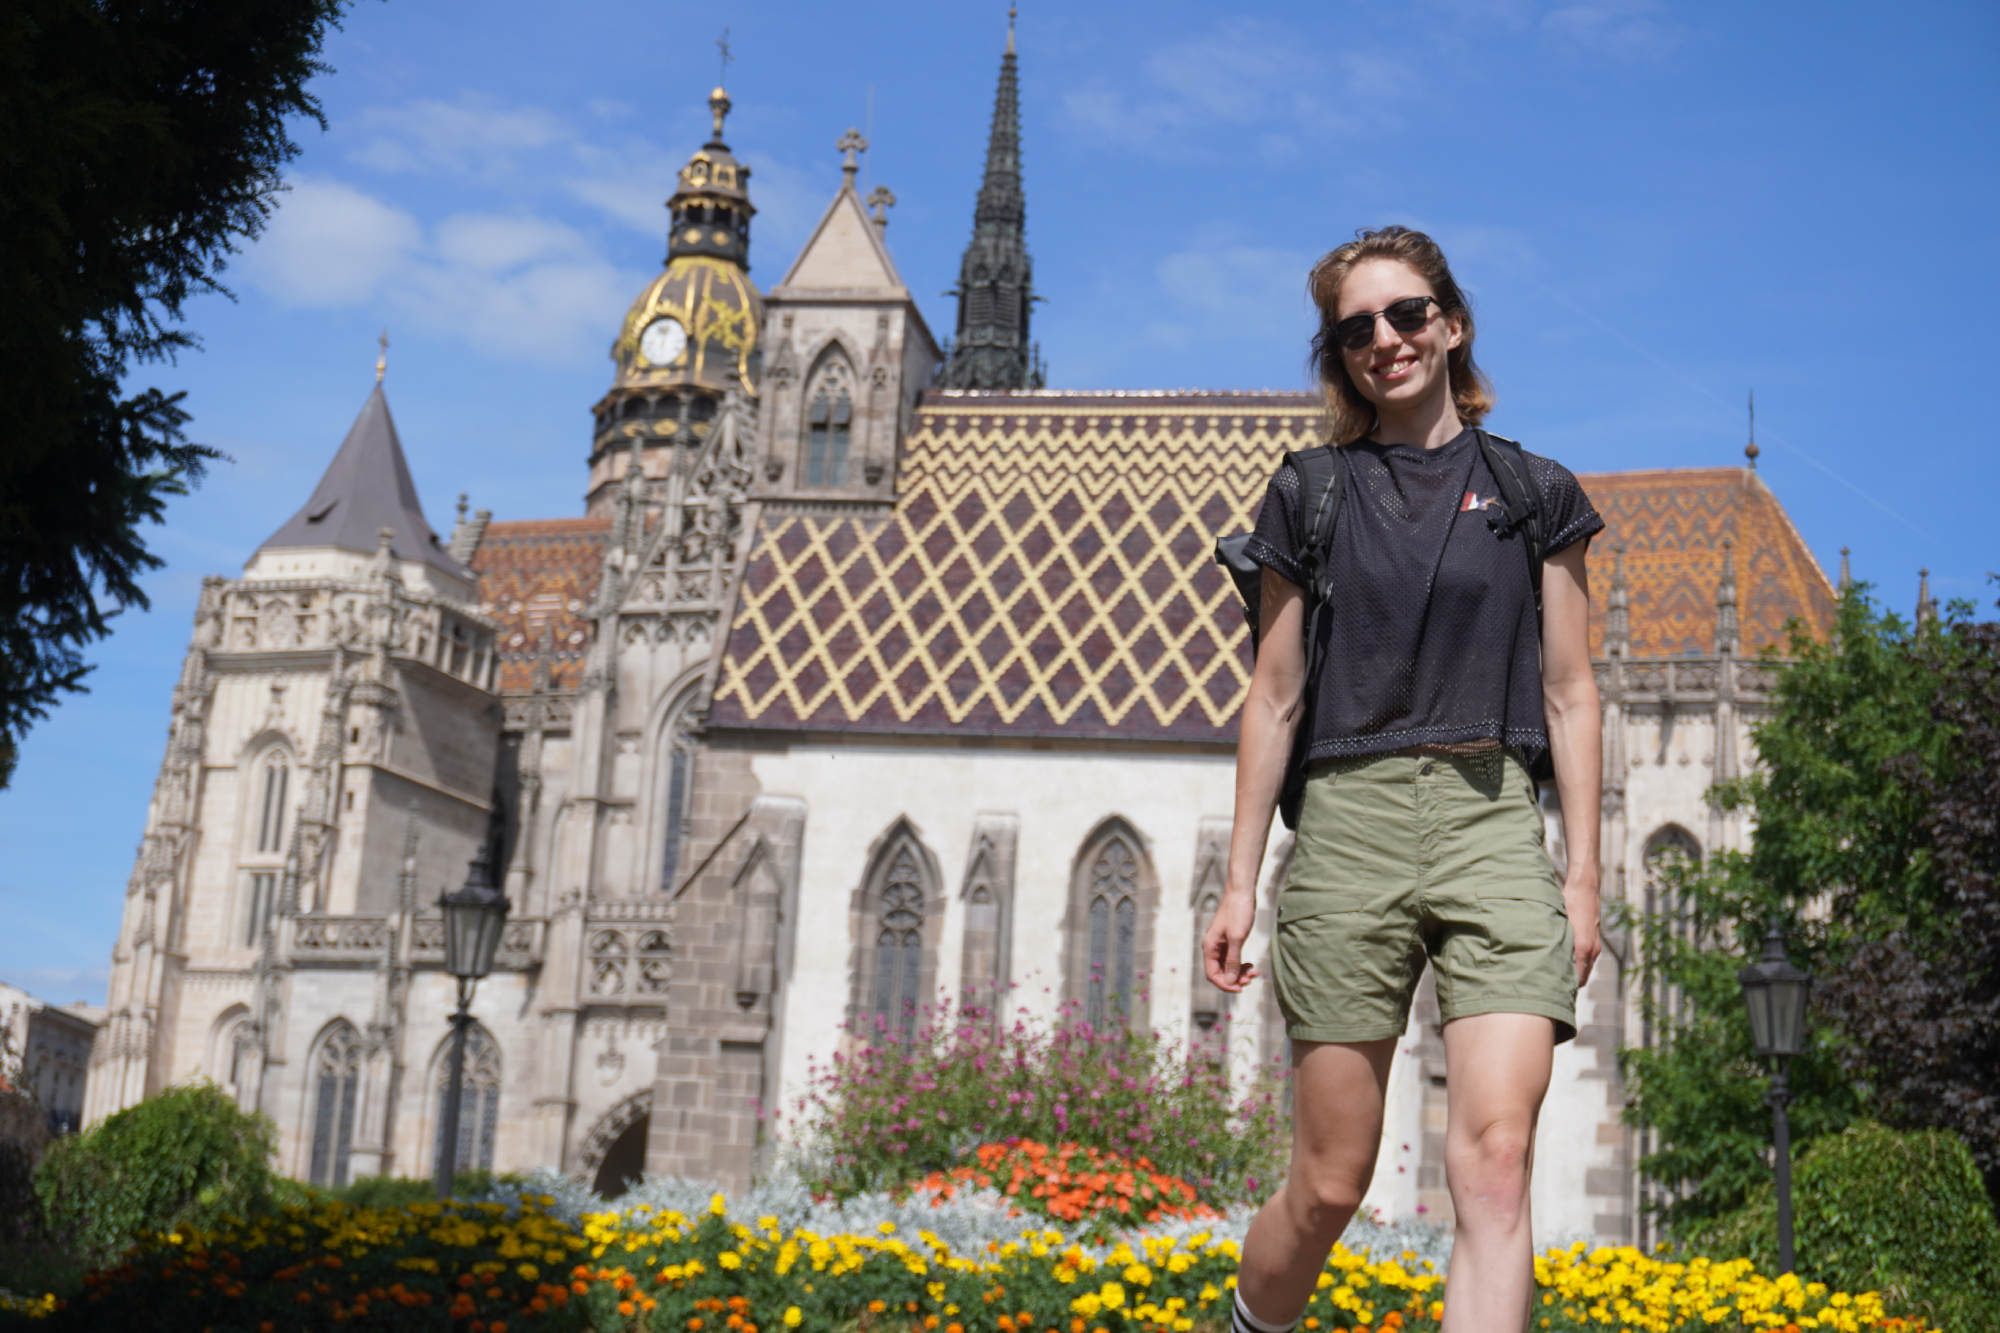
Anna wearing the Fjällräven/Specialized Rider’s Hybrid shorts in front of St Michael's Chapel in Košice
But with that all said, I did wear these Fjällräven/Specialized shorts on some of the hottest days as well, so it’s not as if they can’t handle hot temperatures – they really can – it’s just the Columbia ones were that bit better suited.
Turning to the Columbia Firwood Camp II now, there’s not too much to say that I haven’t just covered obliquely! But to risk repeating myself, I really appreciated the length of these shorts. Not too long – unlike the majority of overshorts – but also not too short that the liner shorts underneath would end up being promiently on show. They were just the right length and style for anywhere off and on the bike.
Regarding the fabric, it was a bit lighter and softer than the Fjällräven/Specialized shorts, making them a great option in the heat and highly comfortable when riding. They were also pretty good in the rain of the mountains as they dried super quickly!
I didn’t notice any wear on the shorts by the end of the trip, which bodes very well for their longevity. Although with that softer material I wouldn’t expect them to last as long as the Fjällräven/Specialized shorts.
Liner shorts
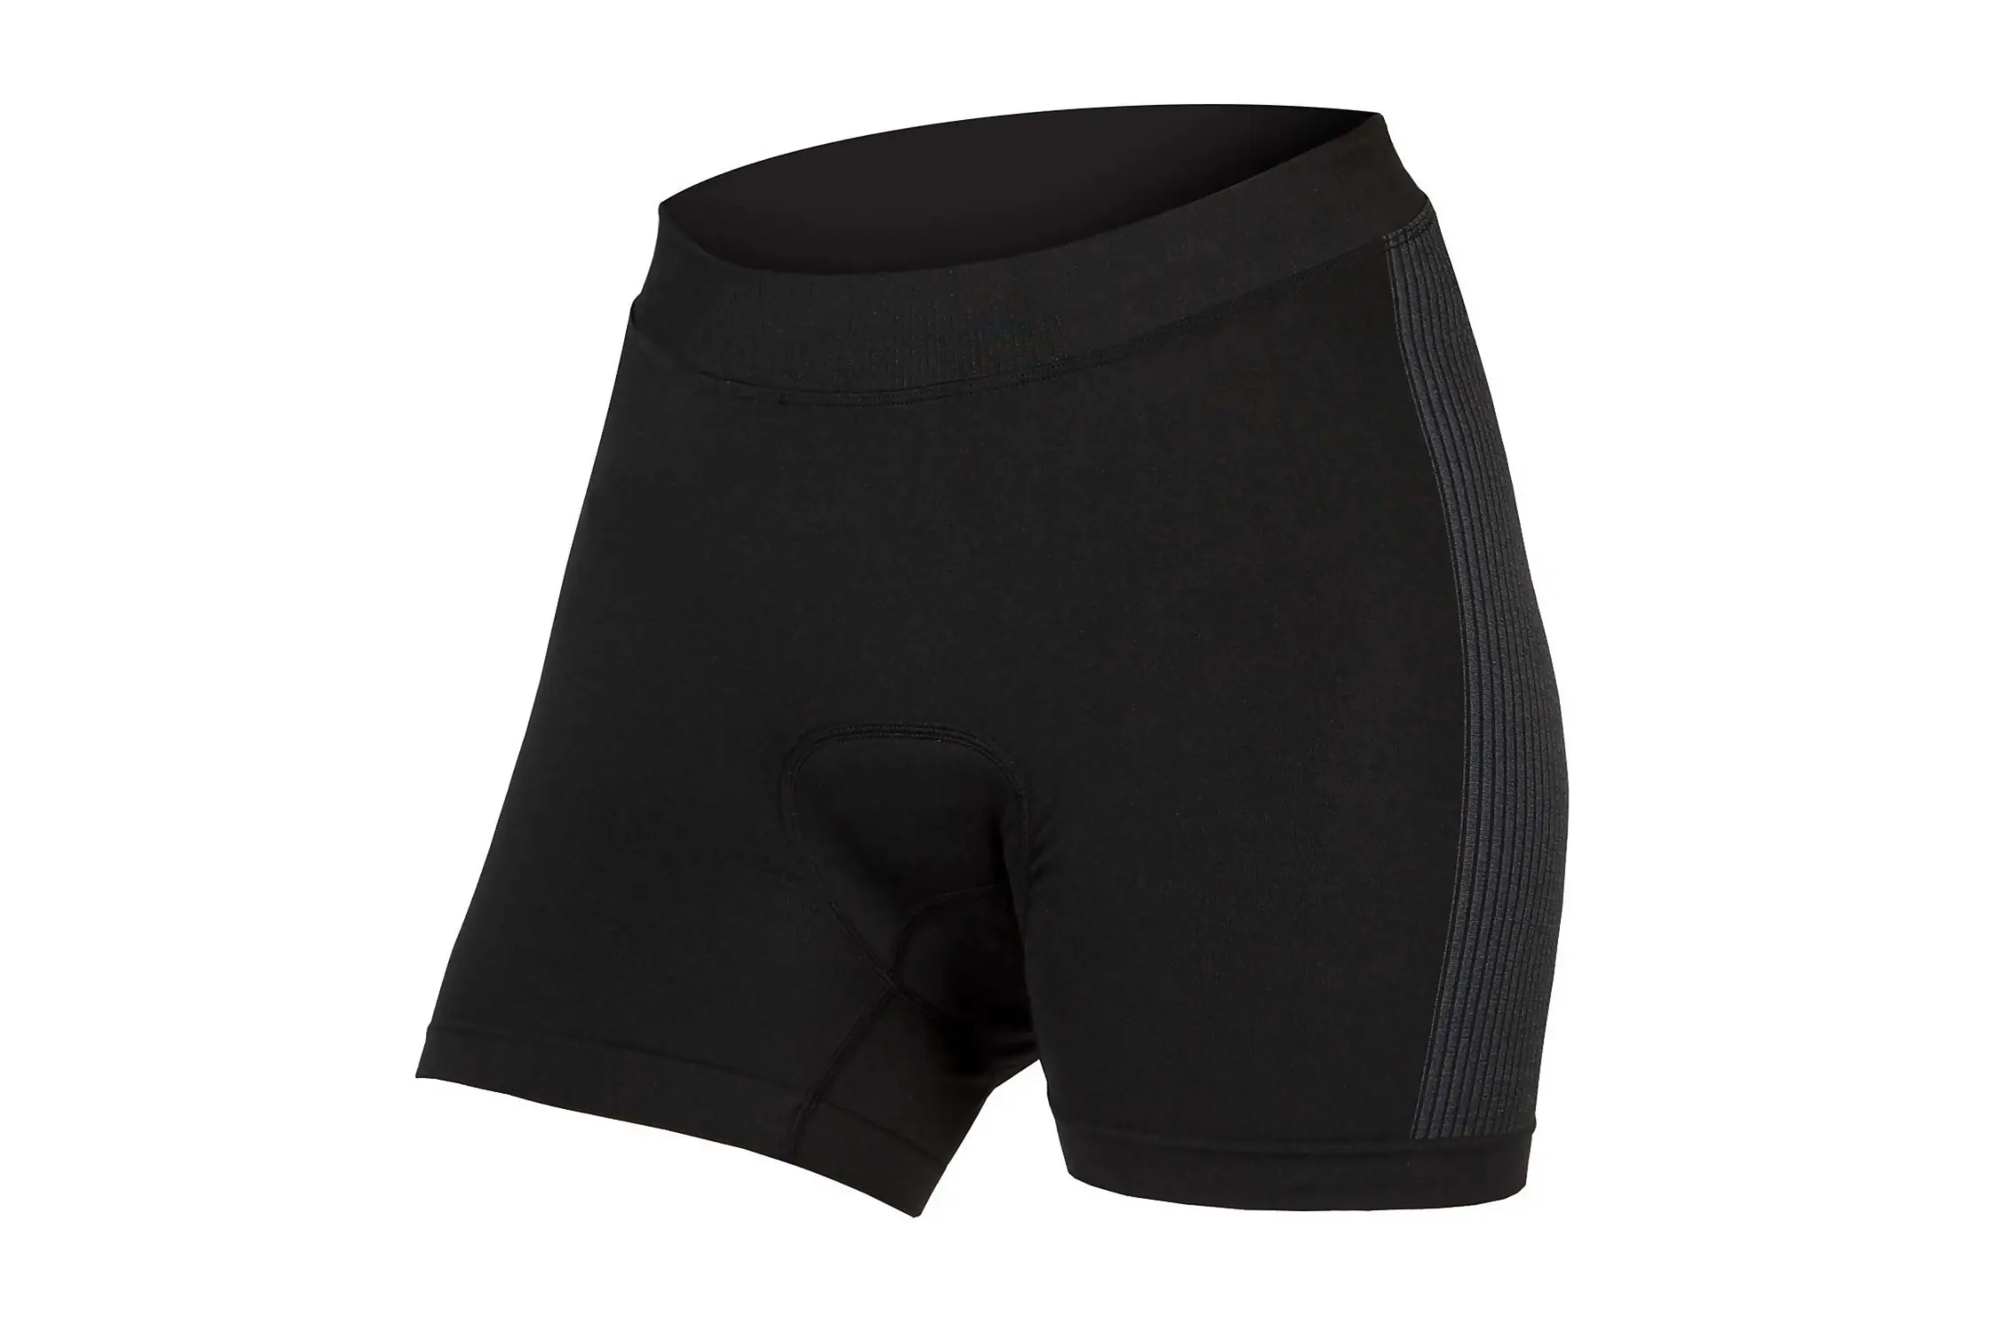
For the liner shorts, I used Endura’s Engineered Padded Boxer and a pair of dhb Padded Liner Shorts.
Endura’s boxer styled offering really suited my choice of short overshorts. However I did find that the short length to the shorts material meant that the fabric bunched up a little and caused irritation around the inside of my upper thigh.
On the other hand, they did a particularly good job regarding the chamois and the cushioning they provided. It wasn't quite equal to that of a fully fledged set of bib shorts, but it wasn't too far off.
The dhb Padded Liner shorts I was using had a more minimal pad and as such weren’t so good for the bigger days. But being aware of that, I made sure to use them on the shorter rides and it all worked out.
For days such as our ride through the Bükk national park – which involved a lot of time in the saddle and didn't have a planned stop anywhere until the late afternoon – I did bring a set of Specialized/Fjällräven Adventure Bib Shorts w/ SWAT (with cargo pockets) for the comfort and convenience they provided.
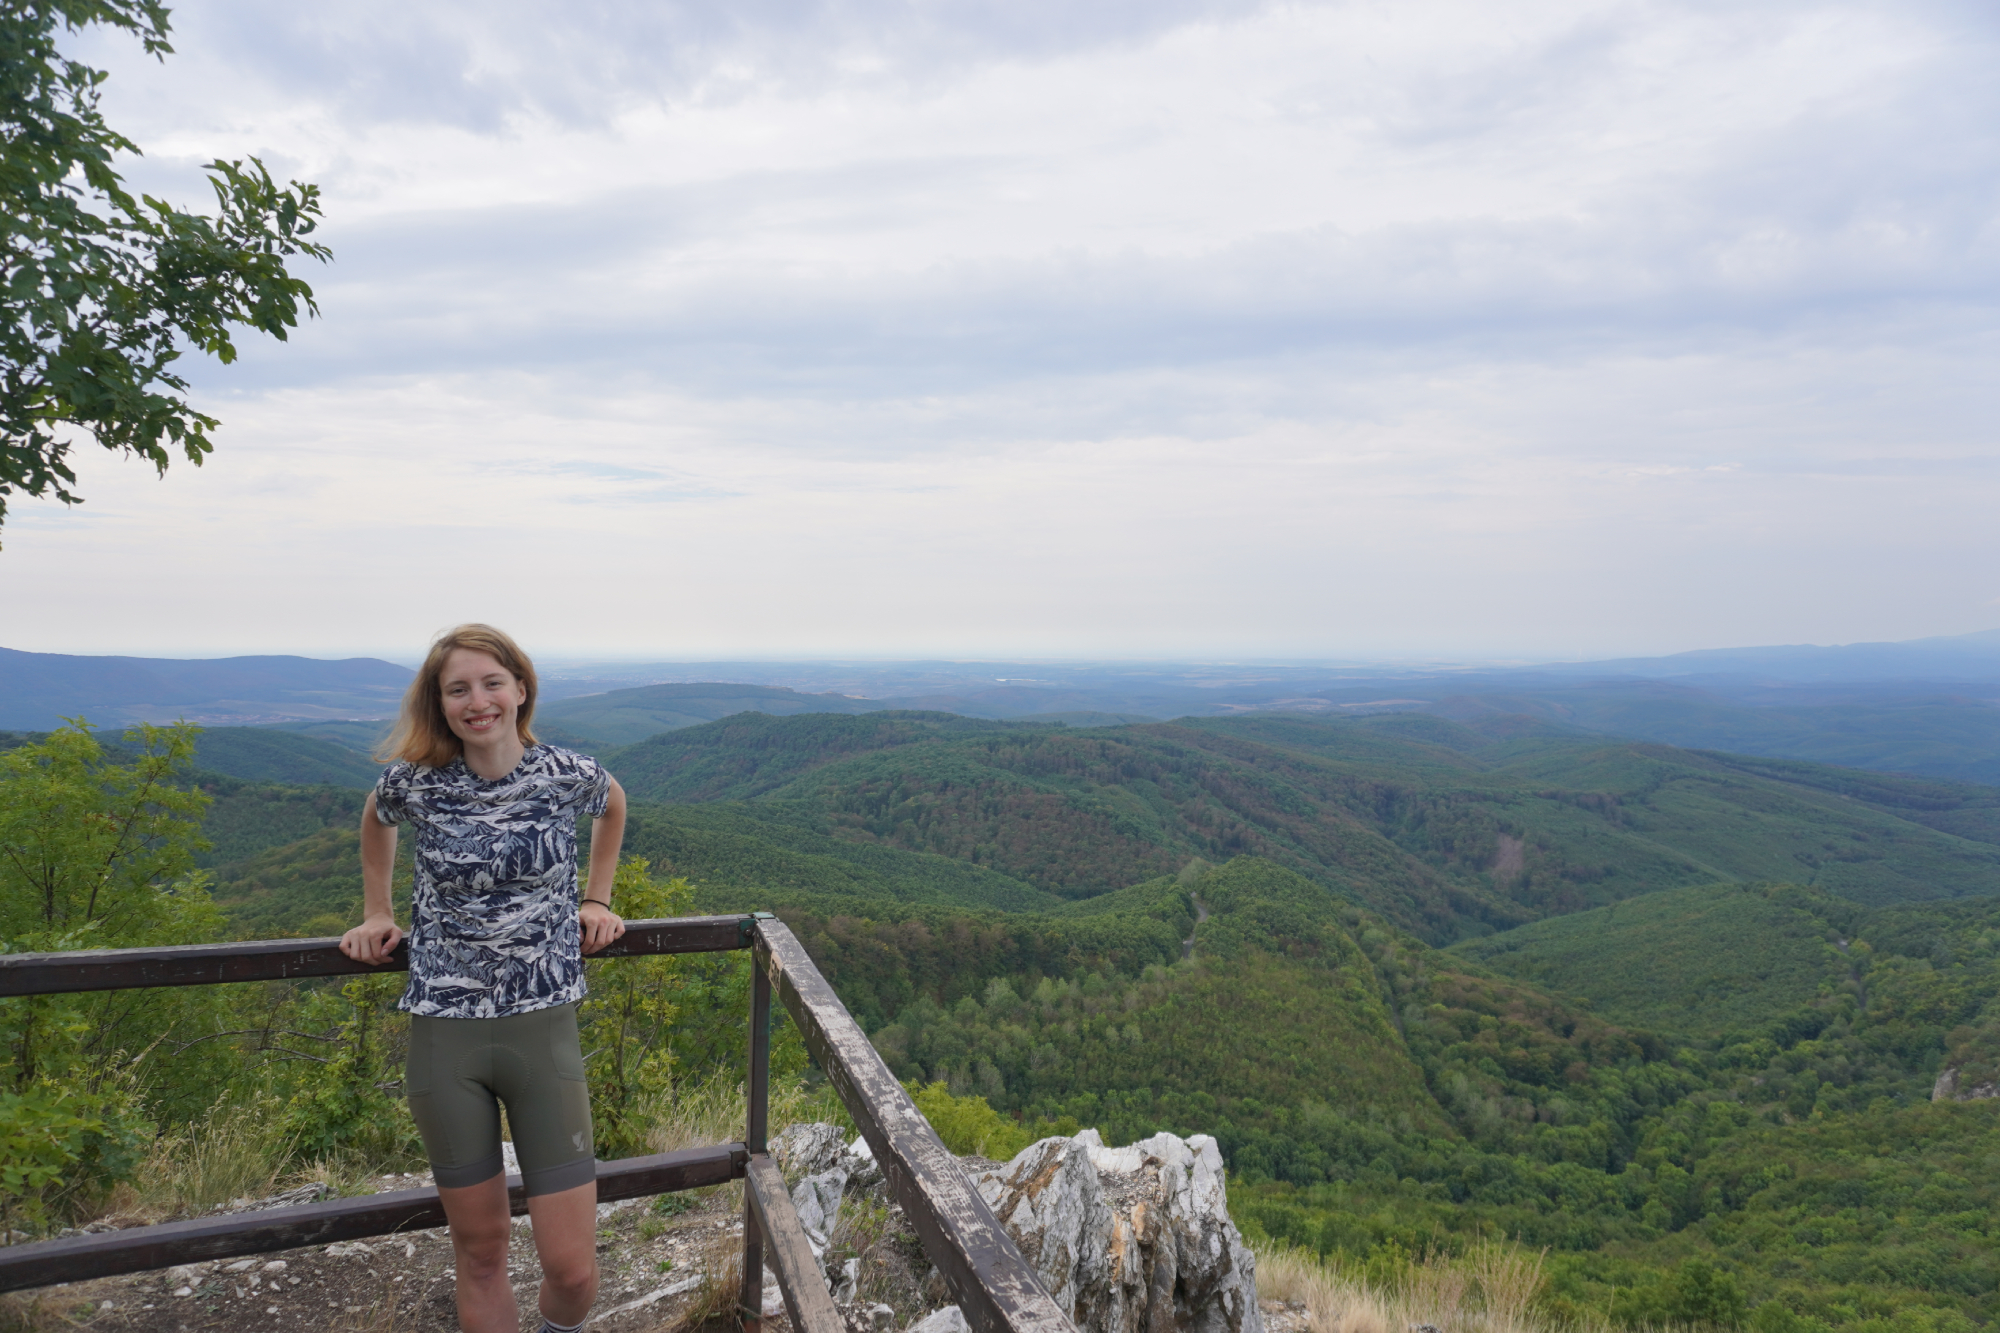
Anna wearing the Specialized/Fjällräven Adventure Bib Shorts at the highest point in the Bükk national park, Hungary
And with the first place we rocked up after leaving the Bükk national park being Miskolc’s thermal cave baths, I was only going to end up changing anyway! The shorts themselves were great, with the Elastic Interface pad providing plenty of cushioning, the straps being generous enough for a more upright position and the material on the legs providing the right level of support and comfort.
All in all, they were great shorts and they would be an absolute go to for all-day epics. As it was, in this trip I didn’t use them an awful lot because of all the places we were visiting on the way. But I was very grateful for the times I did use them!
Shoes
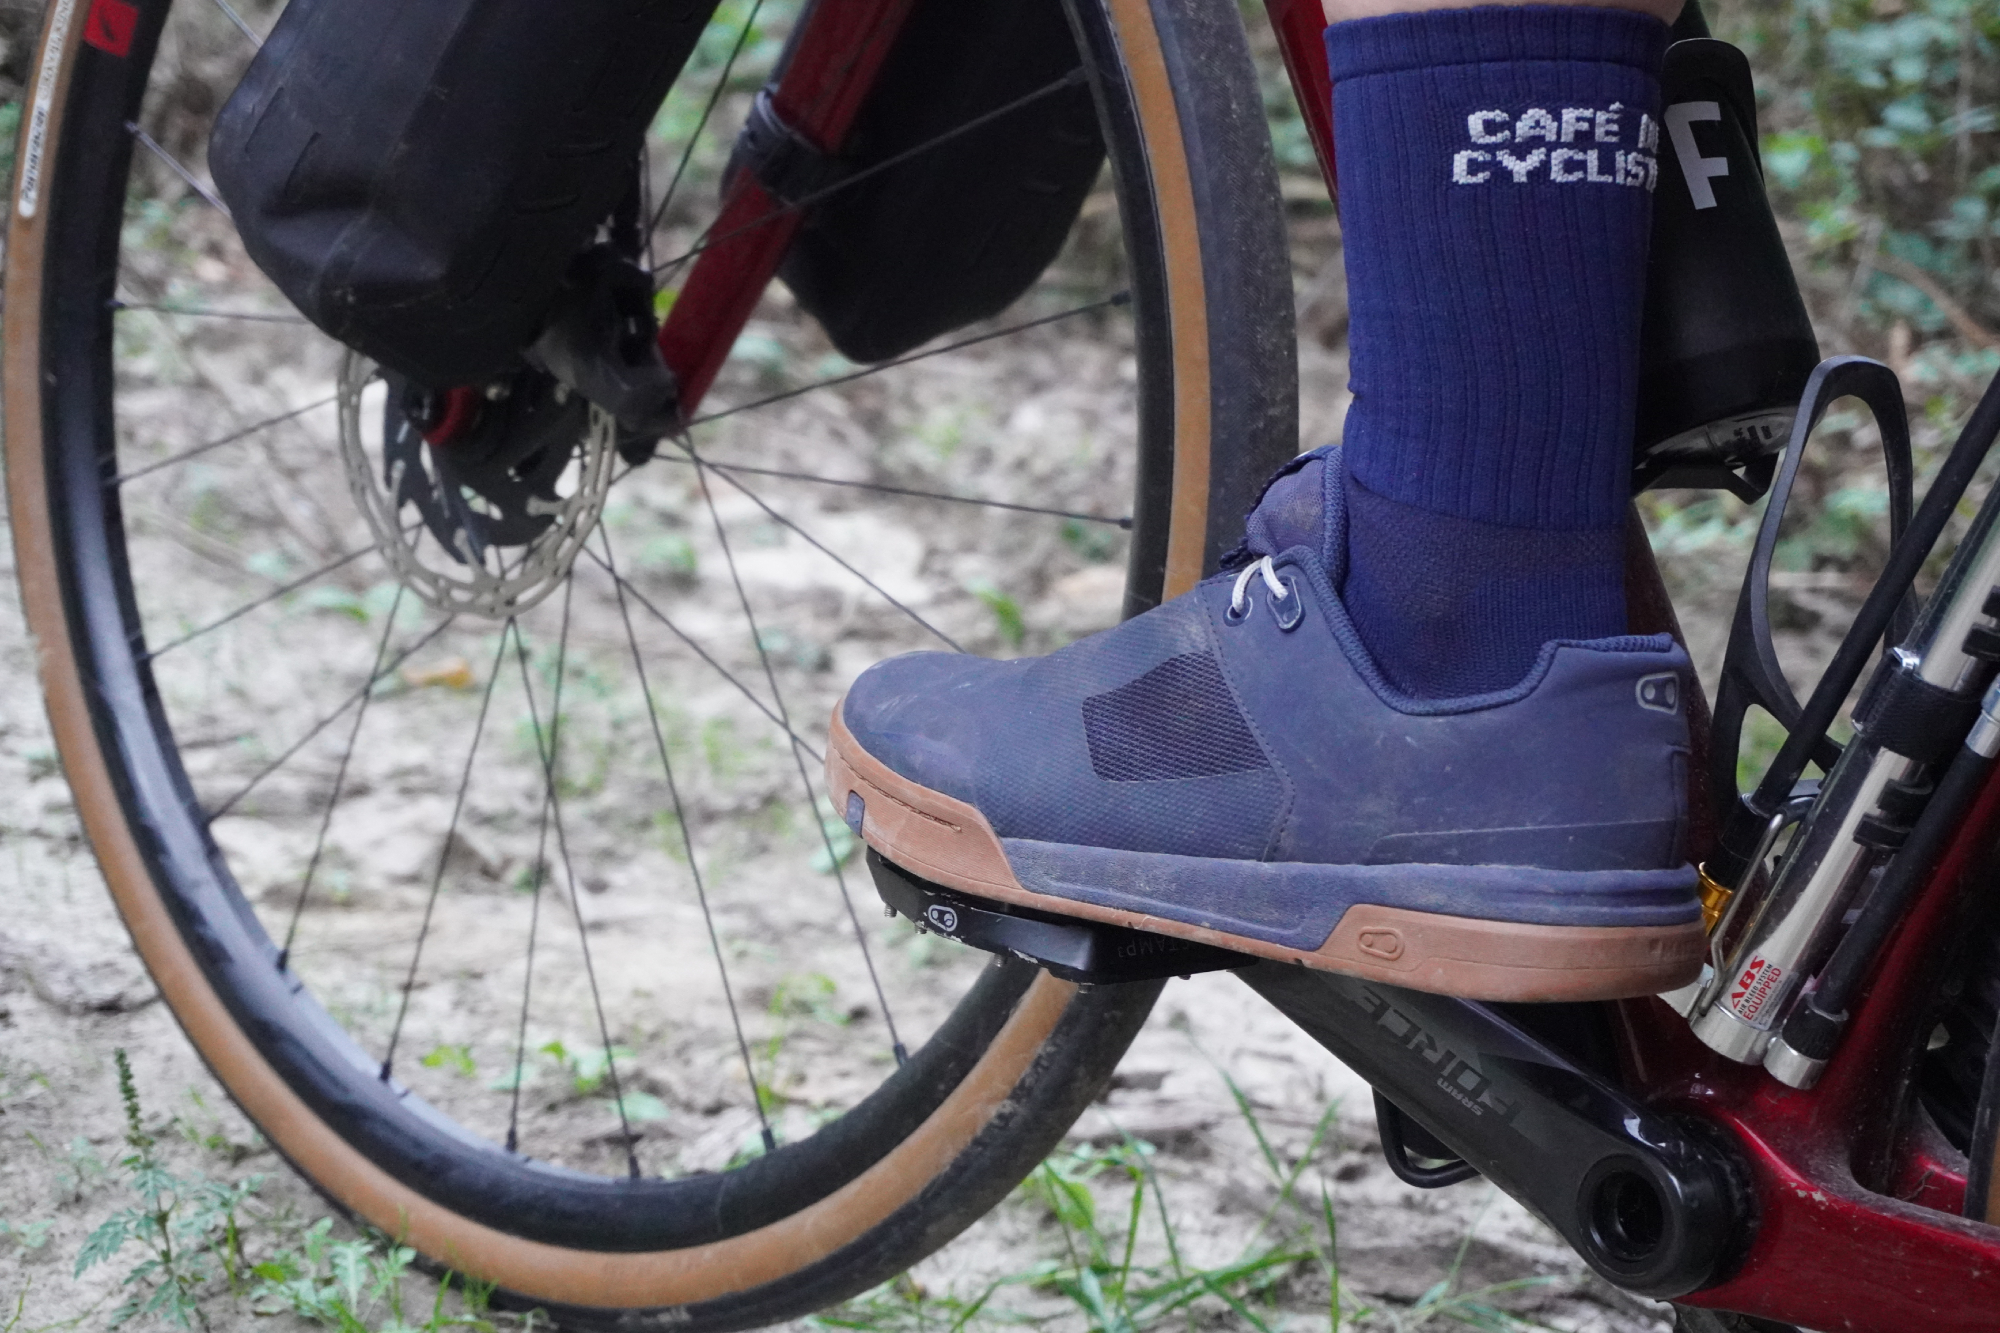
Anna wearing the Crankbrothers Stamp Lace flat shoes
We go into this more in a separate article, but there is a very strong argument for using flat shoes on a bikepacking trip.
For the long, steady riding which made up the majority of our riding, we weren't really at a disadvantage not being clipped in. Smashing up Strava segments, yes, I would want the security and efficiency gains from a set of cleats. But for the style of riding on this trip, it really wasn't a necessity.
And then comes the upsides: you’re able to walk around wherever you want to go without any impediment at all. There were days when we did nearly 30,000 steps and we quite regularly were doing over 20,000 (as measured by a Garmin smartwatch). We needed a shoes that could fully take this all in their stride.
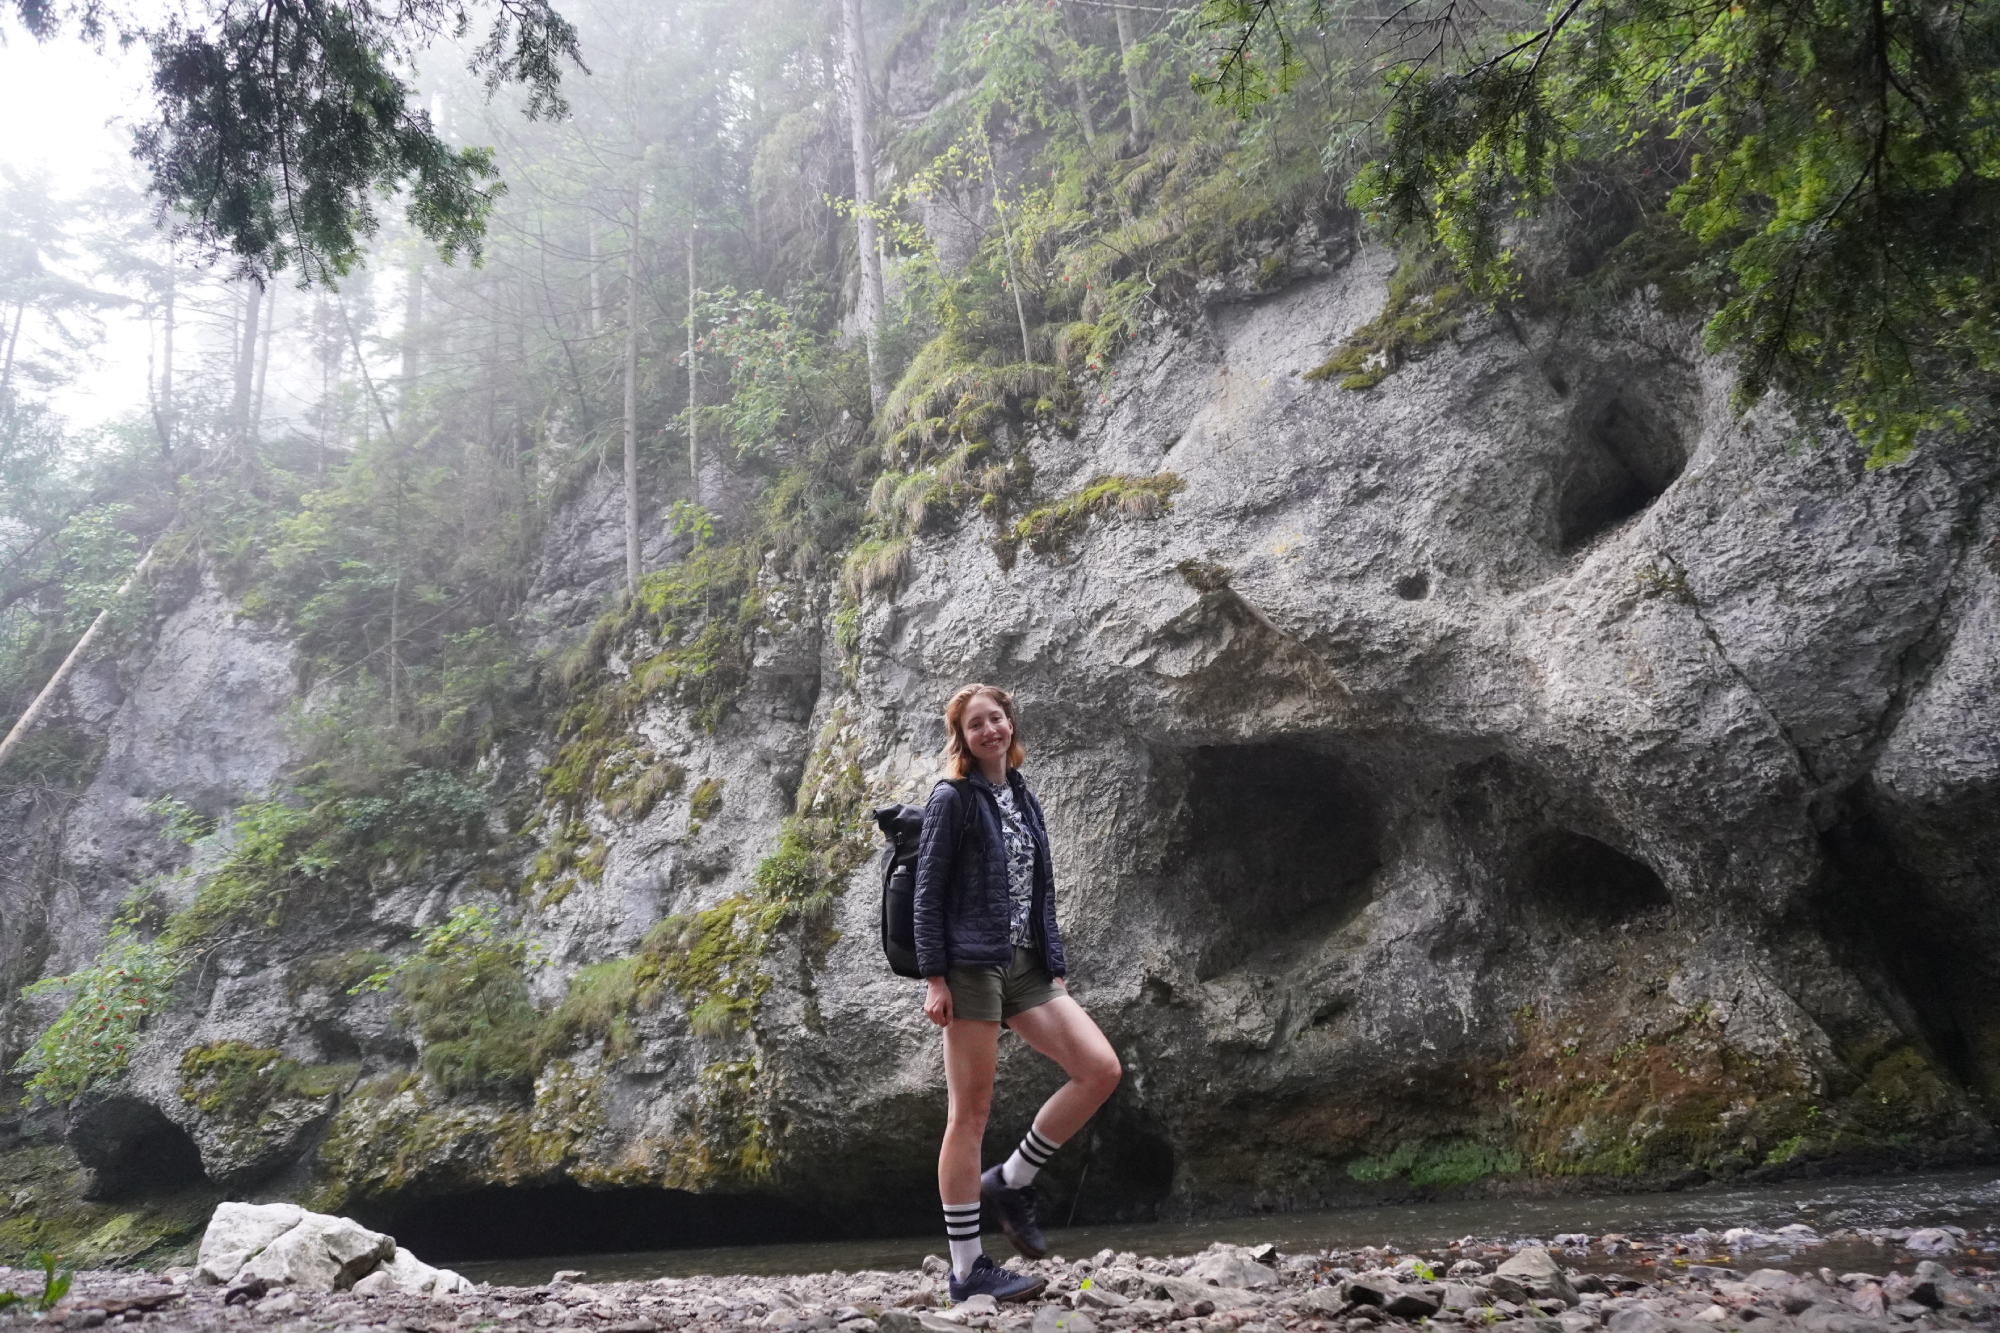
Regarding the Crankbrothers Stamp Lace flat shoes specifically, I get into all the details in my full review. But suffice to say, I found them perfectly stable and robust for the time on the bike, whilst still being flexible enough for anything I wanted to do off the bike – including a 16km gorge walk!
Looking back, that was probably a tougher test of the shoes than any of the riding. But as I said, they’ve stood up well and I can thoroughly recommend them.
Insulating tights
In the wind and the rain, it makes a massive difference to your comfort if you have something covering your legs. It doesn’t even need to be waterproof, just some fabric barrier makes the world of difference.
For this, I used a set of ETC Warm Up Full Zip Tights that are super easy to take on and off, with full length zips down the sides. Having much the same cut and elasticity to a set of bib tights, they’re also easy to ride in.
They are insulated, but not waterproof and they don’t dry super quickly. But for how snug, warm, and easy to put on they are, I’ve always much appreciated them and so far haven’t come across anything that tops them.
Jackets
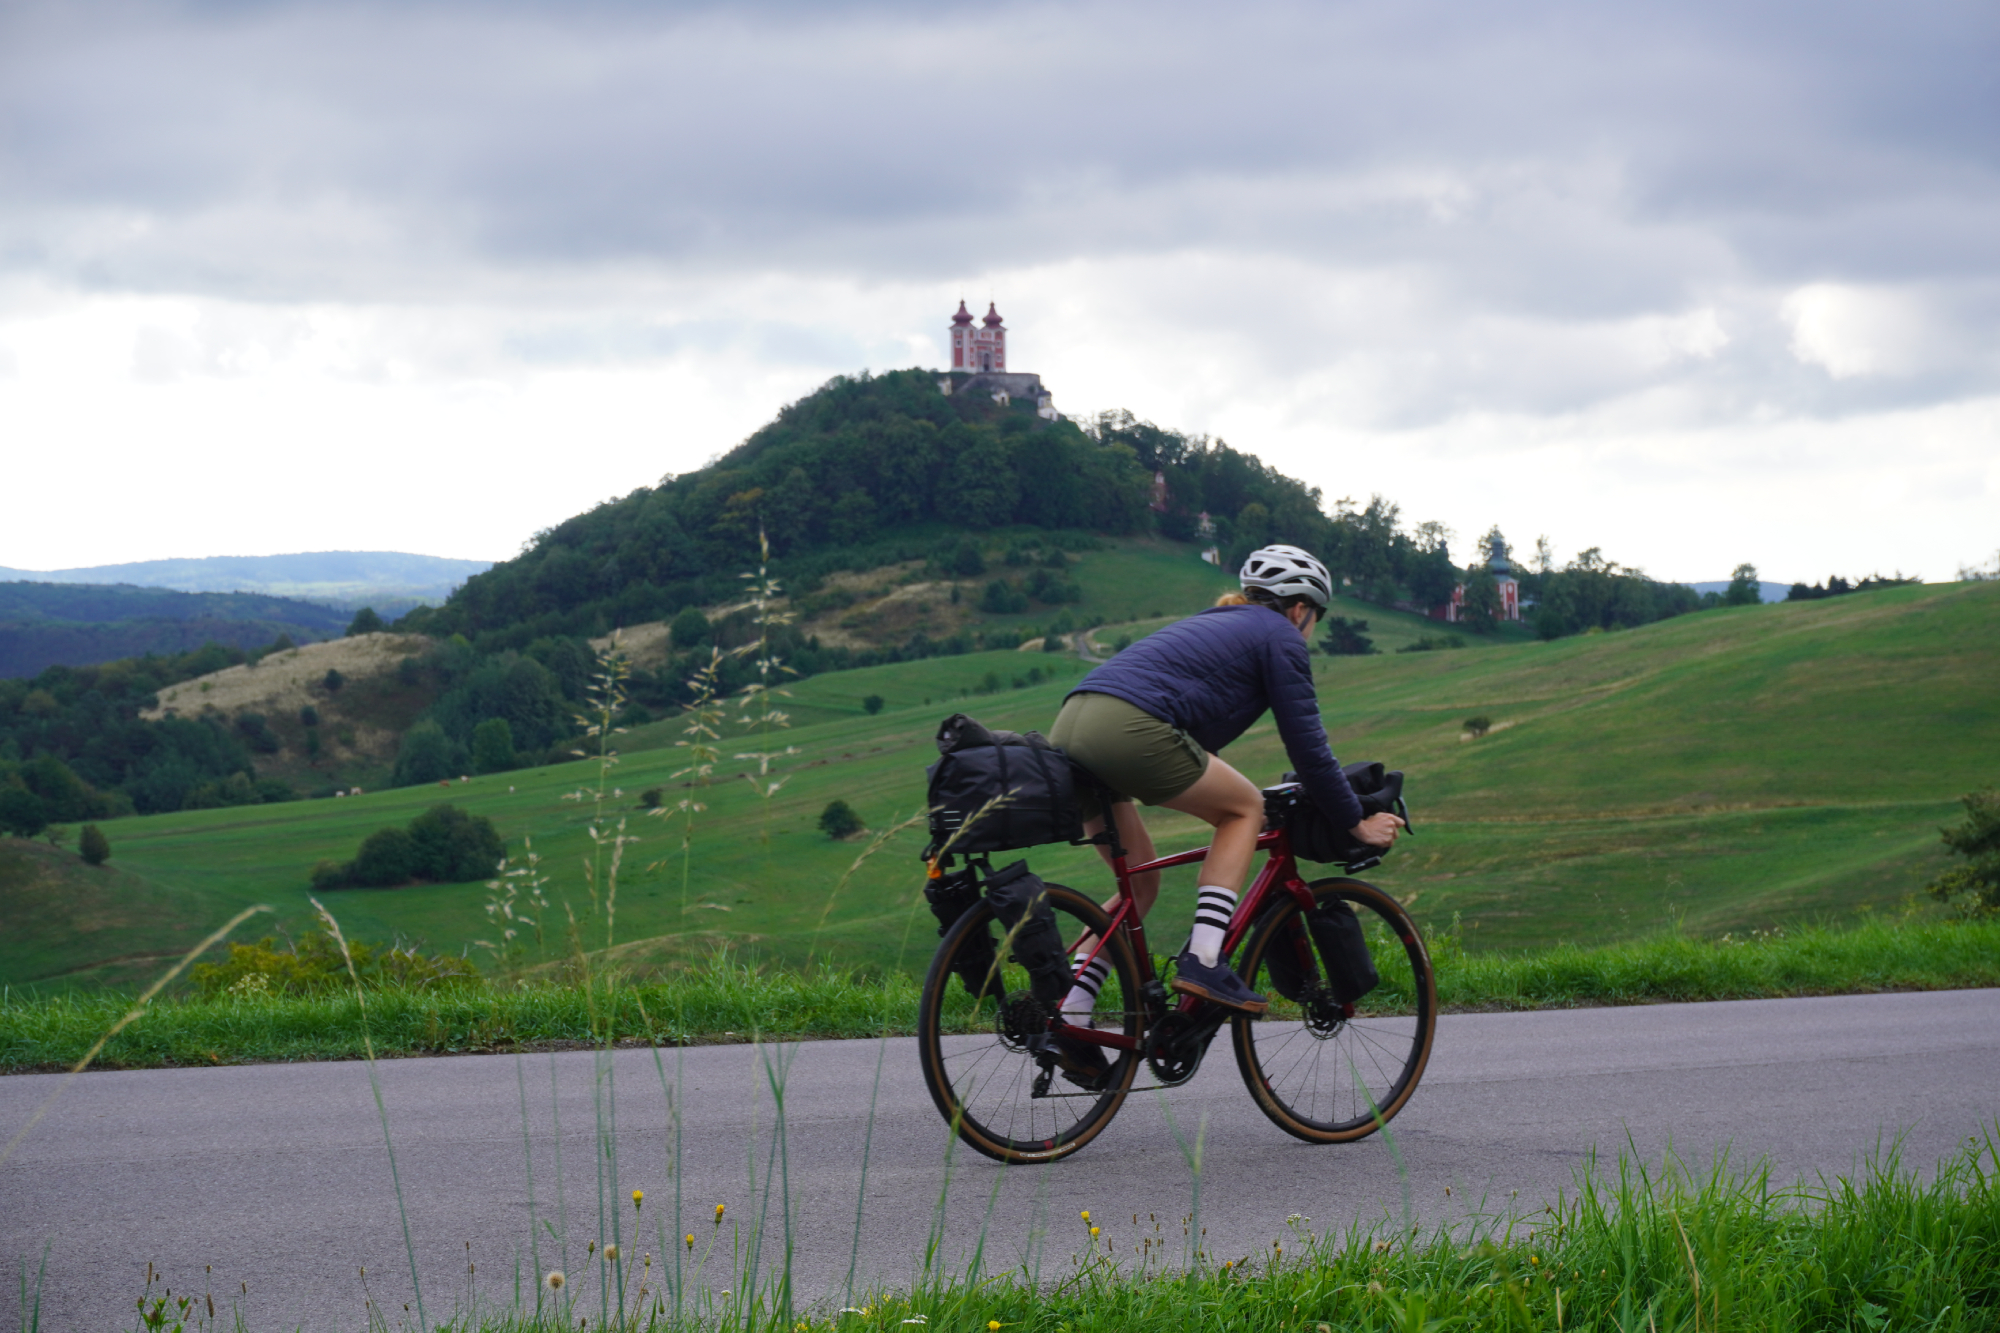
Anna wearing Fjällräven’s Expedition X-LATT Jacket W on the bike on the way to the historical mining town Banská Štiavnica in Slovakia
Because of my choice of super lightweight tops, I essentially lived in Fjällräven’s Expedition X-LATT Jacket W through the Carpathian mountains. It doesn’t do anything that’s particularly novel for an insulated jacket, but it executes the fundamentals excellently – which is just what you want, no need for novelty if something is actually doing its job.
It was very warm for its lightweight, easily packable, the outer material had reasonable water repellency and – with the insulation being synthetic – I wasn’t afraid to wear the Fjällräven jacket in light drizzle. Just an all round really good layer for on and off the bike, I liked it a lot.
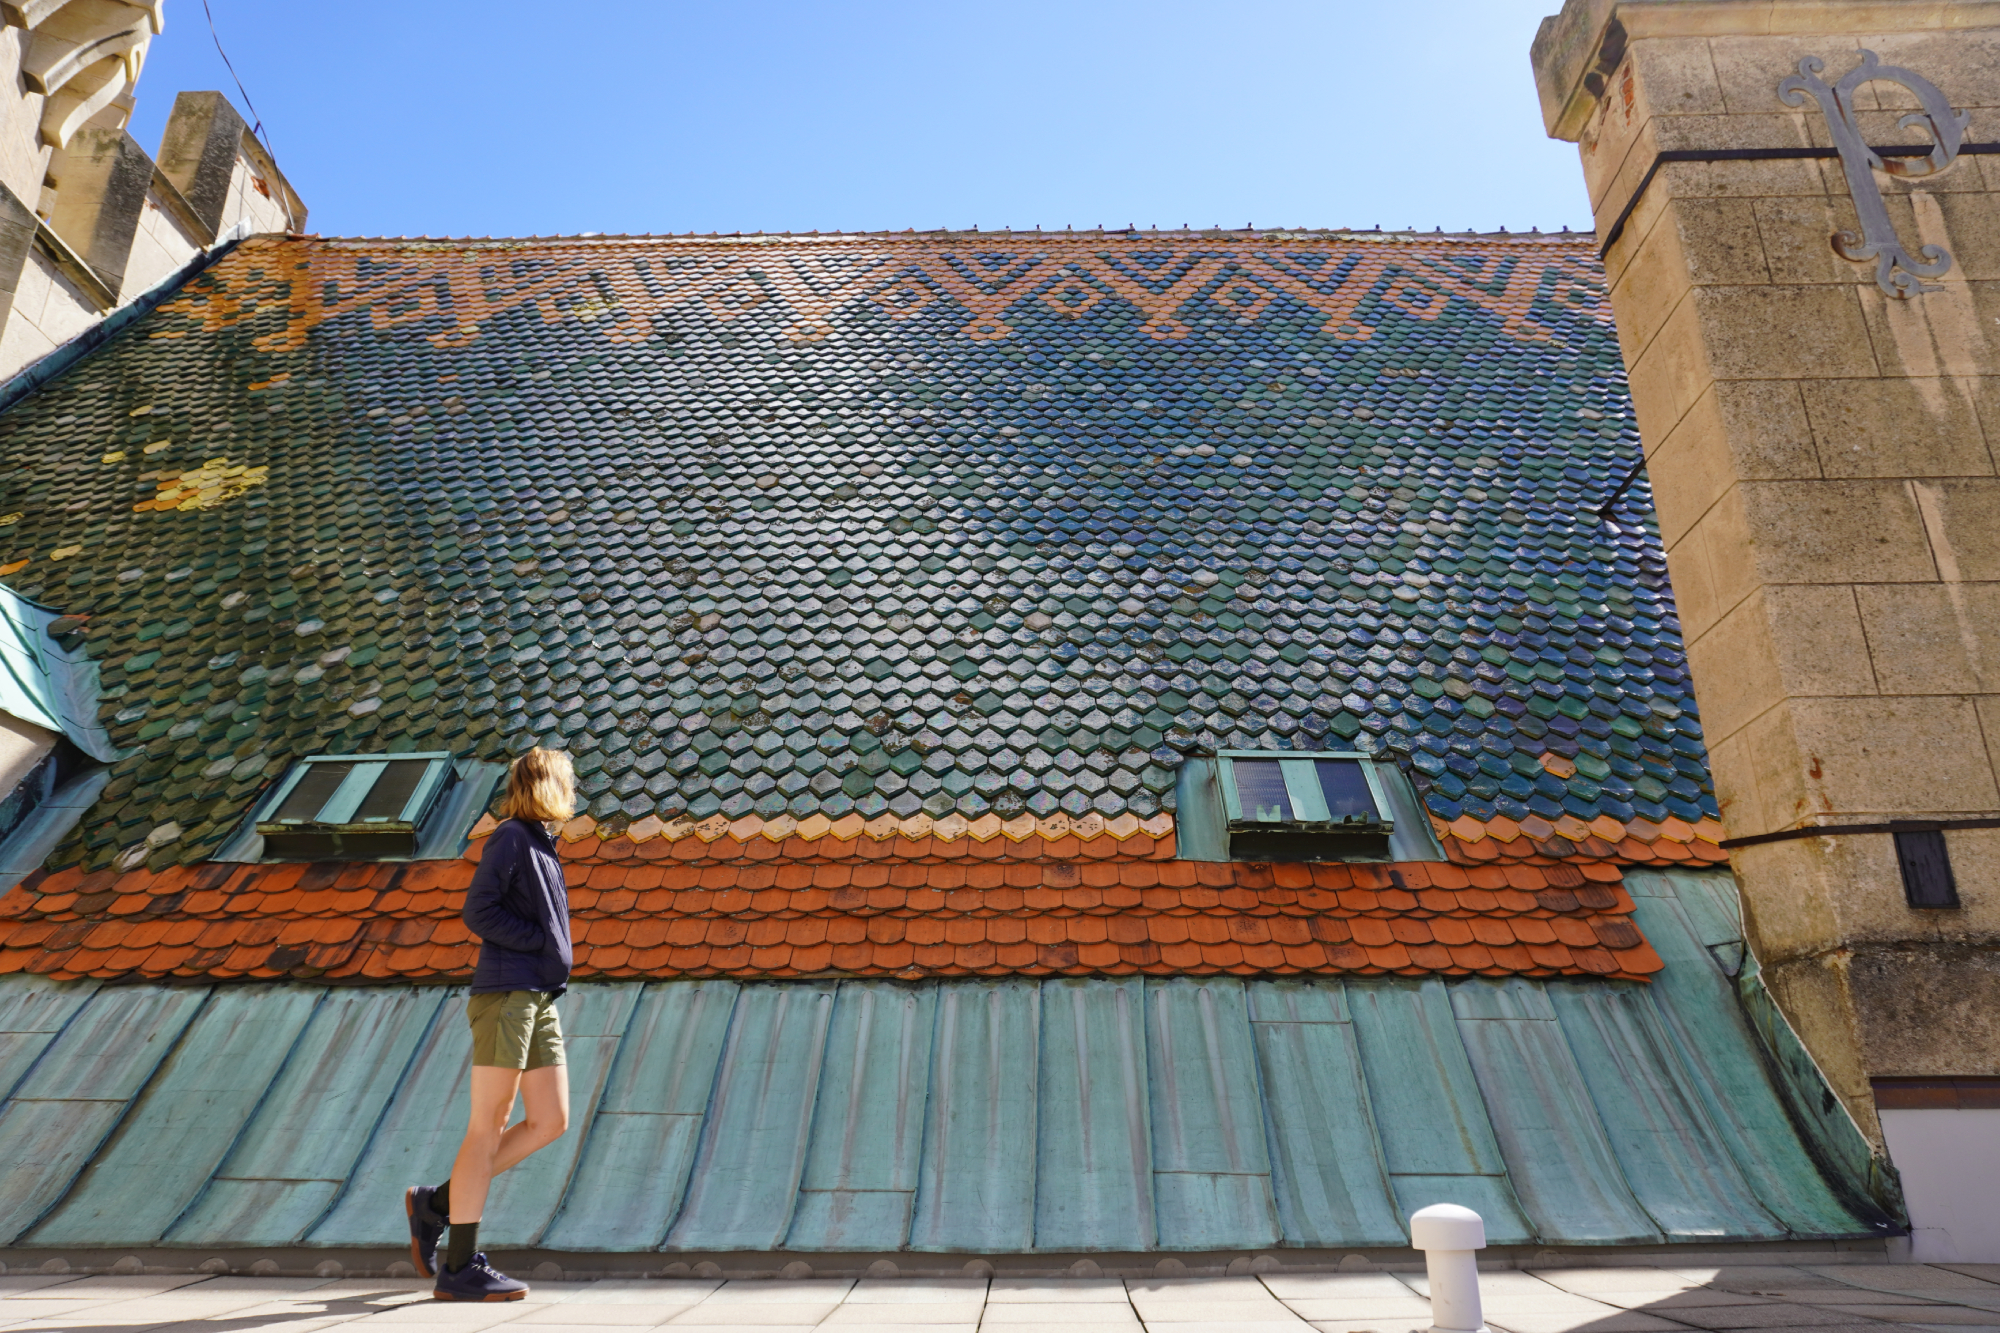
Anna wearing Fjällräven’s Expedition X-LATT Jacket W off the bike while walking by the tiled roof of the Castle of Spirits (Bojnice Castle) in Slovakia
Clothing took up the bulk of what we brought and, of the clothing, a Columbia Women’s Bugaboo II Fleece 3-in-1 Waterproof jacket was the bulkiest item I had.
It was exactly the right call, though. When layering, it’s very important to have a warm fleecy layer trapping air close to your skin. Then, an insulated jacket helps to provide another layer of air-trapping defence, and with a bit of extra wind protection. Finally, a hardshell rain jacket completely blocks the wind, also helps to trap in the heat and provides protection from the rain.
If anyone had seen all the layers I had as we rode through Budapest on the Saturday we arrived, they would have thought I was insane. But that’s all from the perspective of being out at around midday, around 100m above sea level and being far away from any mountains.
Up at around 1,000m in the Carpathian mountain range, in the persistent rain, and being up and out at 05:00 in the morning, I did end up using all of my layers on multiple occasions. I would have been really quite uncomfortable had I not brought them!
It might seem like a lot, but the last thing you want is to be underdressed when in remote places in the mountains.
Trousers

Anna at the Fisherman's Bastion overlooking the Danube river and the Hungarian Parliament on the east side of the bank.
Standard jeans with black silhouetted embroidered flowers – fully a fashion choice and specifically for use in the second week of the trip, when we were staying in Bratislava and Budapest and mostly exploring the cities.
STEFAN'S CLOTHING
Shirts
I was a bit more decadent when it came to my tops. Like Anna, I had two quite lightweight T-shirts, one was the men’s cut of the Fjällräven/Specialized S/F Wool Caliswe T-Shirt – which I found just as good as Anna described, being both lightweight and breathable.
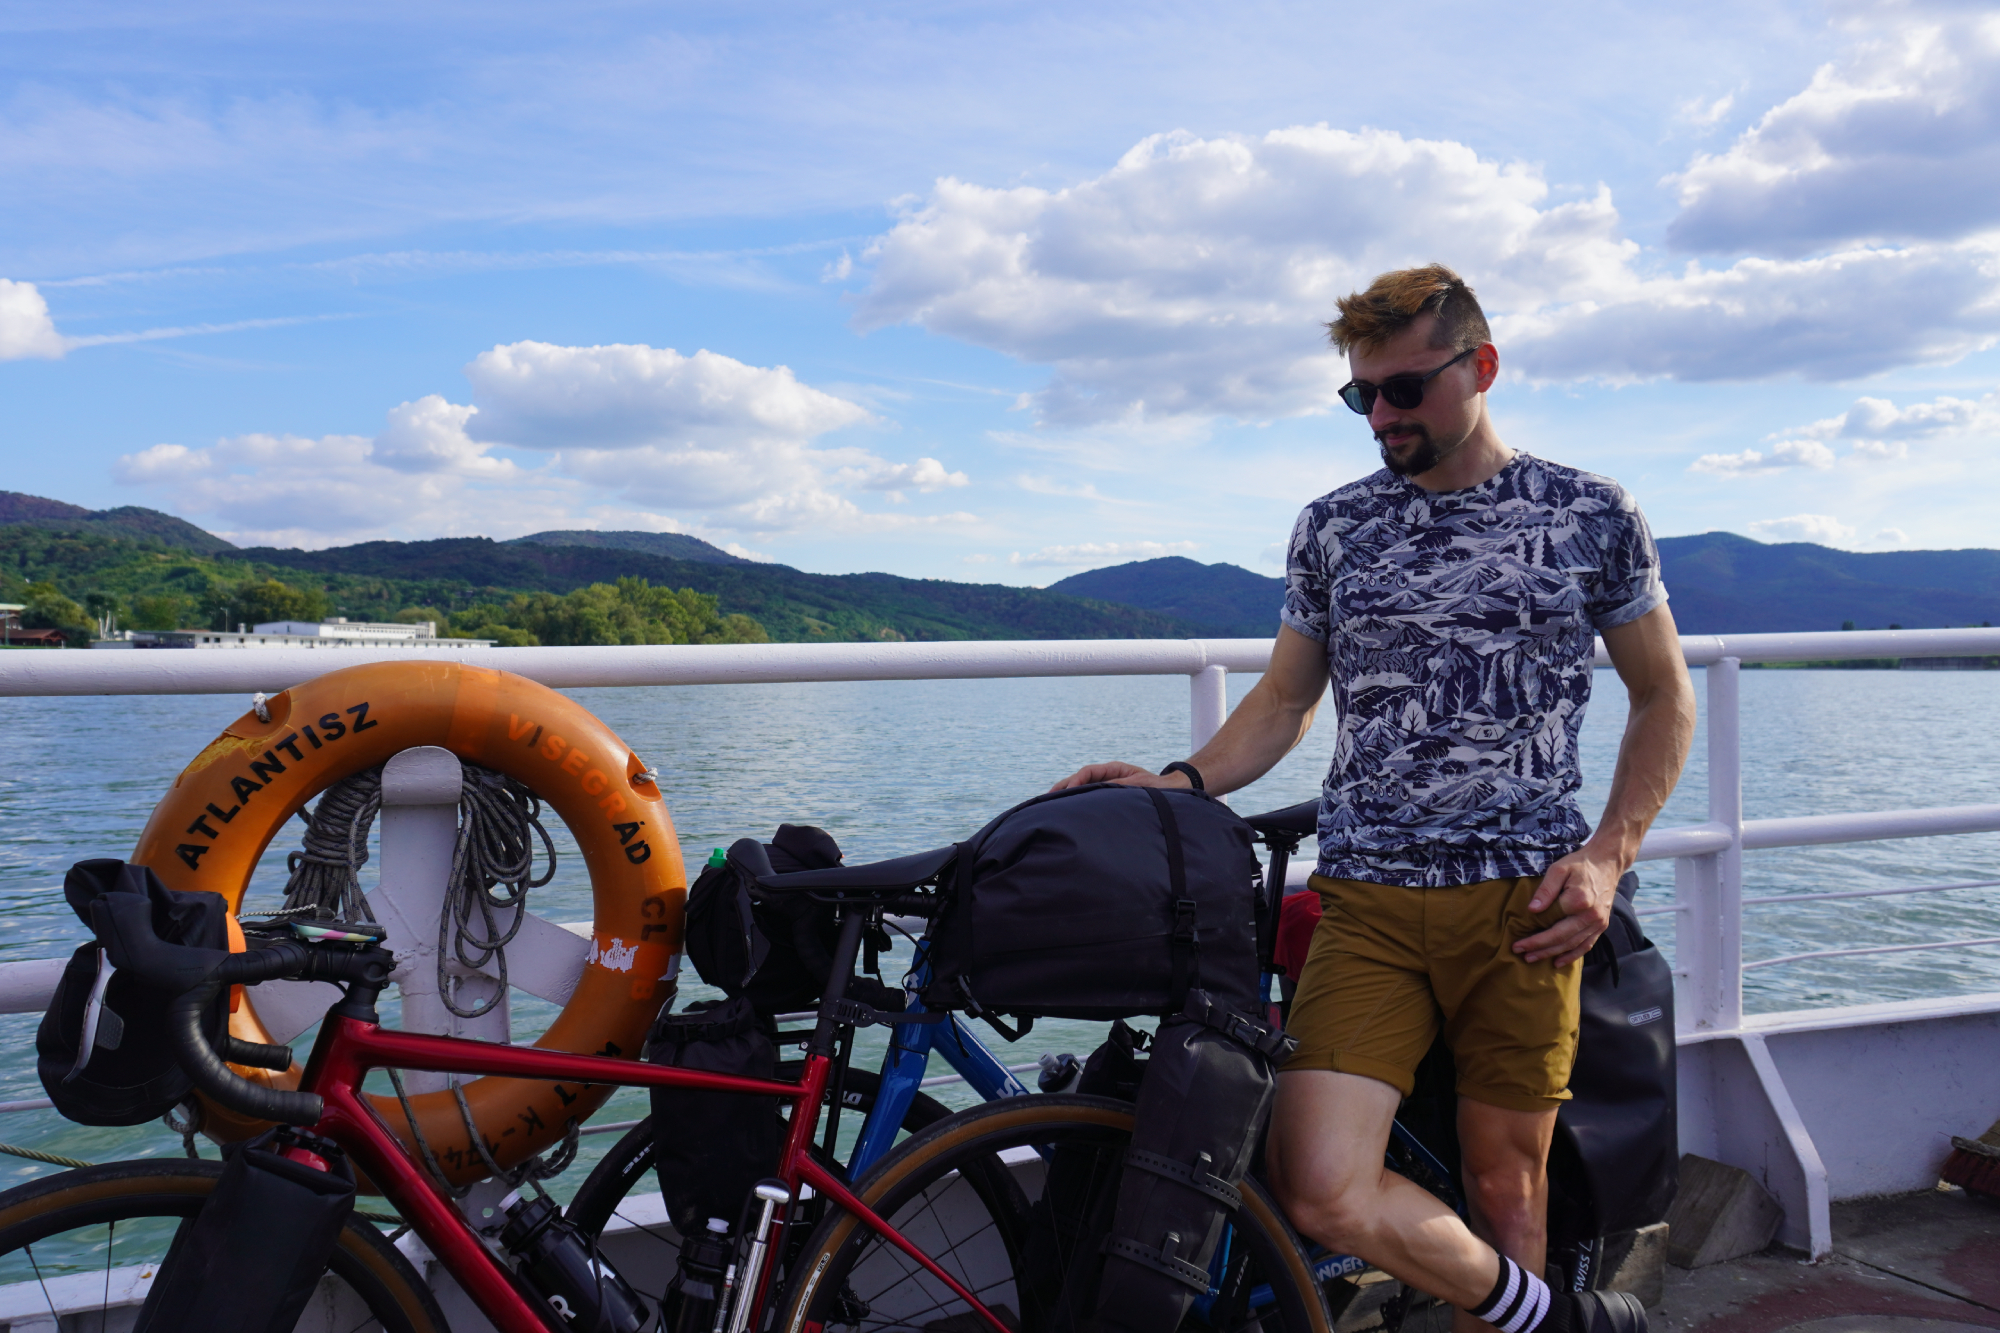
Crossing the Danube river on a foot ferry by Visegrád Citadel, Hungary
I particularly appreciated how Fjällräven/Specialized have managed to achieve a light coloured styling (that reflects the sun and really keeps the heat off), whilst also not ending up with a garment that's too fussy when it comes to showing up the dirt. Mud splatters and leafy detritus don’t stand out as they do with other, more plain, light coloured designs.
The other T-shirt I brought isn’t specifically a technical one, but does just so happen to be a very lightweight and airy, and which I do really like for just wearing around town.
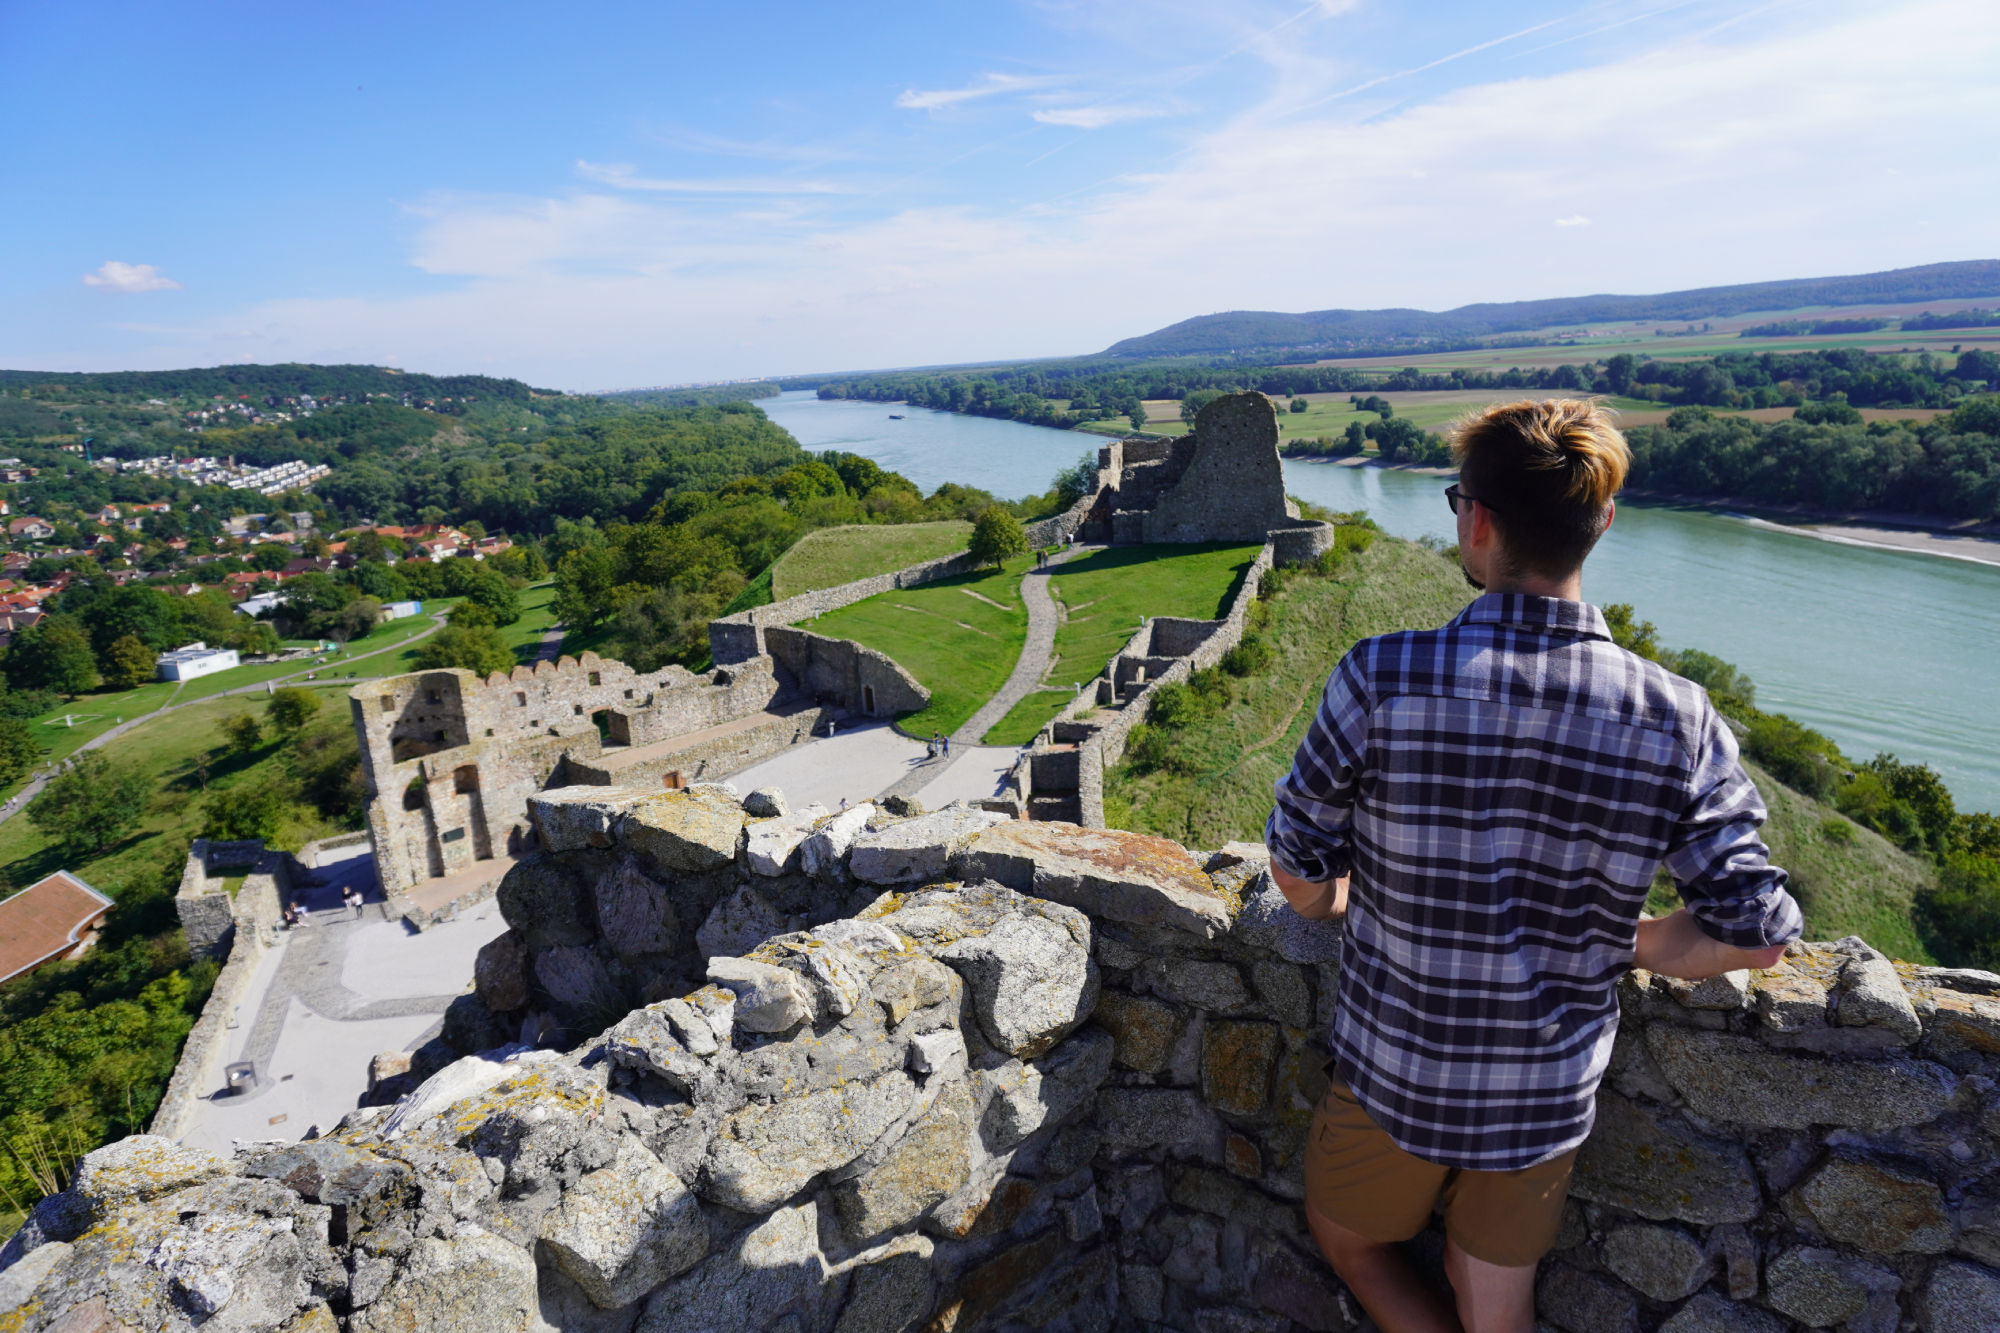
Finally, I had a plaid shirt from Columbia, the Men’s Outdoor Elements II Flannel Shirt, to be exact This is made from a much heavier material than you might expect just looking at the photos, and it did an excellent job at insulating me from the cooler temperatures in the Carpathian mountains and the long, fast descents.
Whereas Anna would pretty much always be wearing her Fjällräven insulated jacket on those days, I was quite happy just wearing this shirt.
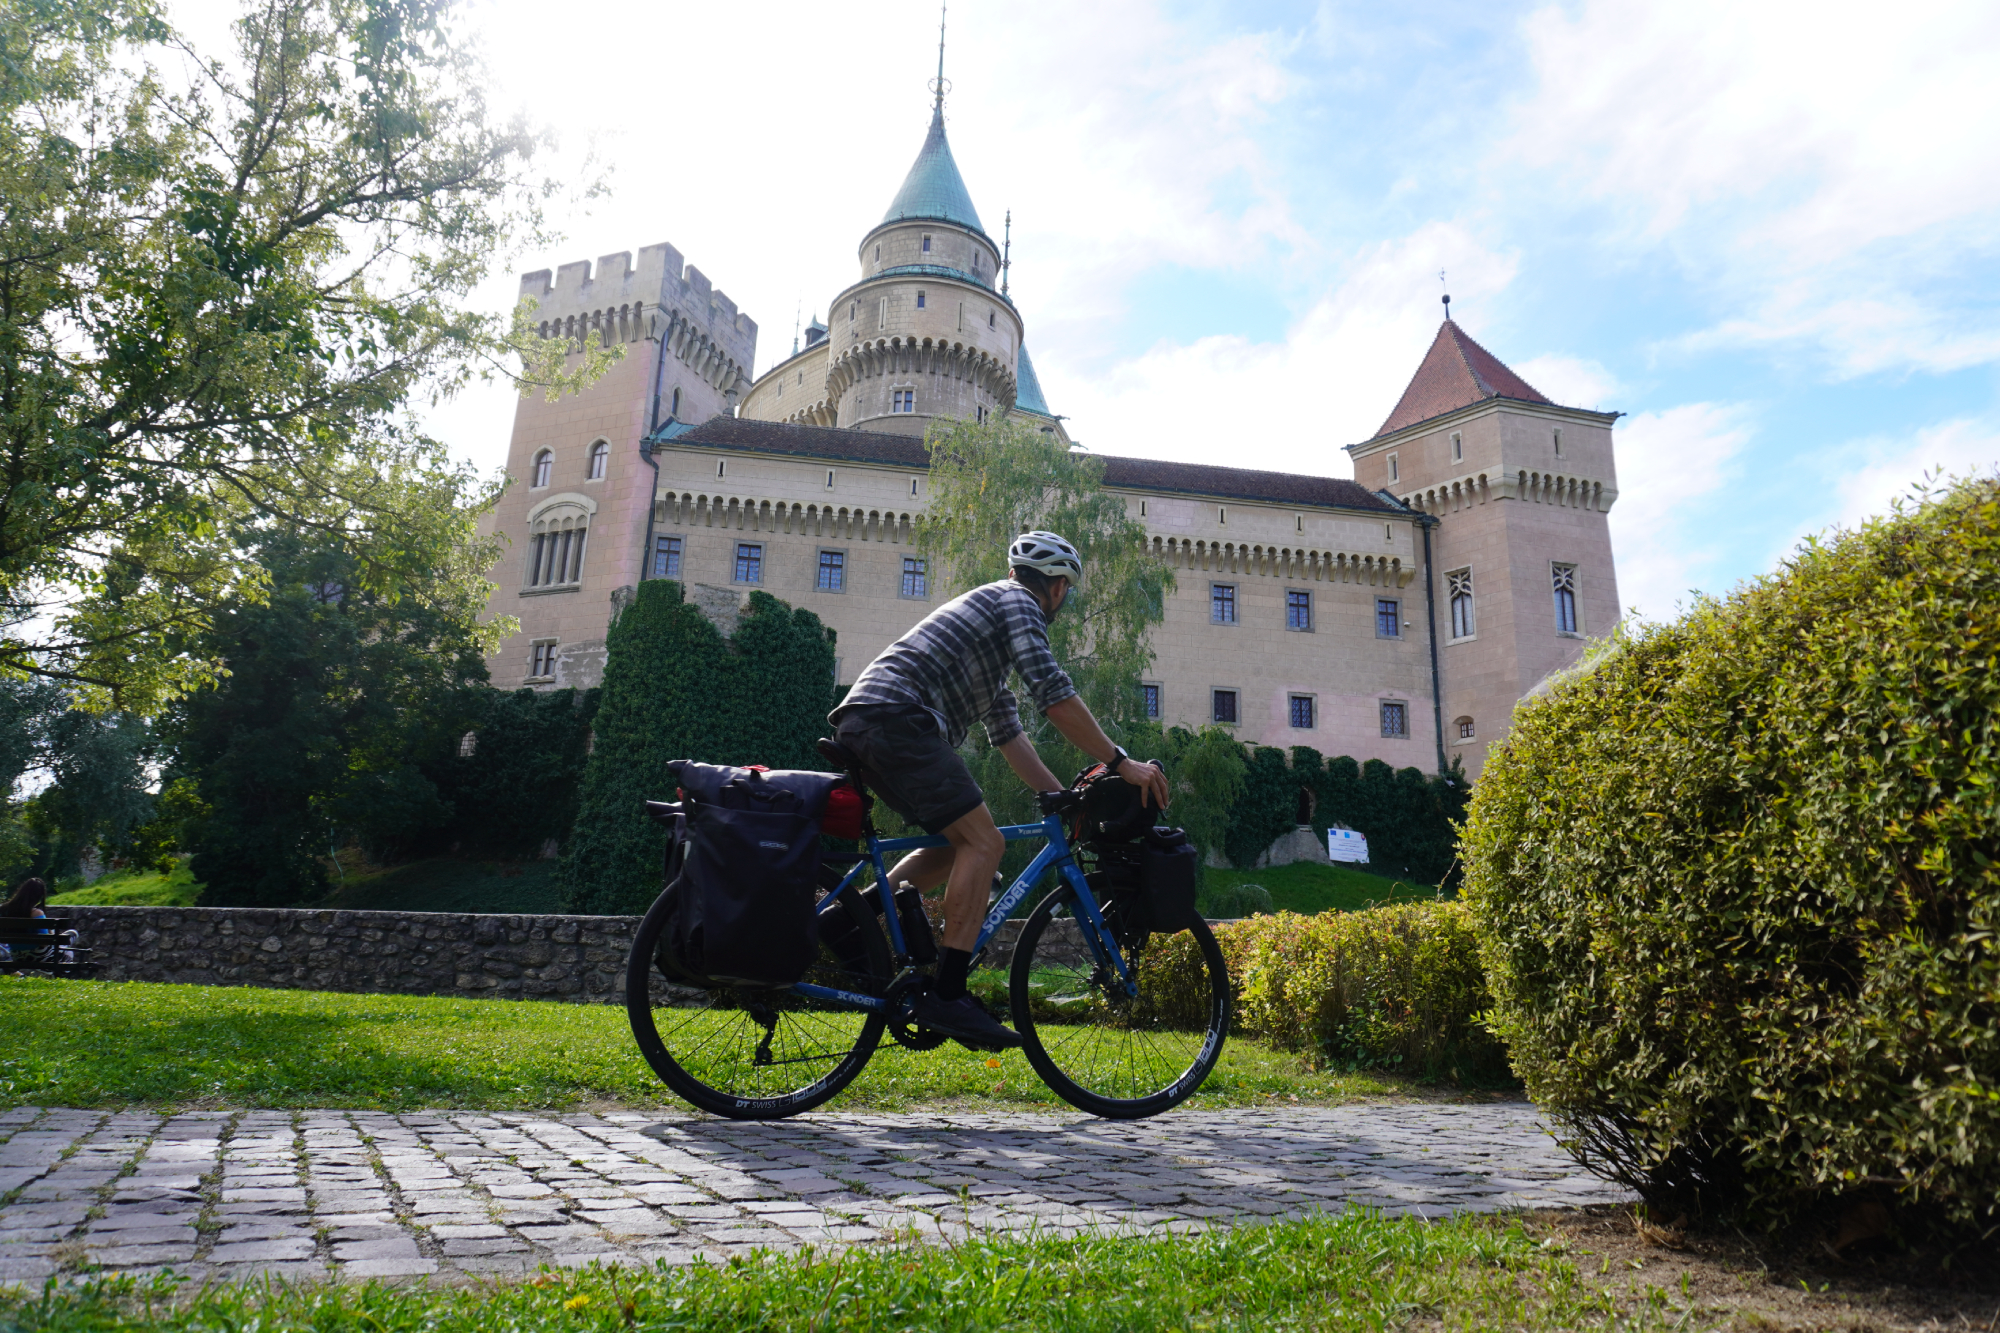
Stefan cycling in front of the Castle of Spirits (Bojnice Castle) in Slovakia.
Overshorts
Perhaps it’s a sign I could do with taking some training tips from Robert Fostermann – or anyone else who has fully embodied the heavy set physique of a track sprinter – but sometimes I do find it quite difficult to pin down a set of shorts which have a reasonably slim cut around my thighs.
Then there’s the styling as well. For this trip I didn’t want anything bedecked in zips and pockets – and I certainly didn’t want a cut that extended right to the centre of my knees. For other applications that’s fine, but here I wanted something I would be fully comfortable wearing wherever we went.
Frustrated by the lack of options in the cycling world, I cast my net a little wider and landed on what's turned out to be an absolutely perfect pair. Rab is a very well known outdoor brand, but what I didn’t realise is that they do a very handy line in rock climbing shorts – and that these would tick all of my boxes.
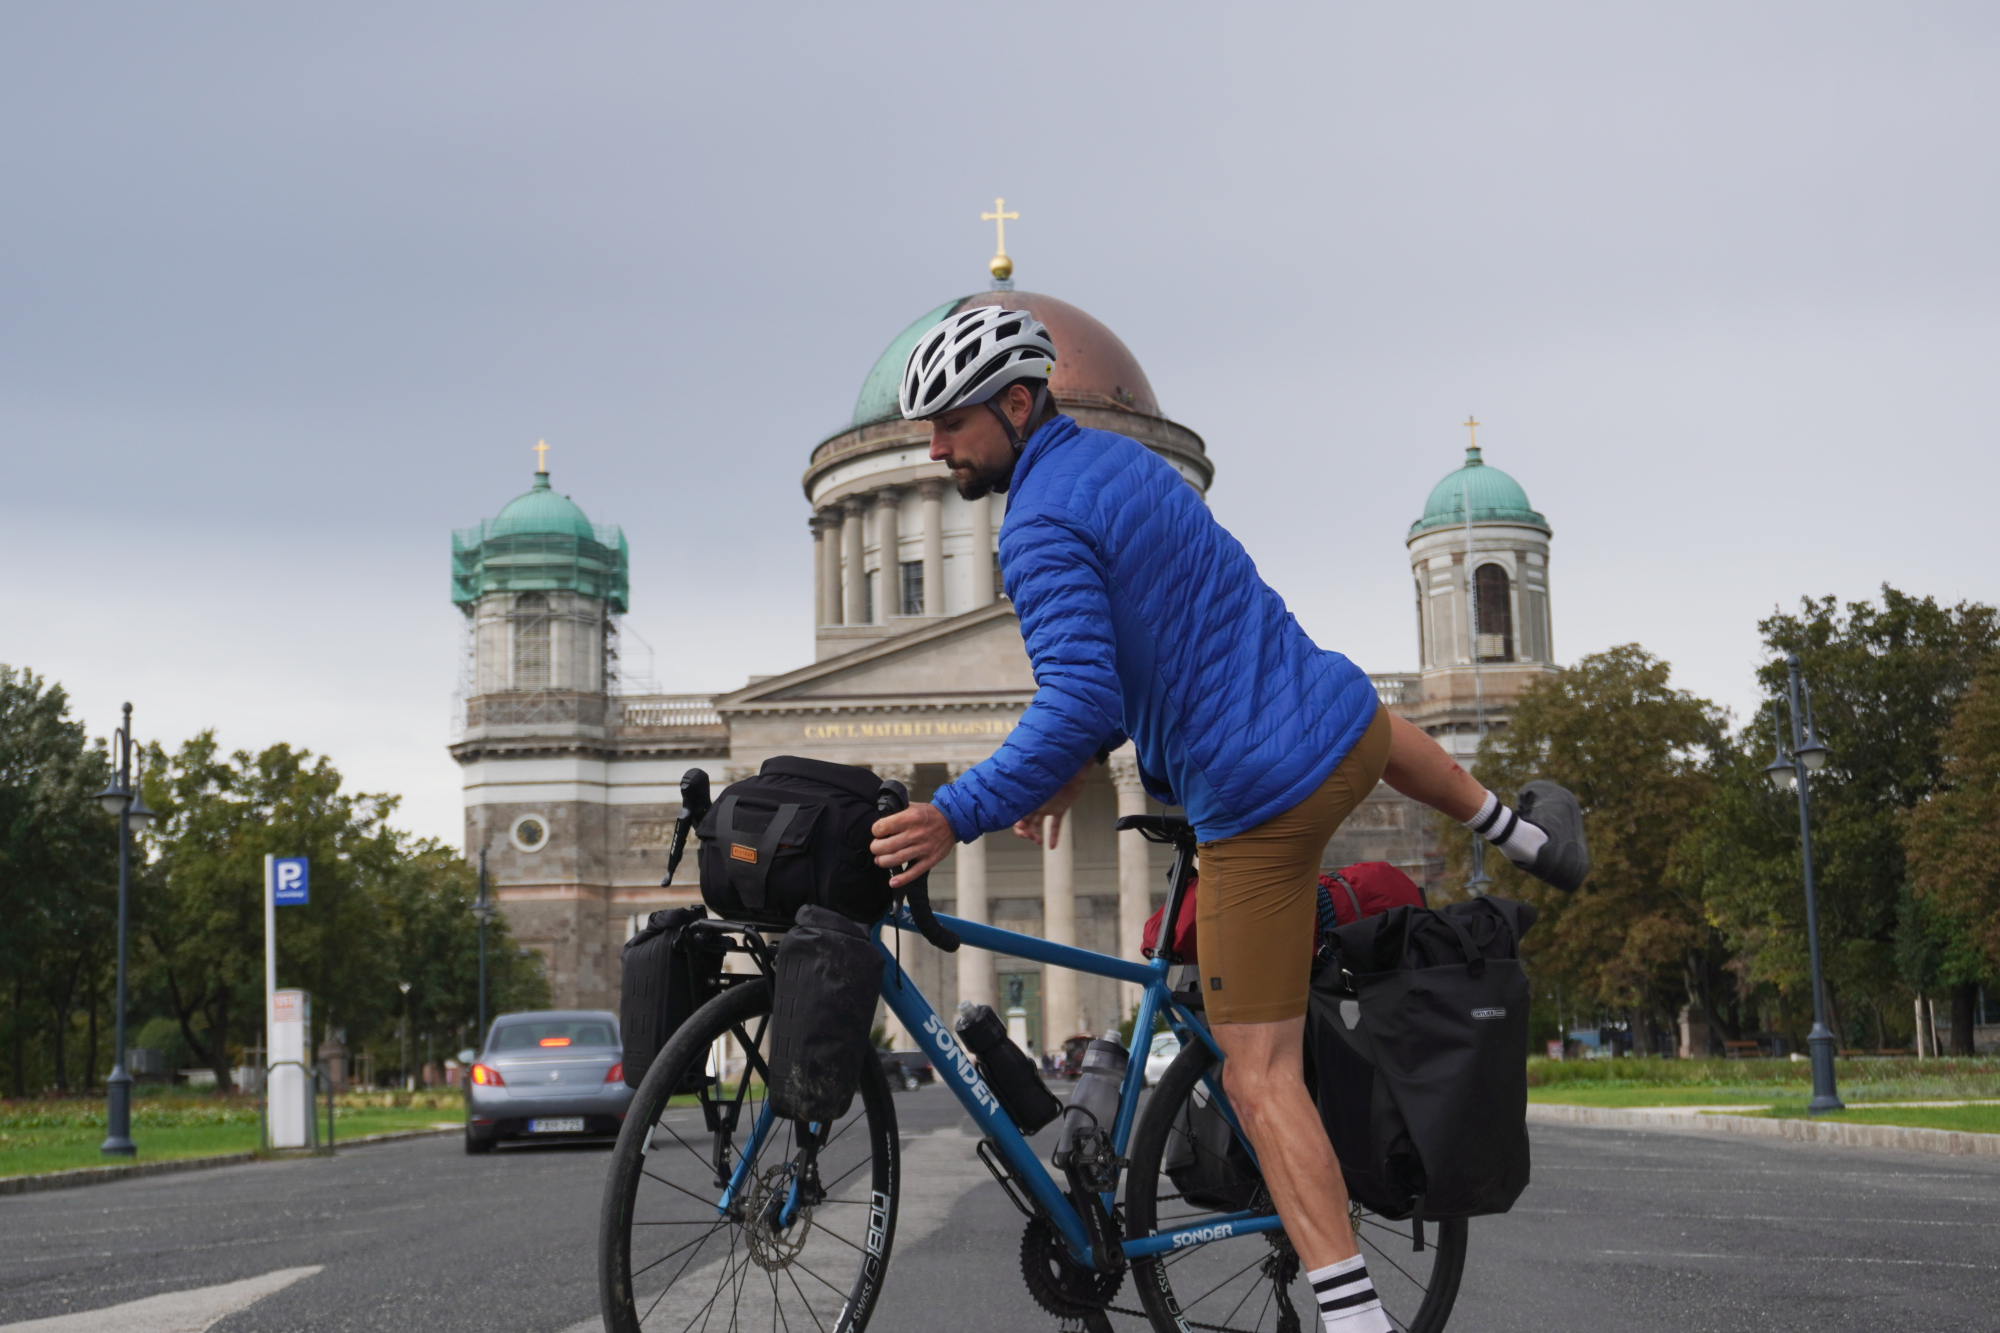
The material of Rab’s Obtuse Shorts is super lightweight, very stretchy and very breathable. Rock climbing demands much more flexibility than cycling, and so the clothes are designed to match. The result being I had more freedom of movement than what I'm even able to take advantage of.
Similarly, the hard physical effort of rock climbing generates a lot of heat, but there isn't the same cooling effect from the relative wind speed that you get when cycling. As such, the breathability and wicking capacity of these shorts have been designed to be superb.
Robustness and a long wear life are dealt with, too. Butting up against a sheer rock face is at least as abrasive as the grit-accelerated wear that shorts are subject to from the saddle. Finally, the leg length was spot on and they didn’t have any superfluous zips.
They were utterly ideal and I could fully recommend them as the best overshorts I’ve ever ridden in. The cycling industry had better step up its game.
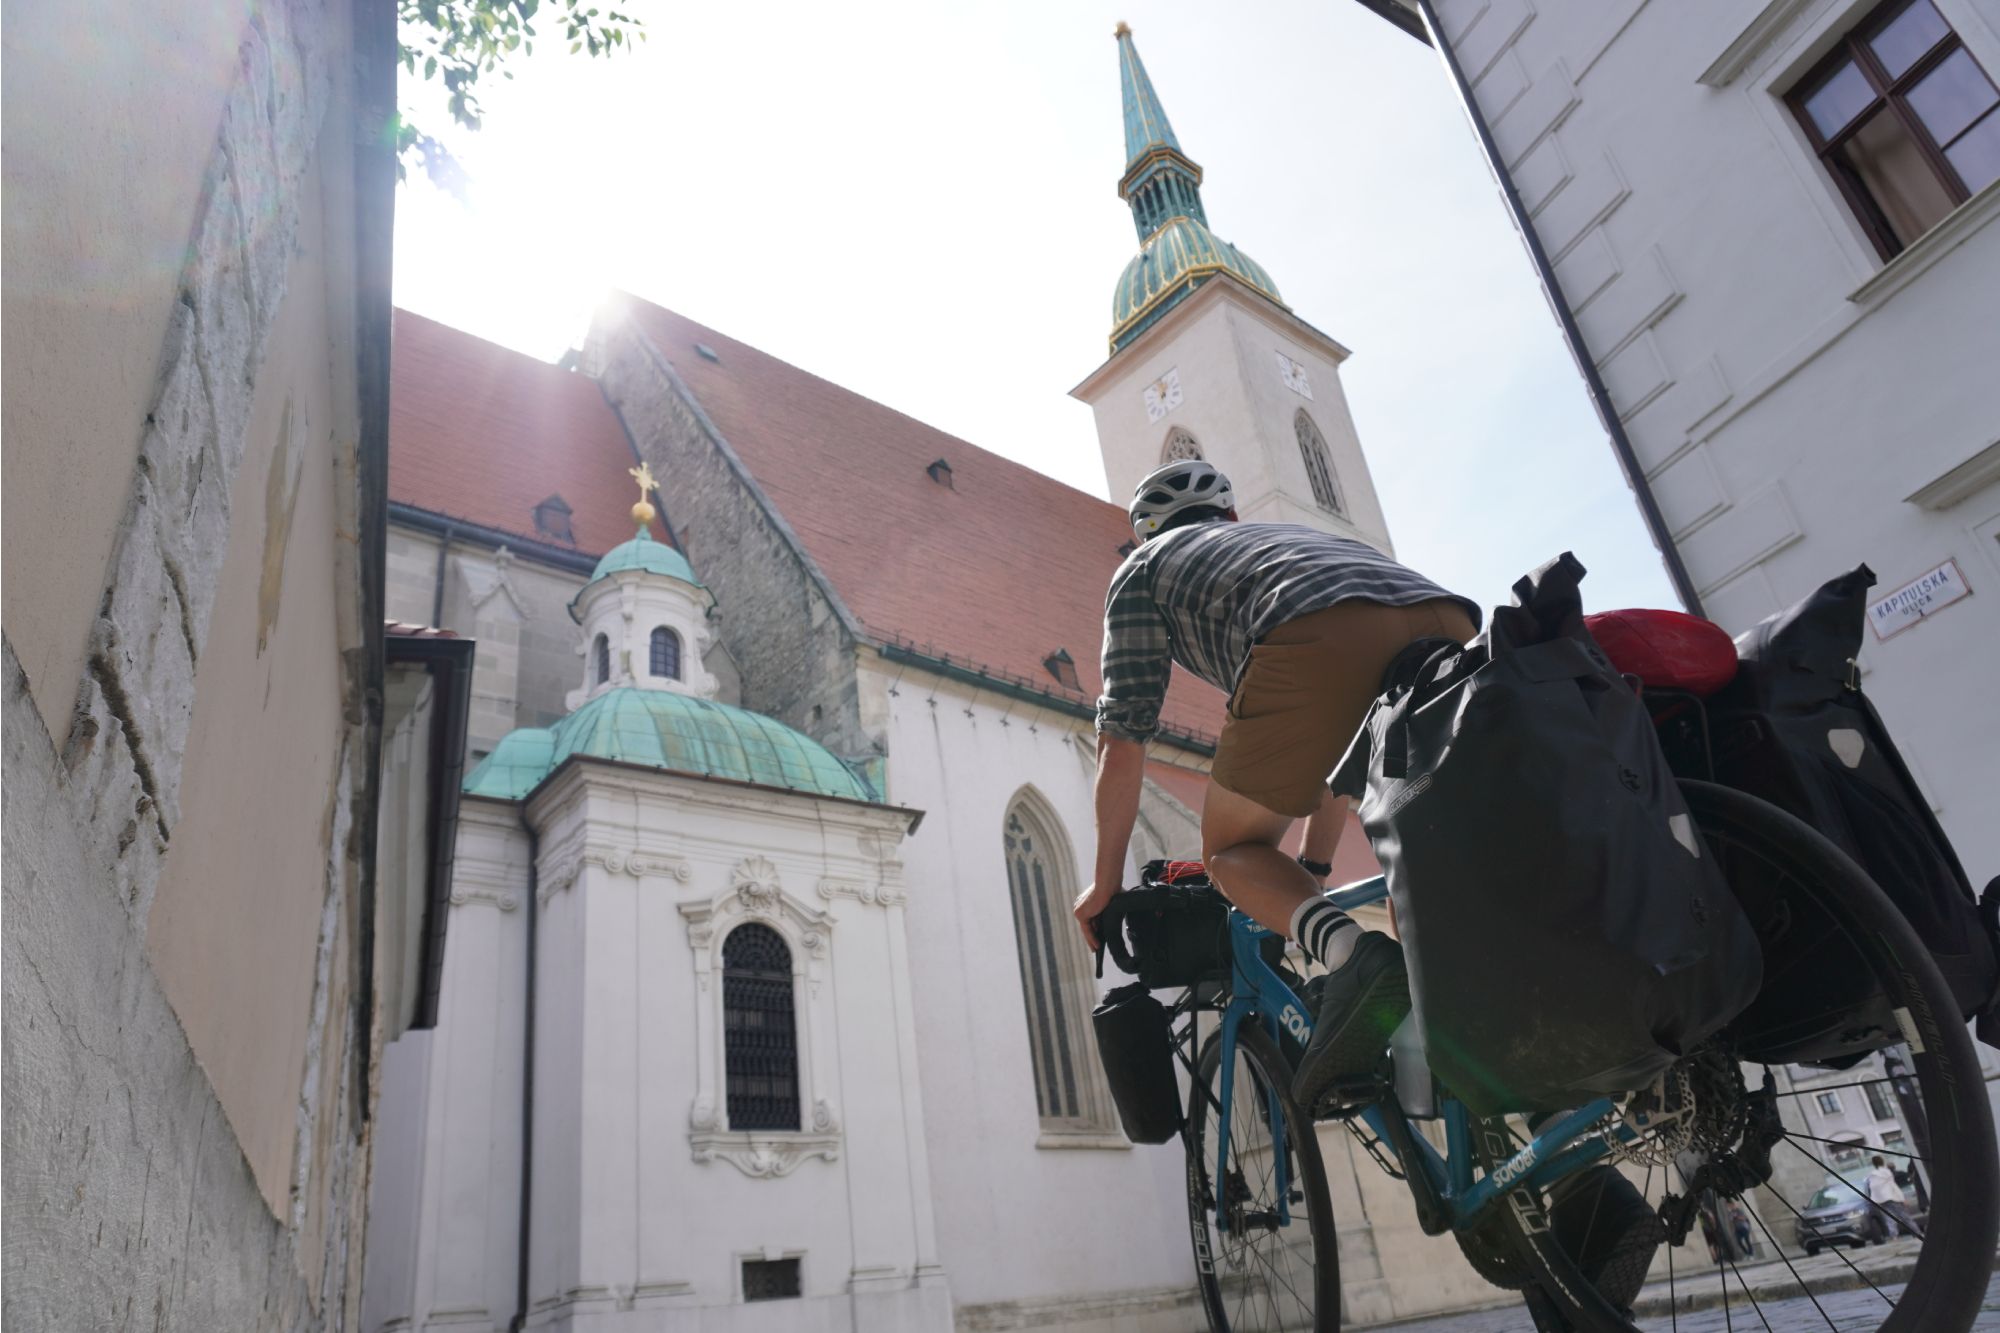
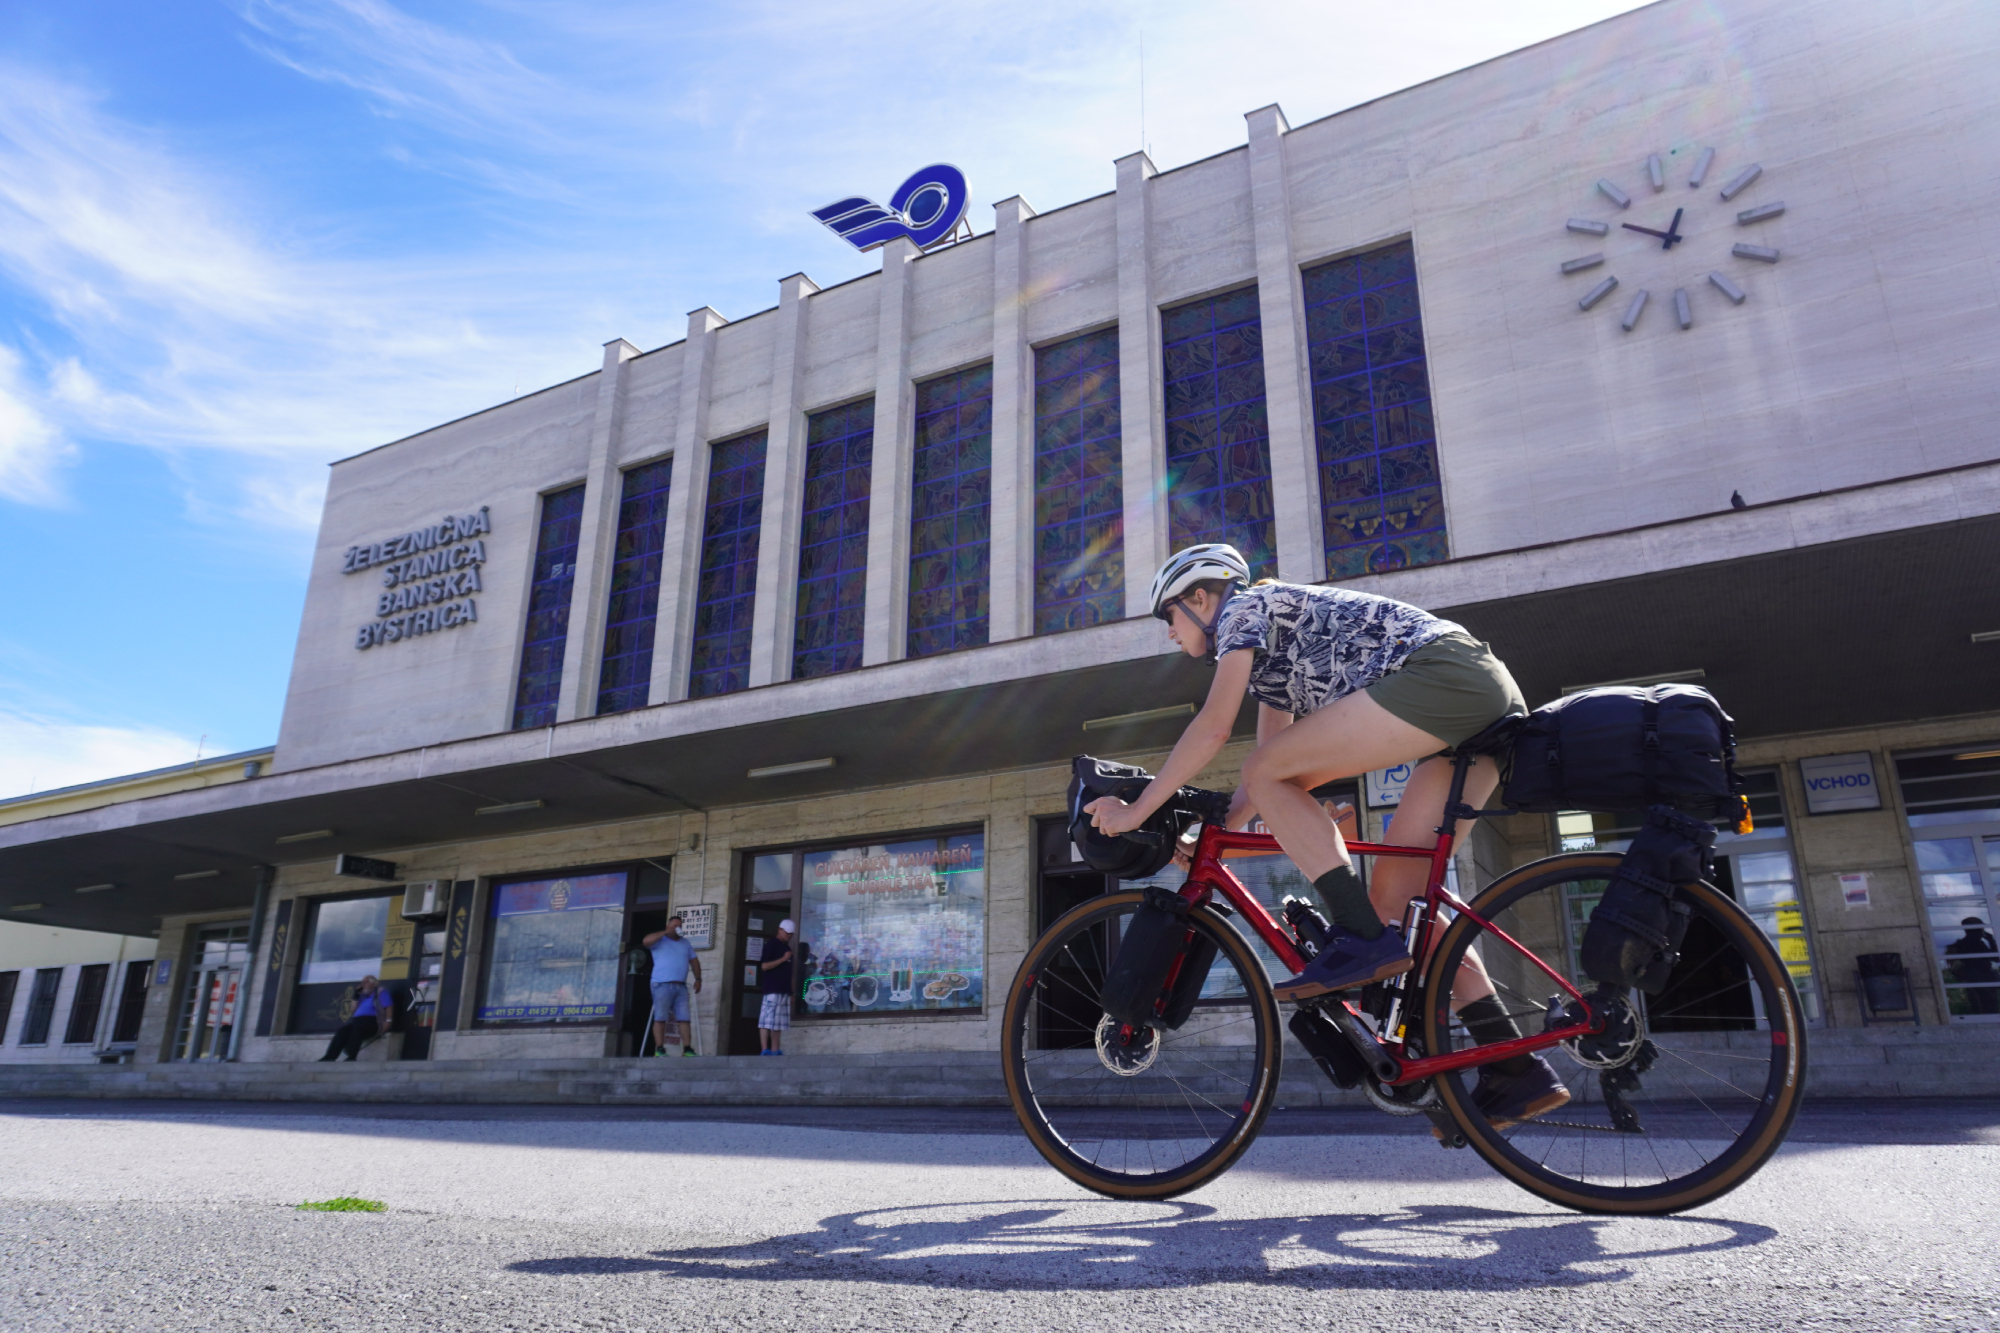
Stefan riding towards St Martin's Cathedral in Bratislava, Slovakia
Columbia’s Men’s Maxtrail II Hiking Shorts shorts were likewise very good. They were the right length, very cool on the bike, quick drying and also showing no signs of wear. The stretchiness and freedom of movement wasn’t on the same level as the Rab climbing shorts, though. So a very good option – and better for this use case than the majority of specific cycling overshorts. But the Rab shorts were just on another level.
Bib shorts and liners
Like Anna, I also had a set of cargo bib shorts for long days in the saddle and when the places we were visiting were at the end of the ride, rather than in the middle. Sportful’s Supergiara cargo bib shorts are distance proven for me, having used them when riding the length of Wales earlier this year.
I was also using a set of CHPT3 Most Days Tech Liner Shorts for the shorter days, and with the distances I was using them for, they were perfectly sufficient.
View Most Days Tech Liner Shorts at CHPT3
Trail shoes
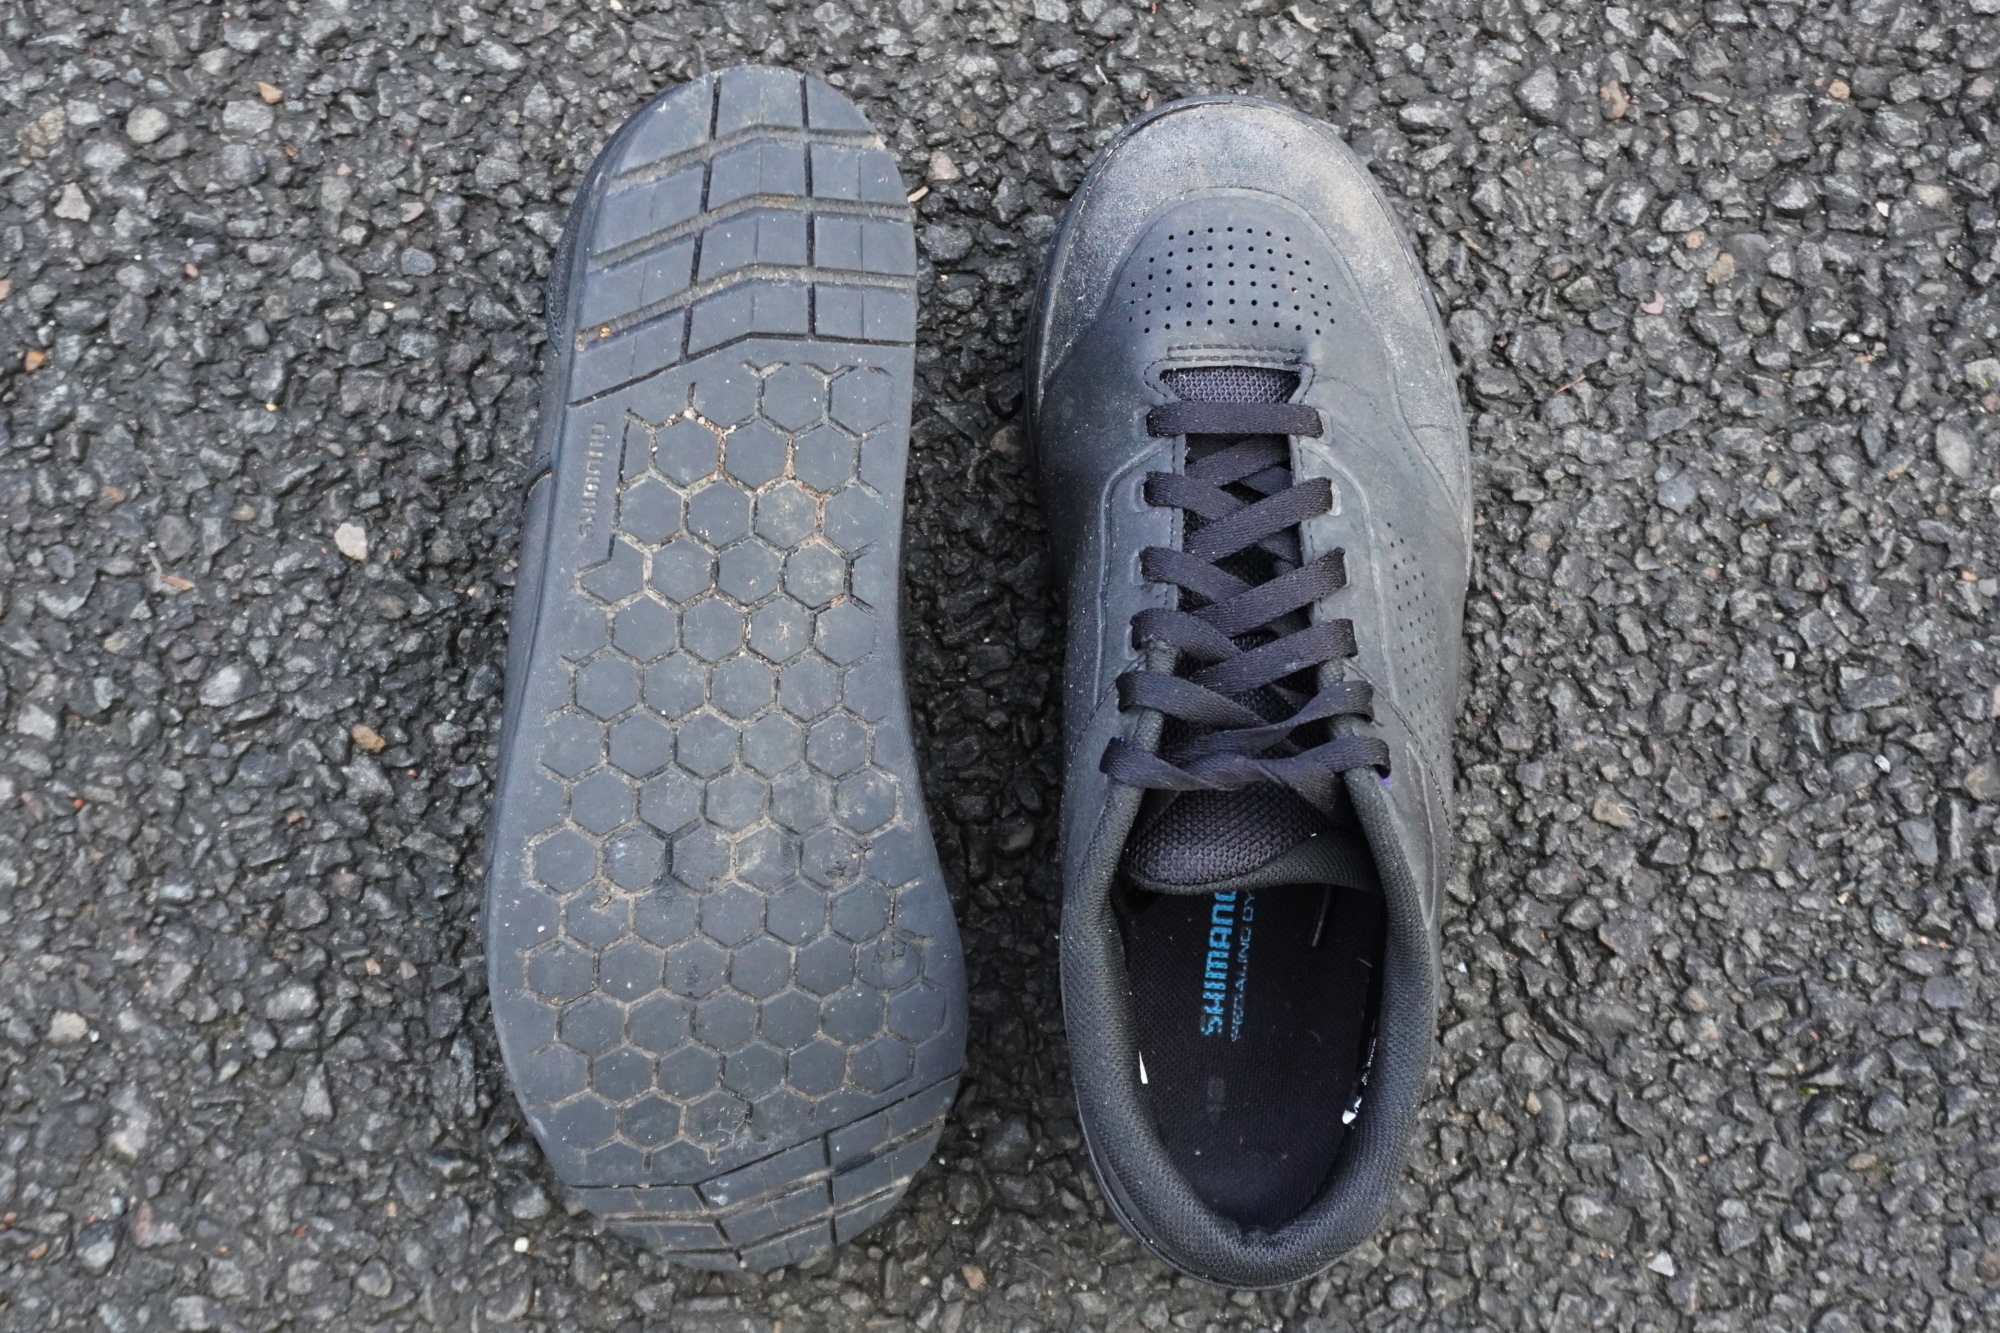
Like Anna, I was using flat pedals and flat shoes for the extra versatility they provide off the bike. Although the Shimano GR5 flat shoes are designed with downhill mountain biking and trail riding in mind, their robustness and capacity for substantial hike-a-bike sections meant they stood up to everything I asked of them – including a 16km gorge walk, which is admittedly a little far outside their specific design remit.
The subtle styling meant they also didn’t stand out on the various stops at museums, cathedrals and all the rest. You can read more in my full review of the shoes (which is coming soon!), but the headline message is that these are more than up to the task of multi-modal bikepacking.
Pants / trousers
Rather than ETC zippy tights, I went for a pretty standard pair of hiking trousers as my backup layer for a bit of extra insulation on my legs. I appreciated the extra pockets and how quick they were to dry. Although they’re a bit more of a faff to put on, I also quite liked how fast I could convert them into a set of shorts and back.
Jackets and shells
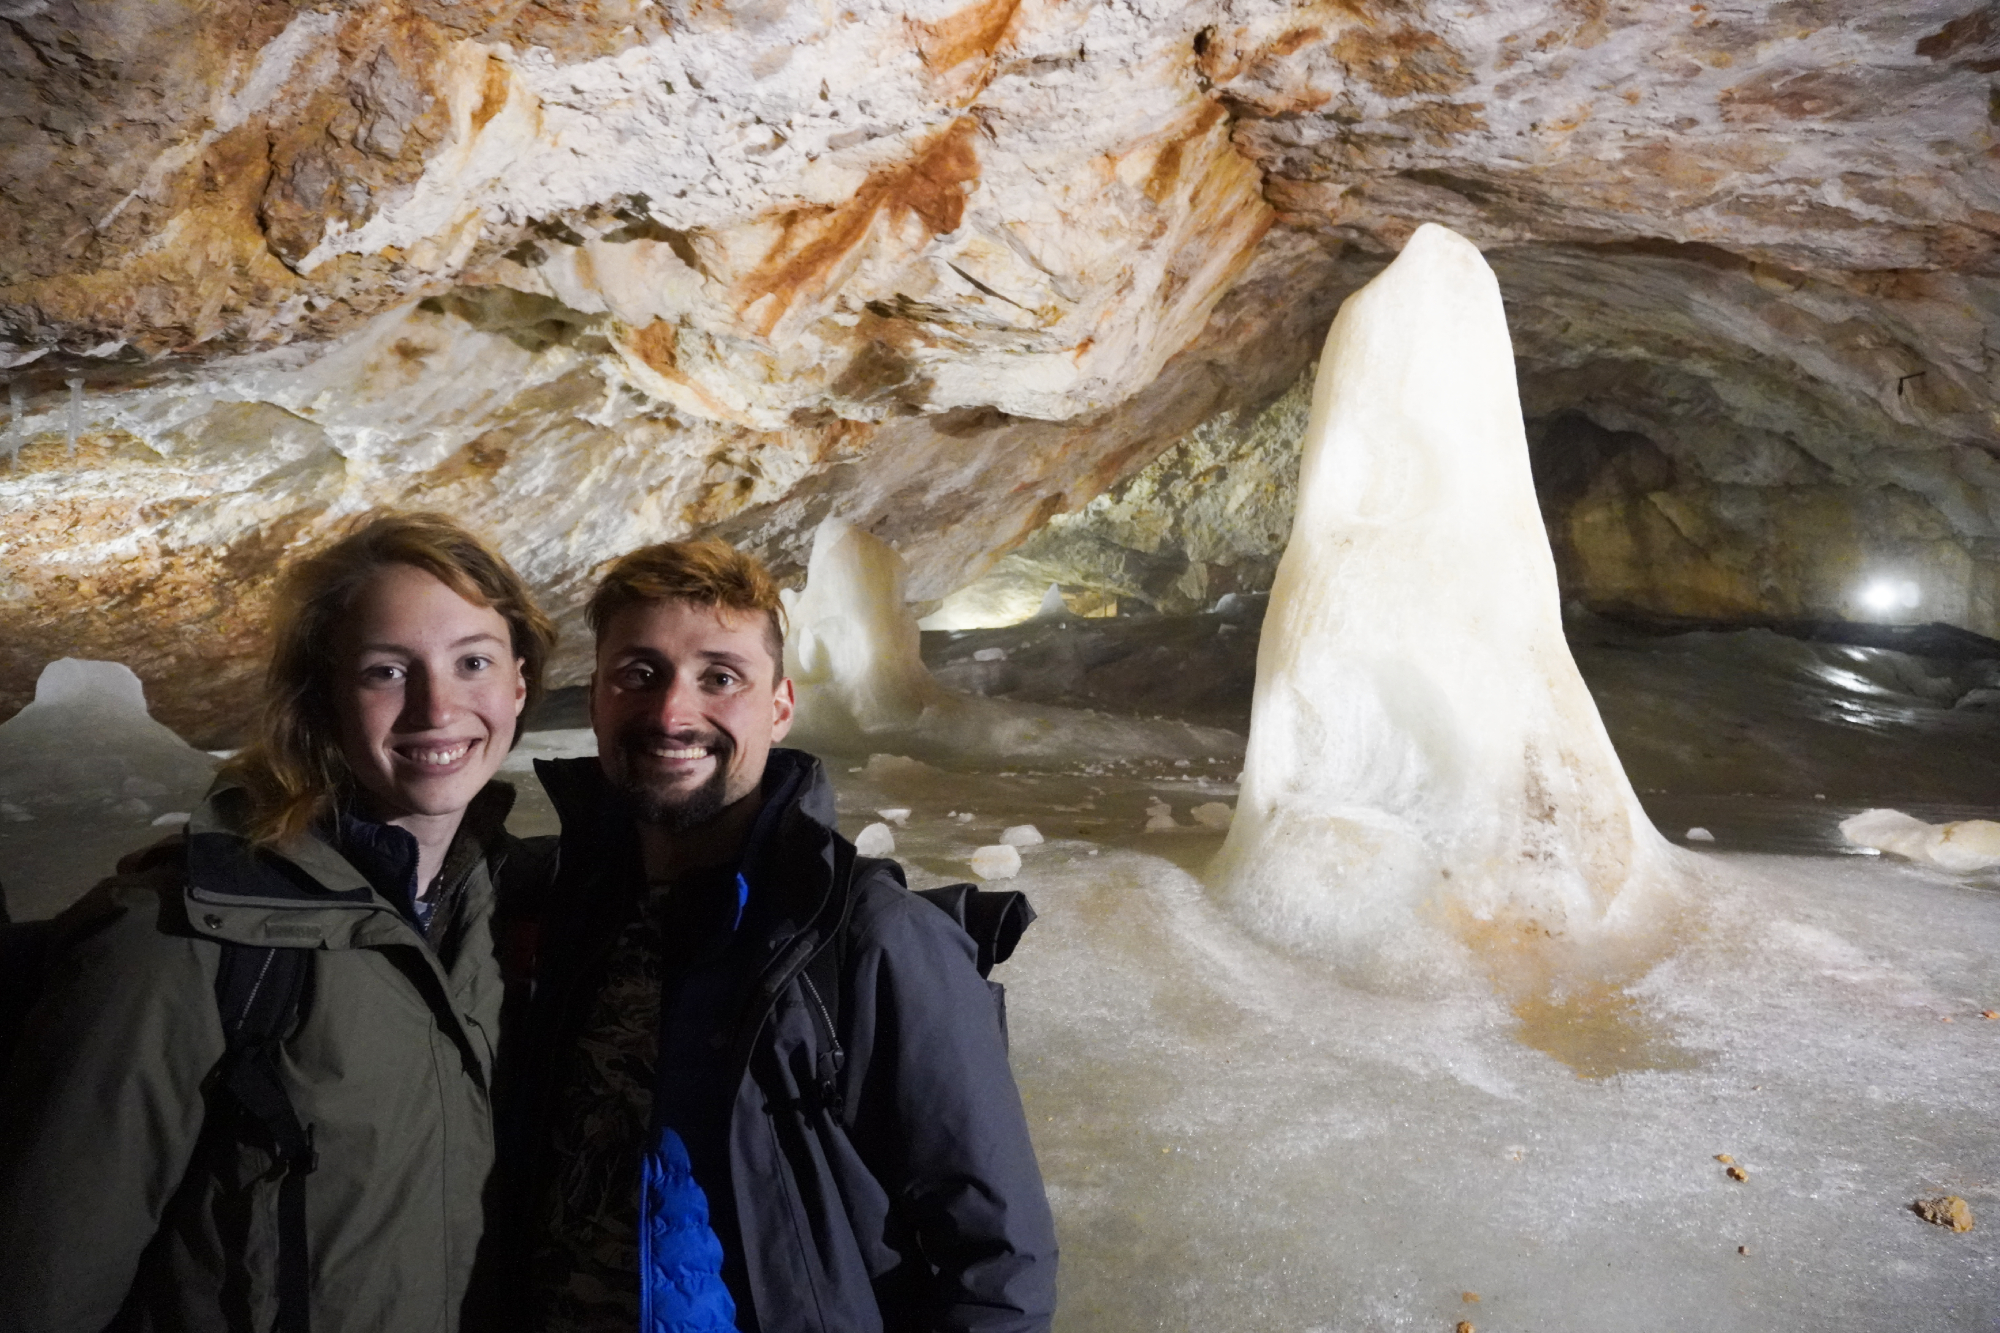
3 in 1 jackets come in handy when exploring the Dobsinska Ice Cave with temperatures down to -2°C / 28°F.
I had the same approach as Anna when it came to the layering for my top half. I started with a Berghaus fleece (that formed one part of Berghaus’ Men’s RG Alpha 2.0 3 in 1 waterproof jacket) as a comfy layer for trapping warmth close to my skin. Then I had a Columbia Men’s Powder Pass insulated jacket to provide a bit of extra, well, insulation – as well as a bit of a windproof defence. Finally, I had a Berghaus hardshell jacket that I would wear over the top.
I didn’t necessarily always layer in that order. On milder evenings, I would just throw the Columbia jacket on as a lightweight and warm layer that could also cope with the odd spot of drizzle. The Columbia jacket was also my go to when I needed just a bit of a wind break when riding downhill or on just generally brisk mornings.

I think this particular model would have been better suited to a slightly warmer trip. The insulation is focused around the front and back, with a stretchy and more breathable fabric used for the under arms and sides.
It was handy for the hotter points and when working hard on the bike, but not being quite warm enough to lose the layer. But there were more times when I would have just liked to have been a little warmer and not have the cold seeping in from the sides. Not a problem with the jacket as such, just my application of it.
Sunglasses
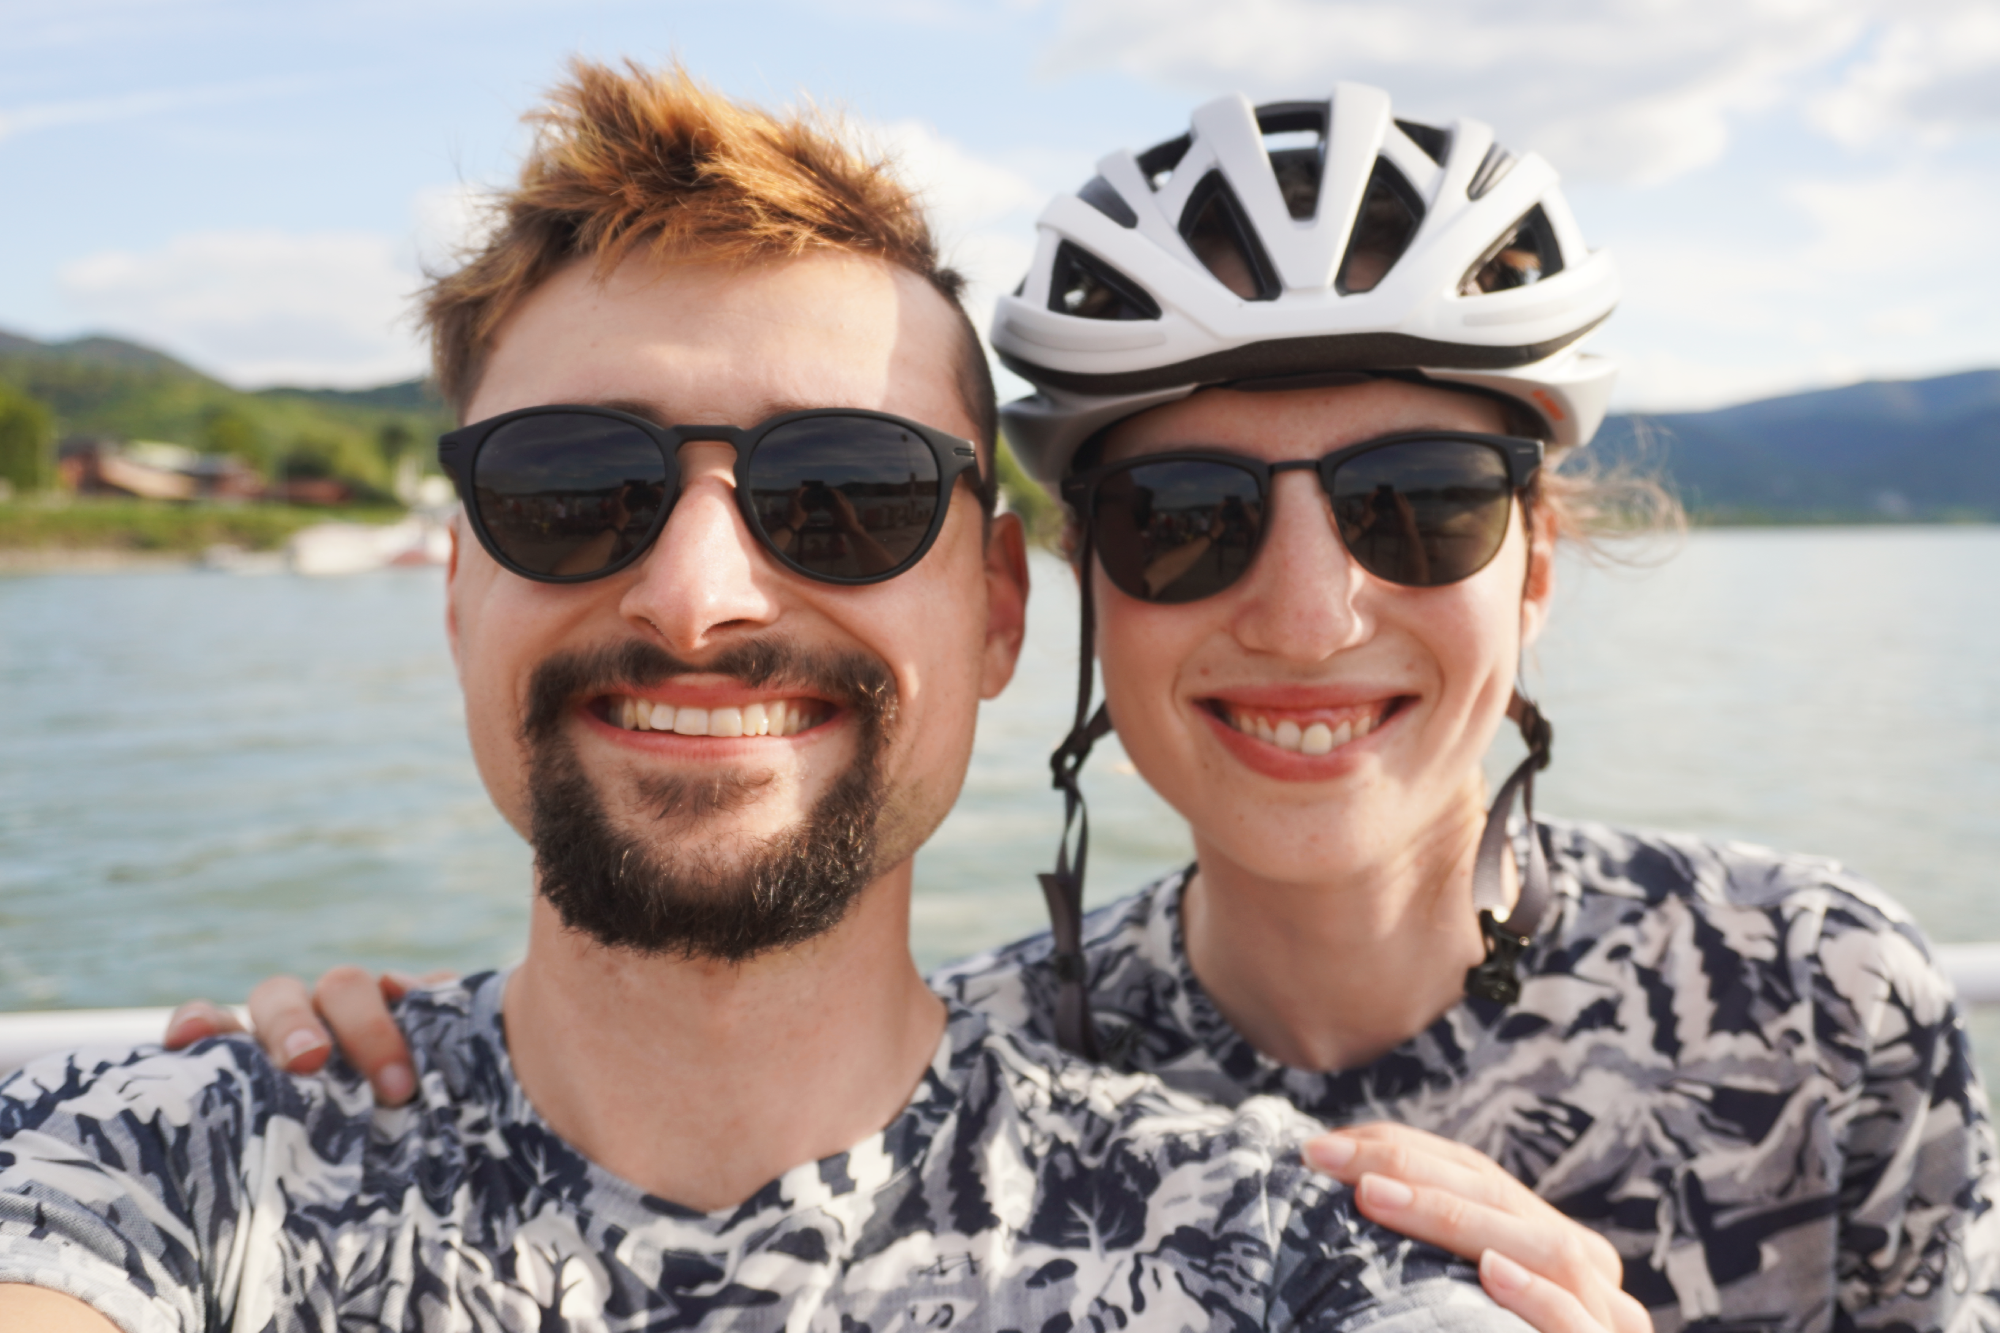
For our sunglasses, we were both using Roka models, with Stefan opting for the Oslo and Anna going for the Cambridge. To keep the kit we brought to a minimum, we needed glasses that could double up for use off the bike as well as on - and these two models ticked the bill exactly.
The lenses might be significantly smaller than the huge models that are most fashionable today, but you need only go back a decade and both these sunglasses actually look rather generous!
It's true that they don't give the same amount of protection as a full wrap-around set of sunnies - and you don't get the same uninterrupted viewing experience either.
But these aren't anywhere close to being intended as a set of performance sunglasses - the question is whether they did a good enough job for a meandering bikepacking trip, and the answer is absolutely yes!
The grippy arms, low weight, strong tint and general robustness were brilliant for life (or two weeks...) on the road, and we never once felt held back or impeded because of any lack of raw lens size. And then came the benefit that the sunglasses looked totally in-place when off the bike and exploring the sights and restaurants.
The only significant difference between the two is that the Cambridge has less of a frame and adjustable nose pieces, whilst the Oslo has thicker frame and fixed nose pieces.
There are pros and cons of both - the benefits of the Cambridge might sound pretty self explanatory, but Stefan finds adjustable nose pieces can just give more scope for getting the fit wrong. Plus, after once cutting a slice below his eye in a crash wearing half framed sunglasses, he also nurses an inclination towards full (and therefore, blunt) framed sunnies.
If you're interested in the full write up of our bikepacking trip from Budapest to the mountains of Slovakia, you can head straight over here.
If you've never considered flat pedals for bikepacking, our opinion piece on the pros and cons on flat shoes and pedals for bikepacking and gravel riding is just over here. And finally, just over here is the full review of the Fara F/All-Road Series 2 Anna was lucky enough to be riding.
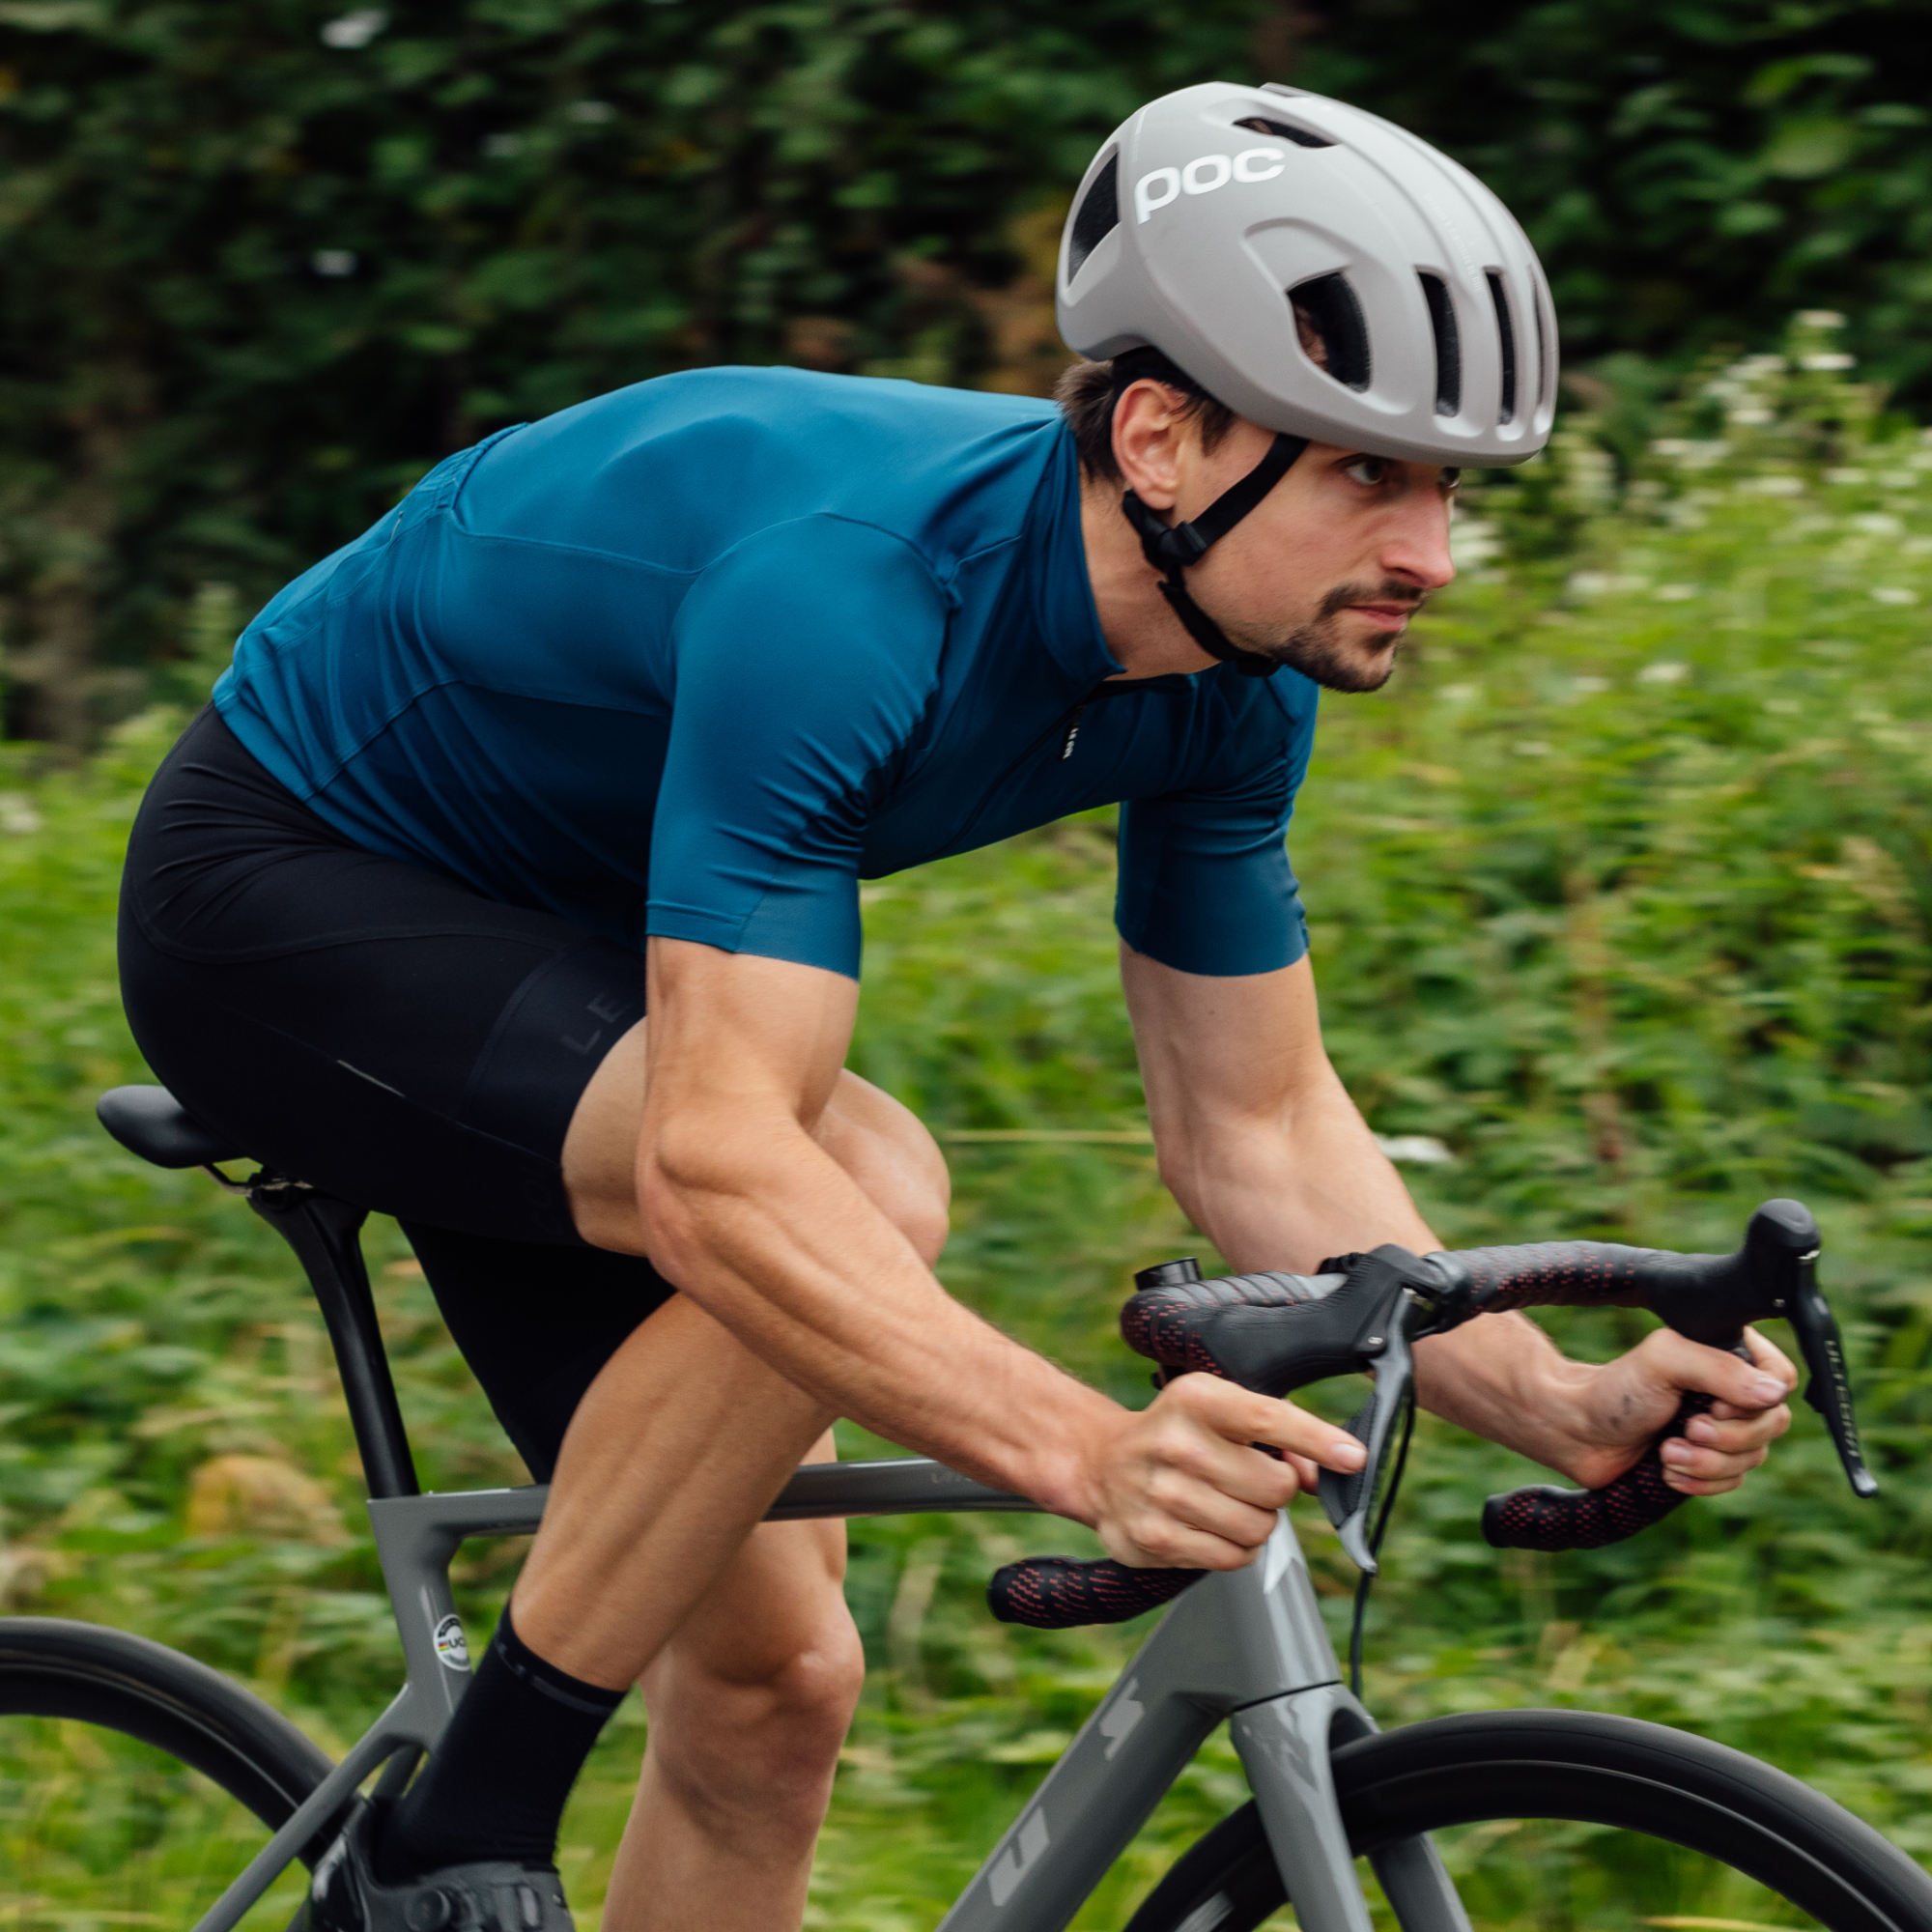
After winning the 2019 National Single-Speed Cross-Country Mountain Biking Championships and claiming the plushie unicorn (true story), Stefan swapped the flat-bars for drop-bars and has never looked back.
Since then, he’s earnt his 2ⁿᵈ cat racing licence in his first season racing as a third, completed the South Downs Double in under 20 hours and Everested in under 12.
But his favourite rides are multiday bikepacking trips, with all the huge amount of cycling tech and long days spent exploring new roads and trails - as well as histories and cultures. Most recently, he’s spent two weeks riding from Budapest into the mountains of Slovakia.
Height: 177cm
Weight: 67–69kg
