Nifty tools, our favorite bags and other gear picks from riding the Trans Cambrian Way
After 100 miles of gravel, here’s our thoughts on the gear we used

The latest race content, interviews, features, reviews and expert buying guides, direct to your inbox!
You are now subscribed
Your newsletter sign-up was successful
Starting at the Welsh-English border and finishing by the Irish Sea, the Trans-Cambrian Way takes in the climbs, valleys and trails of Wales’ most sparsely populated district. It’s a bucket-list route - and a challenging testbed for any kit.
If you’re interested in finding out more about the sights and surfaces along the way, you can find our full write up of riding the Trans-Cambrian Way over here. For an inner tubes vs sealant head-to-head with the latest gravel developments, you can find out the results of that over here.
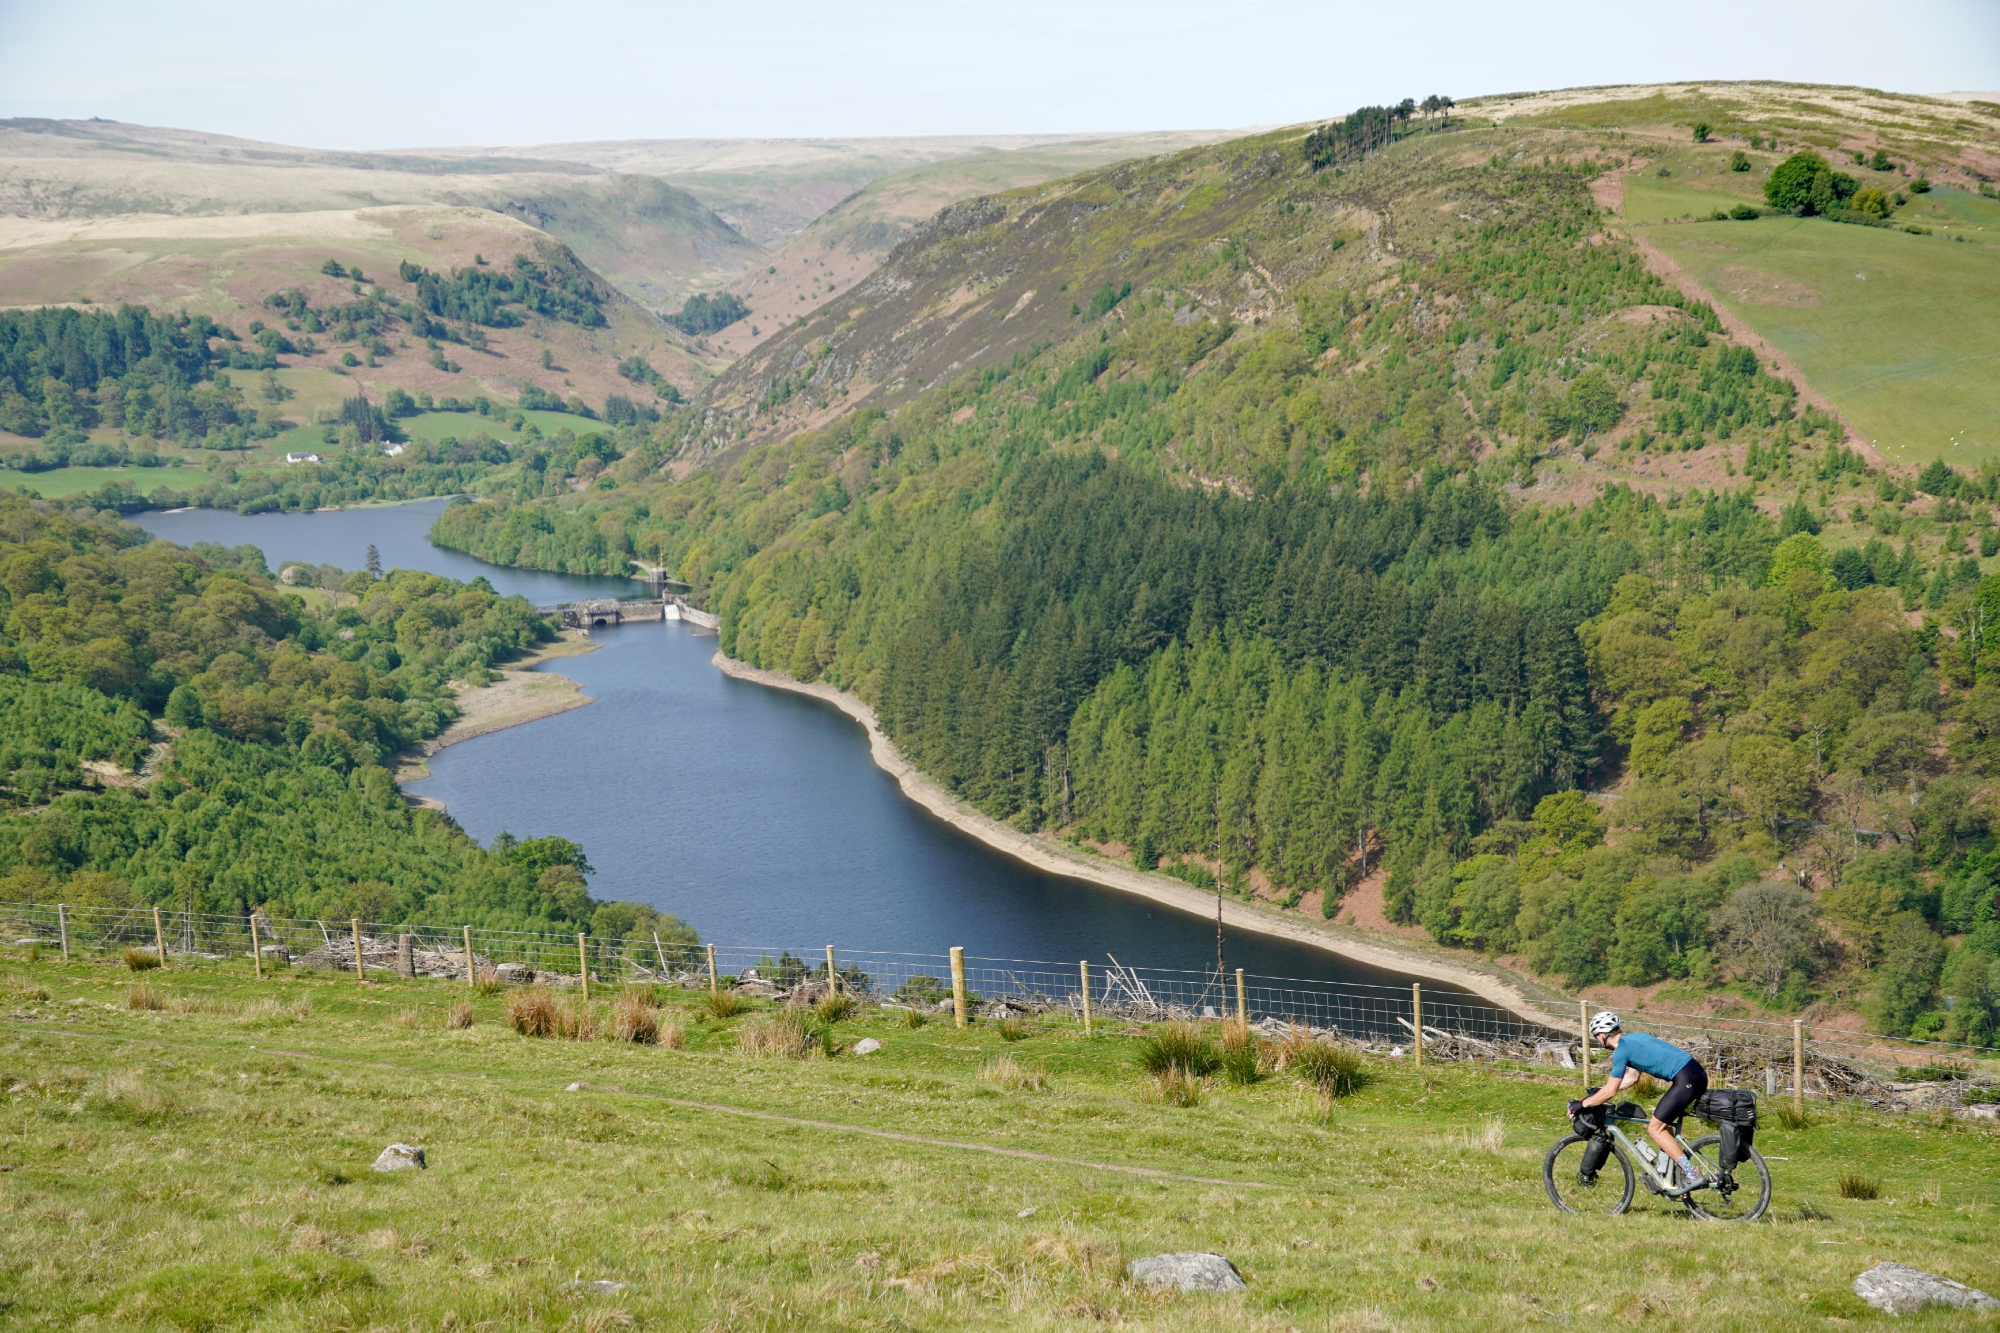
But right here I’ll run you through the best of the kit we used along the way, from the bikes and bags to the fuel, clothing and some particularly neat tools.
Bikes and bags
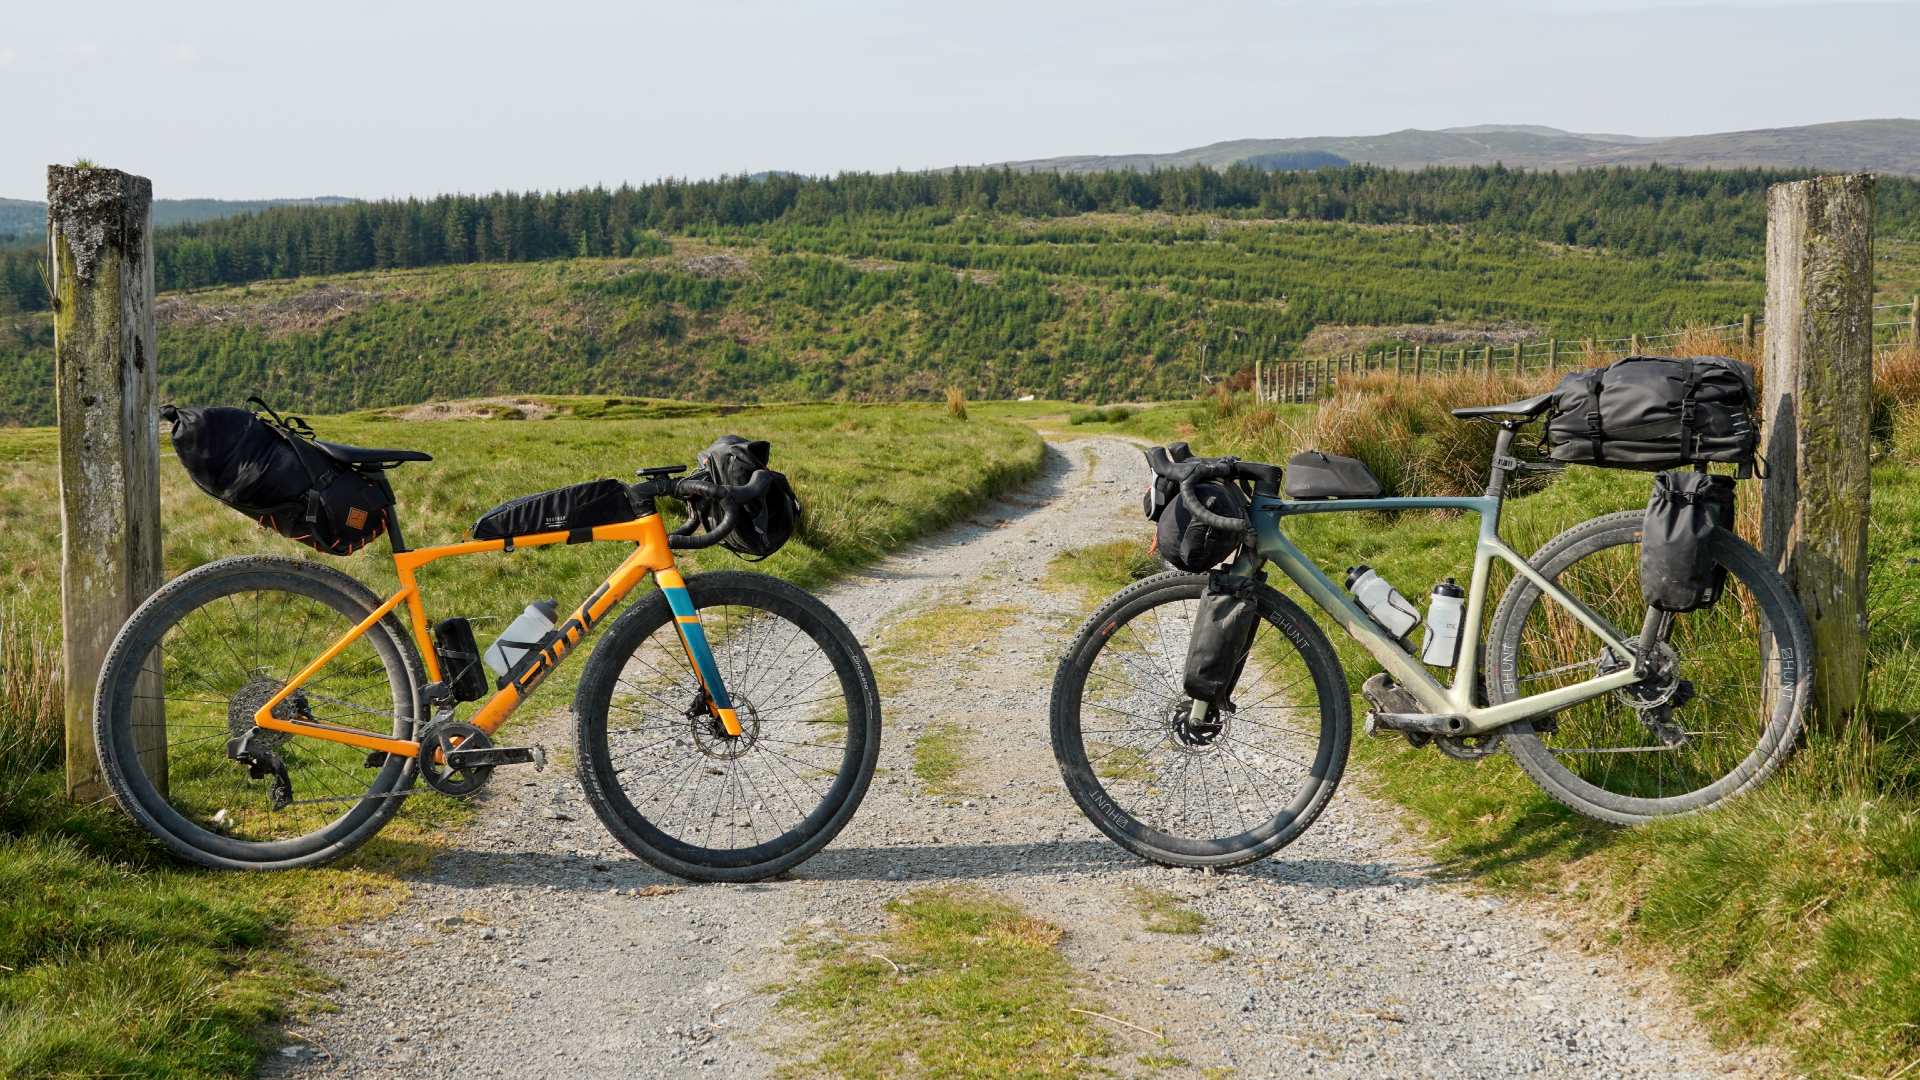
For this ride, I used the BMC Kaius gravel bike whilst Stefan was on the Scott Addict Gravel. Both these models featured in our Gravel Bike of the Year grouptest, although for this ride Stefan was running a pair of Hunt 35 Carbon Gravel X-Wide wheels rather than the DT Swiss GRC1400 hoops which came stock. Both bikes are on the racier end of the gravel spectrum, but they’re also each equally capable for shorter multi-day trips, too.
With the terrain of the Trans-Cambrian Way, it’s a live debate whether a gravel bike or hardtail mountain bike is the tool best suited to the job. Having now ridden it, I’d say the sweetspot lies somewhere around a gravel bike with either 700c x 50mm tires or 650b x 2.1 inches.
There are some sections where a mountain bike would still be faster than a gravel bike with even that beefy a setup - but the speed advantages of a gravel bike on the other sections outweigh those gains, in my opinion. Still, that’s not to say it can’t be ridden on anything skinnier: we completed the route on a pair of Schwalbe Overlands and Pirelli Cinturato Gravel H tires, both in 700c x 40mm - and didn’t suffer a puncture on either setup. It would have been more comfortable with a bigger contact patch, though!
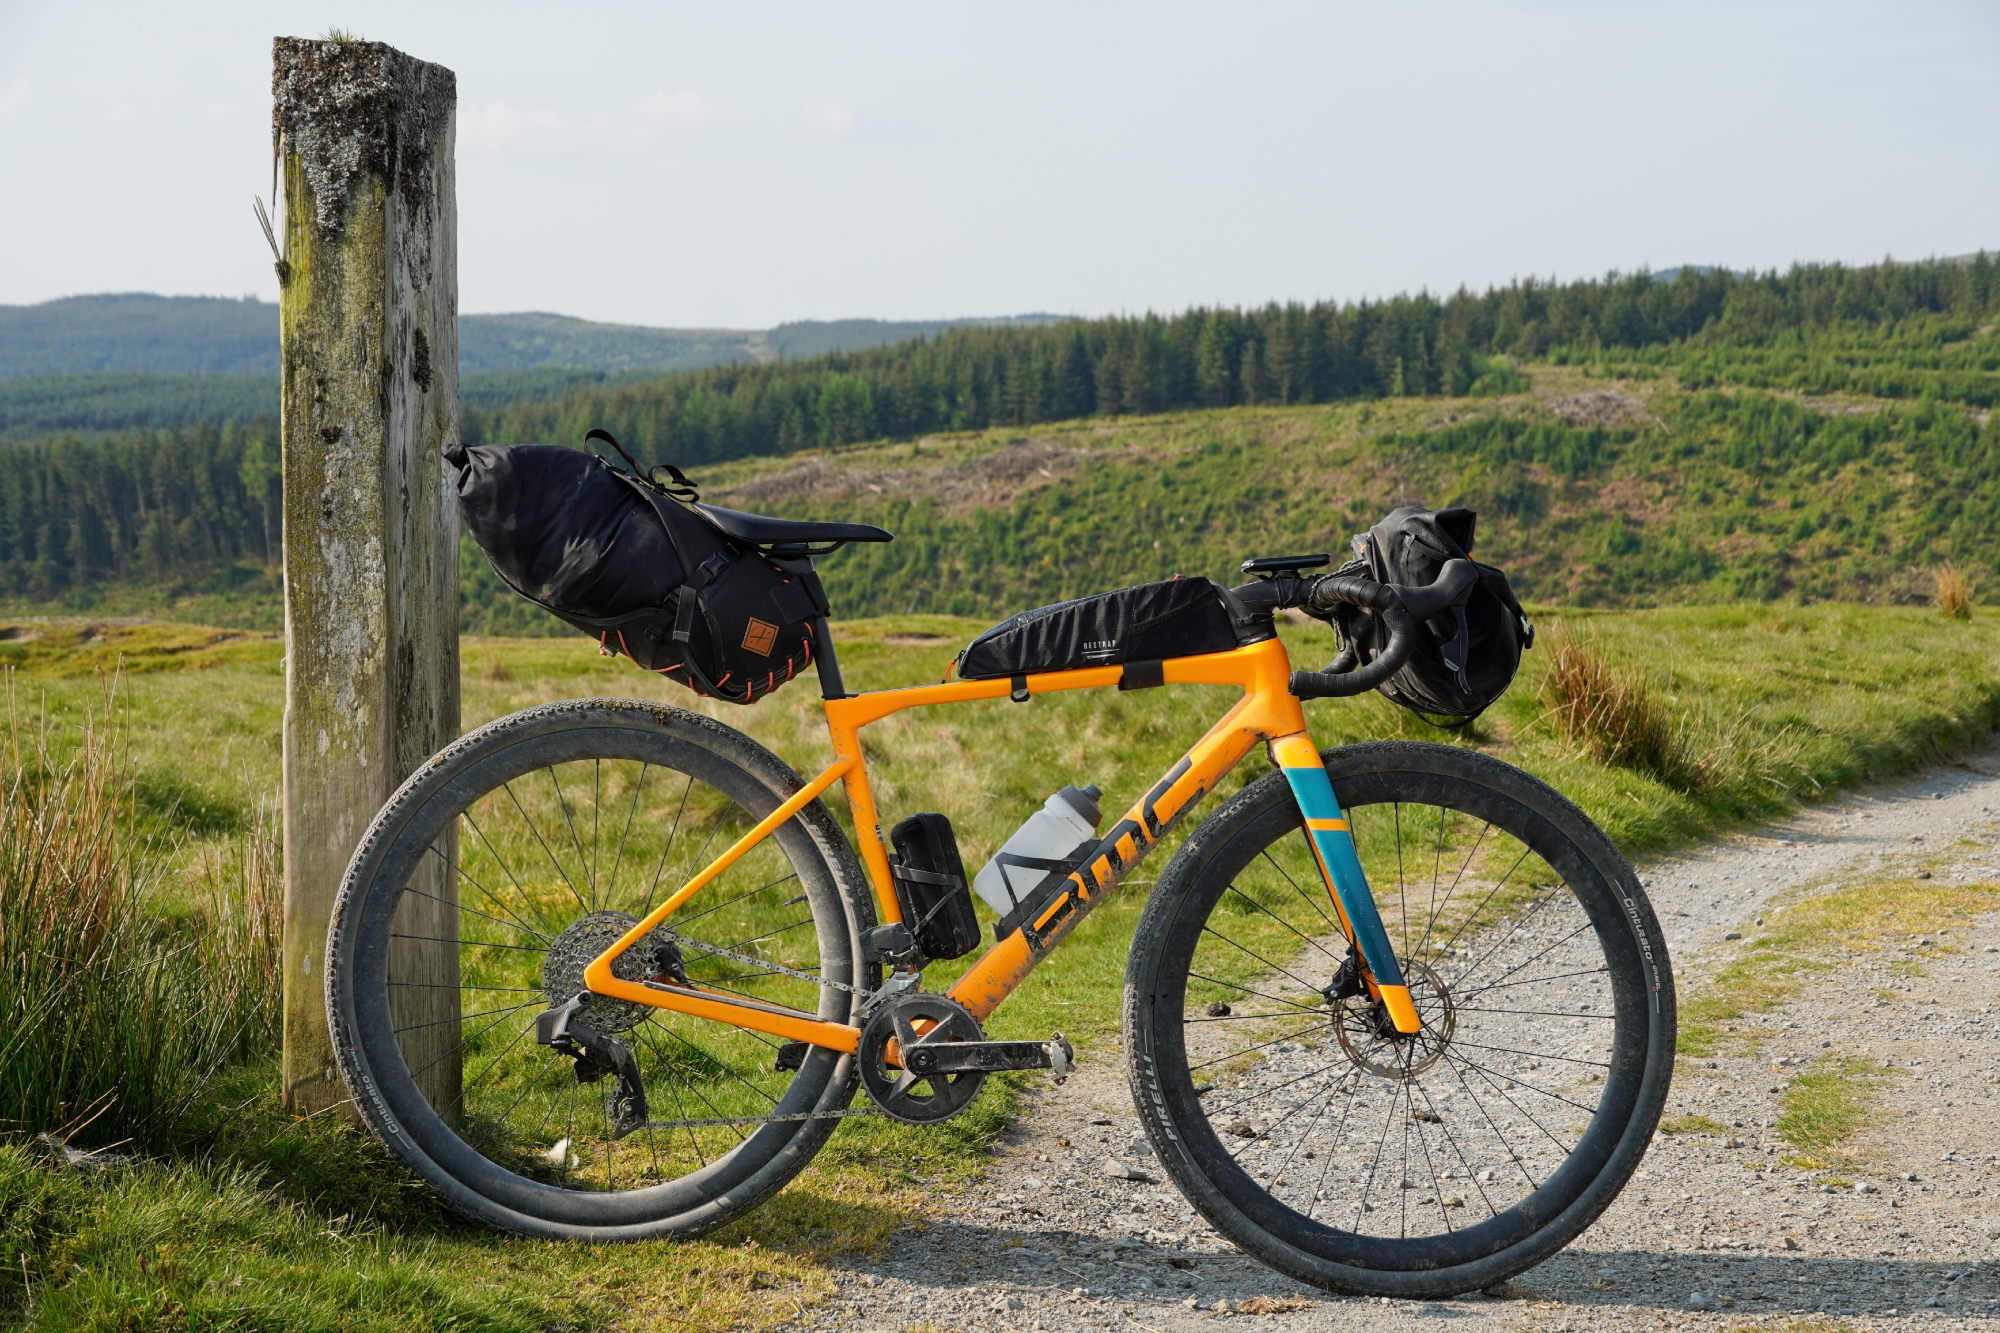
In terms of the bikepacking bags, I was using Restrap’s holster style saddlebag and Race toptube bag, along with an Ortlieb Handlebar Pack QR. This is my preferred setup, with how easy it is to pack and repack the saddle bag away from the bike and all of the many features of the Ortlieb bar bag - from the huge capacity, quick mounting, and sufficiently narrow width.
The latest race content, interviews, features, reviews and expert buying guides, direct to your inbox!
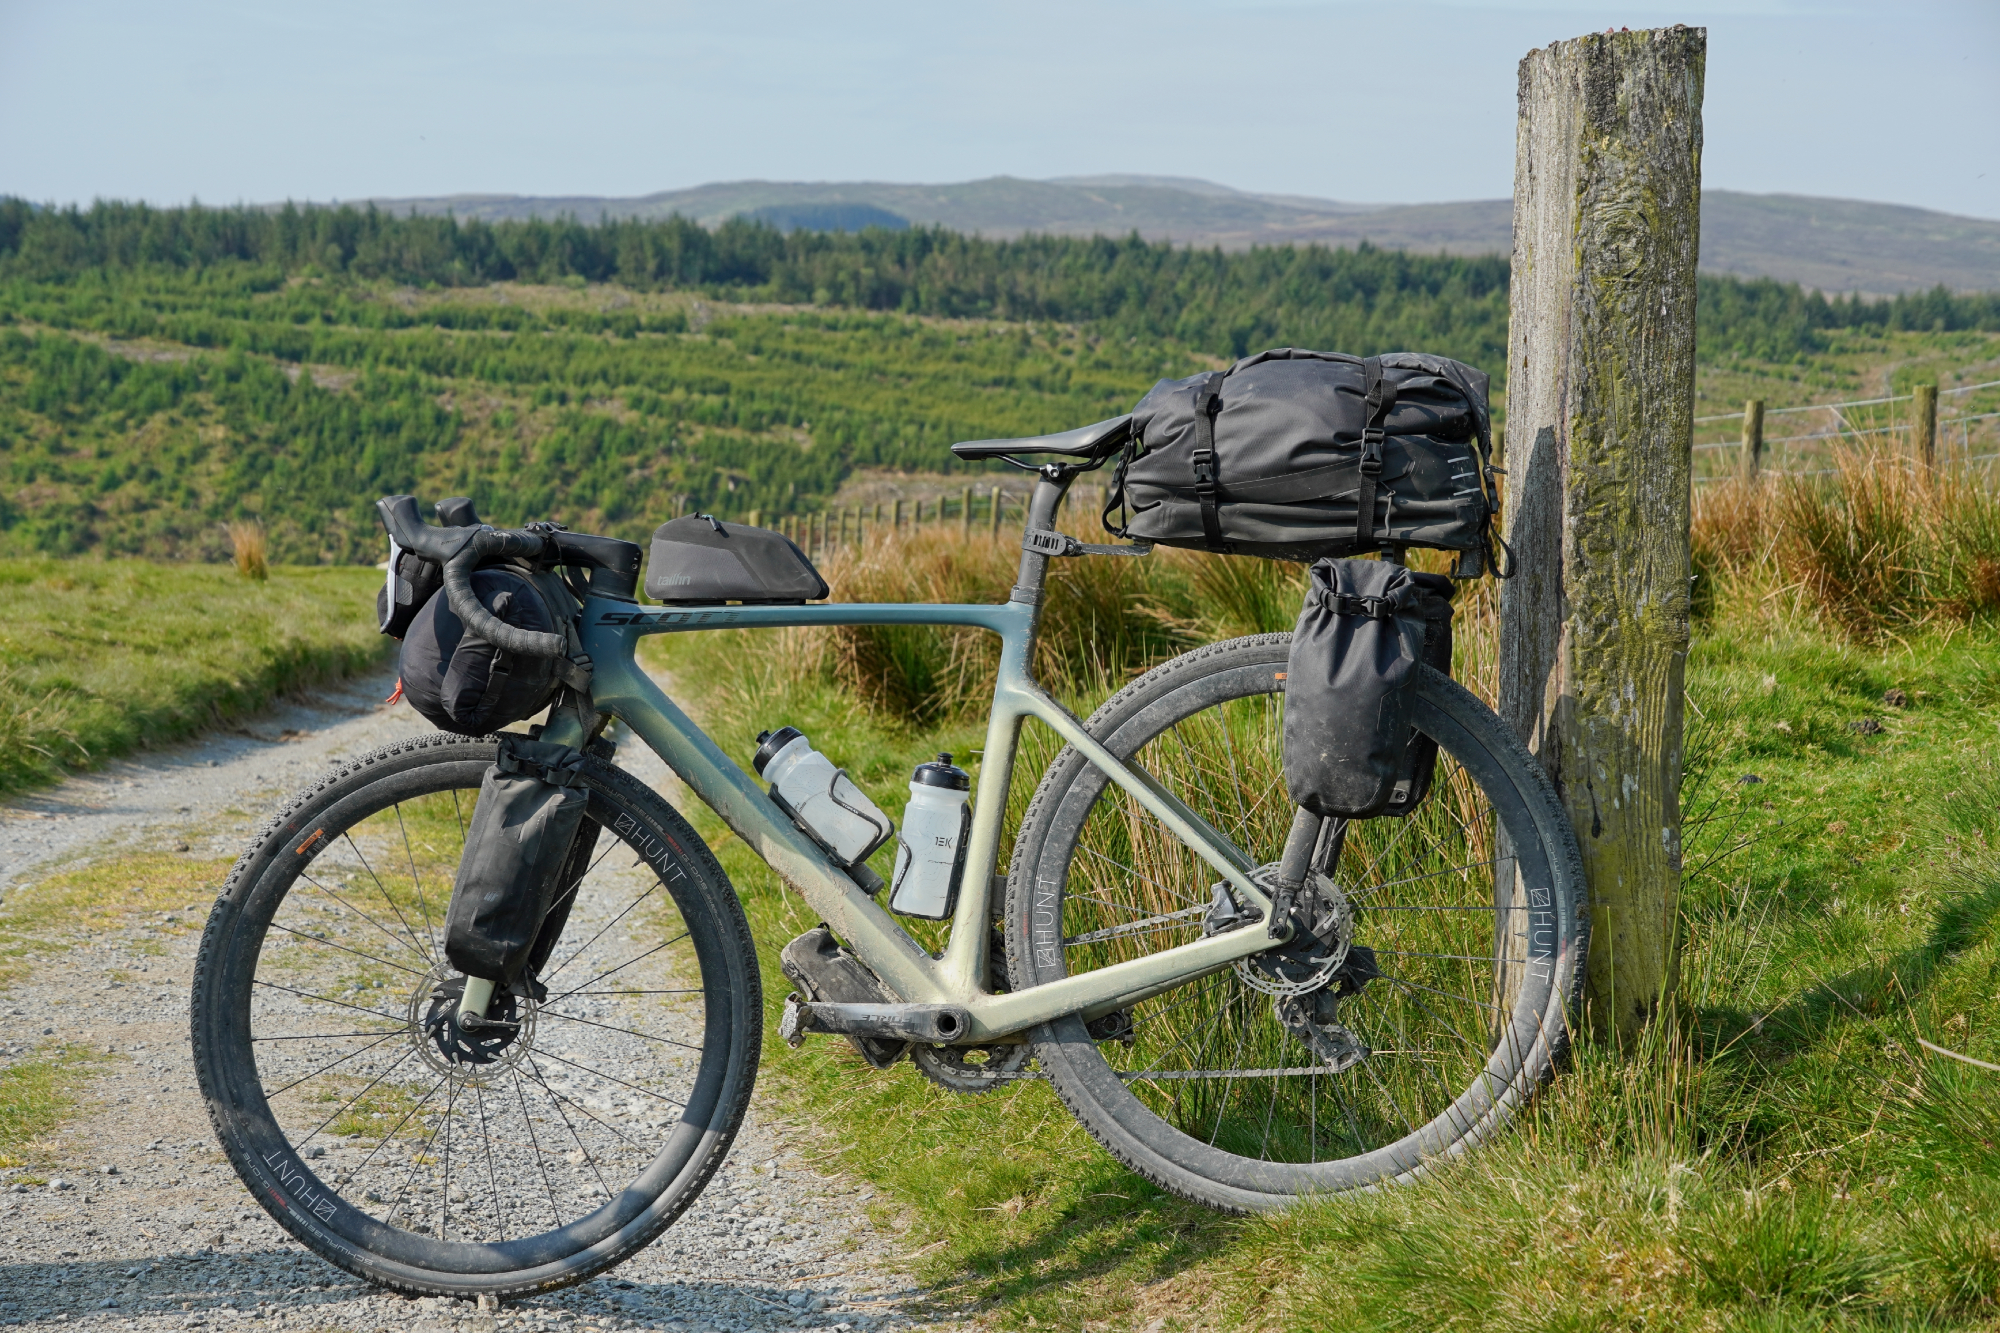
Stefan was using a Tailfin Aeropack and associated Tailfin Cage Packs. As he was taking the tent and most of the food, he needed some extra capacity - and the Tailfin system is a particularly neat way of integrating that extra volume - without going down the route of bulky and rattly traditional bike panniers.
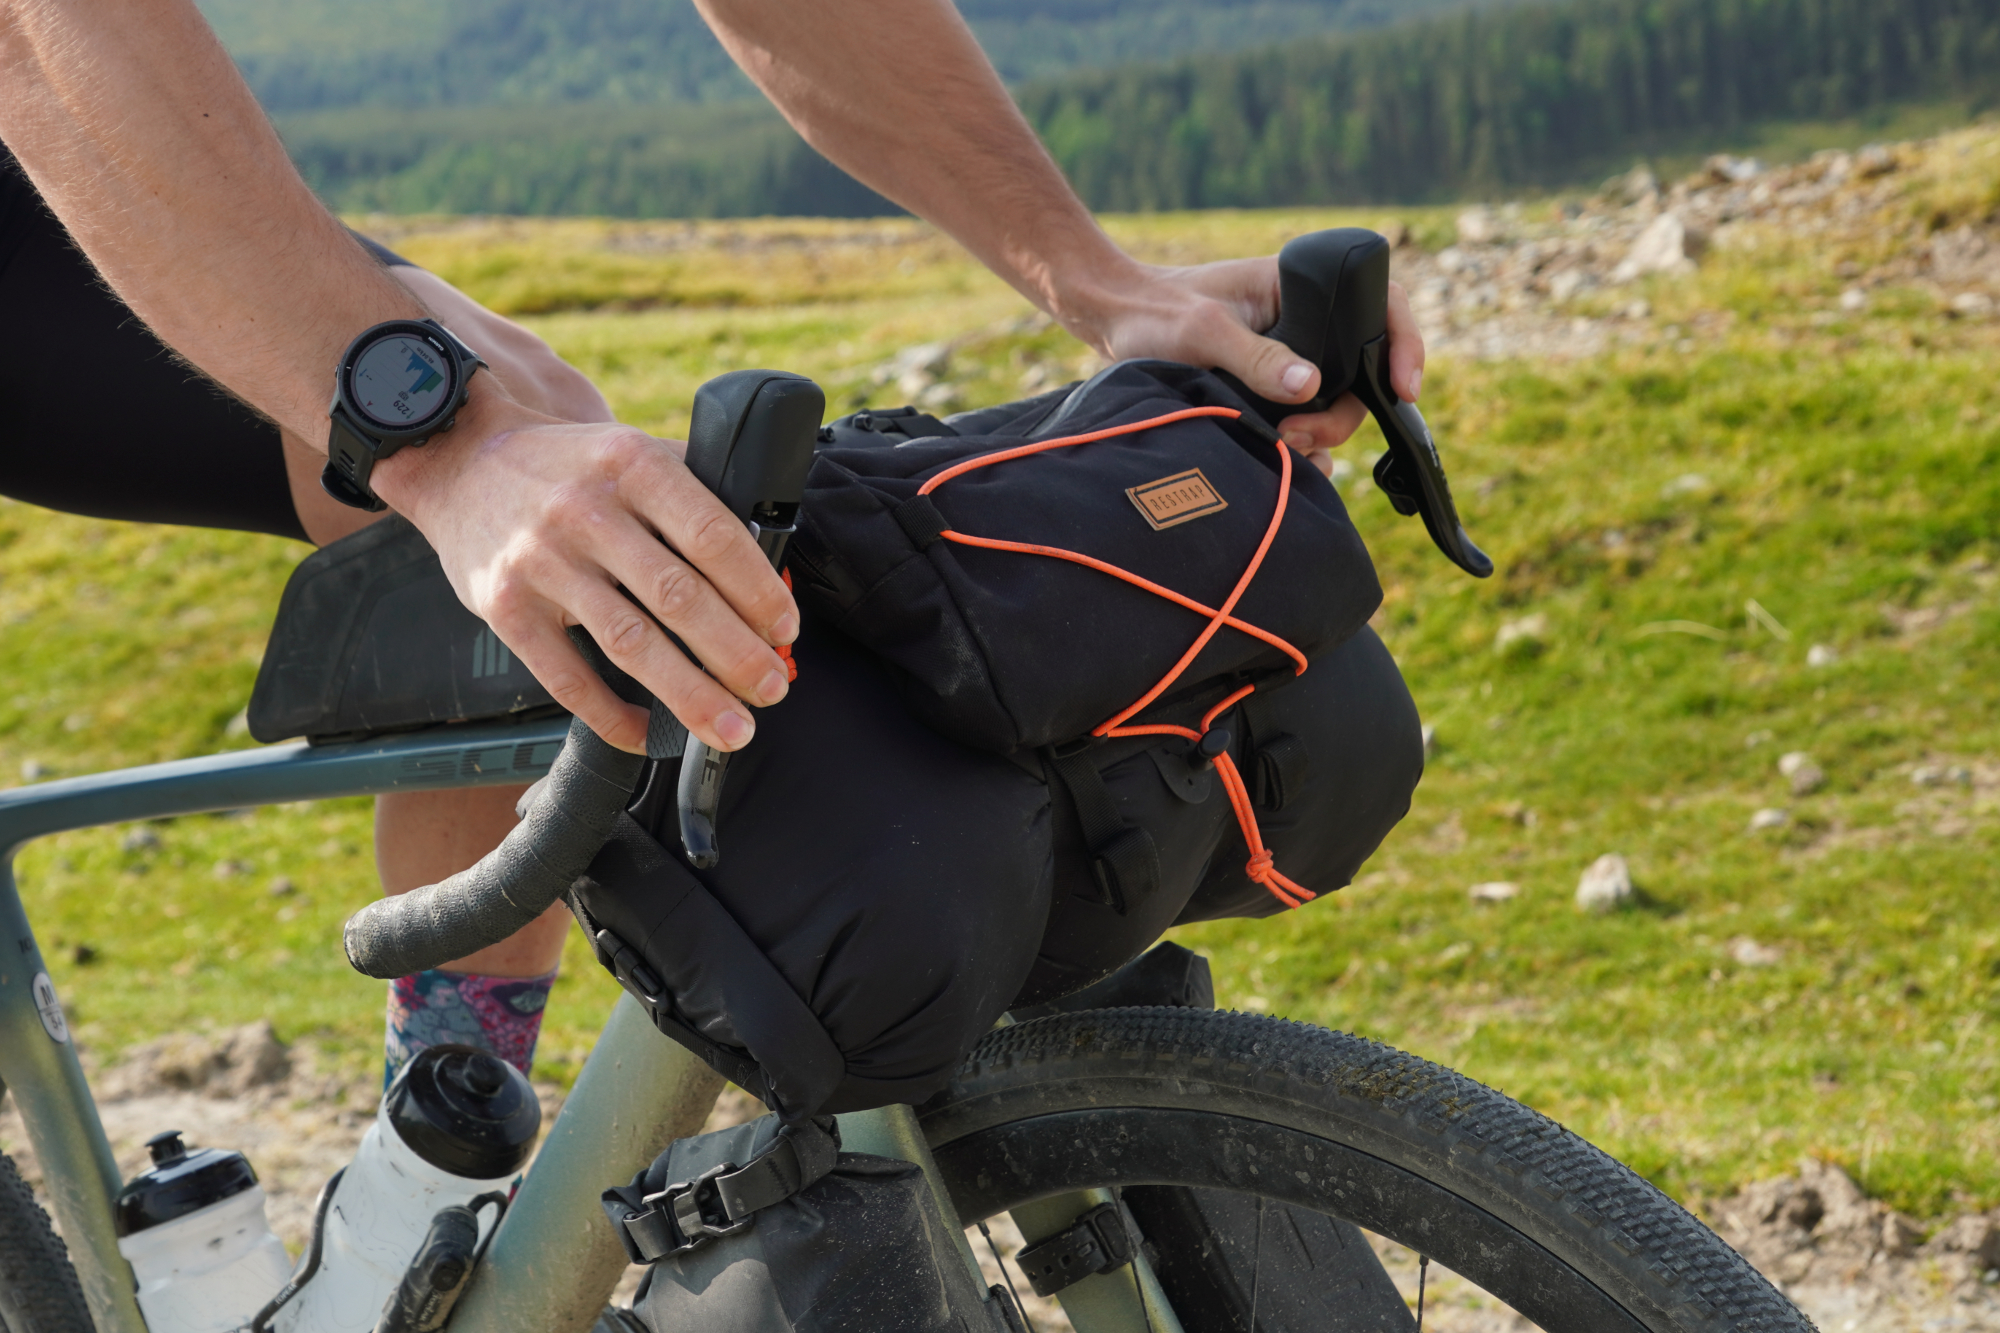
Up front, Stefan had the Restrap Bar Bag - Large, which has a handy extra pouch (with 3 liters of capacity) for keeping snacks and things close at hand and a removable 14 liter dry bag for most of the packing volume. Removing that dry bag is a bit of a faff, so it’s not somewhere to keep your waterproofs or anything you need quick access to. For a sleeping bag, though, it makes great use of the space.
Tools
As I was running tubeless while Stefan was on tubes, our tool choices diverged to some extent. But both our setups were quite neat in the versatility they offered and small pack size they came in - each set of tools fitted nicely inside Topeak's Cage Pack tool keg that can be slotted into a bottle cage.
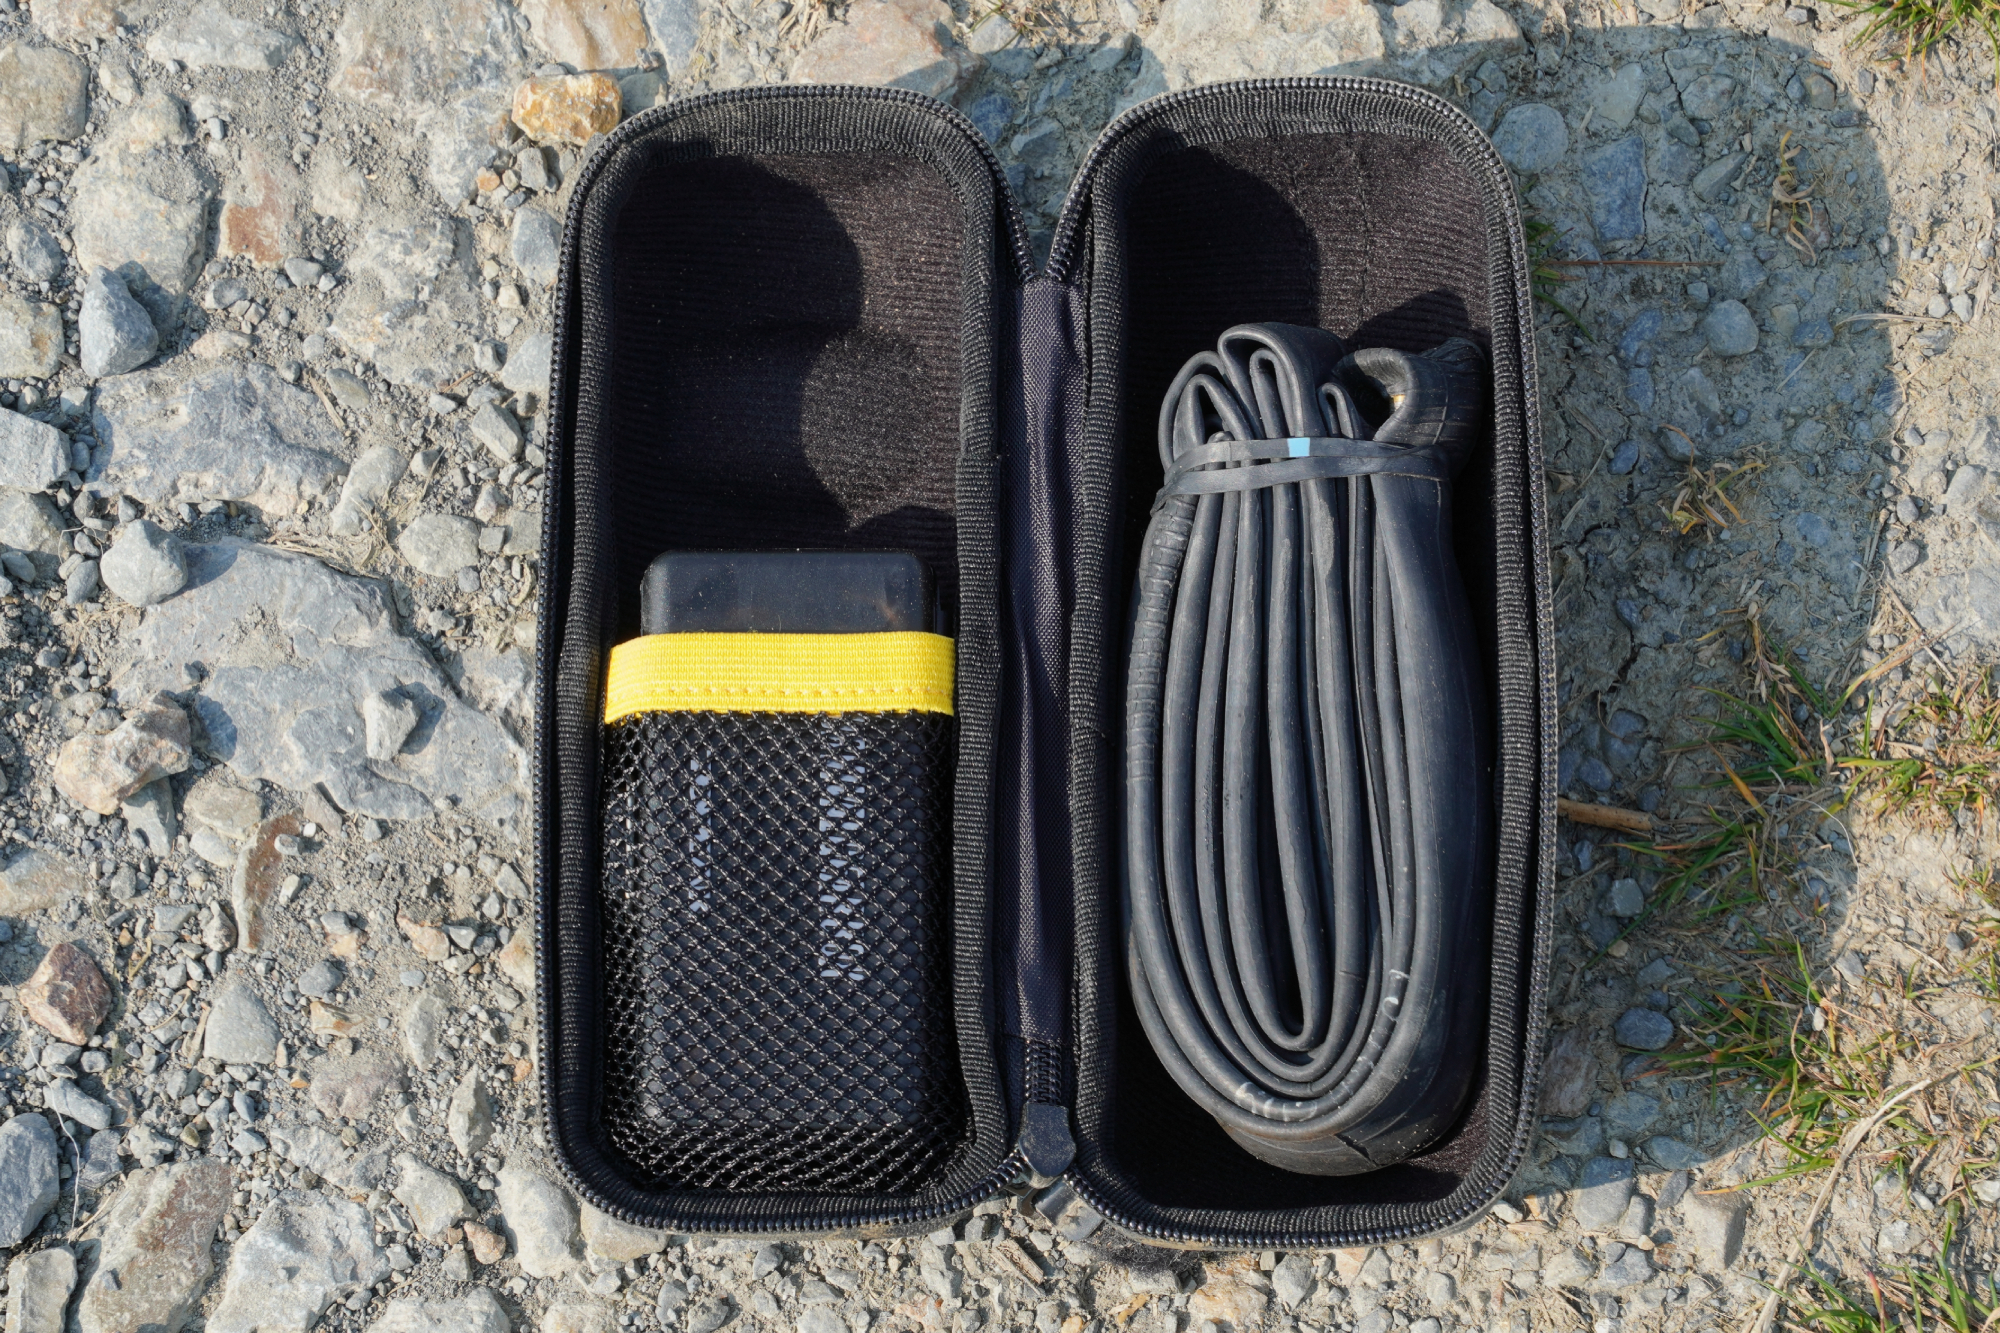
Myself, I went about as lightweight and compact as I could go. Still, my multi-tool of choice, the Topeak Mini PT30, had all the attachments I needed - and in an arrangement which makes sense and has long enough Allen keys. Personally I’m not a fan of ultra-compact multitools which are a complete faff to use.

The PT30 has all the Allen Keys you need from 2mm to 10mm (don’t think I’ve ever used a 10mm, but 8mm is much appreciated for pedals), it has three sizes of Torx wrenches - which is becoming ever more useful. It has spoke tools and a chain tool which doubles as a tire lever (I’d only use that in a real pinch). There’s a Philips and flathead screwdriver and lastly, but most importantly, it comes with a knife and skewer for inserting tubeless plugs - everything you need and actually usable.
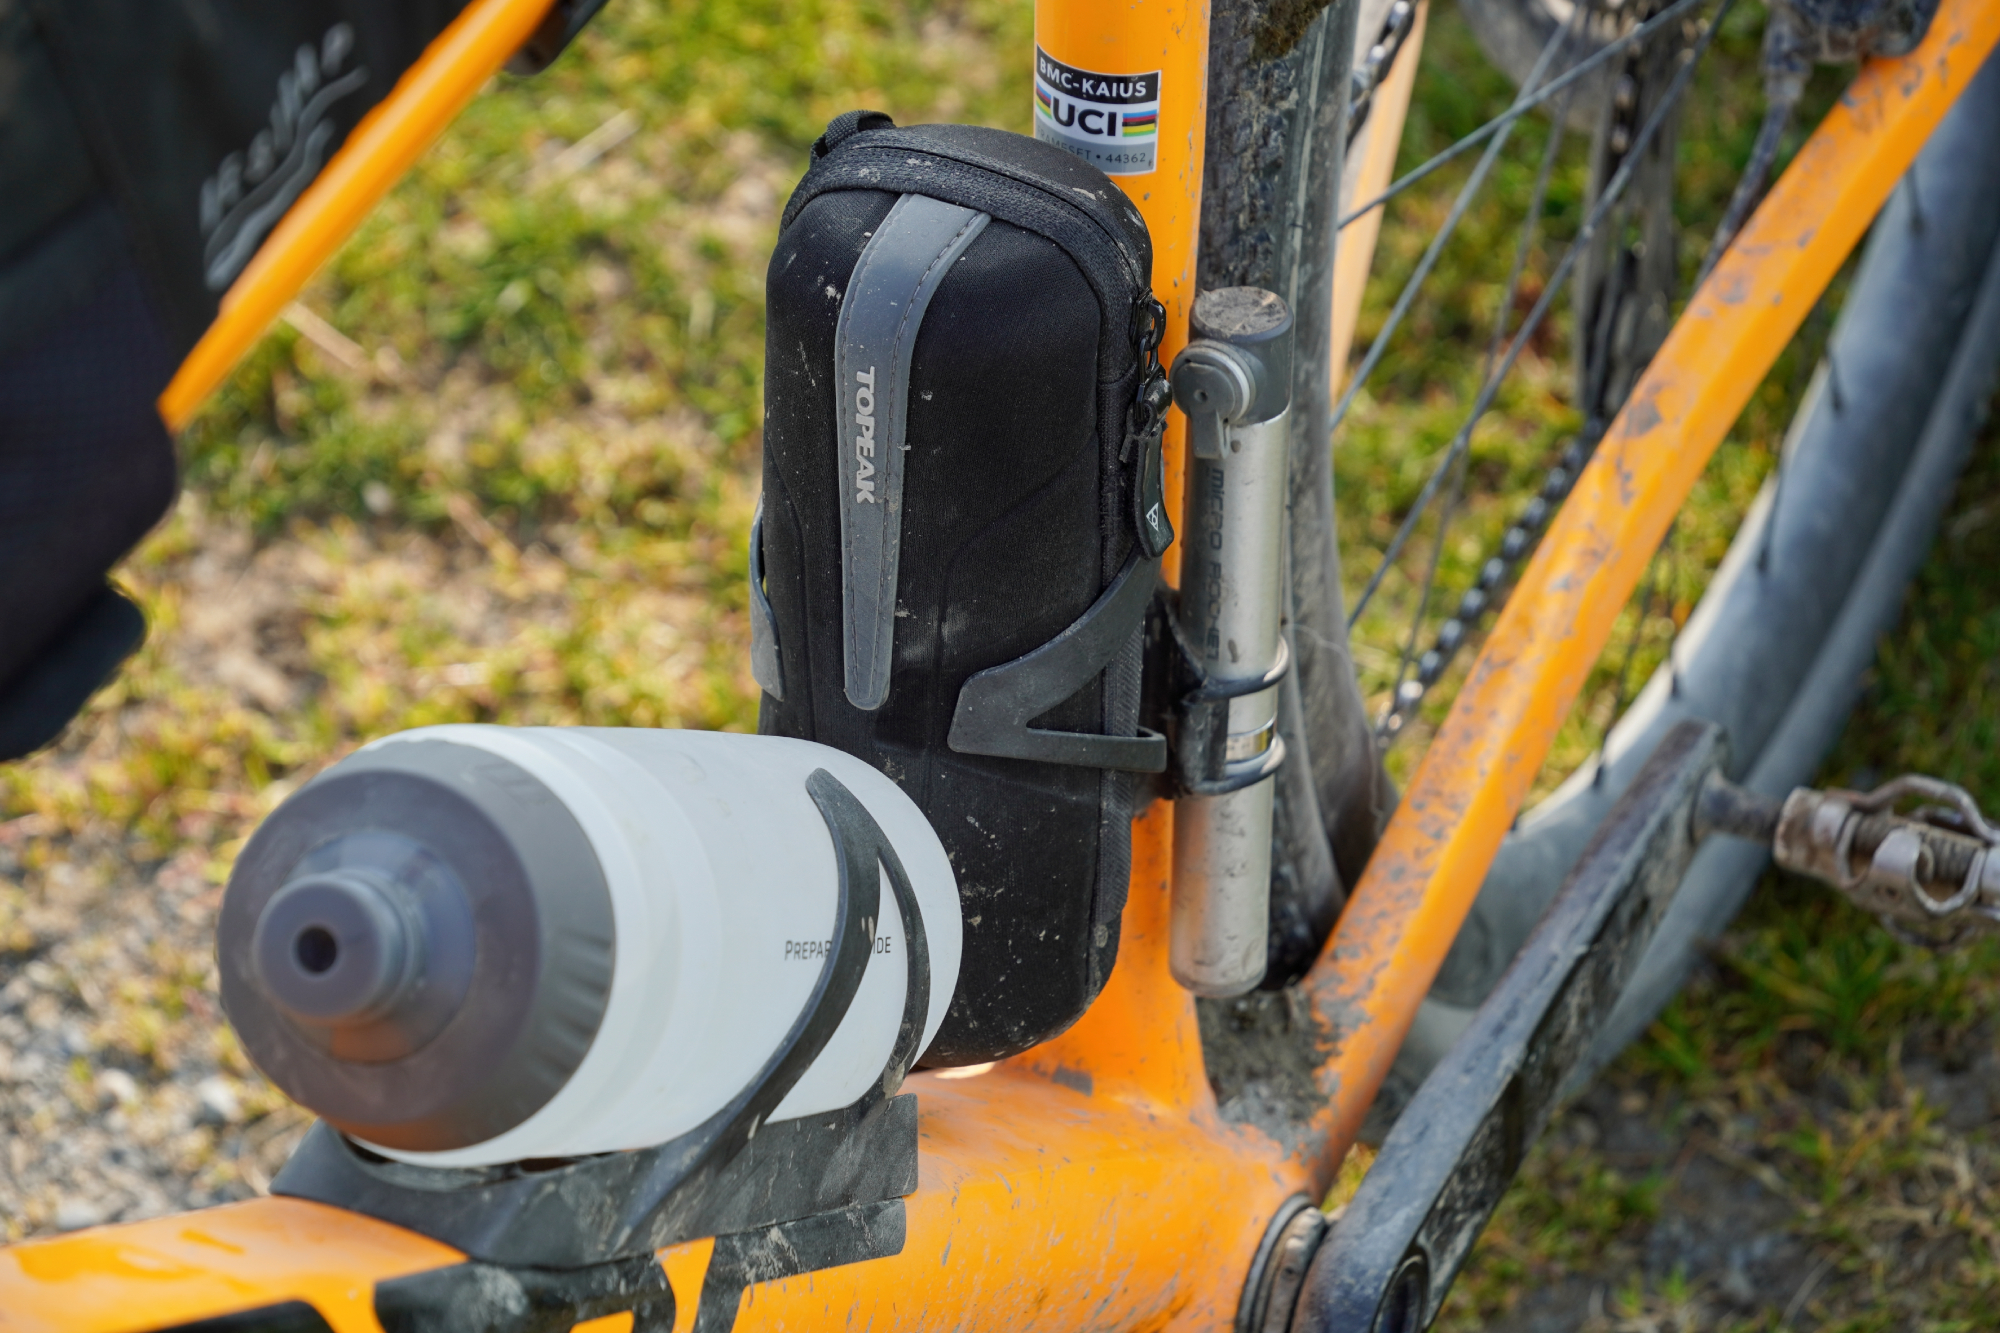
I paired this up with a pack of tire inserts and a CO2 canister, and an inner tube as a last resort. Finally, I had a Topeak Micro Rocket AL as a lightweight and slender mini pump. Although some people rely on CO2, I’m actually less inclined to do that with tubeless than I would be with tubes. It’s much more often that I have to keep on topping up a slow puncture from a half-sealed hole with tubeless than slow punctures ever were with tubes - relying on CO2 would have left me high and dry so many times in the past.
Stefan, on the other hand, went for a more belt-and-braces approach. Rather than the fancy integrations of the PT30 multitool, he opted for Topeak’s Survival Gear Box. The Allen keys only go up to 6mm, but that works fine with his pedals. There’s a couple of Torx wrenches, a chain tool, spoke tools and, crucially, a set of tire levers which are a bit easier on the rims.
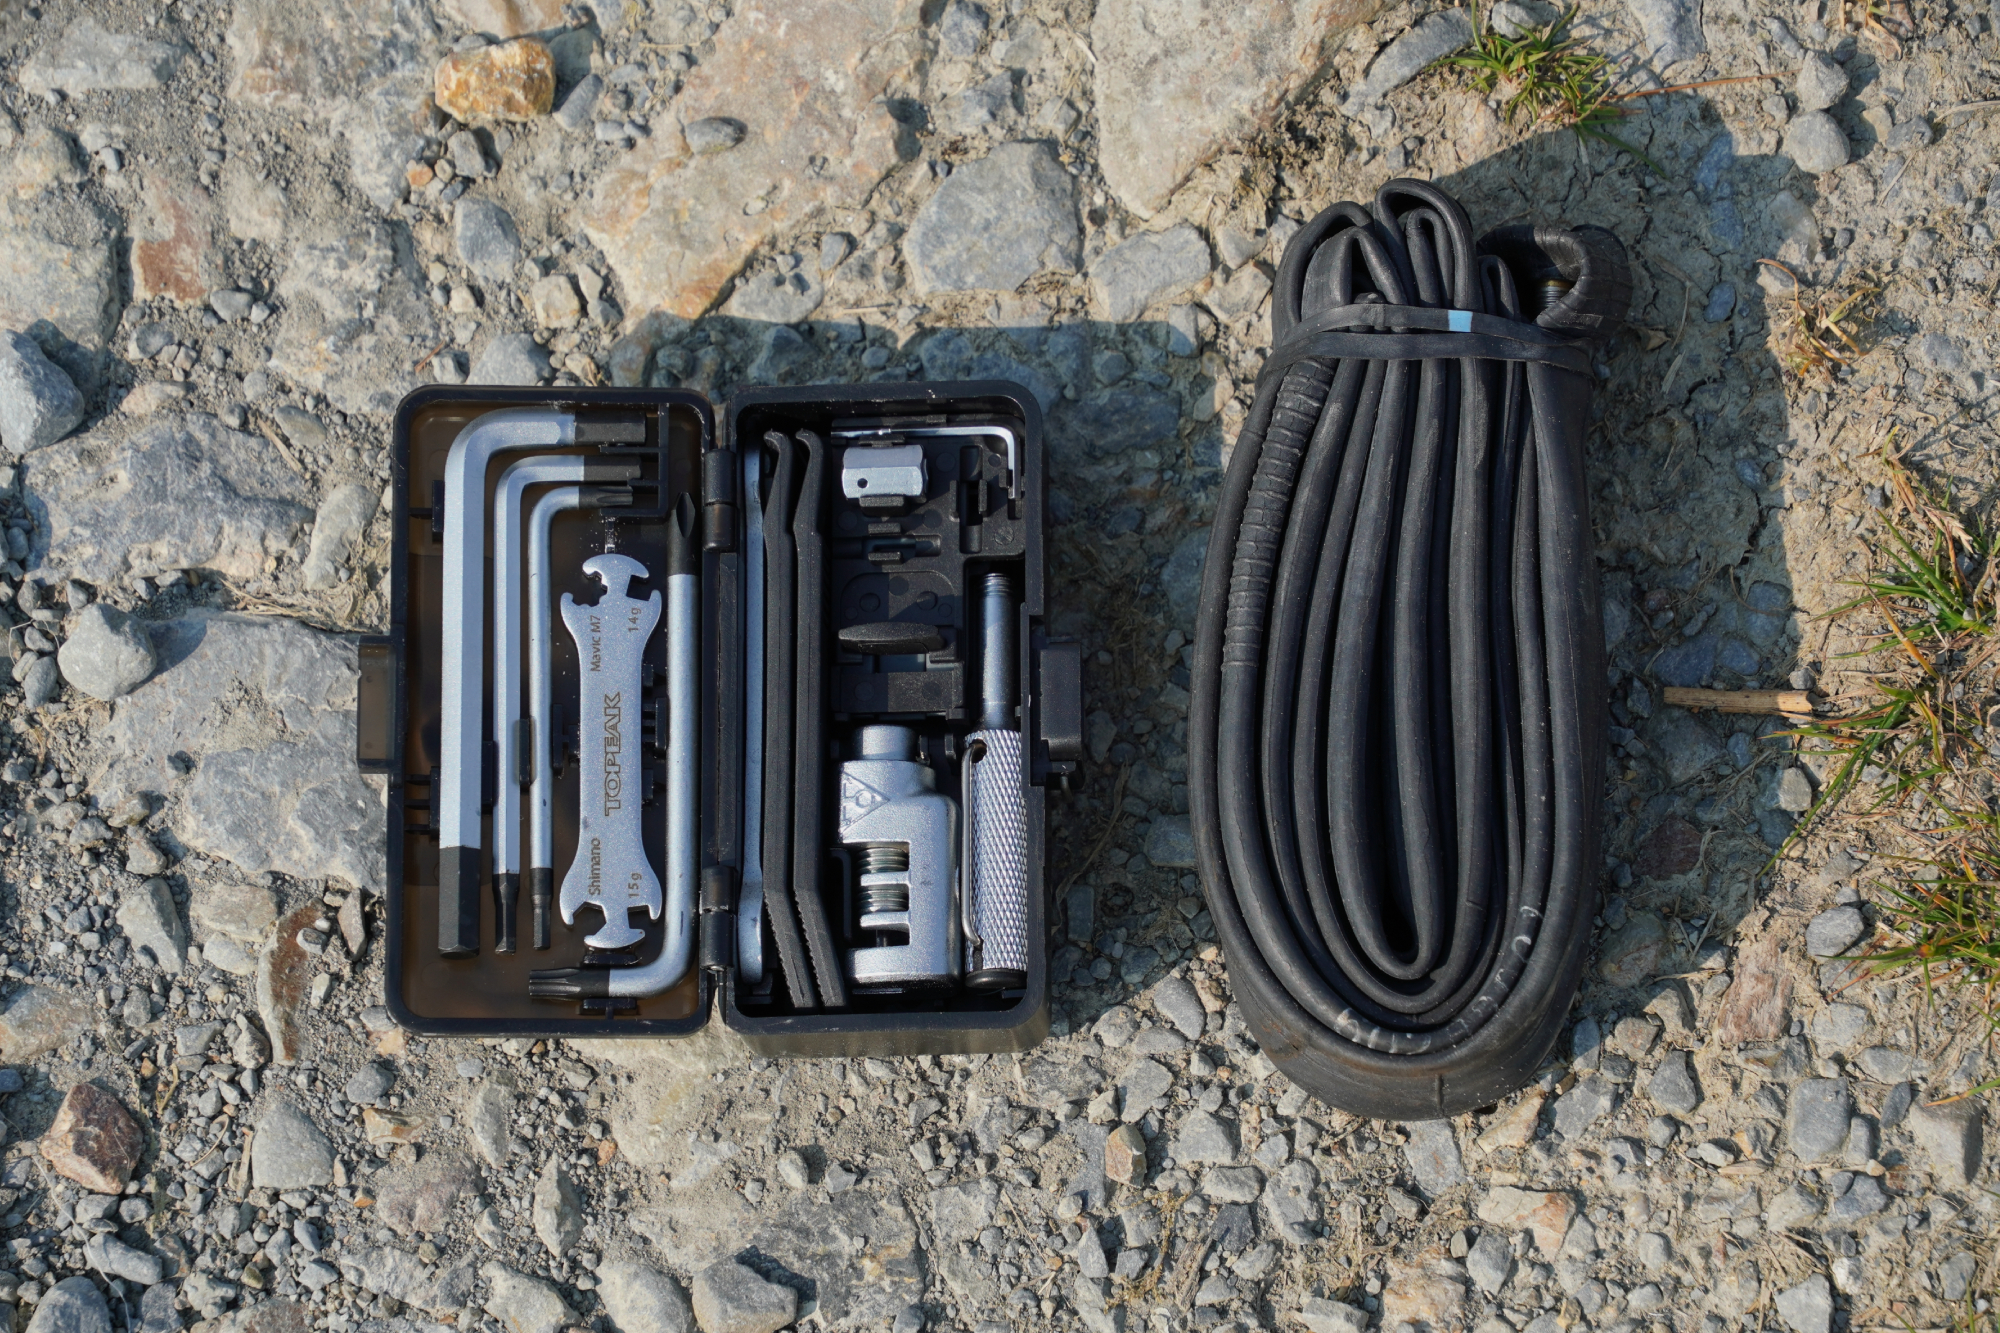
Anticipating changing tubes rather than plugging punctures, Stefan wasn’t keen on relying on a metal lever - though fortunately for him he never had to use the plastic ones in anger on this ride anyway!
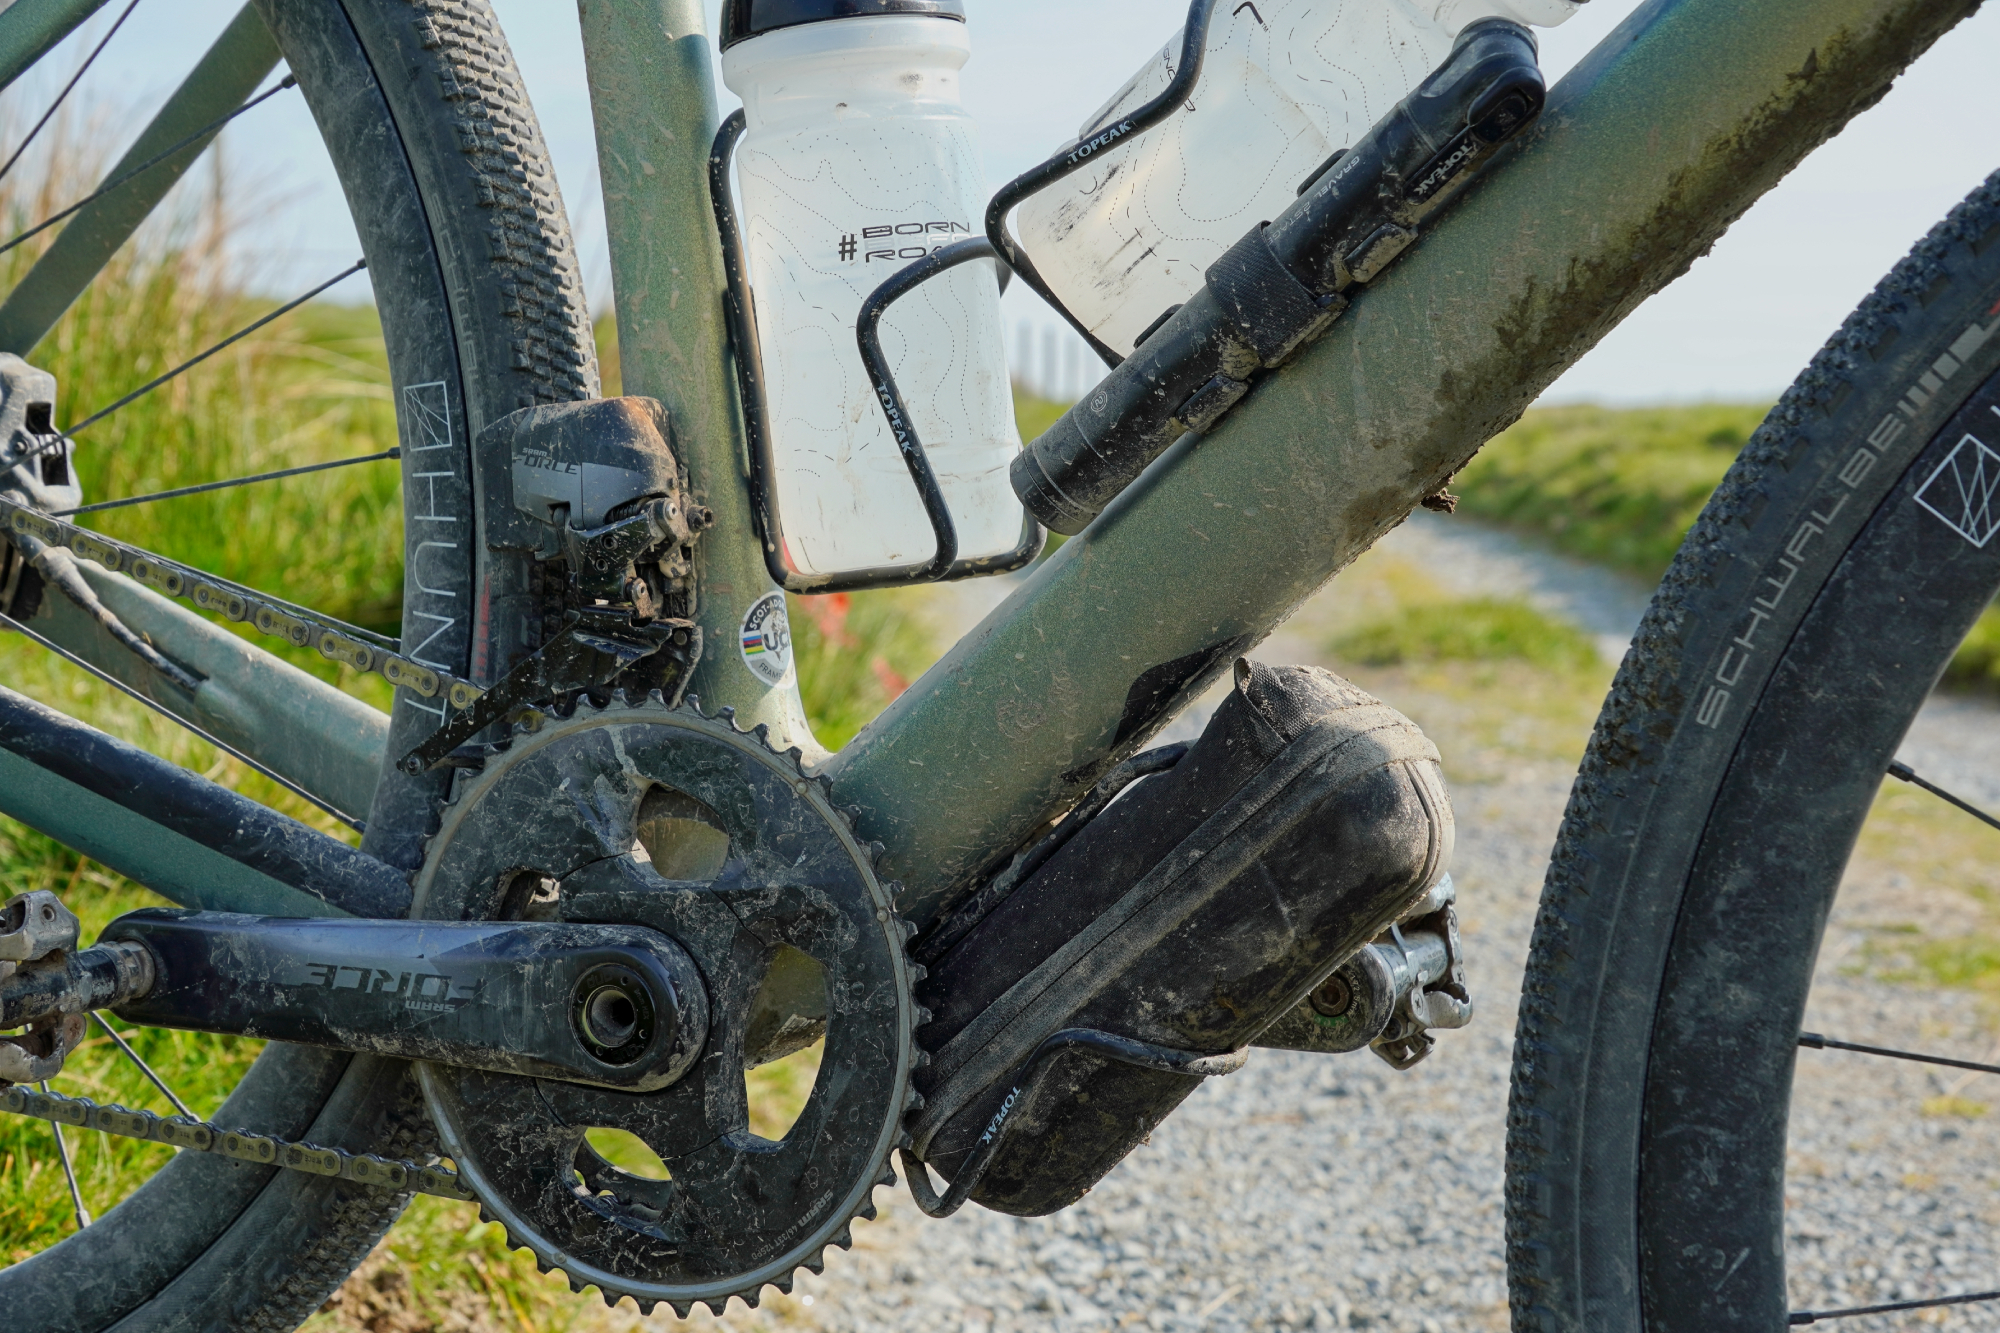
Although going heavier on the tool kit, Stefan forgoed the CO2 and had no need for tubeless plugs. Instead, he opted for a more powerful pump, the Topeak Gravel 2Stage. This one is quite neat in that it allows you to switch between high volume and high pressure pump strokes - the former moving more air each time, making it faster to top up your gravel bike tires, the latter making it easier to hit higher pressures, but moving less air with each stroke.
Clothing and shoes
Despite Wales’ reputation for rain, we were lucky enough that there was barely a cloud in the sky for the duration of our ride across the Cambrians - so it was shorts and jerseys for all but the most exposed sections, and our waterproofs stayed tucked away in our bags.
Stefan was wearing Pearl Izumi’s new Attack Air Jersey and Bib Shorts, which are specifically designed for hot weather riding. Both the jersey and bibs benefit from In-R-Cool technology, which is similar to the ColdBlack that other brands use - essentially it’s a way of making darker colours more reflective of infrared radiation so they don’t heat up as much in the sun. Interestingly, it’s a similar process which is what keeps eggplants / aubergines cool in the sun as well.
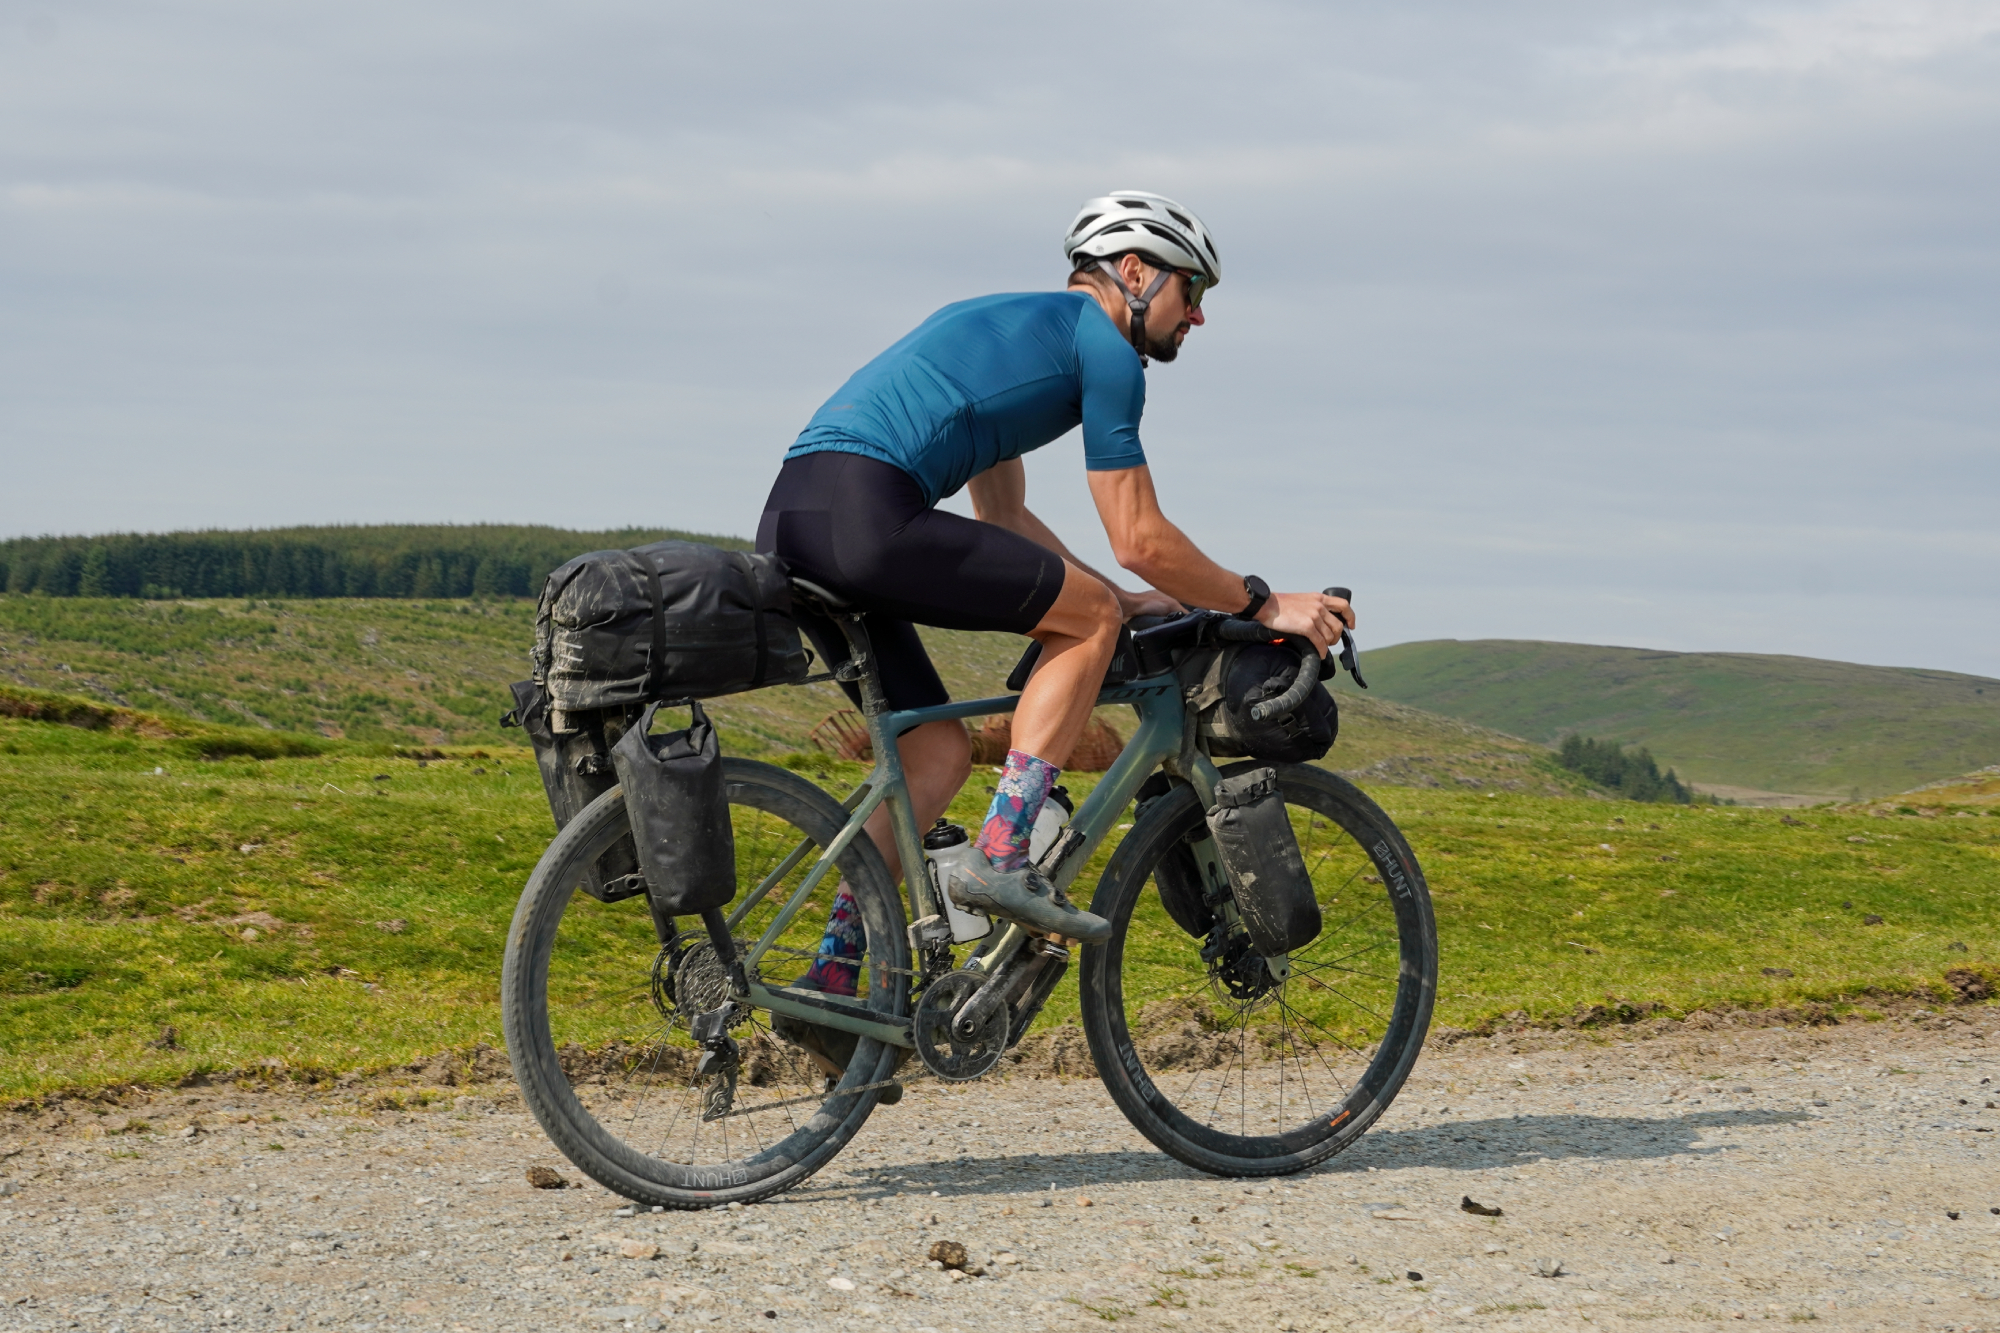
Both the fabrics were quick wicking of sweat and provide at least SPF 50 ratings - so no need to wear sunscreen under the kit, which is always a nice thing. The bib shorts do come up a little small, so if you’re between sizes it could be worth sizing up.
Myself, I supplemented my shorts and jersey with Pearl Izumi’s Quest Convertible Barrier Jacket. This is a soft shell with a DWR coating - so more breathable than a full hard-shell waterproof, but still offering windproofing and protection against light showers. Its convertible element means that it can be used as either a jacket or a gilet, although the process for taking of the sleeves isn’t something you can really do while riding - so you really have to make the decision at the start of the ride.
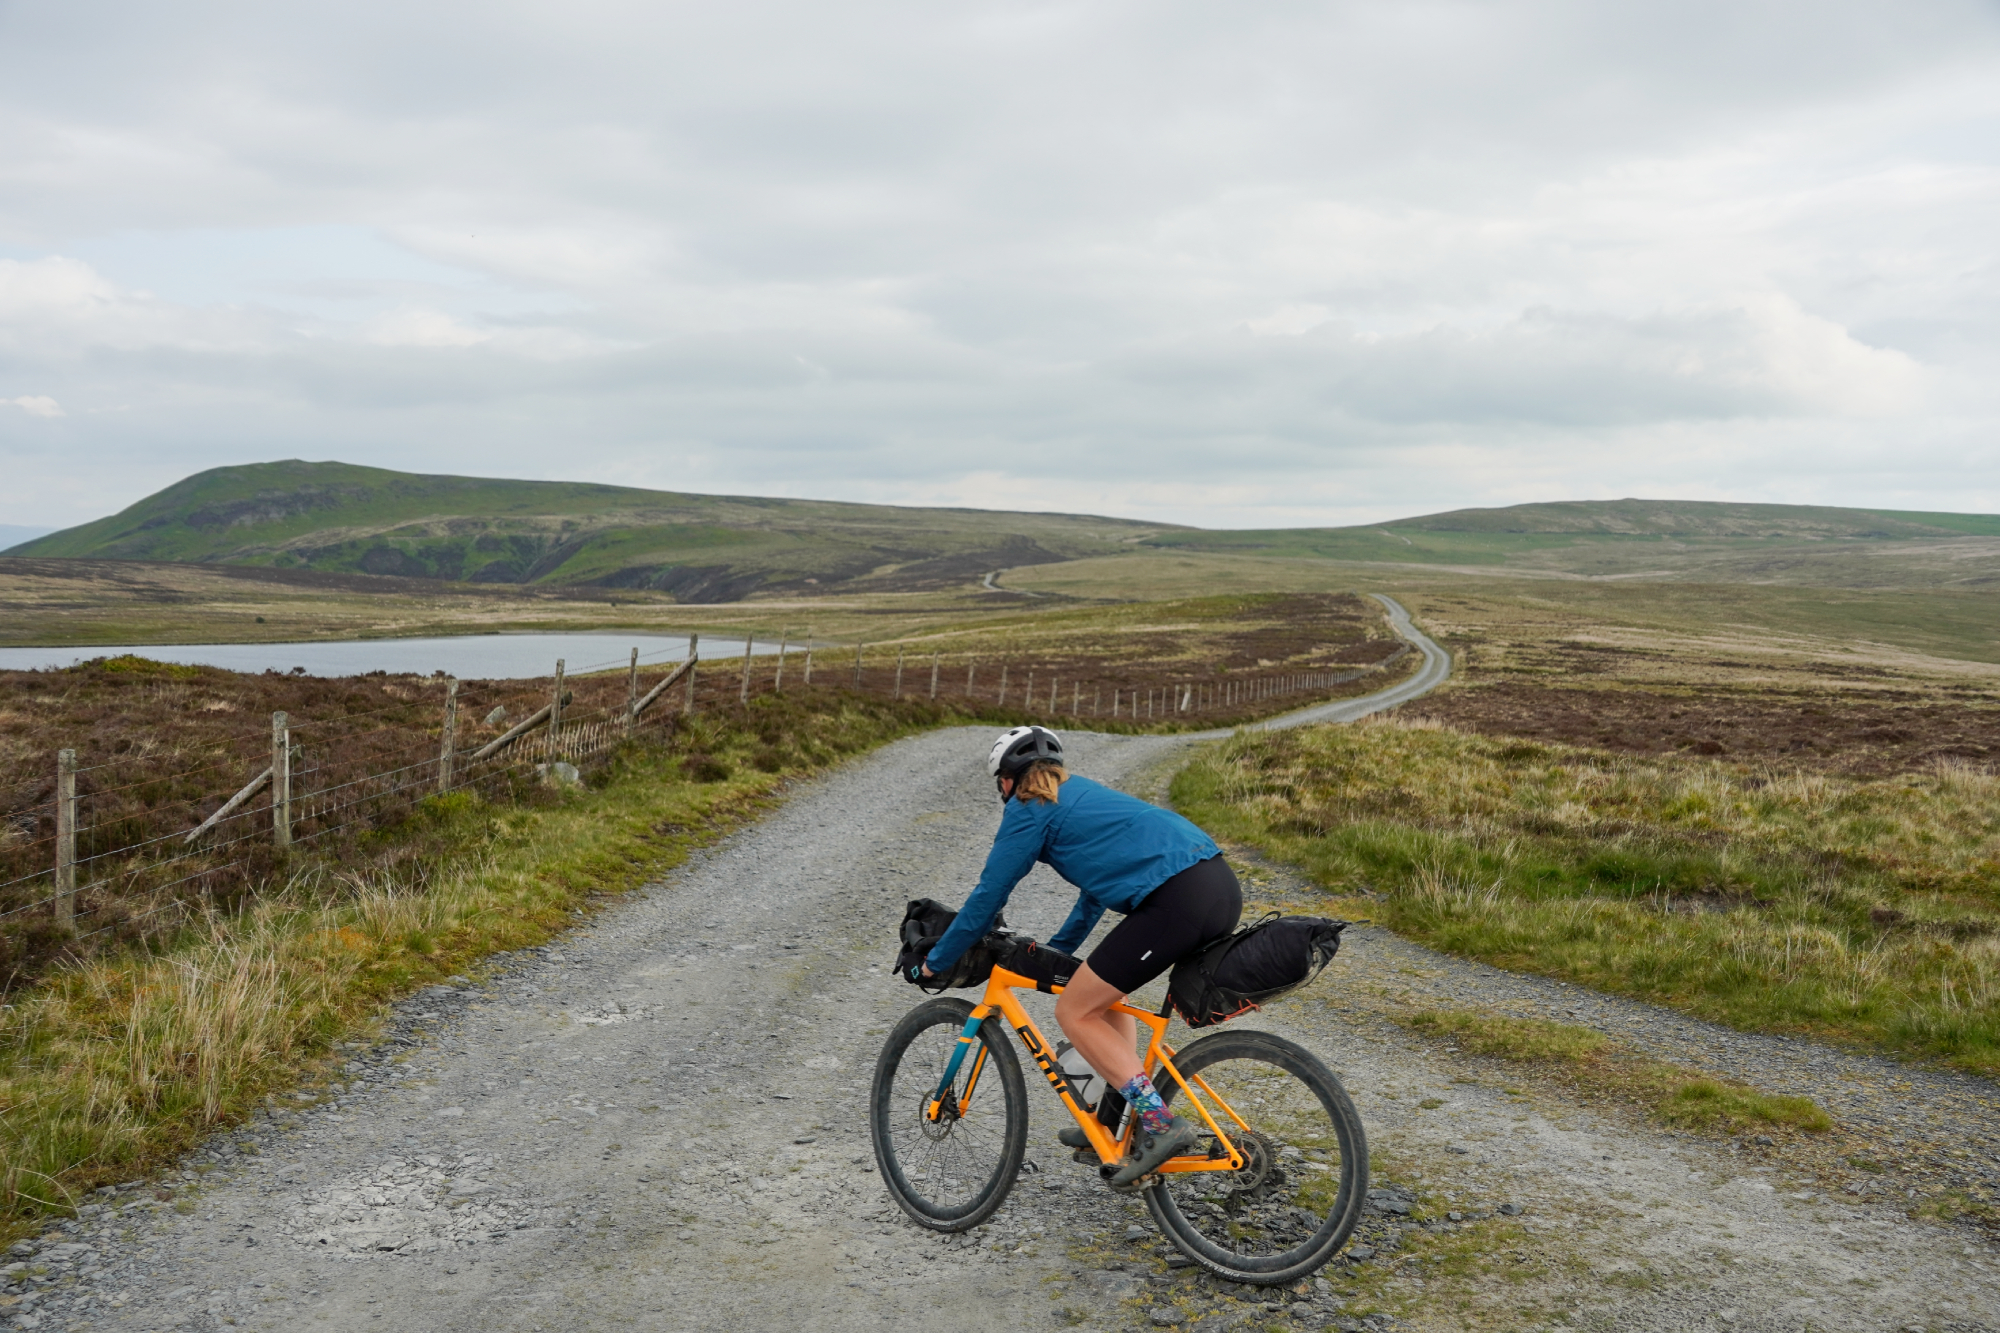
Finally, we both used Pearl Izumi’s Expedition Pro Shoe. And as per the title, these are designed to handle gravel rides far from home - but don’t overlook the ‘Pro’ moniker hanging there as well. These gravel bike shoes feature Pearl Izumi’s 1:1 Ex Pro Carbon sole, which is stiff enough to feel reassuringly solid when pushing hard off-road, without feeling unduly harsh over the bumps.
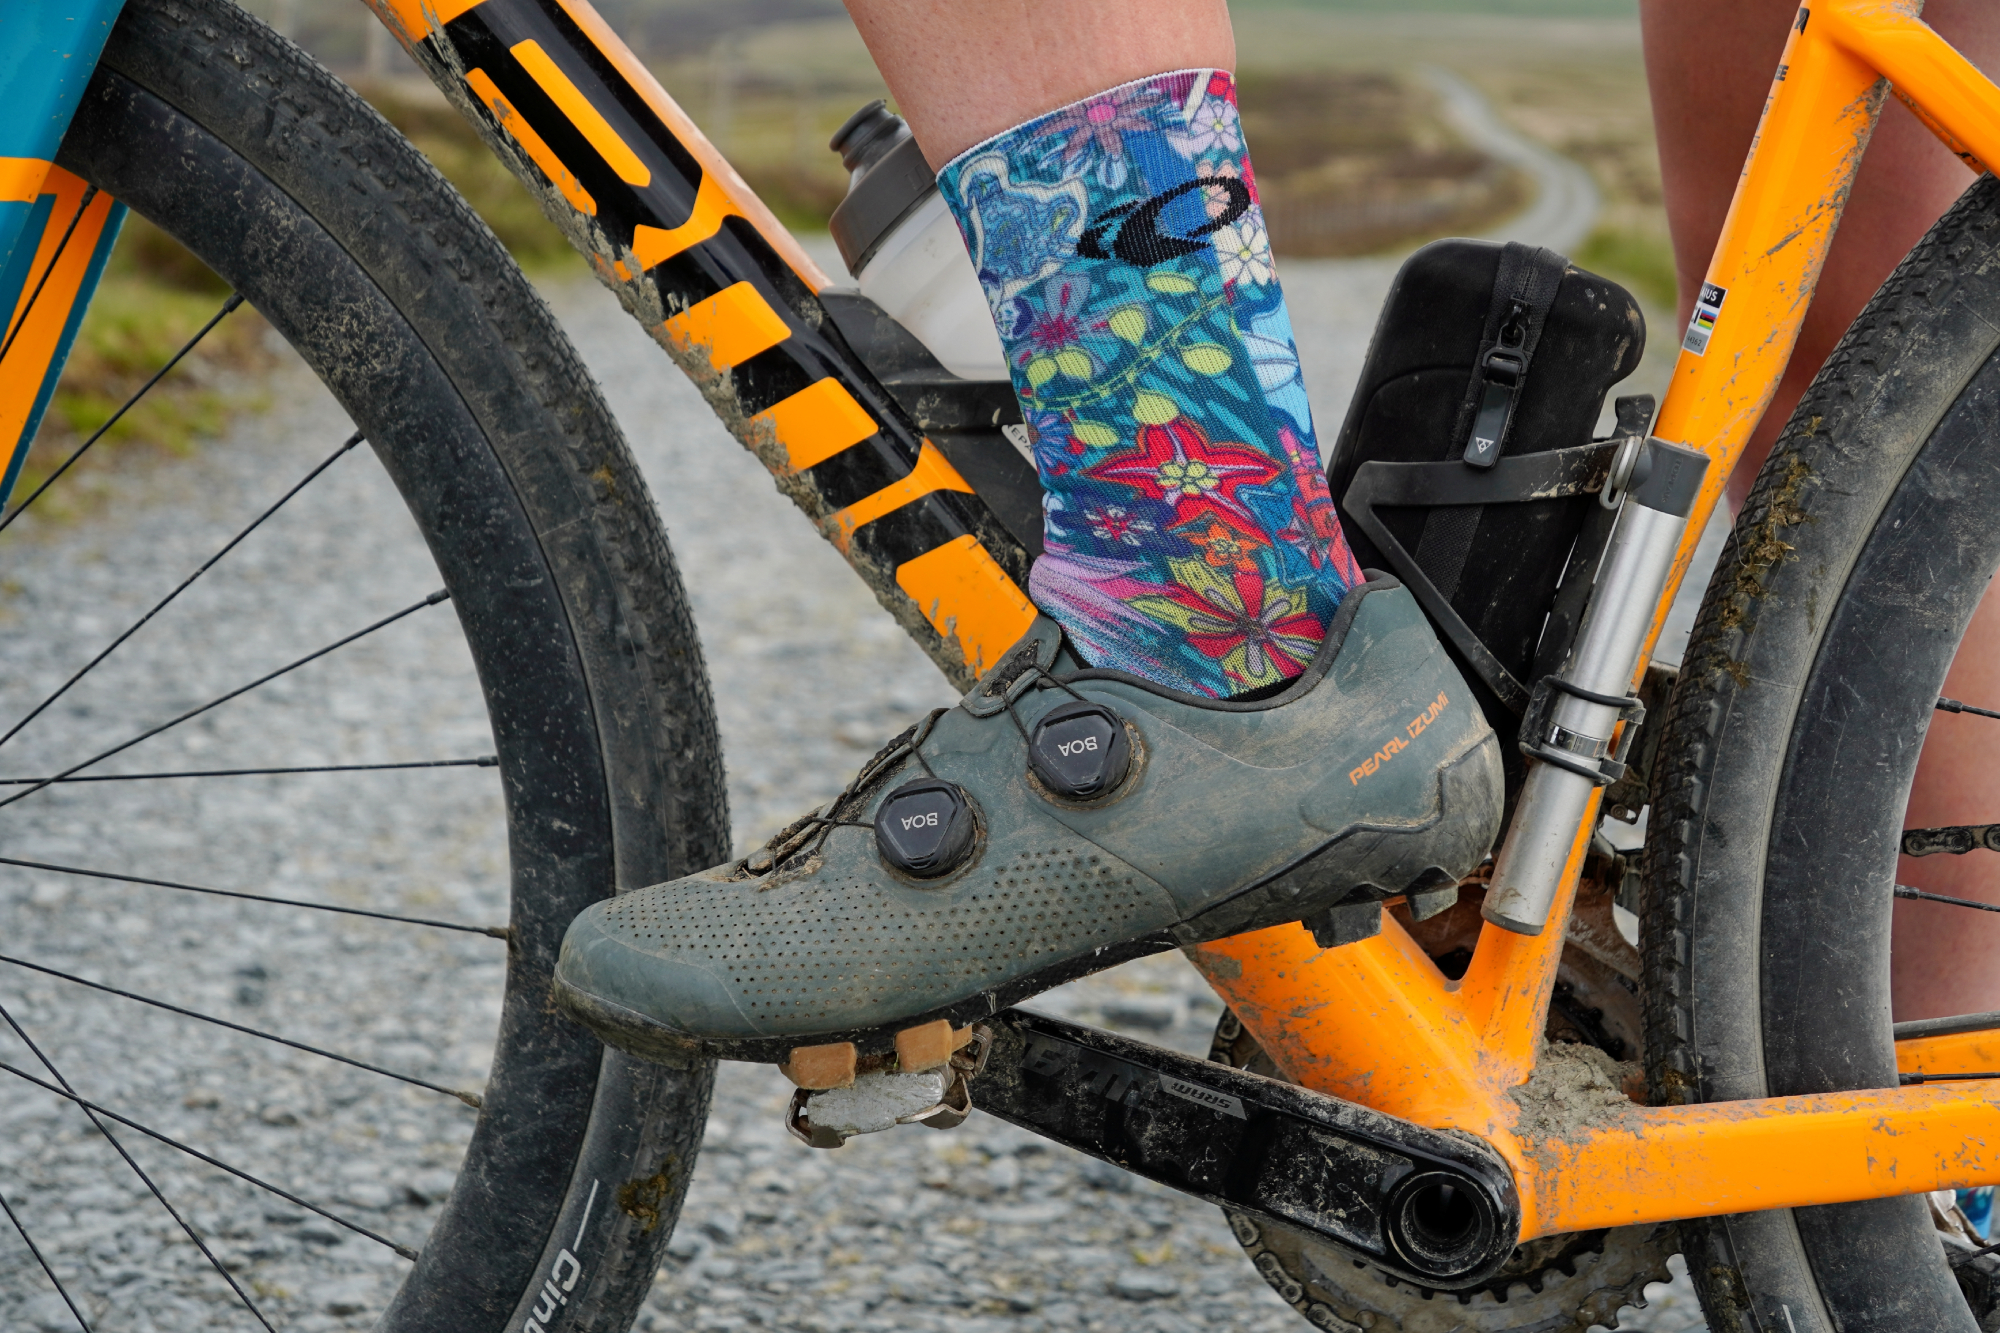
They have two BOA L6C dials, which are ones that only tighten in millimetre increments and have the ‘macro’ release. Still, it’s what you’d expect at this price point - and the synthetic leather upper is easy to wipe clean.
Nutrition
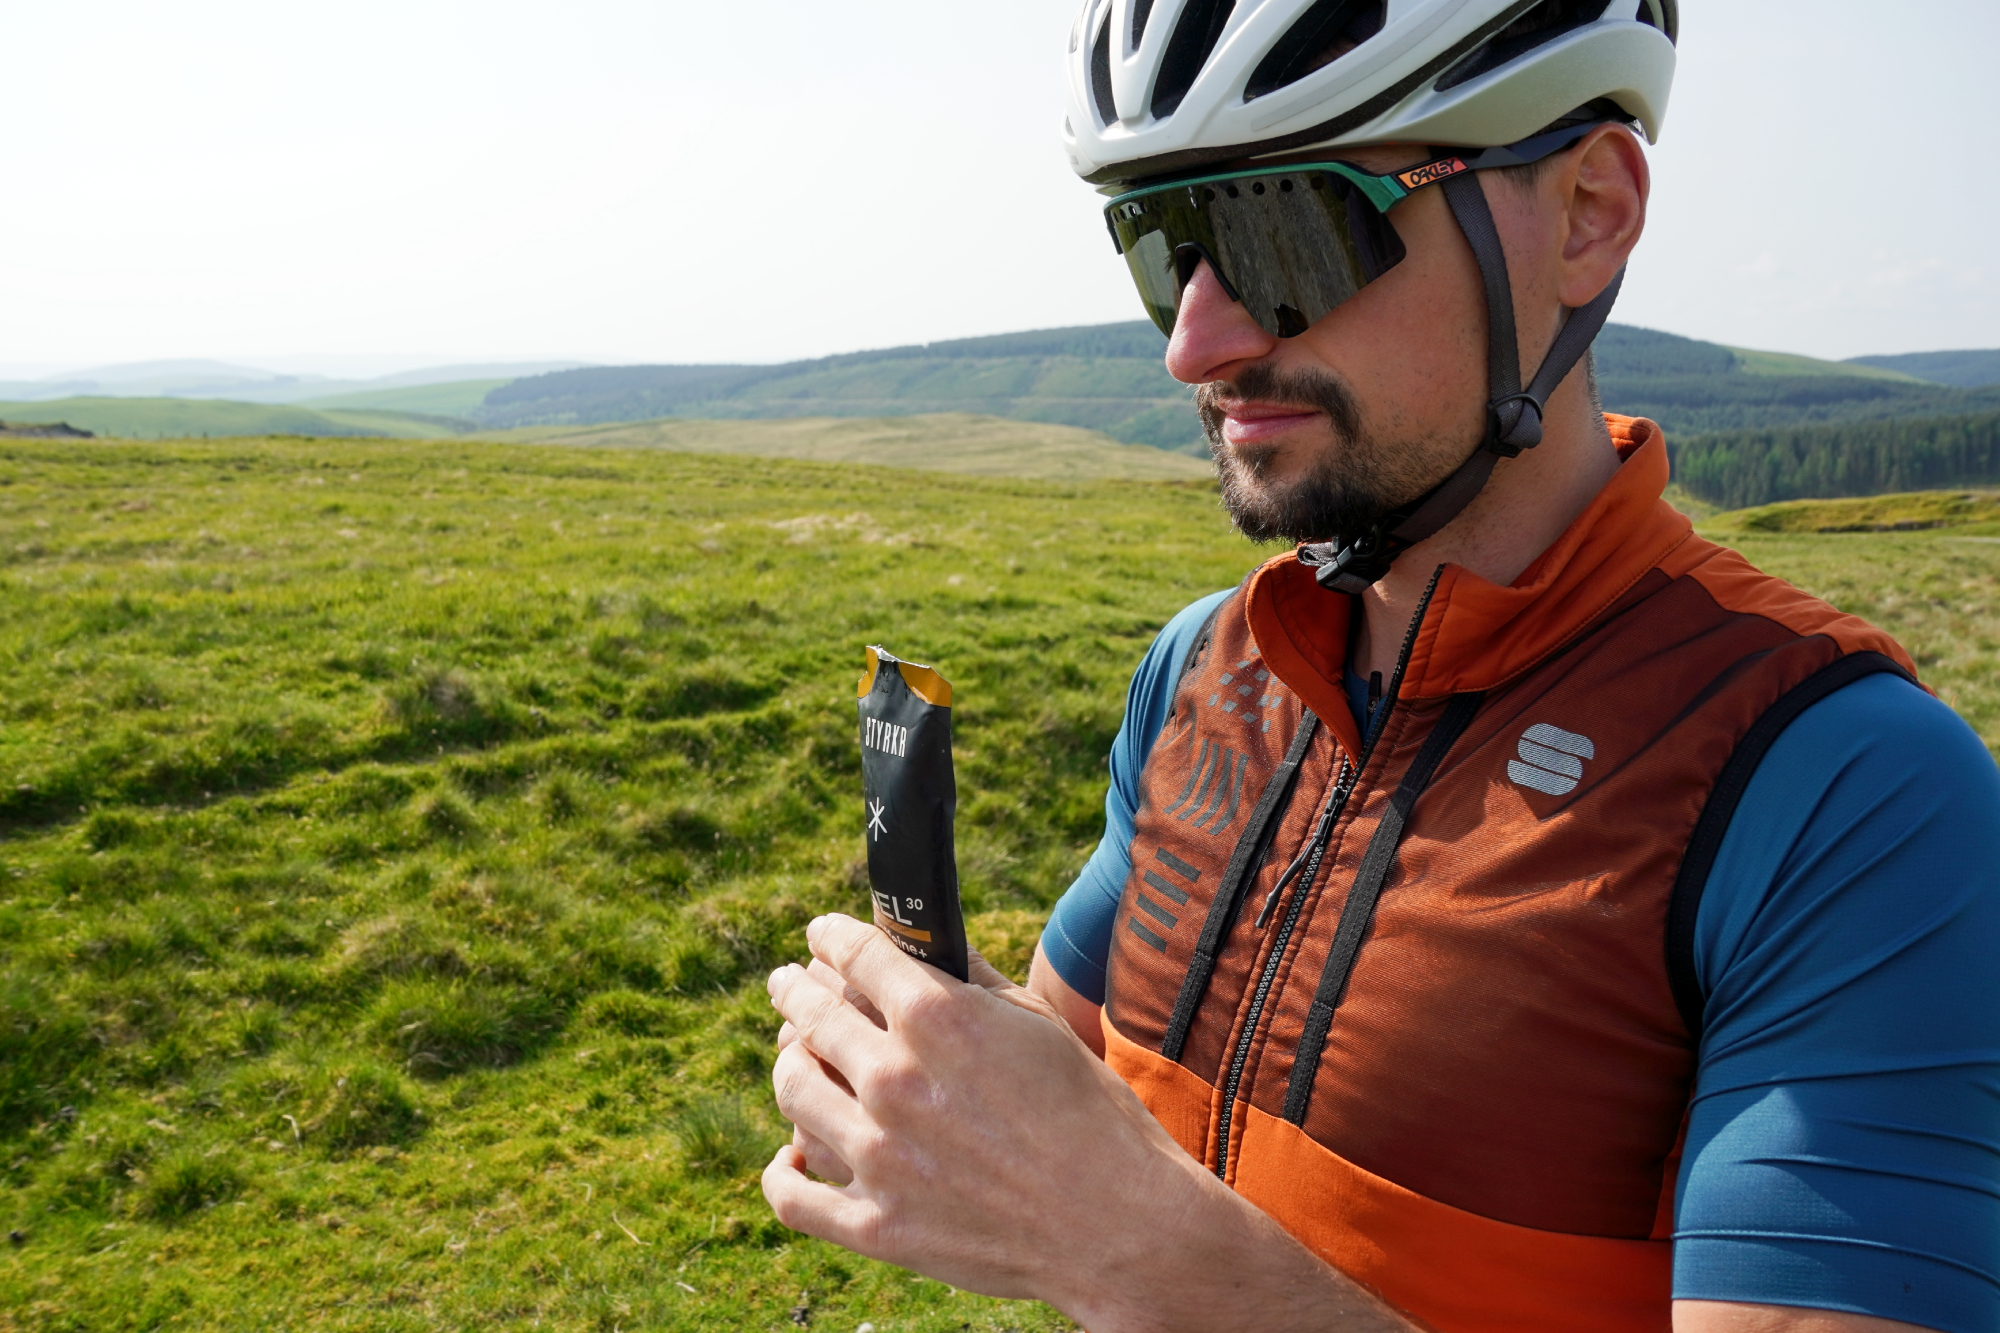
When bikepacking, I always try to have full meals wherever I can. It’s easier to get a good mix of protein and veg along with carbs that way - plus it saves on weight and space lugging around less food!
Still, a steady stream of snacks between those said meals is helpful for keeping your energy levels stable - plus it’s important to always have enough supplies for any eventuality or surprises. You don’t want to be all out of food only to find that the pub or village shop you were pinning your hopes on is closed.
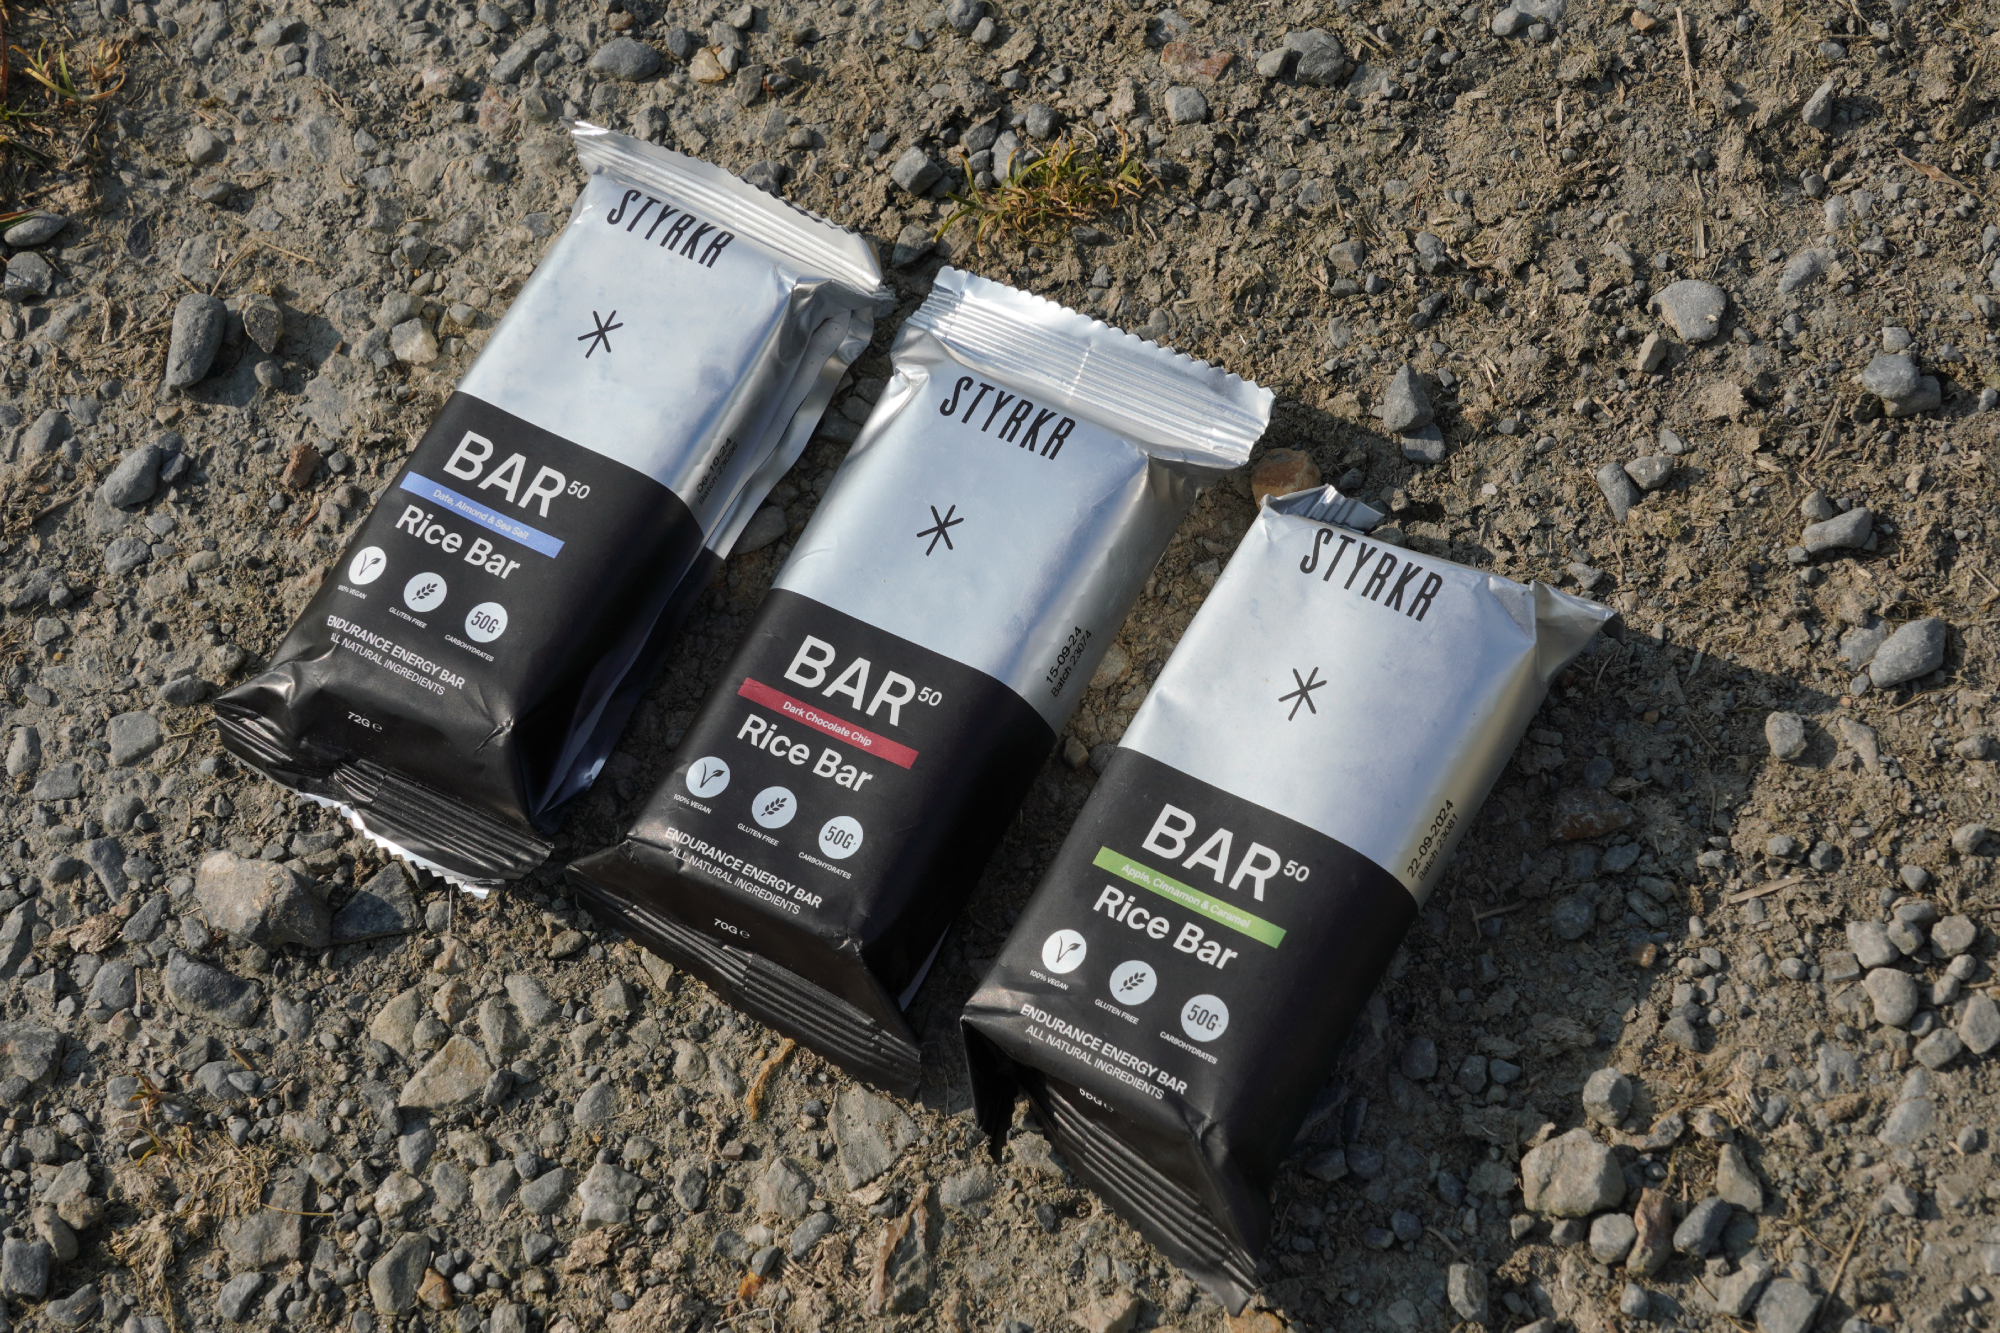
To that end, we brought along some STYRKR energy bars and energy gels that we’d been testing out over the previous few weeks. It’s a small British brand, started by Christian Sanderson in 2018 and which has been working with Hull University to develop its products.
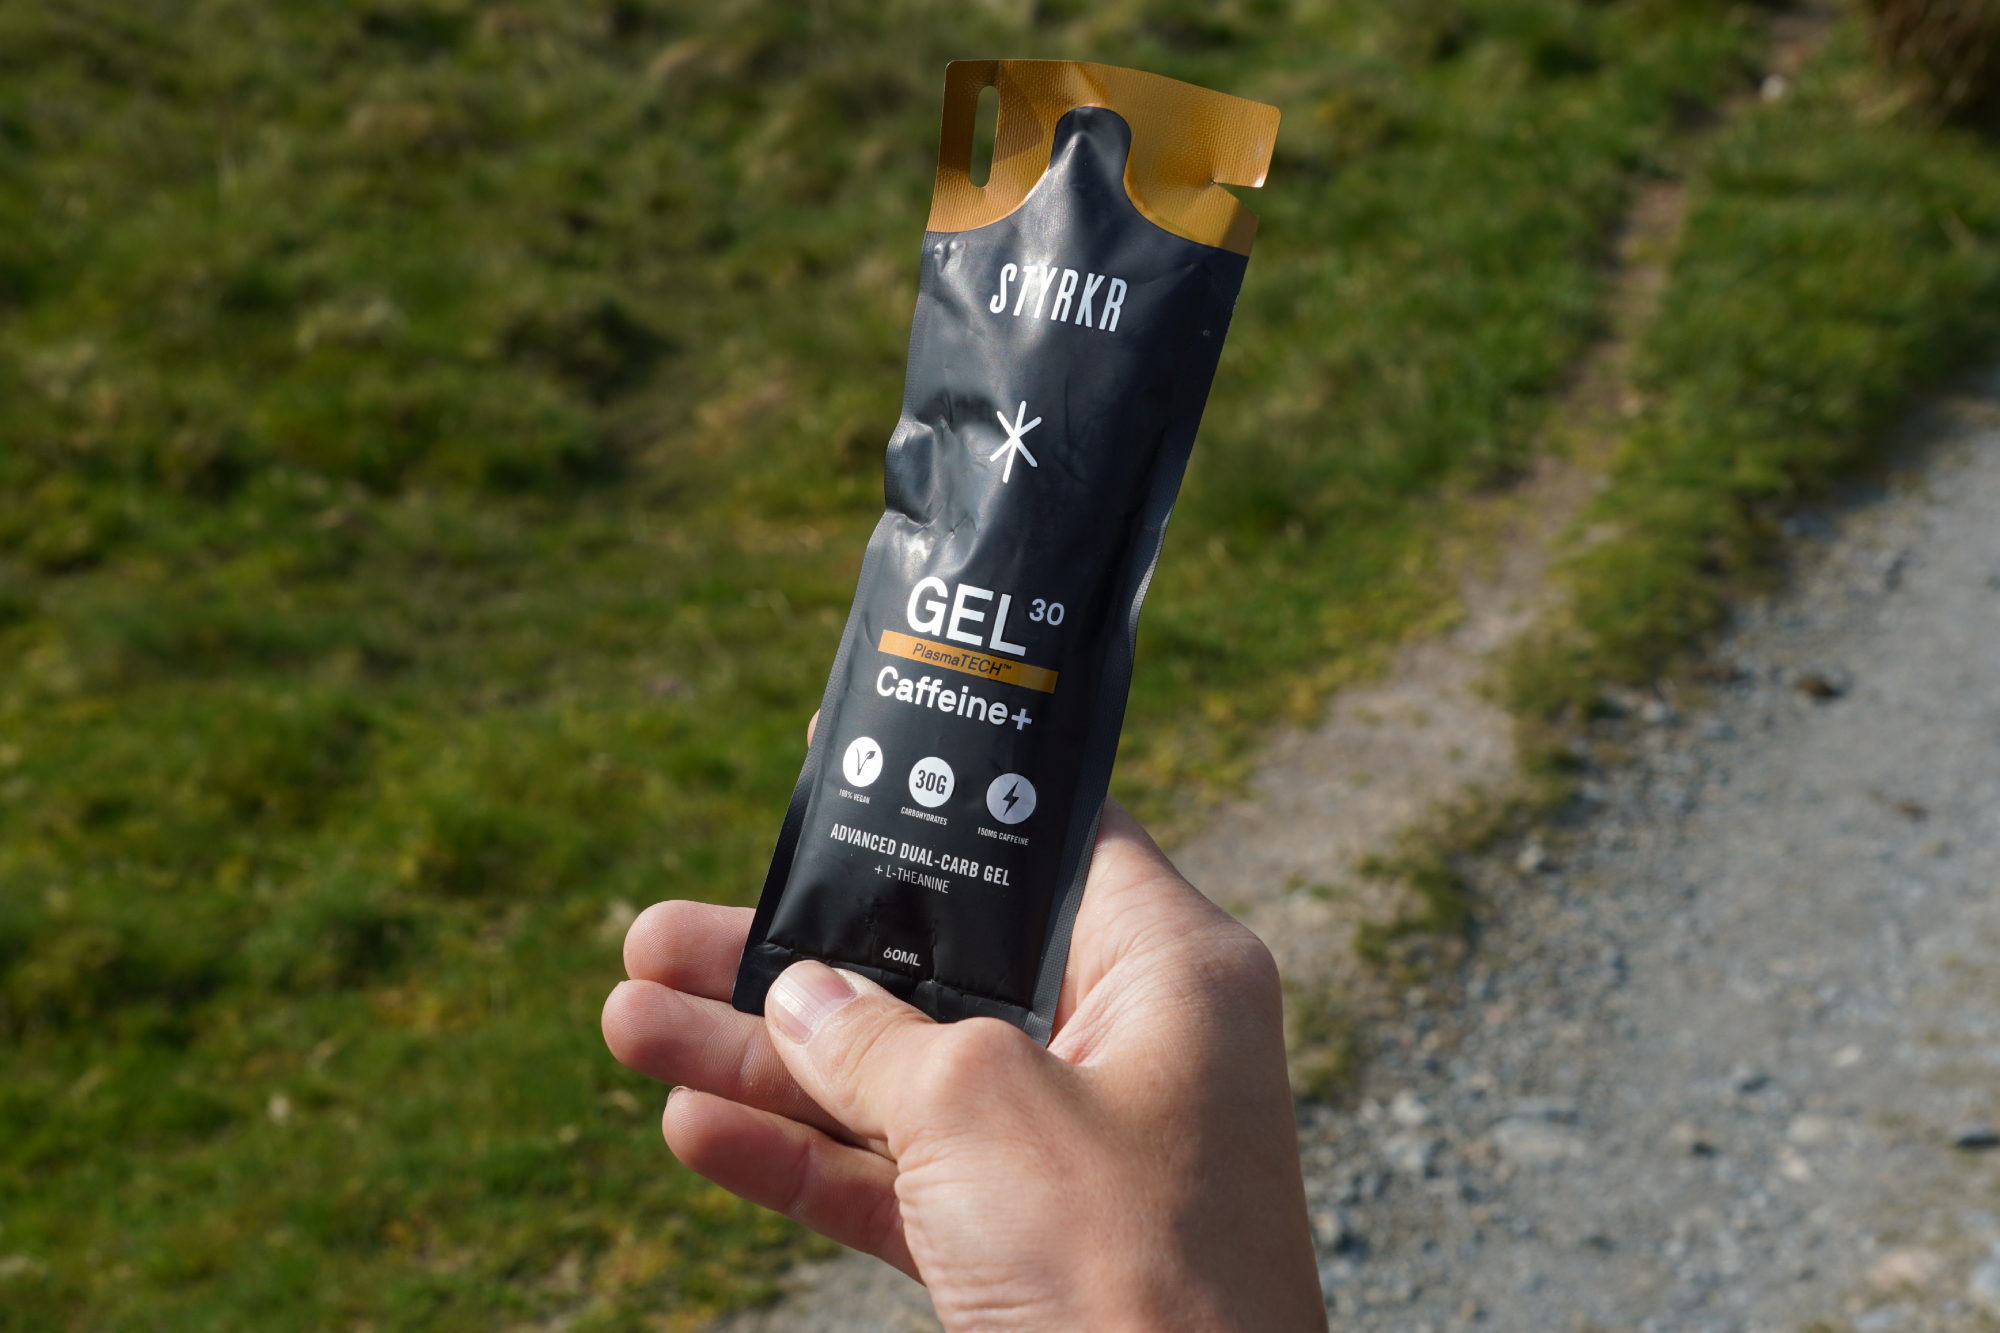
I can’t say whether STYRKR’s precise blend of carbs, vitamins and electrolytes gave me a particular performance boost - I didn’t notice much difference from other energy gels. But the use of natural flavorings, lack of artificial colourings and being generally easy on the stomach meant that the Gel30 ticked the main boxes for me (and Stefan found that this was the case for him too).
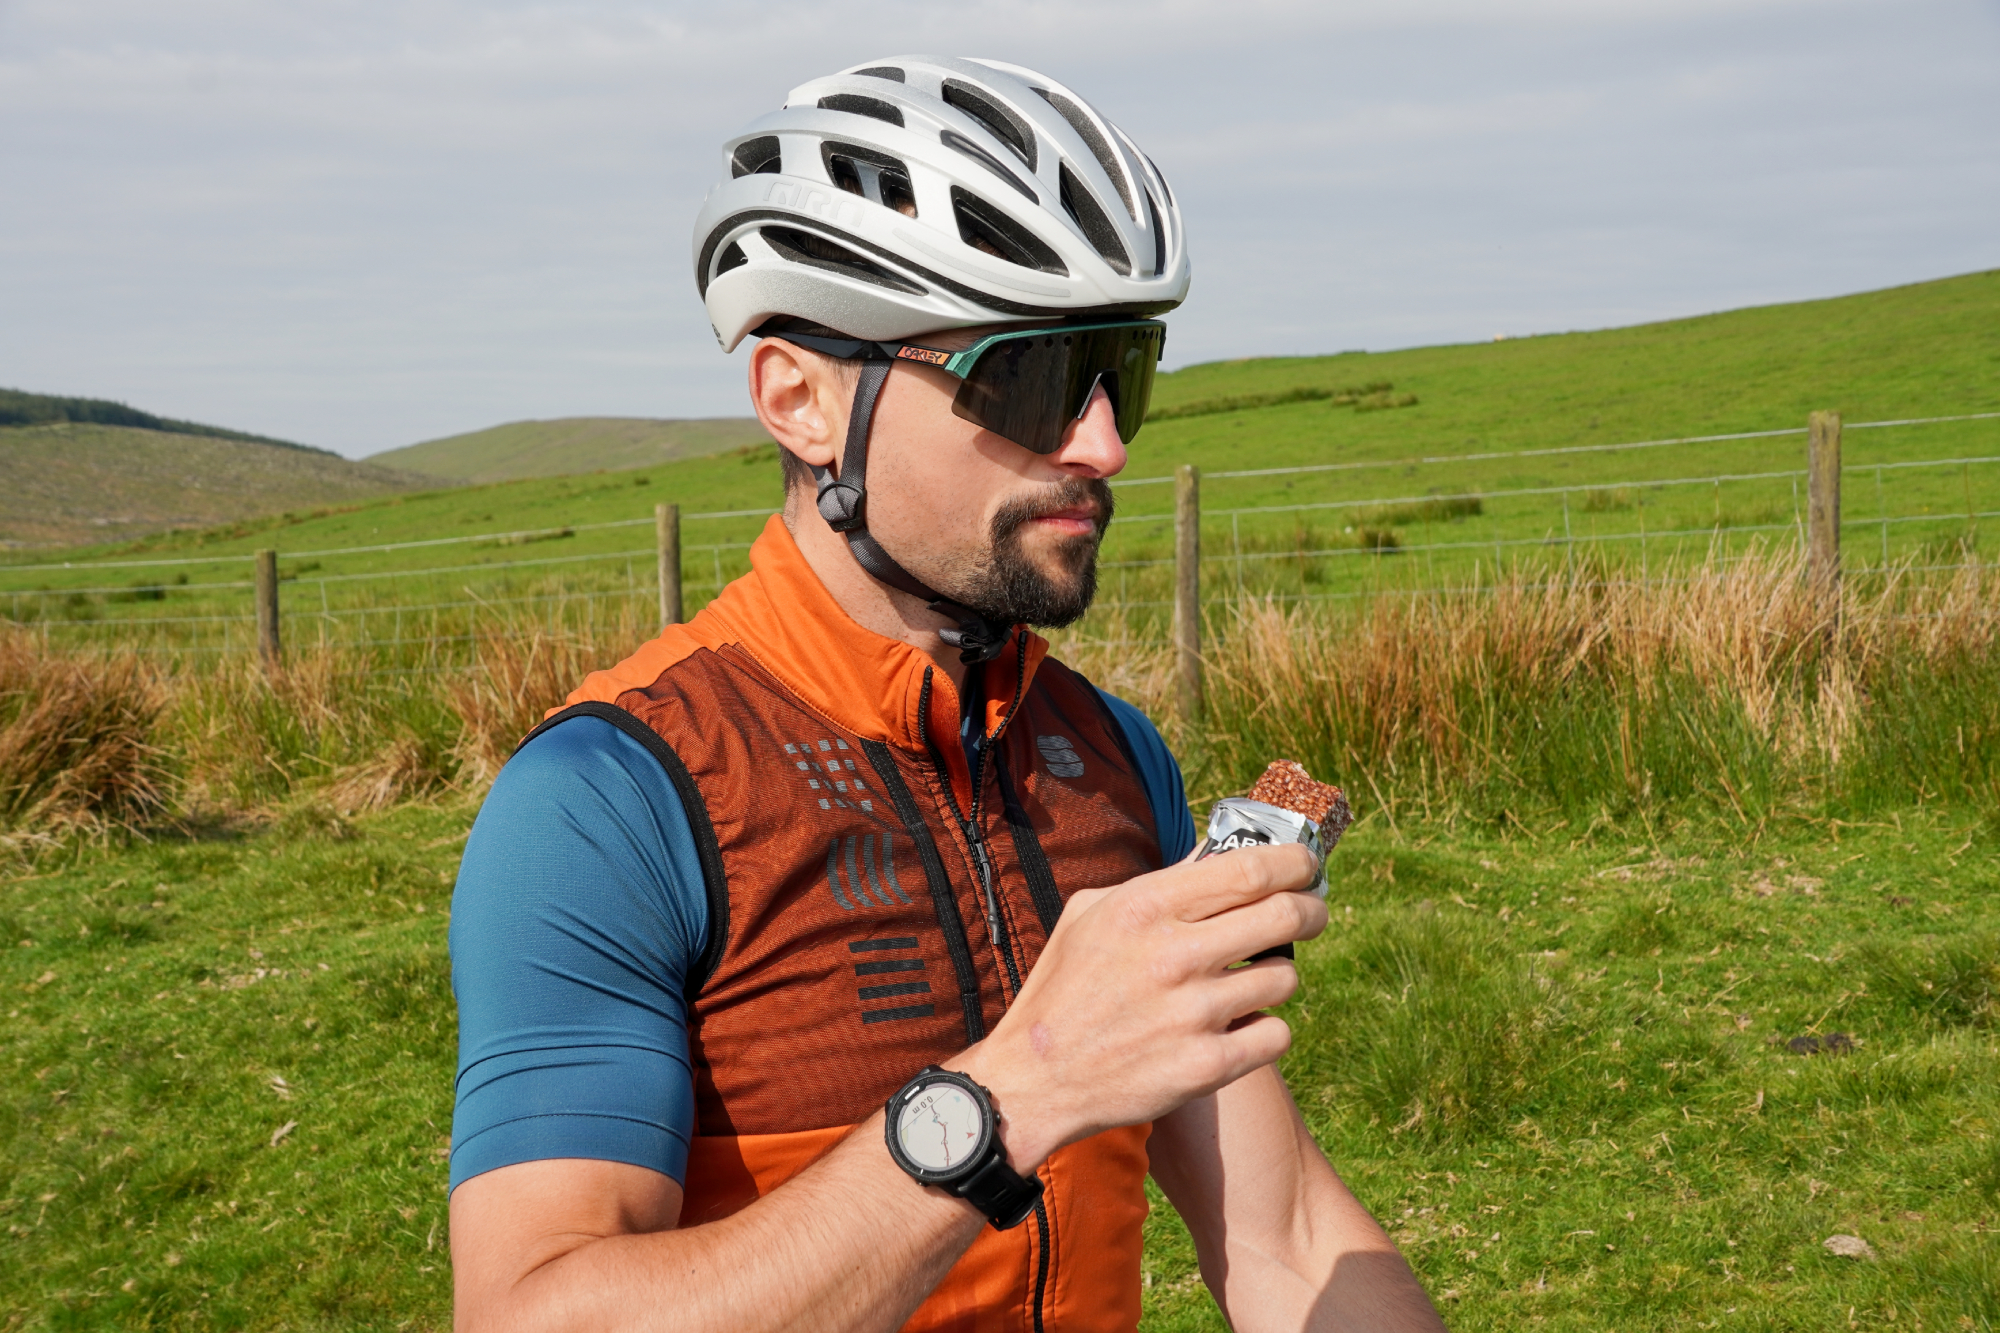
The Bar50 energy bars provided a good energy boost too, packing over 50 grams of carbs into quite a compact package. They were a bit chewy, so not something I’d use for more intense rides, but they’ve proven themselves for longer distances. And the Apple, Cinnamon and Caramel flavor was really nice! They also do Dark Chocolate Chip and Date, Almond & Sea Salt.
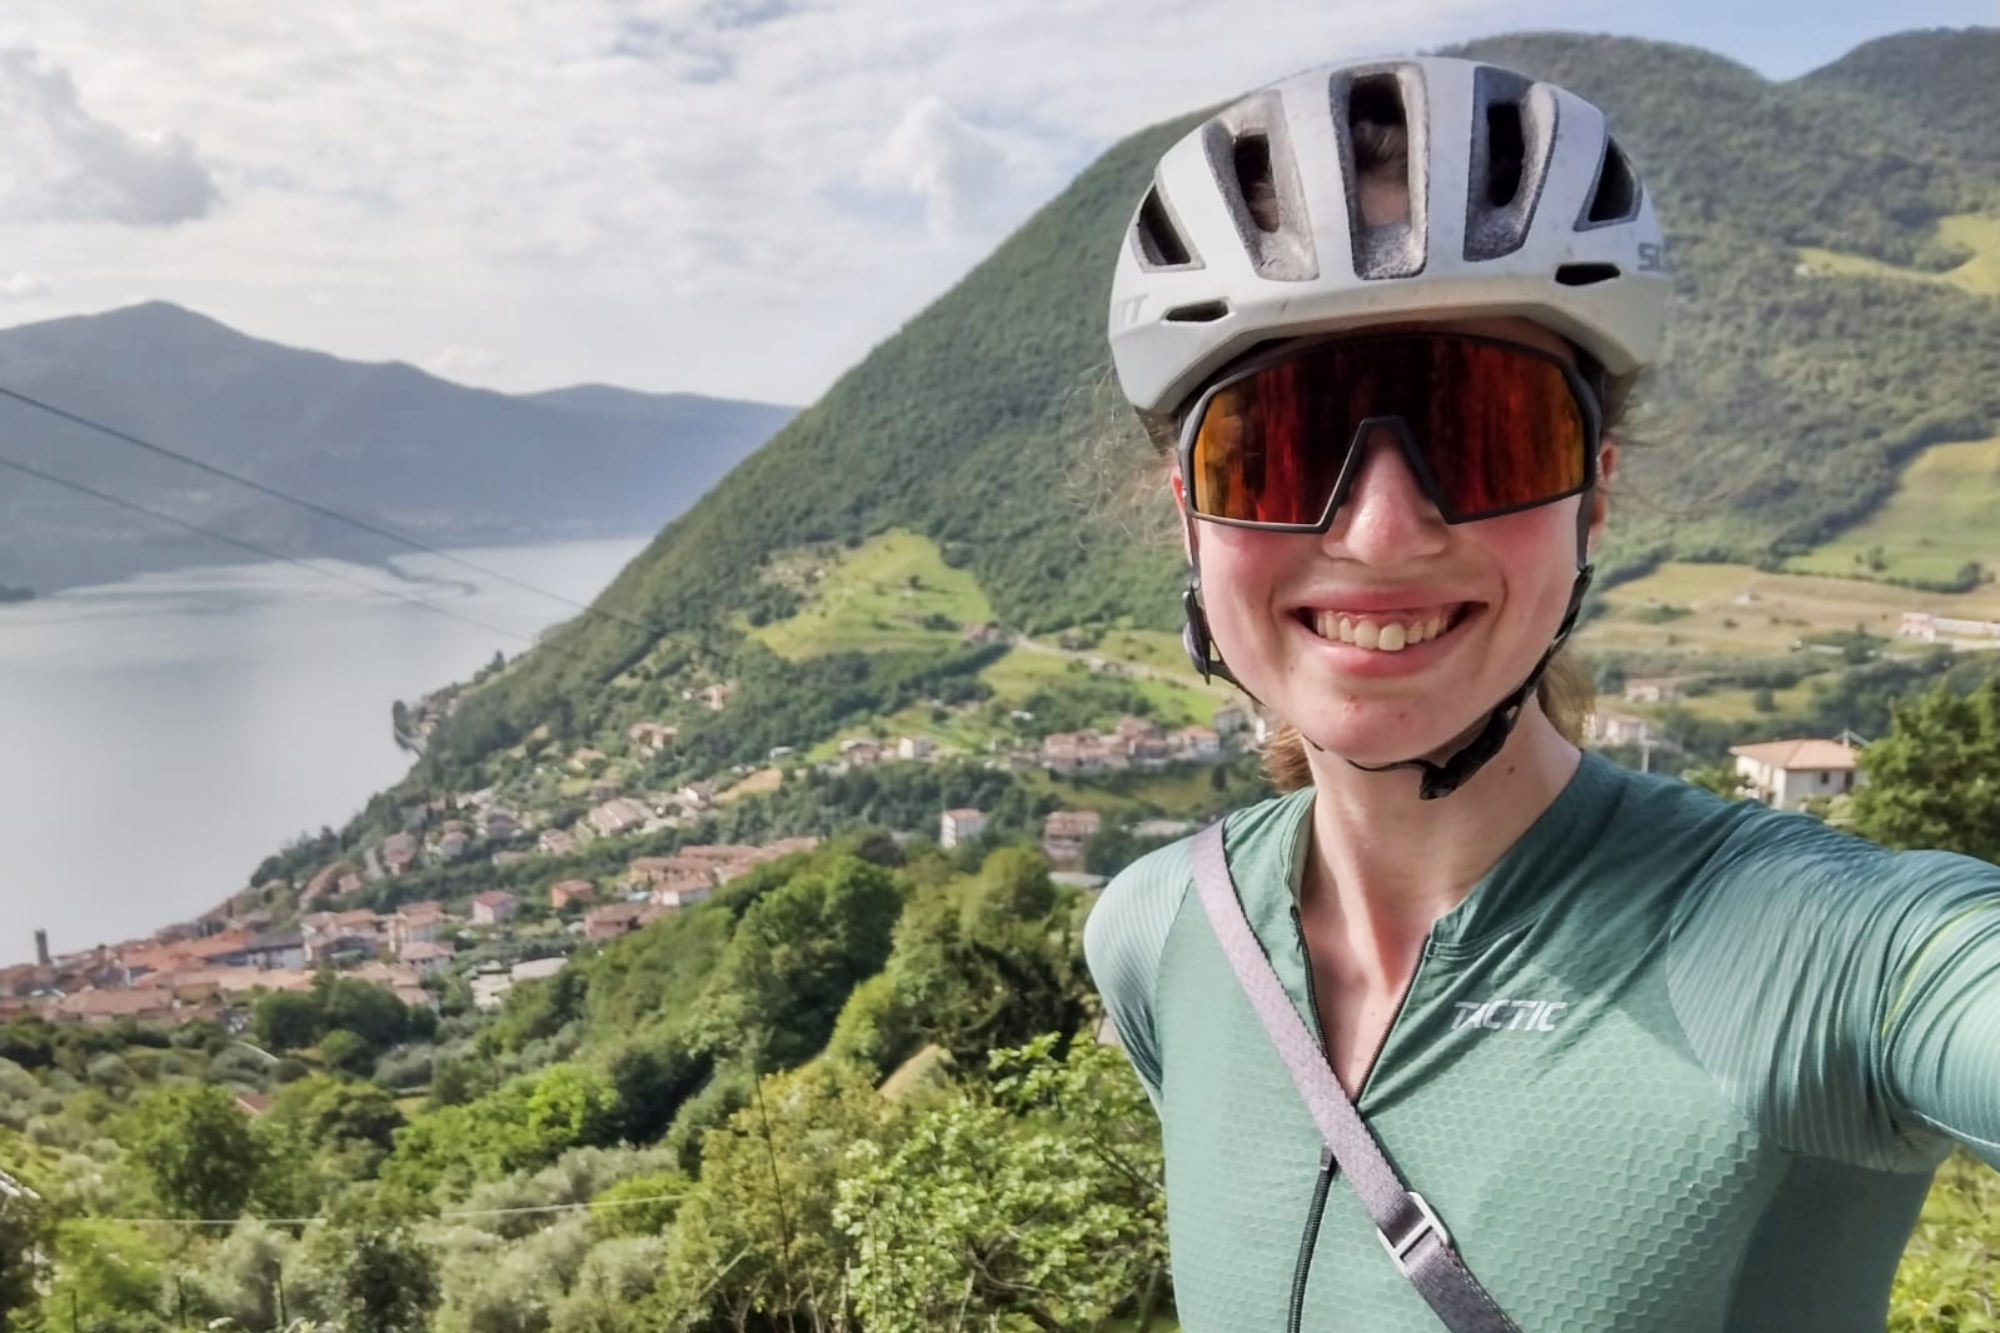
I’ve been hooked on bikes ever since the age of 12 and my first lap of the Hillingdon Cycle Circuit in the bright yellow kit of the Hillingdon Slipstreamers. For a time, my cycling life centred around racing road and track.
But that’s since broadened to include multiday two-wheeled, one-sleeping-bag adventures over whatever terrain I happen to meet - with a two-week bikepacking trip from Budapest into the mountains of Slovakia being just the latest.
I still enjoy lining up on a start line, though, racing the British Gravel Championships and finding myself on the podium at the enduro-style gravel event, Gritfest in 2022.
Height: 177cm
Weight: 60–63kg